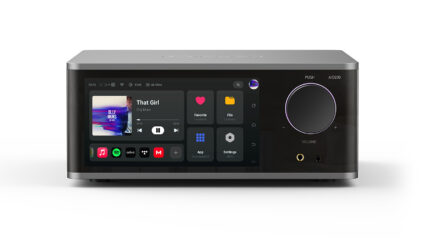
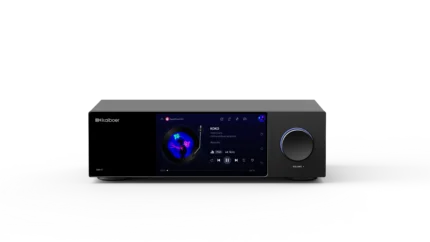
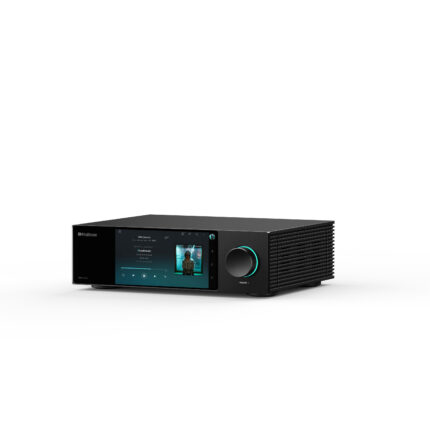
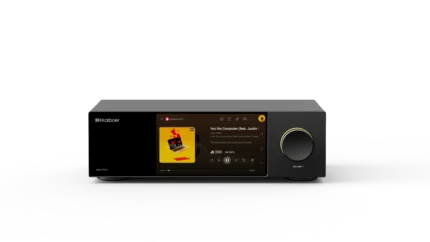
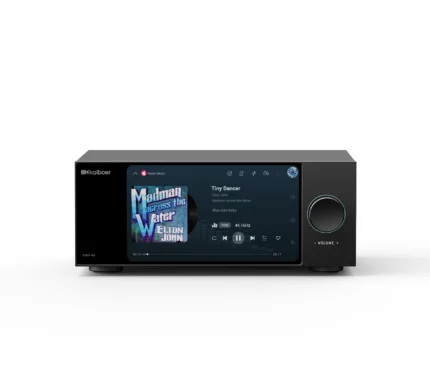
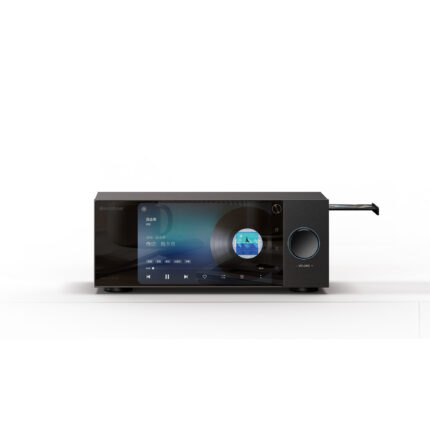
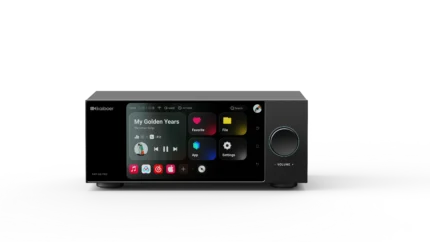
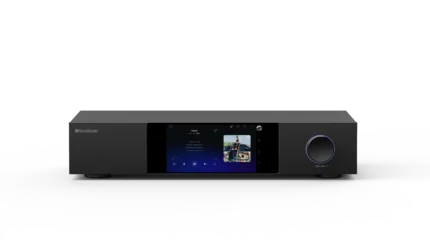
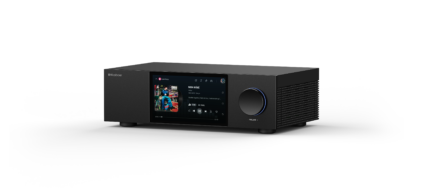
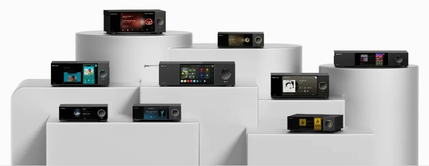
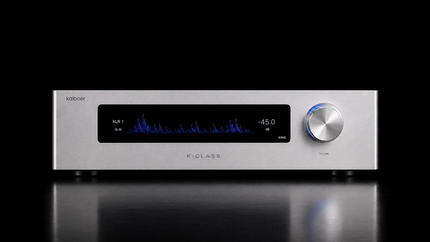
This manual applies to the Kaiboer DMP-K series digital music players. It mainly introduces device initialization, music playback, file management, network connection, app control, system settings, and common troubleshooting.
When using the device for the first time, it is recommended to complete the language, region, network, and app control settings by following the "Quick Start" section.
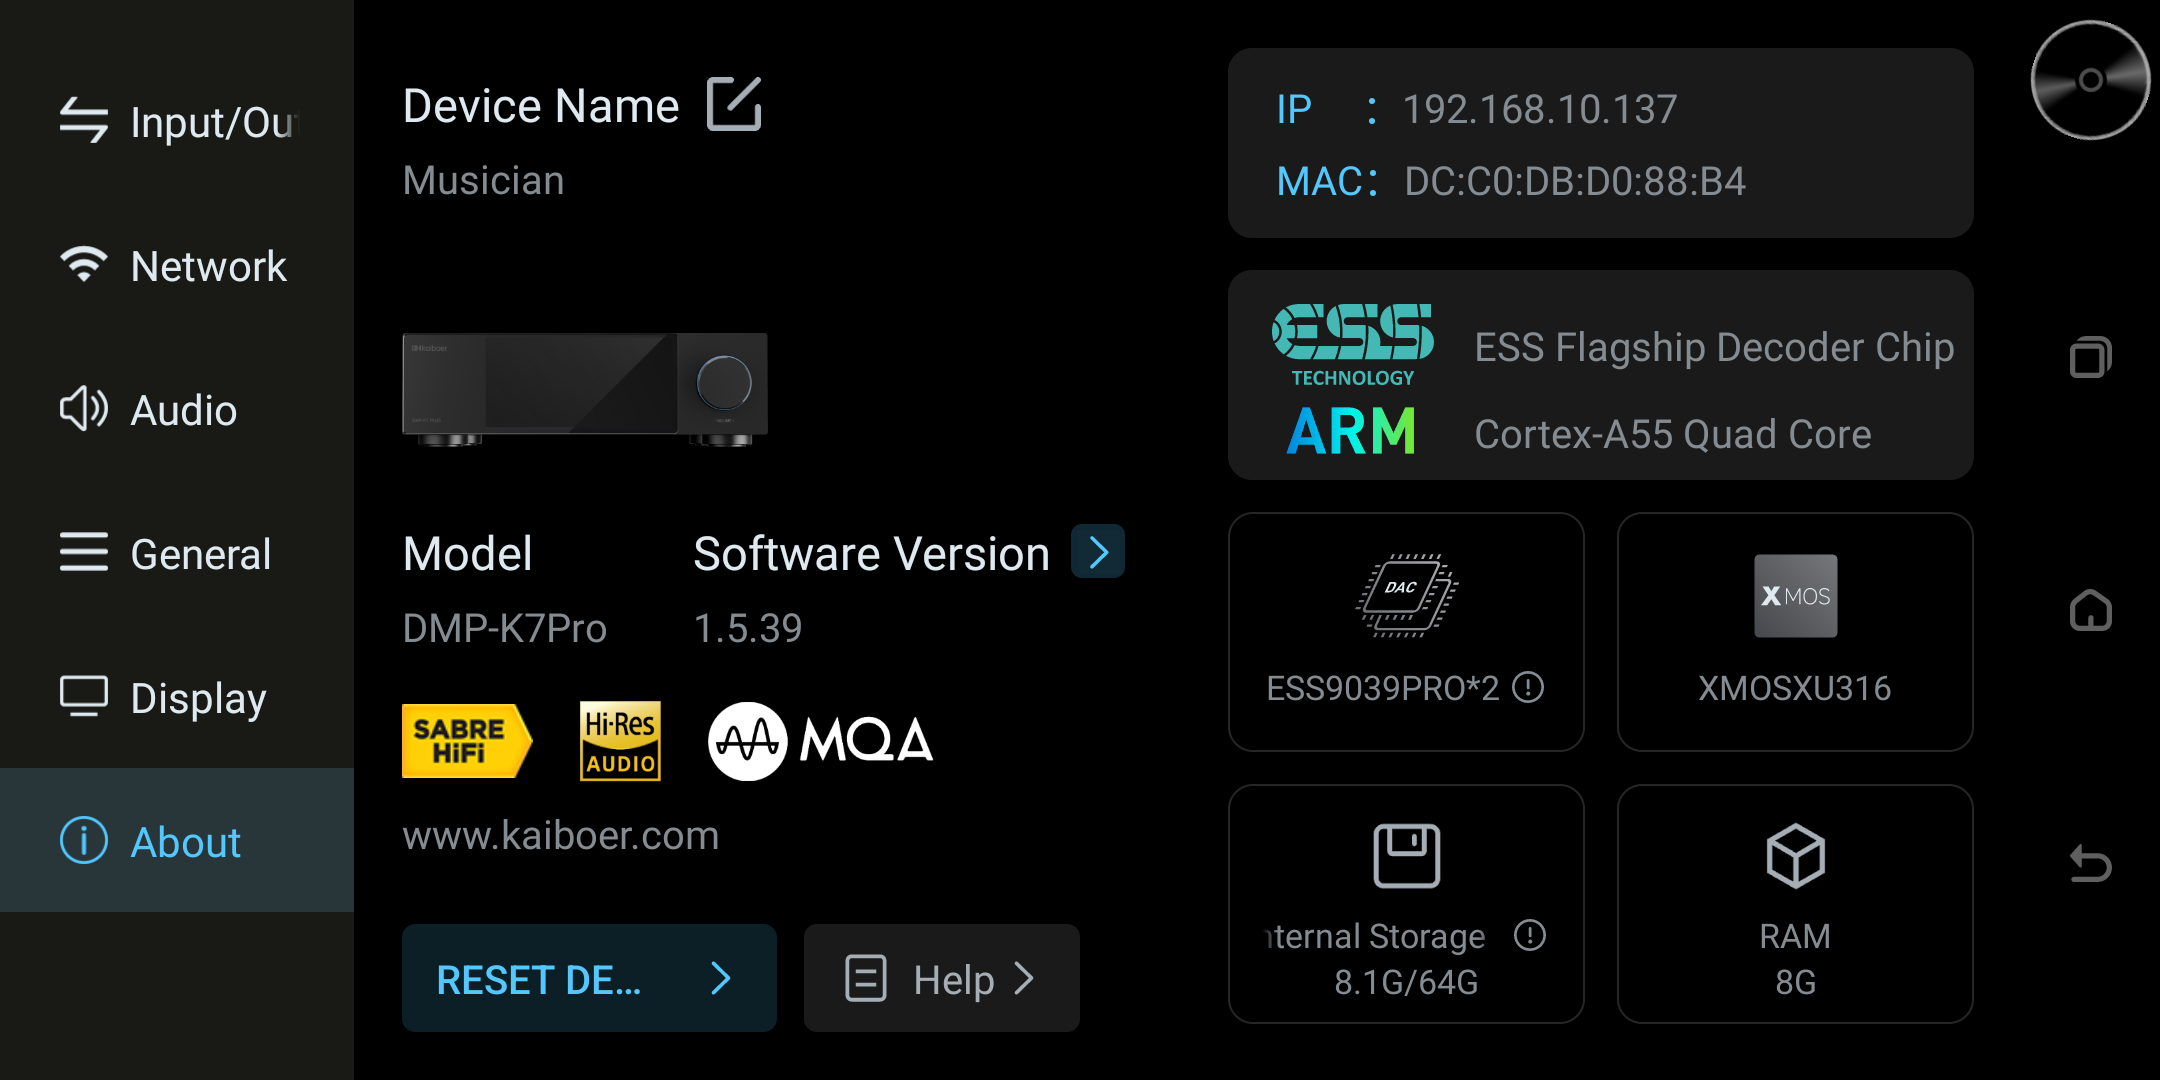
The DMP-K series uses ES9039 PRO or ES9039 Q2M DACs, depending on the player model. Check Settings → About for the hardware details of your device.
Before using the DMP-K series products for the first time, please complete the basic setup by following the steps below to ensure the device runs properly and delivers the best experience.
Initial Setup via the Guide Page
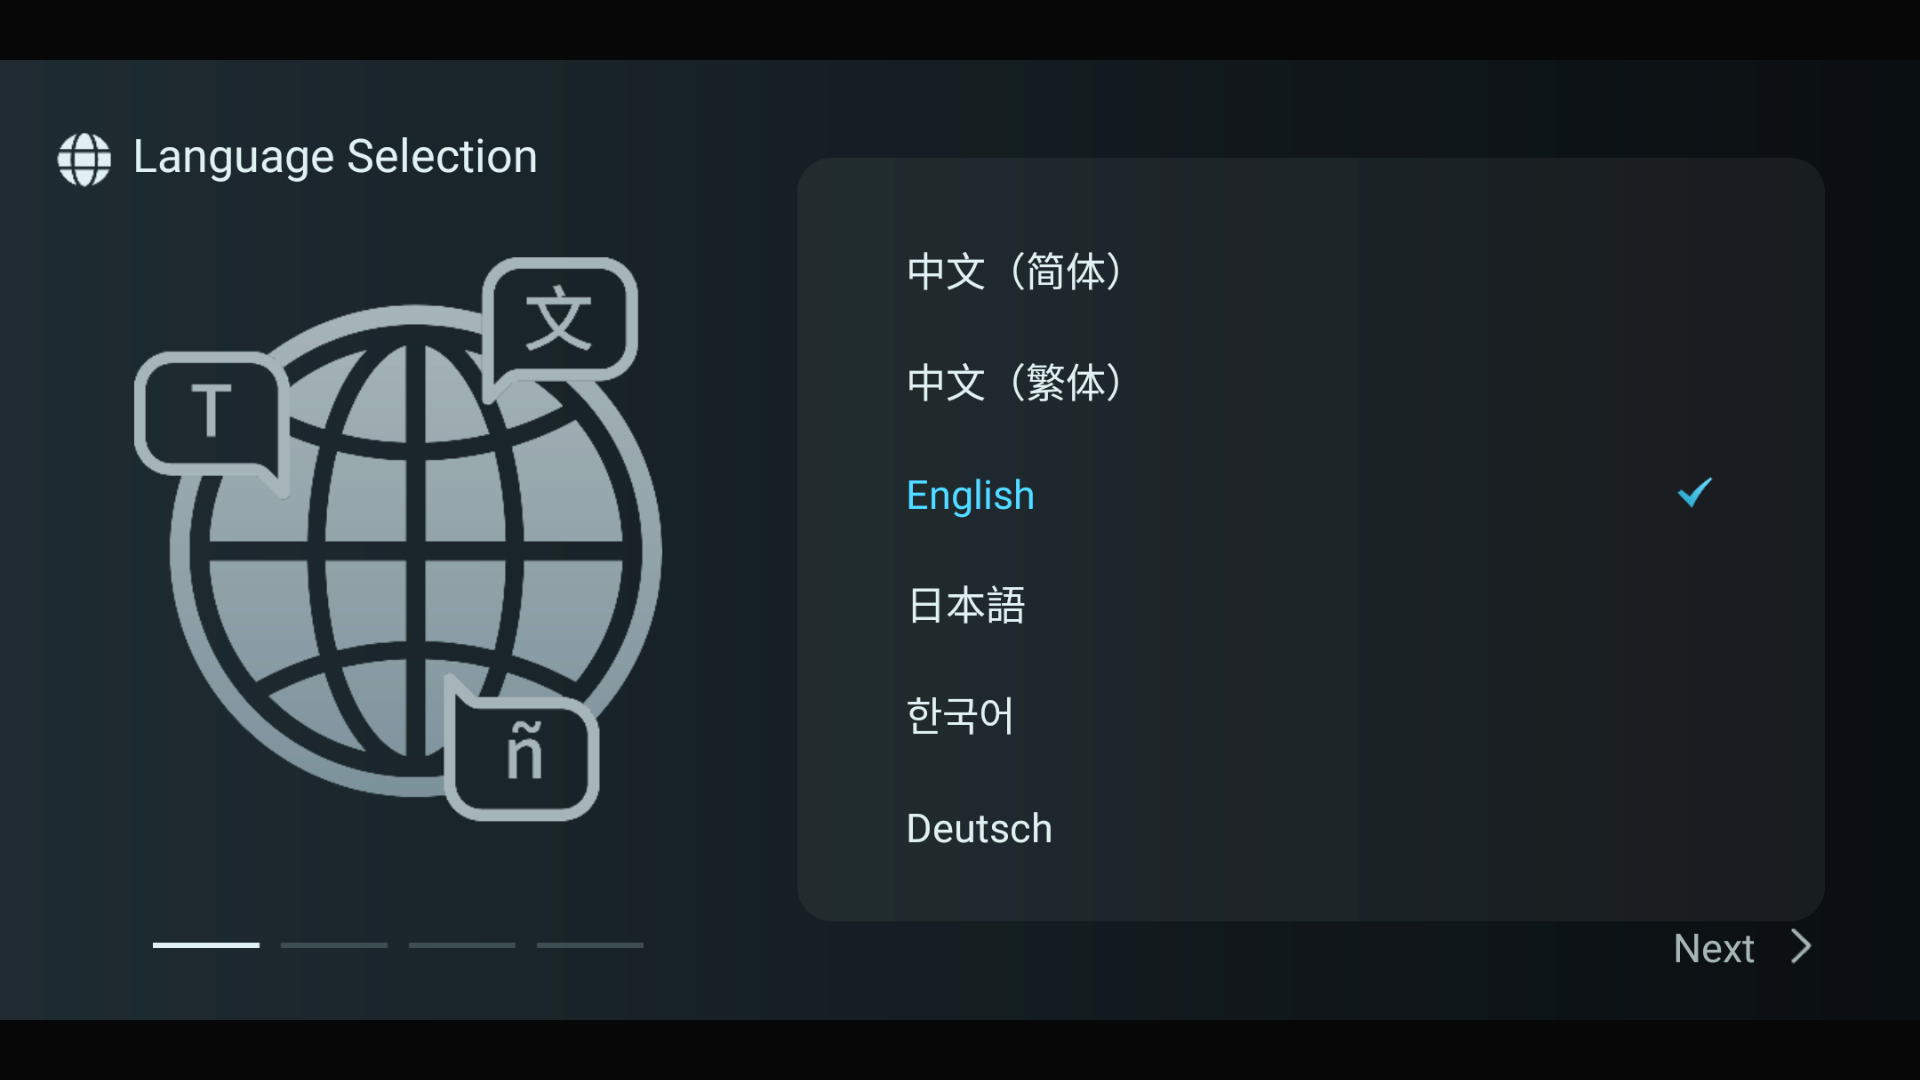
Initial setup language selection with English selected.
Select English
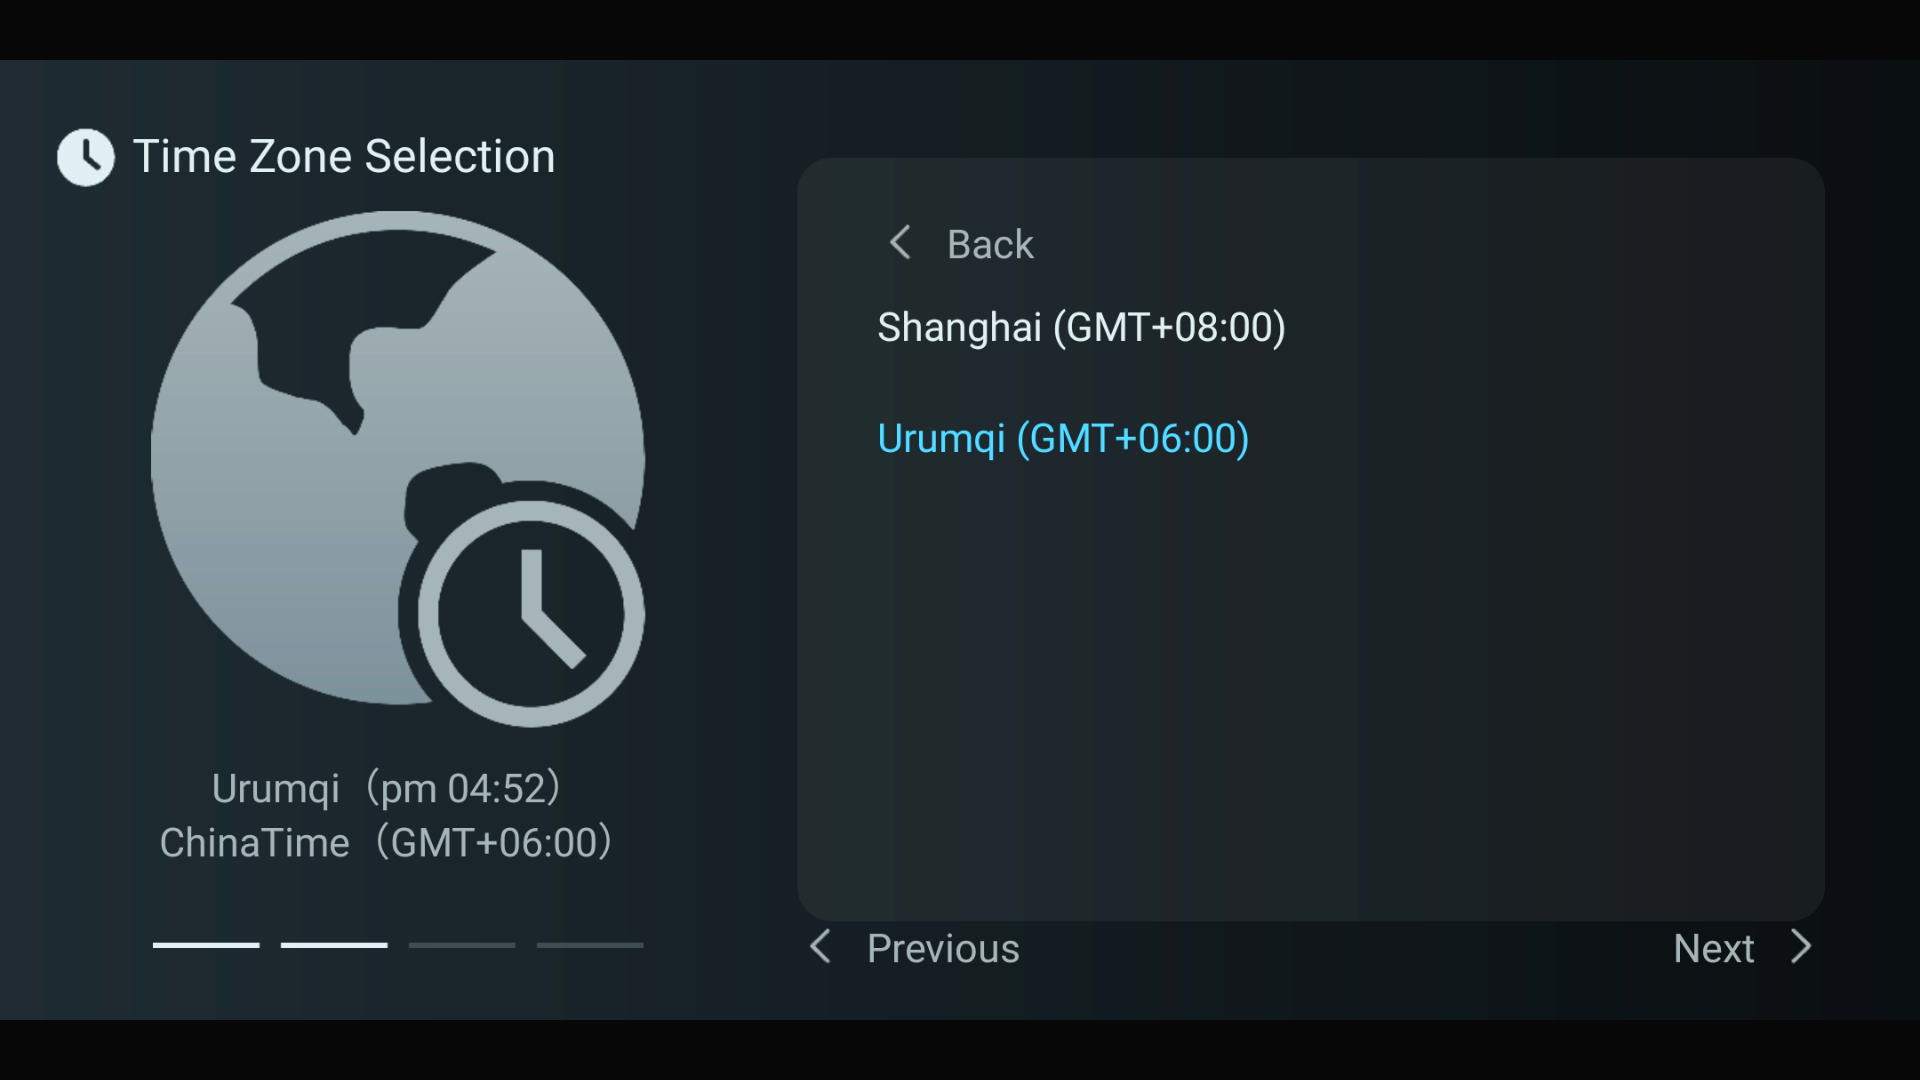
Initial setup time-zone selection screen.
Select your region and time zone
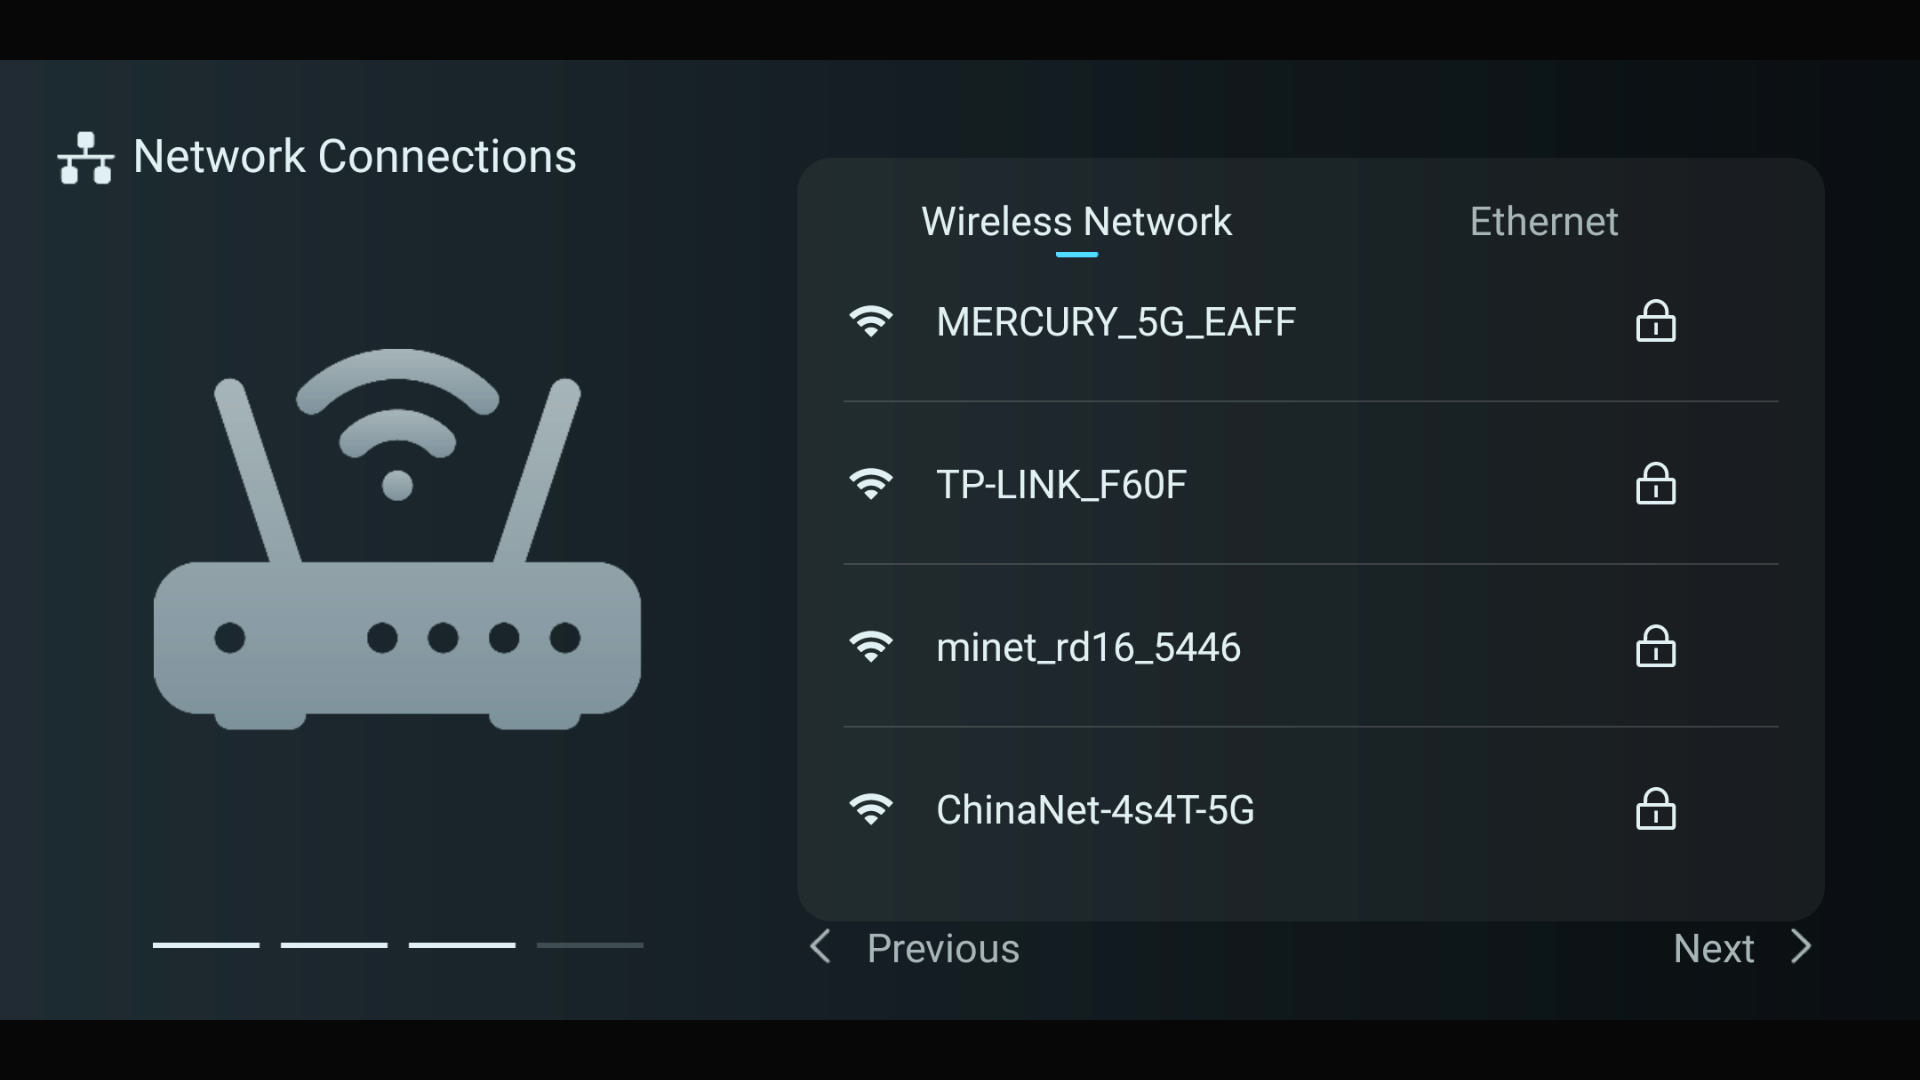
Initial setup wireless-network selection screen.
Connect to your network
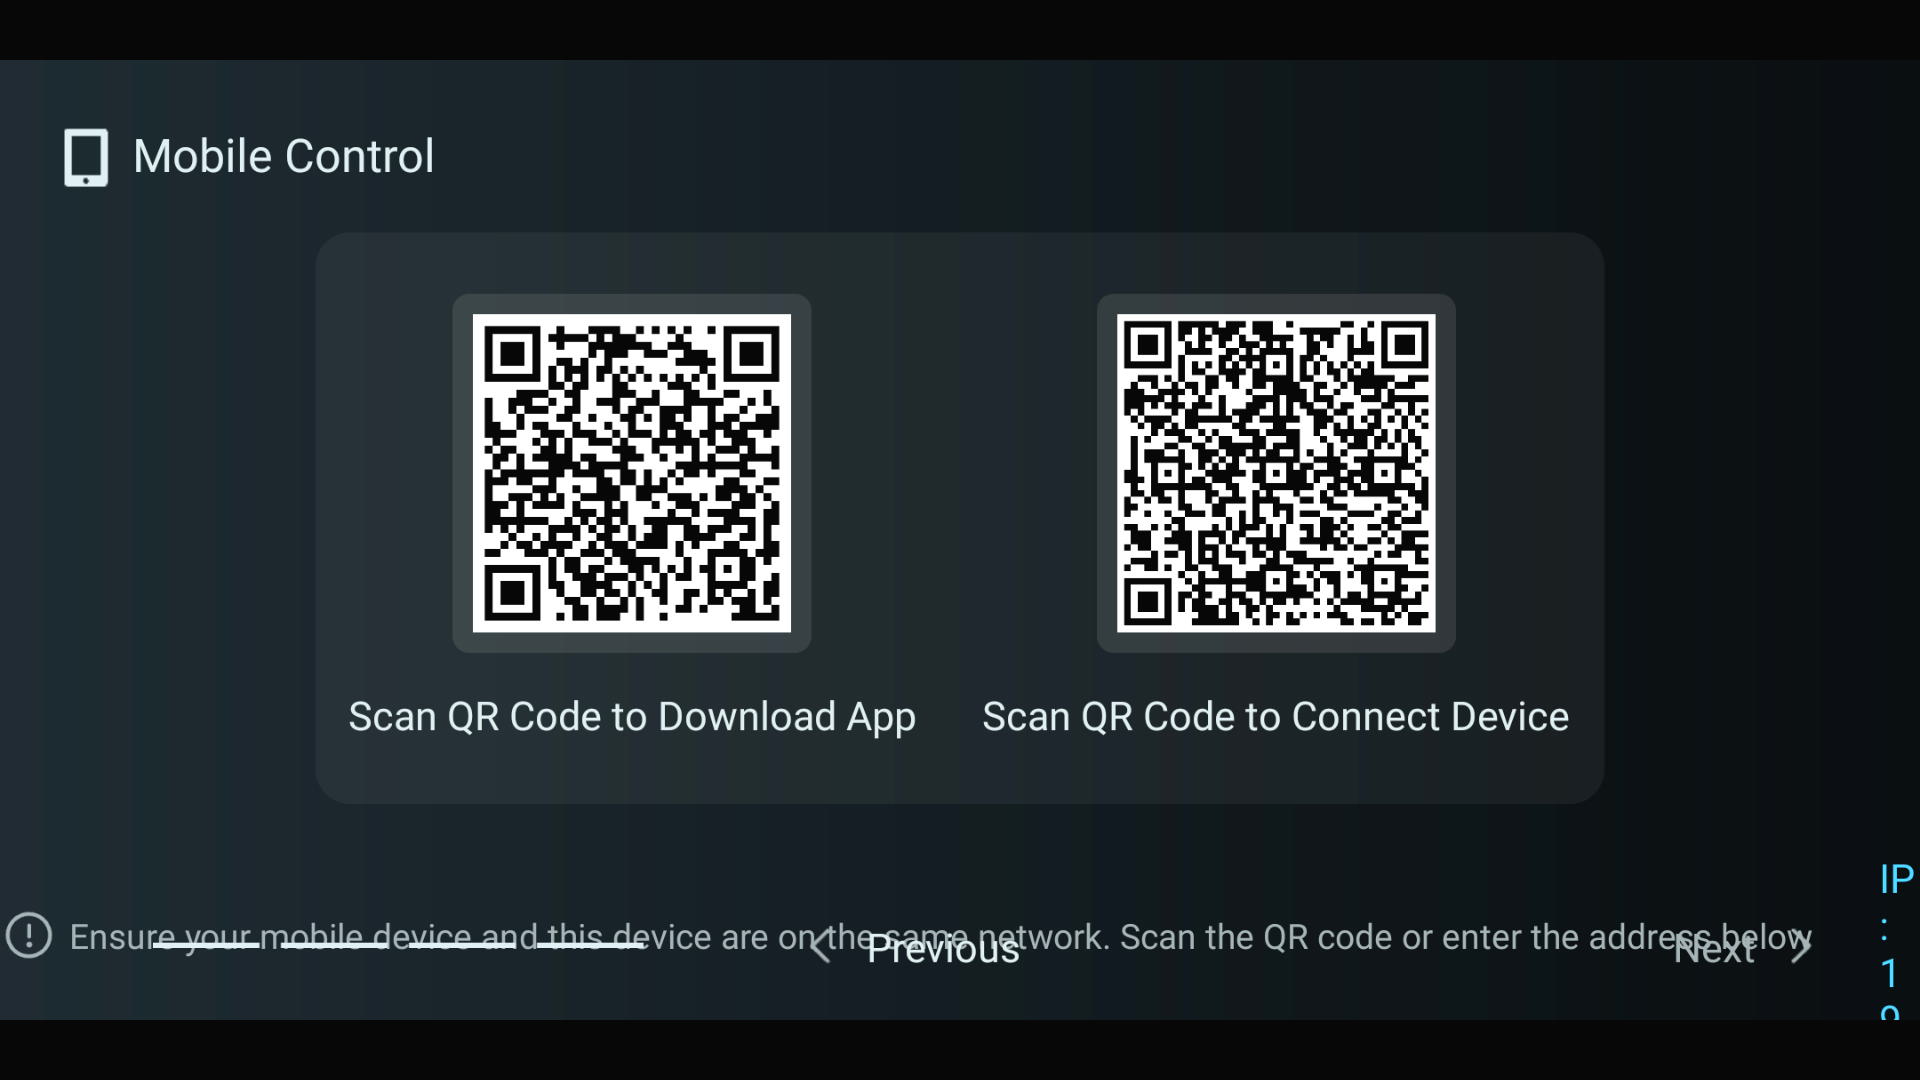
Initial setup Mobile Control screen with download and connection QR codes.
Install the app and connect
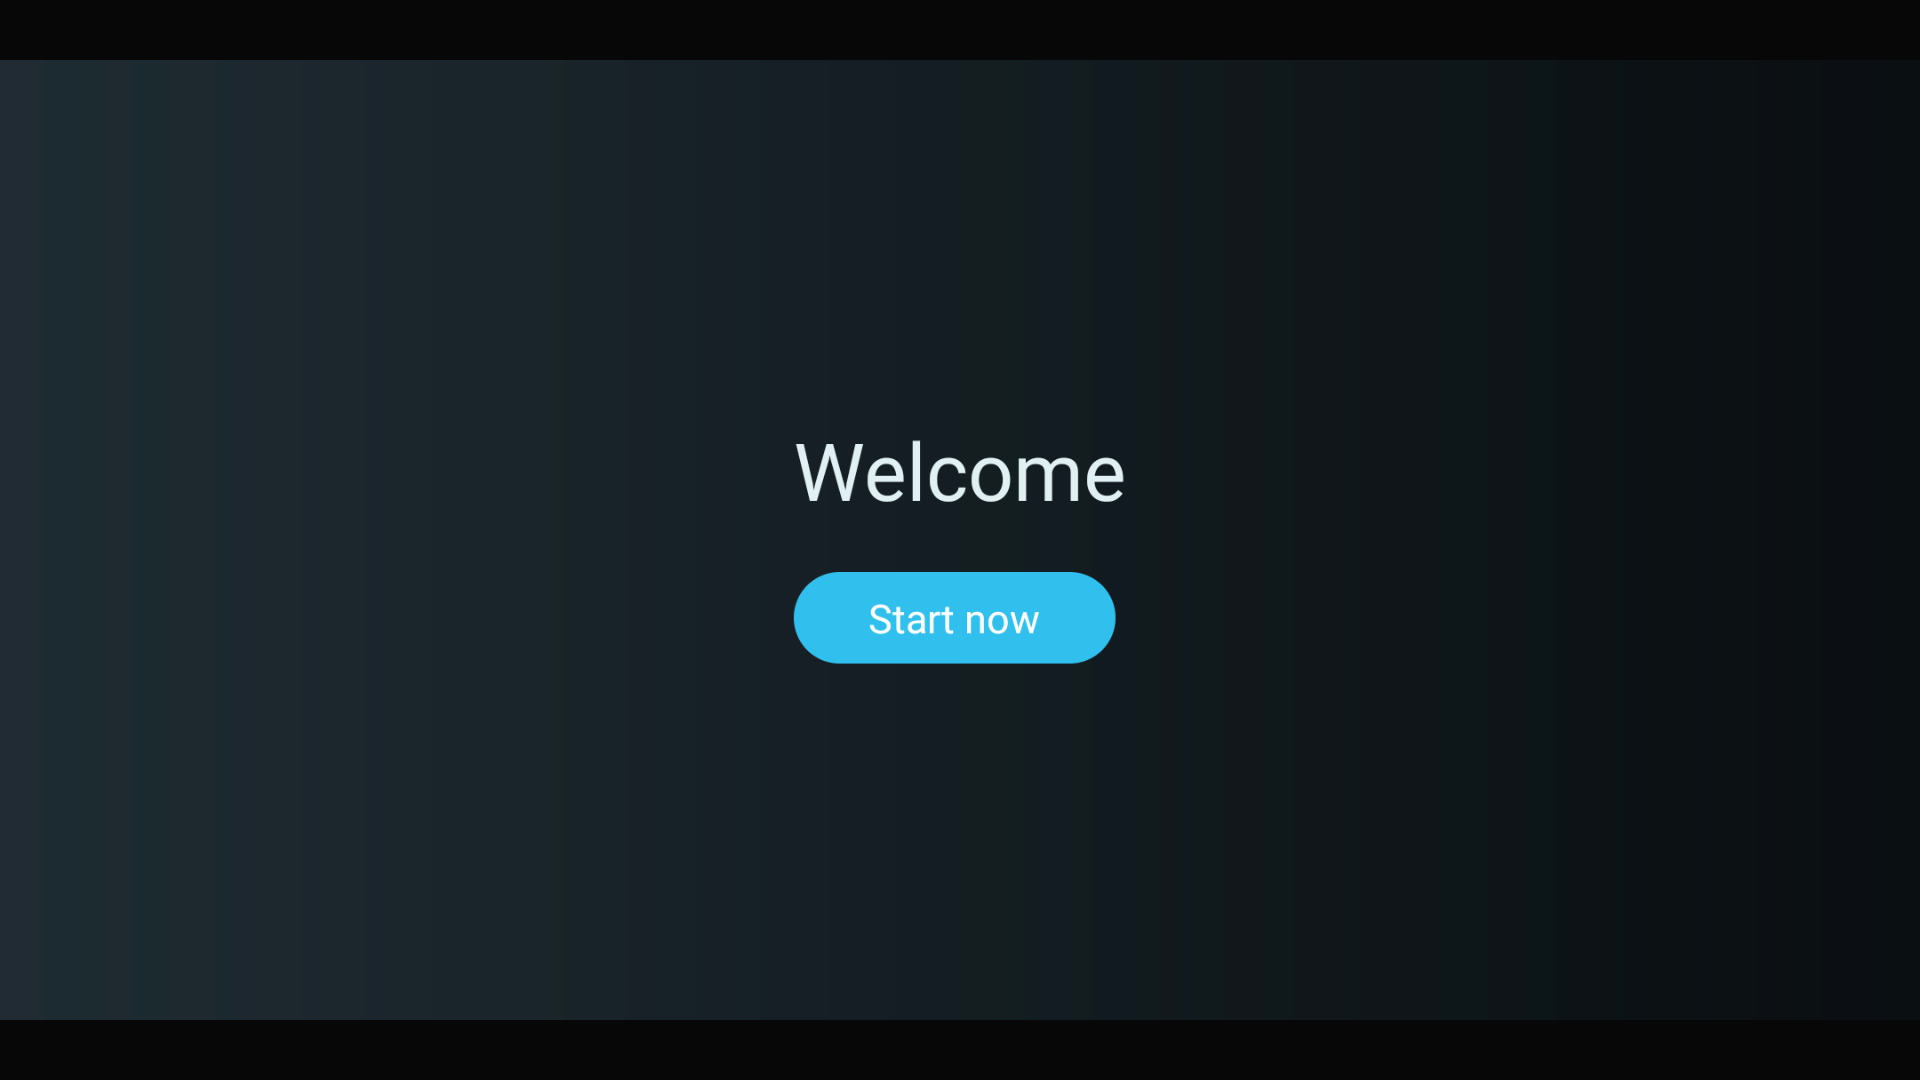
Initial setup welcome screen with the Start now button.
Start using the device
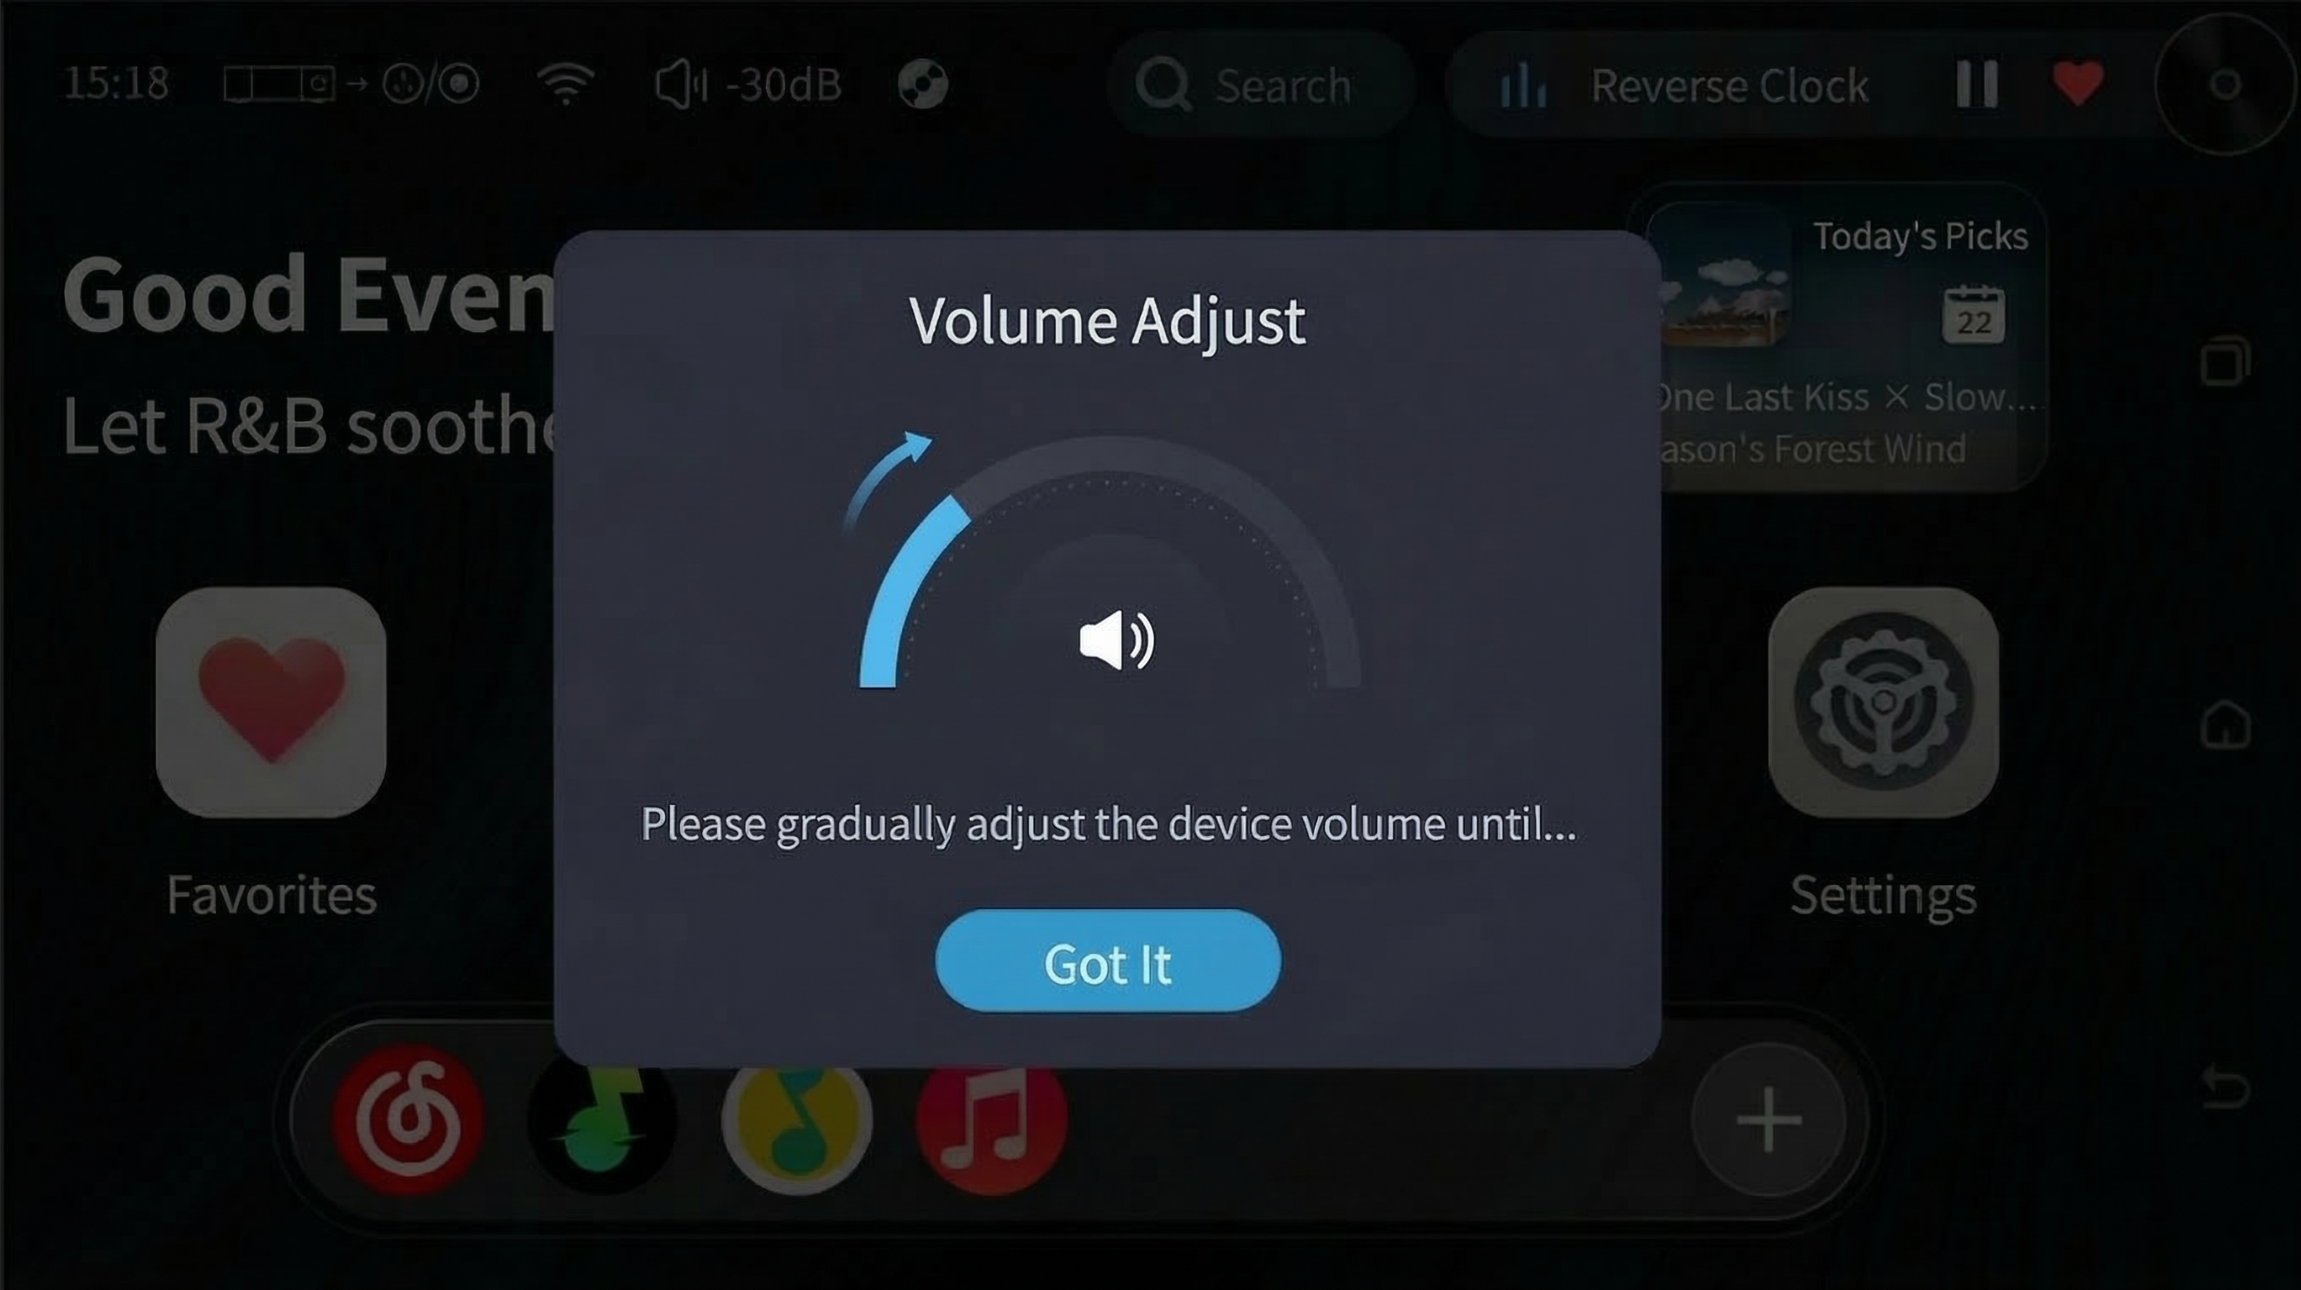
Before playback, start with a low volume on the device and connected amplifier/DAC, then increase gradually.
Initial setup volume-adjustment prompt.
User Guide
The first time you enter the device or app, a corresponding operation guide will appear. If you are familiar with or have used similar devices before, you can tap the bottom-right corner to skip it directly.
User Tutorial Flow
Switch Player StyleSwipe left or right to switch between different player styles.
View Song SourceThe player page displays the current song's source, making it easy to confirm which playback entry the song comes from.
View Audio Quality InfoTap "Quality" to view the audio quality description of the current song.
Open More FunctionsTap "Options" to find CD, spectrum, VU meter, and related operations for the current song.
Enter or Exit CD PlaybackAfter the device reads a CD disc, tap the CD icon to enter or exit the CD playback state.
Kaiboer Home App — First Connection
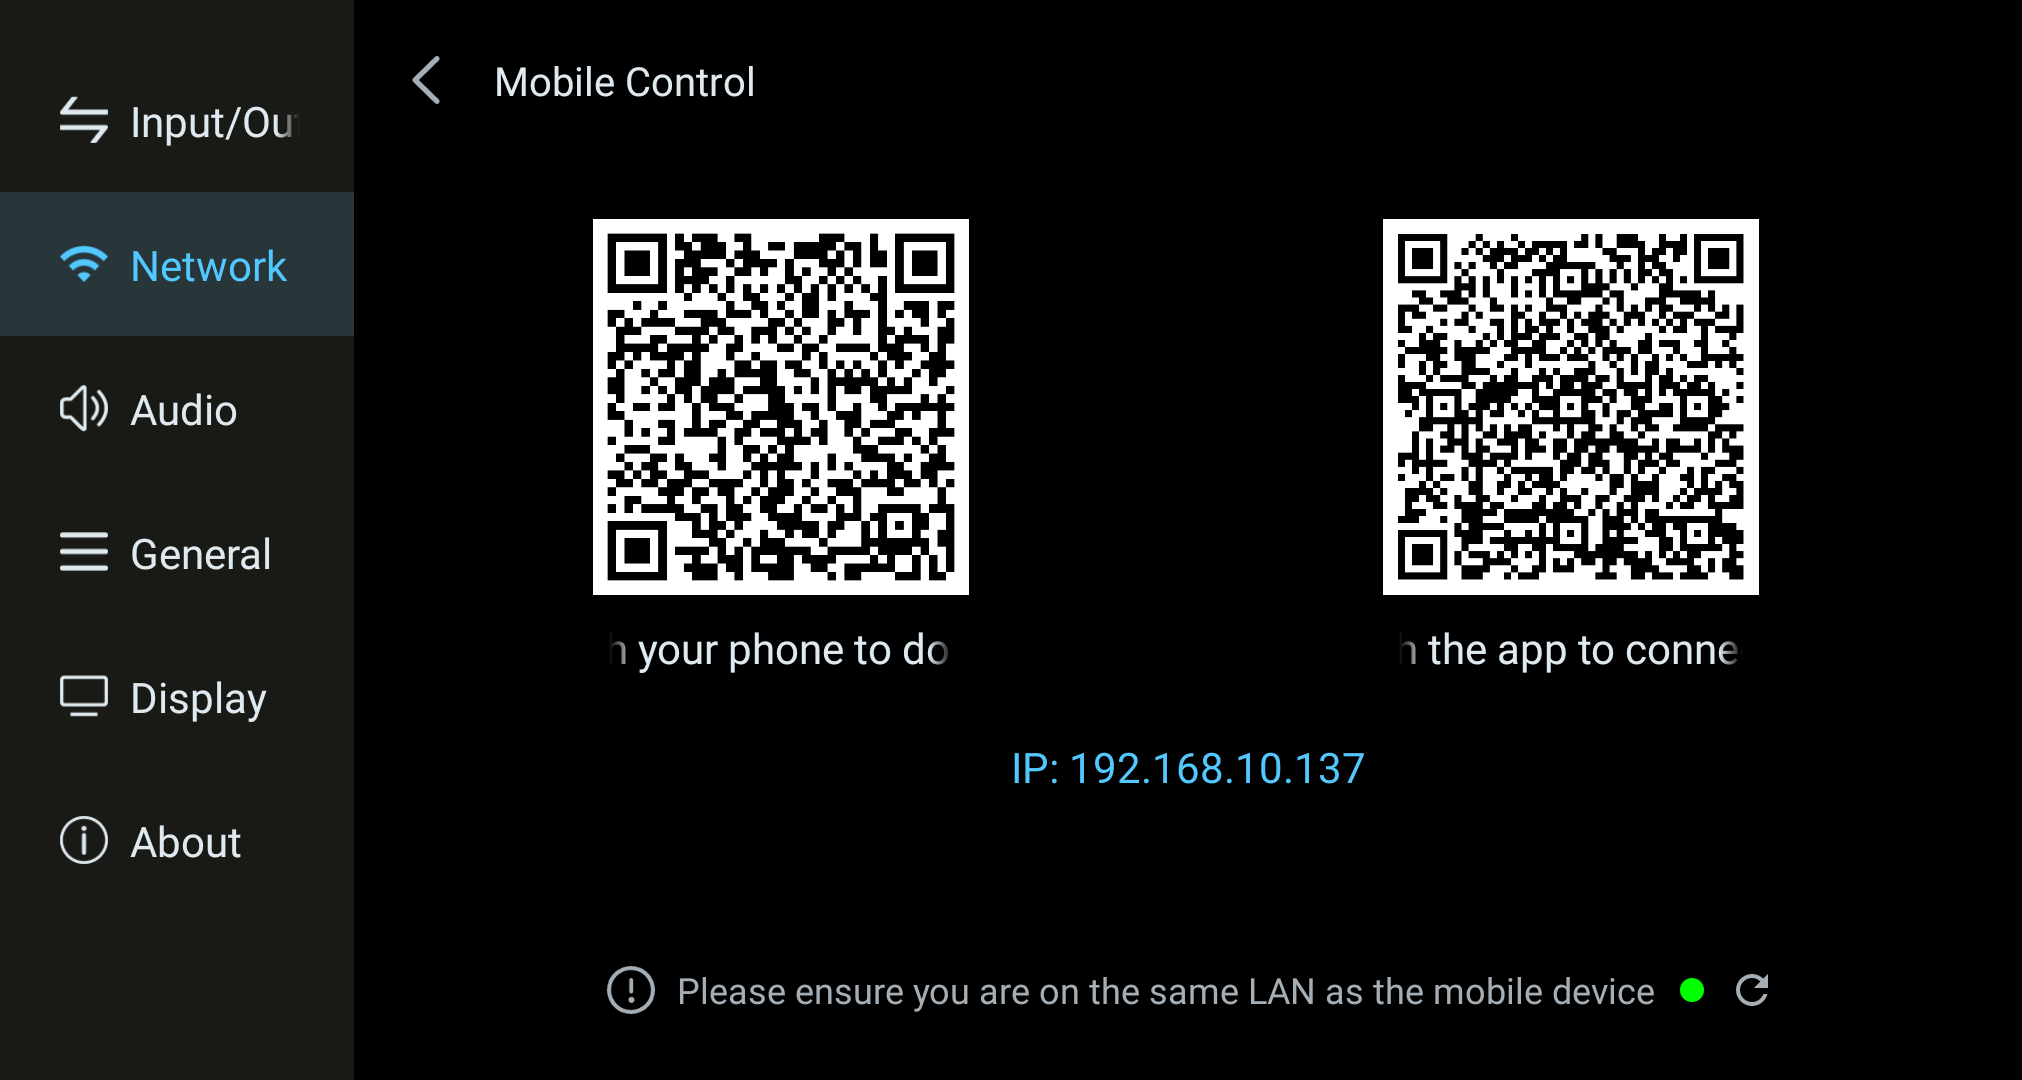
The first time you use your phone, go to Settings – Network – Phone Control to scan the QR code and download the app. Then connect your phone and the device to the same local network.
Phone Control screen with app-download and device-connection QR codes.
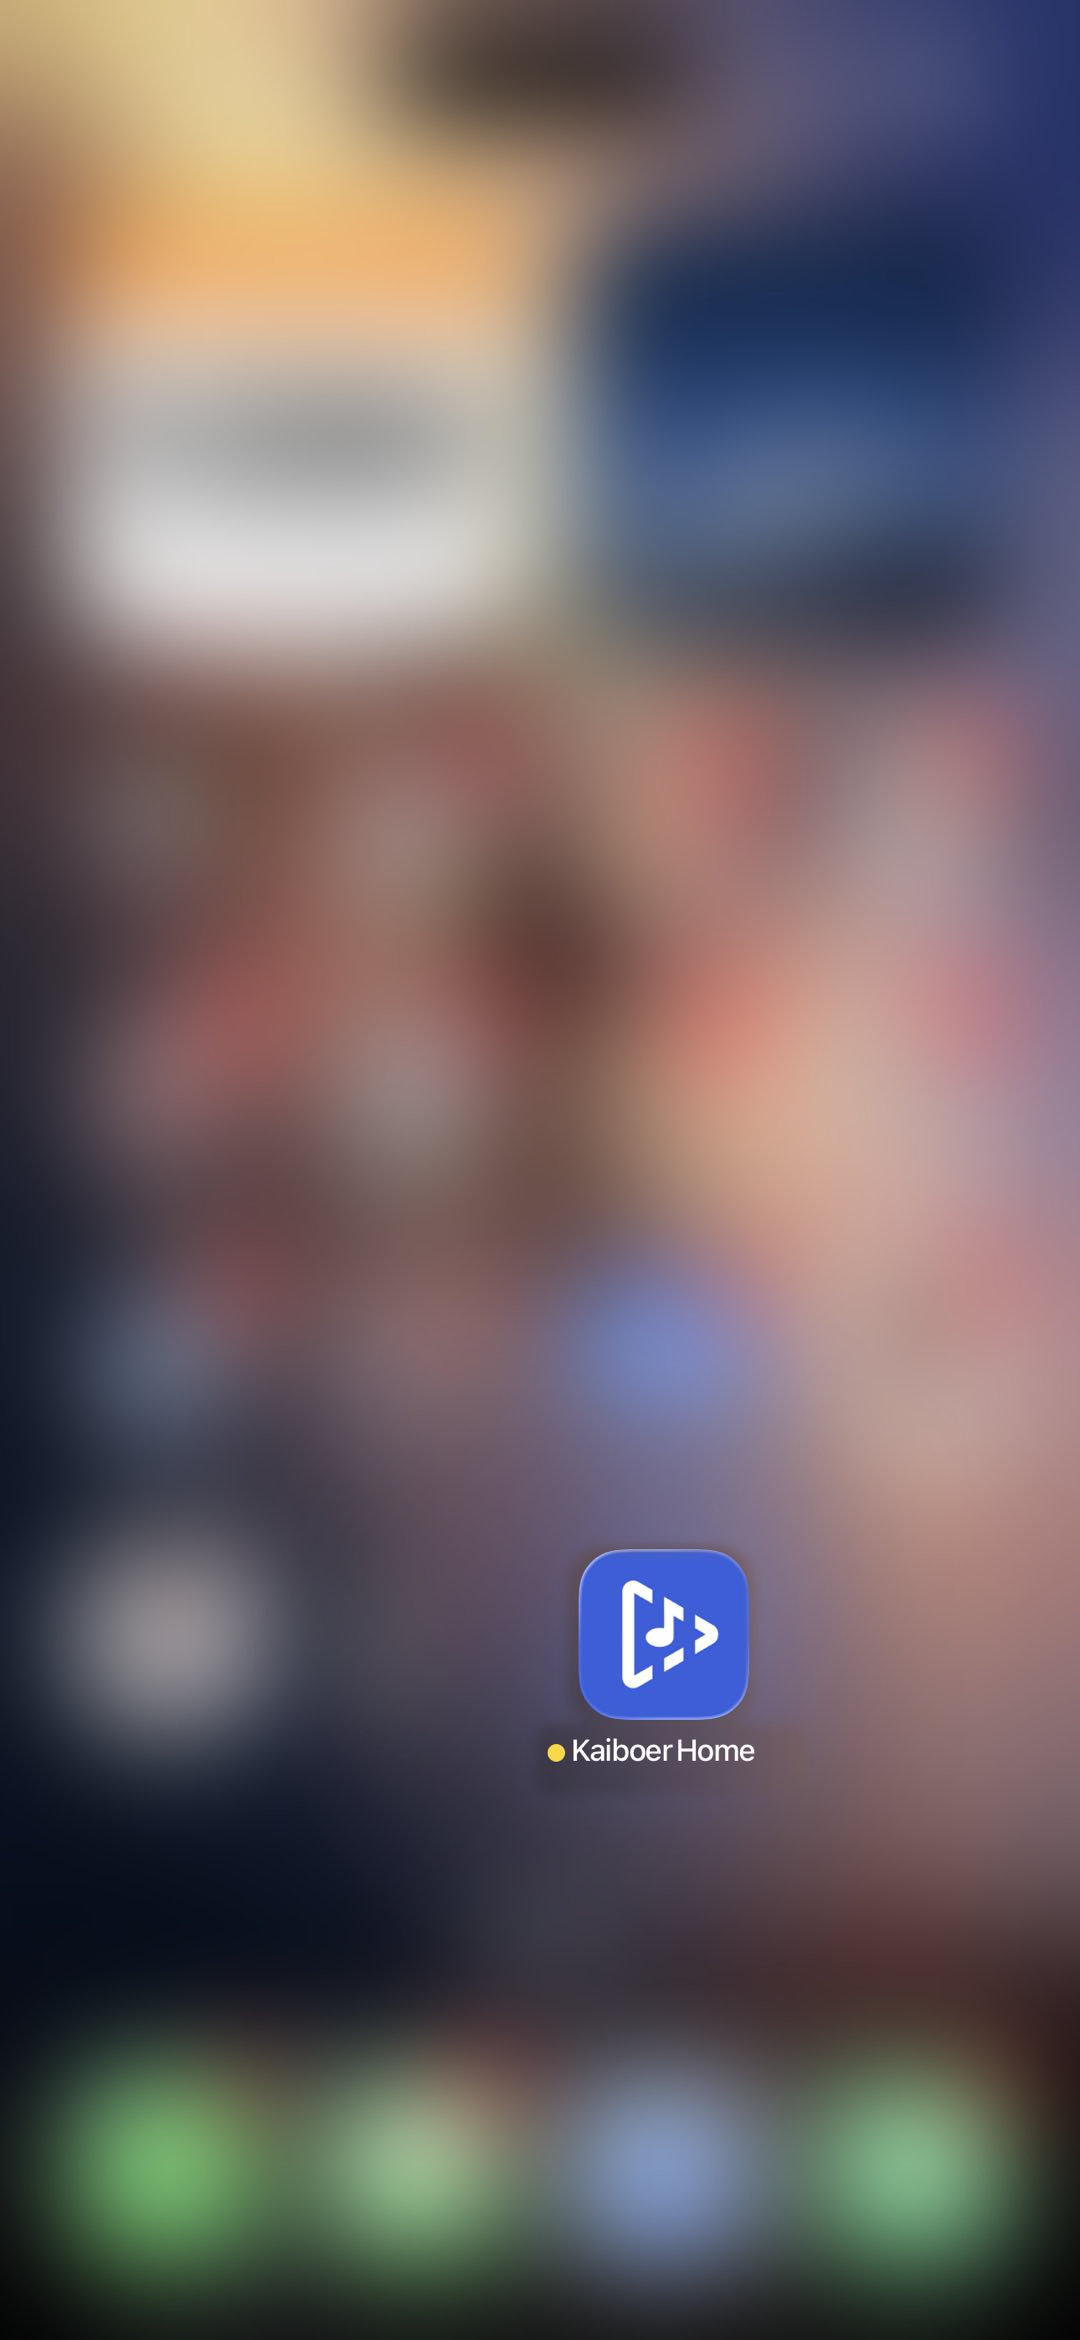
Open the Kaiboer Home app
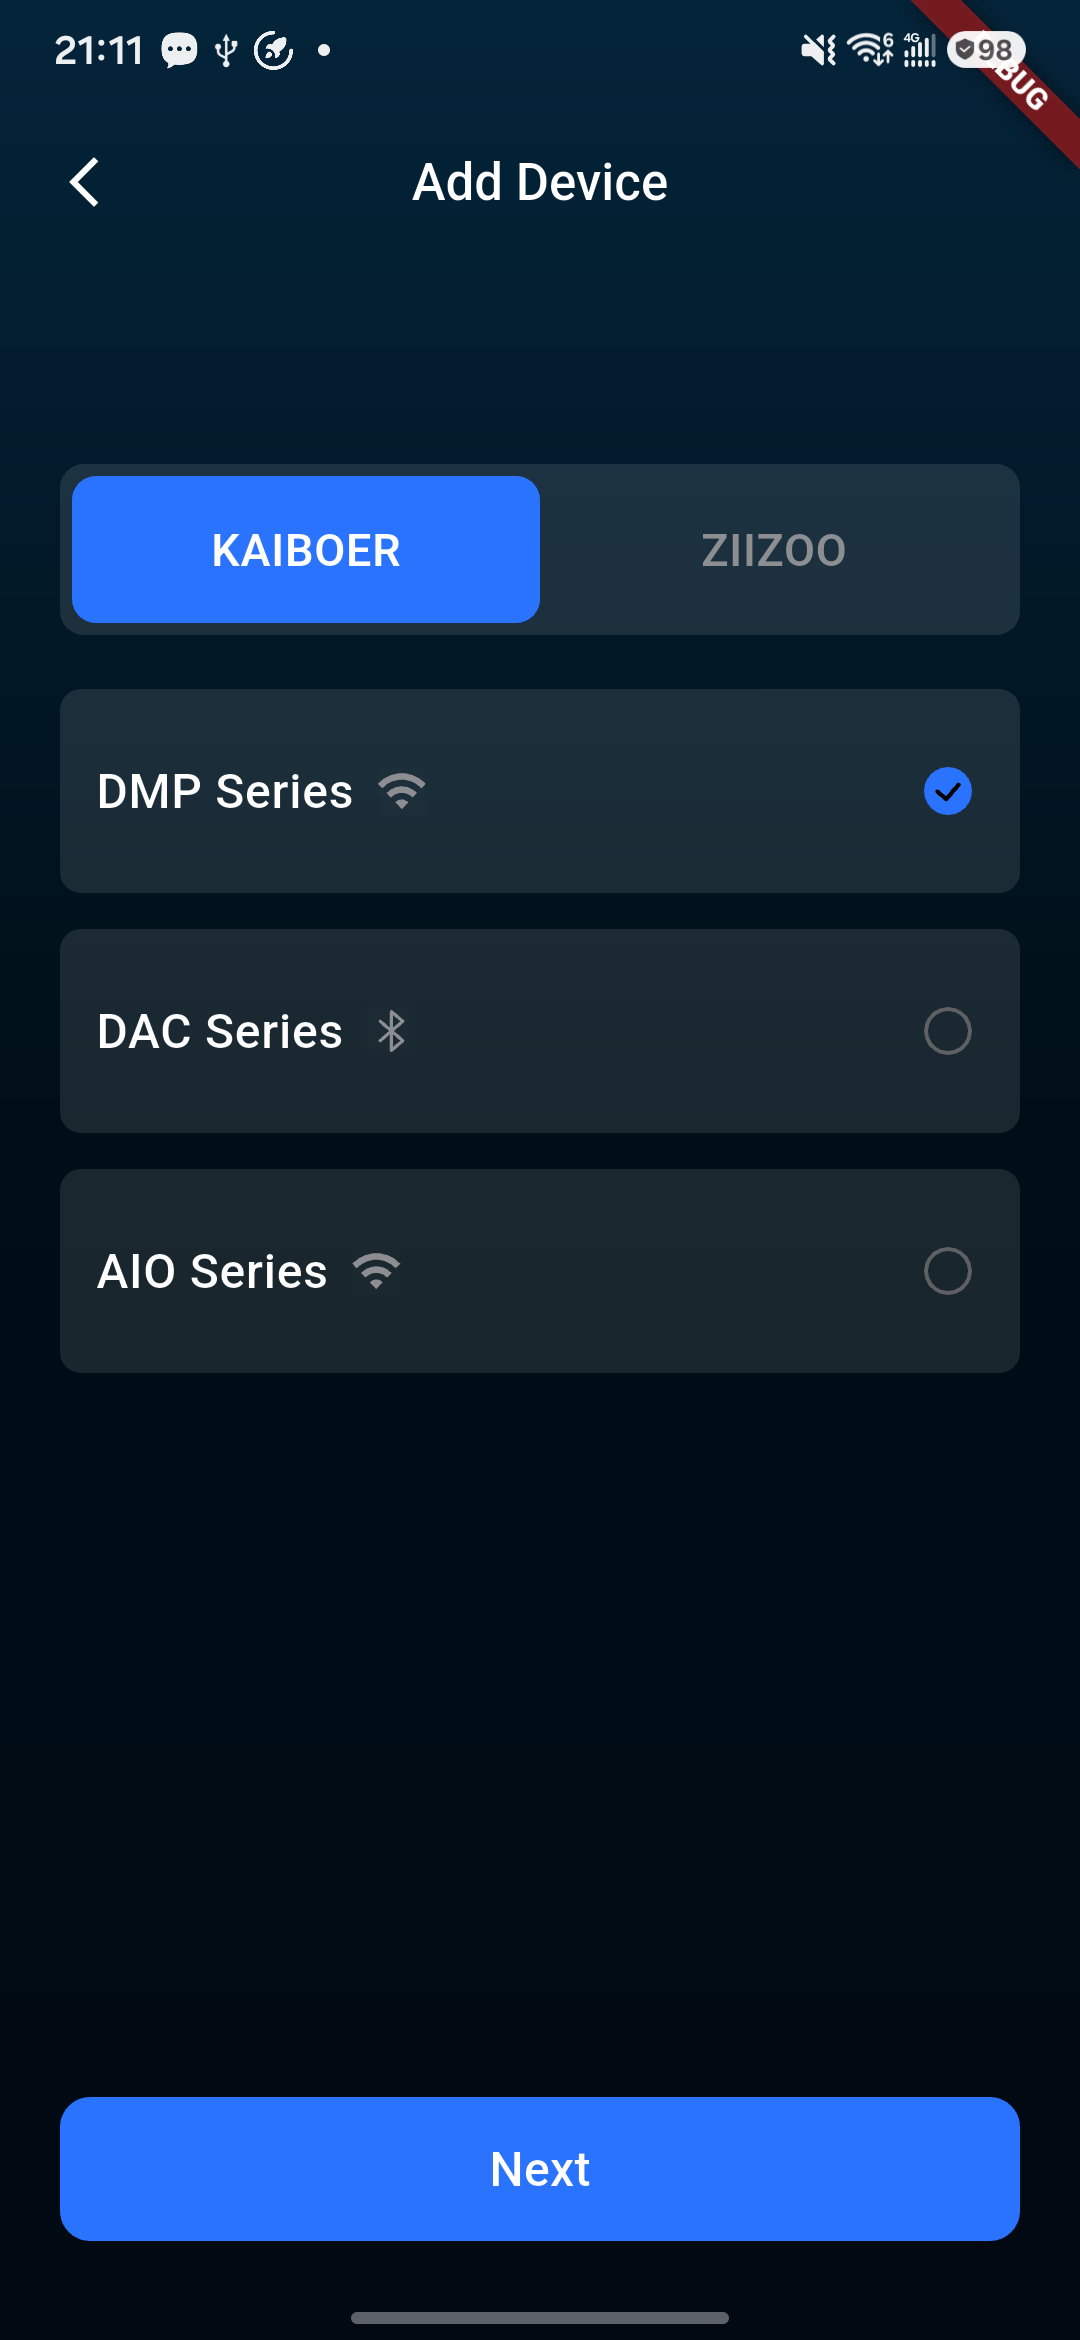
Select the series that matches your device, e.g. DMP-K8 series, then tap Next and wait patiently for the app to load the list of connectable devices
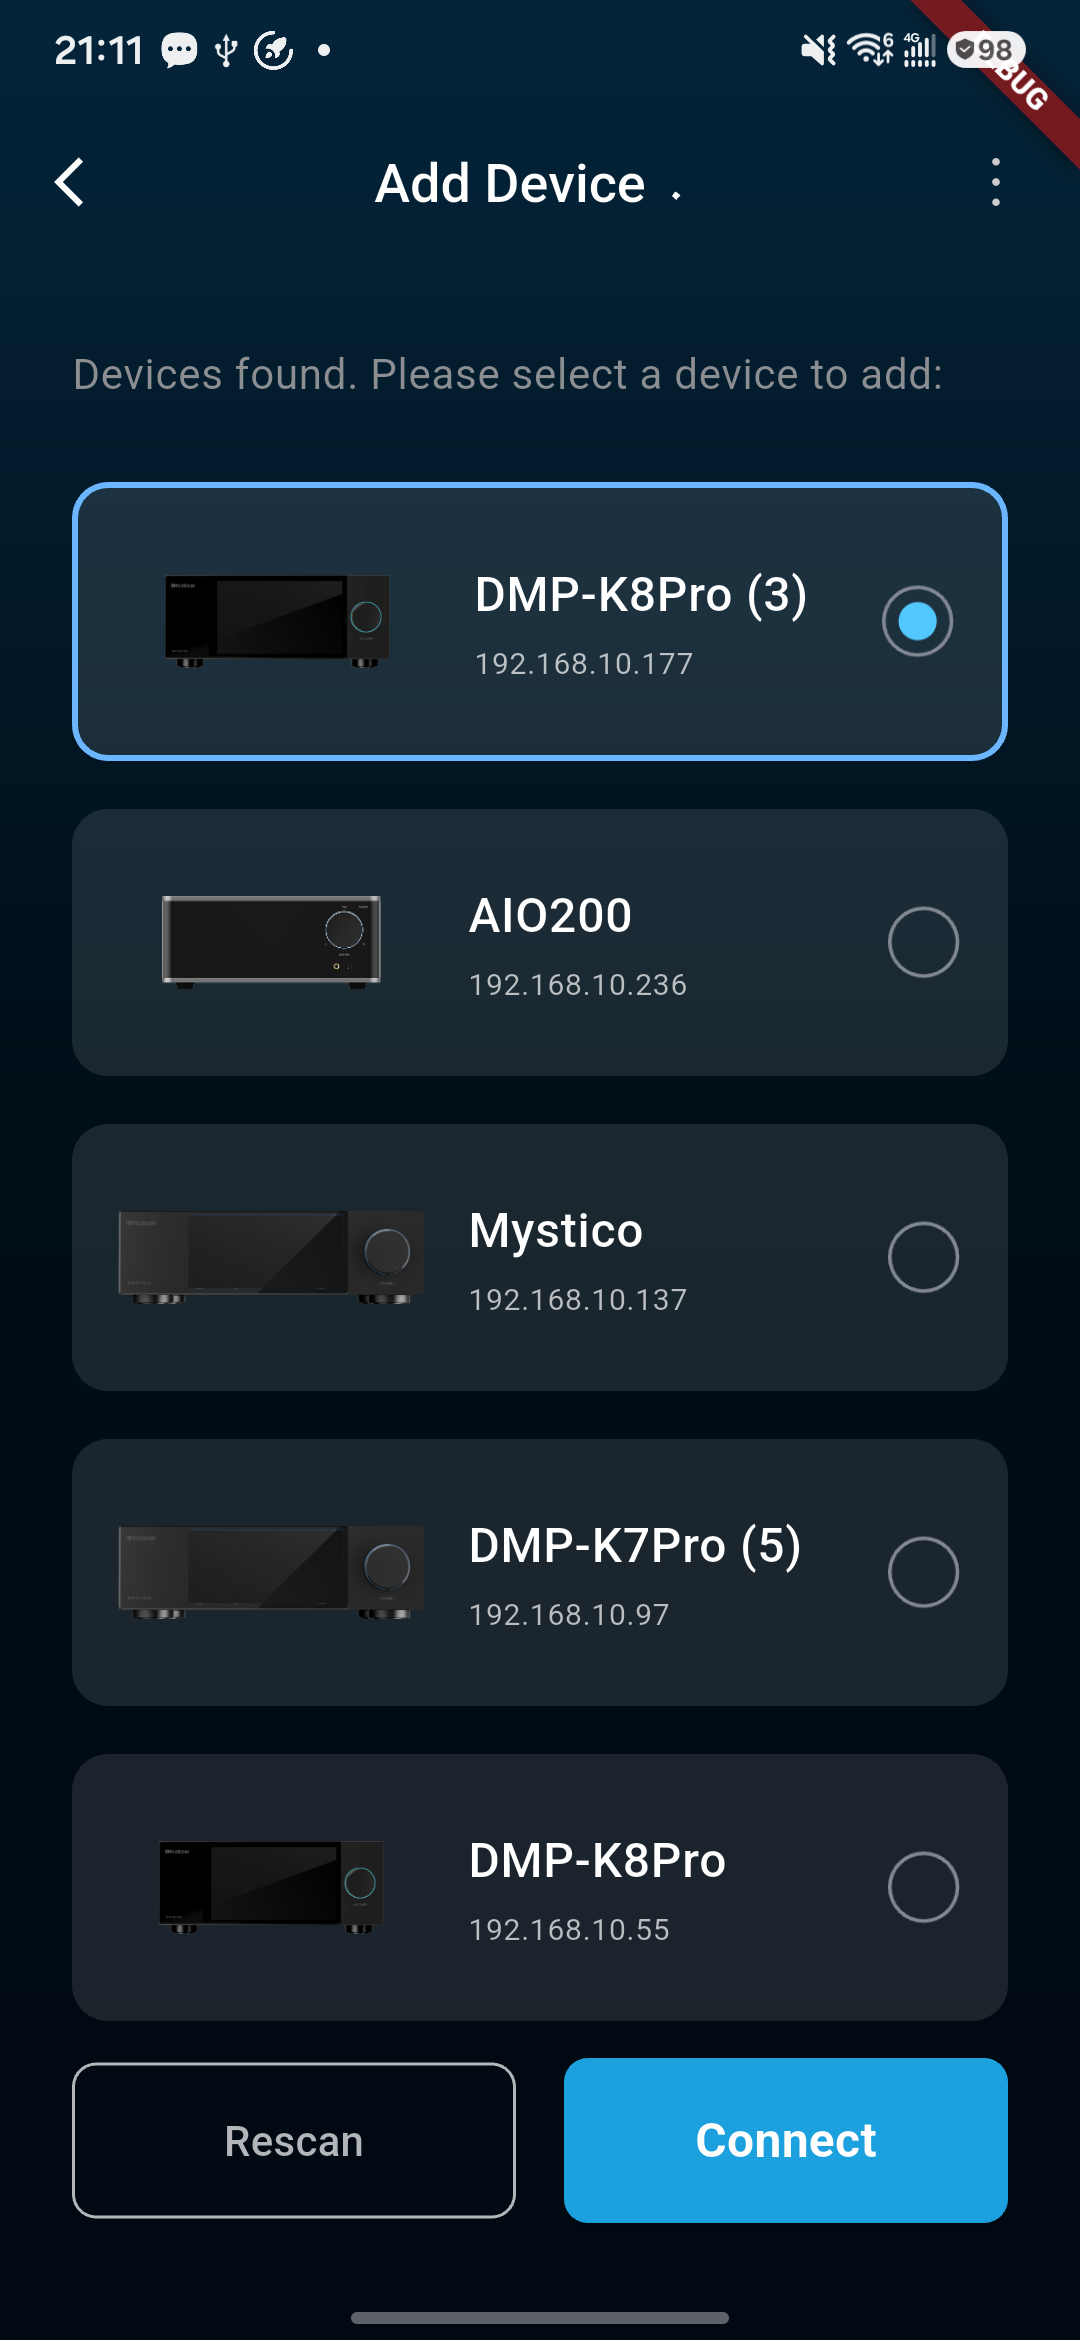
Find the device whose IP address matches the player, then tap it to connect.
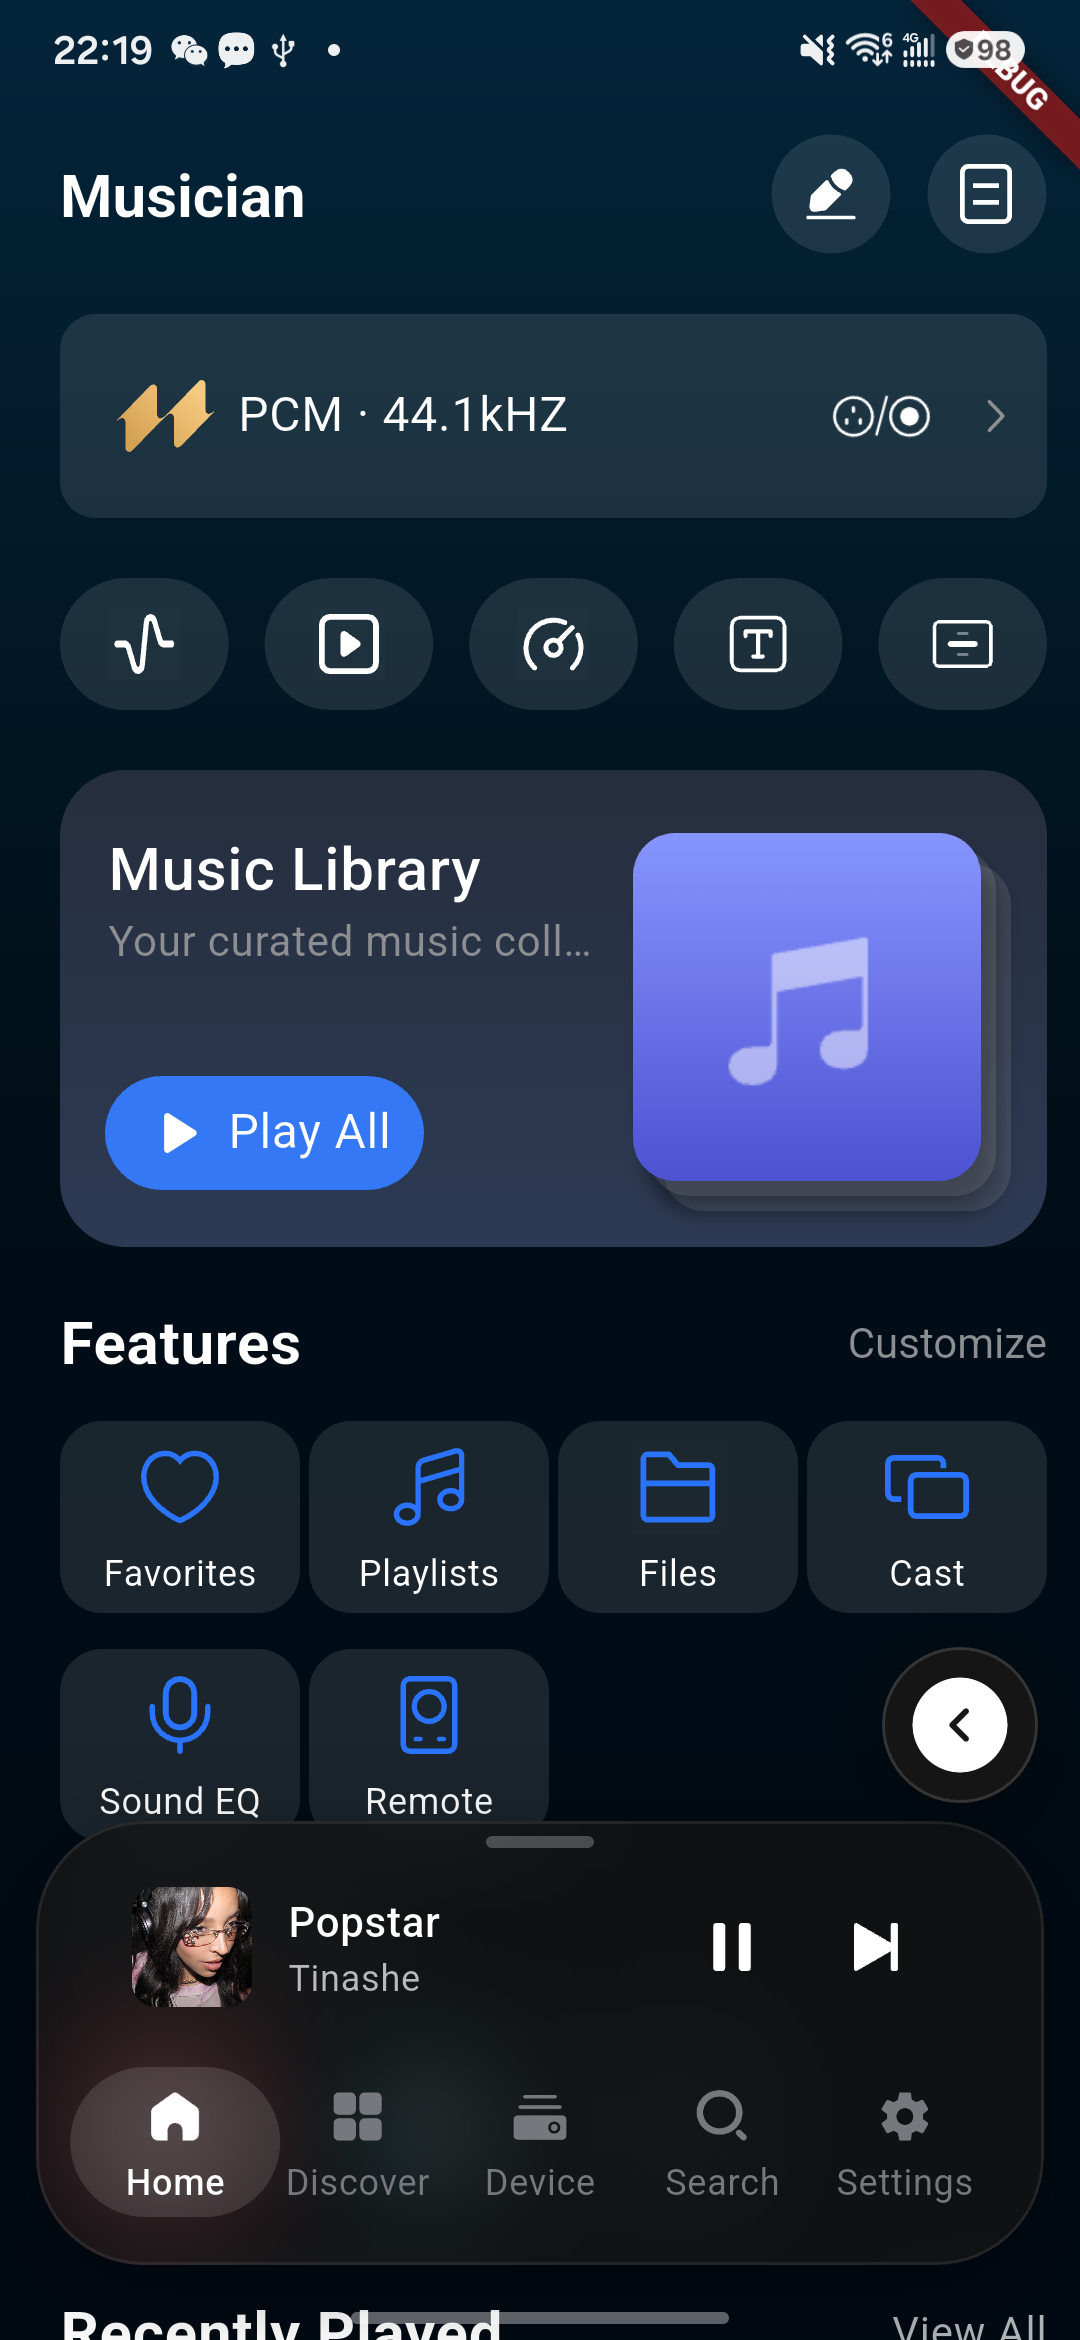
Connection succeeded — enter the Kaiboer Home app home page
For detailed Kaiboer Home app usage, please refer to the "Kaiboer Home App" section above.
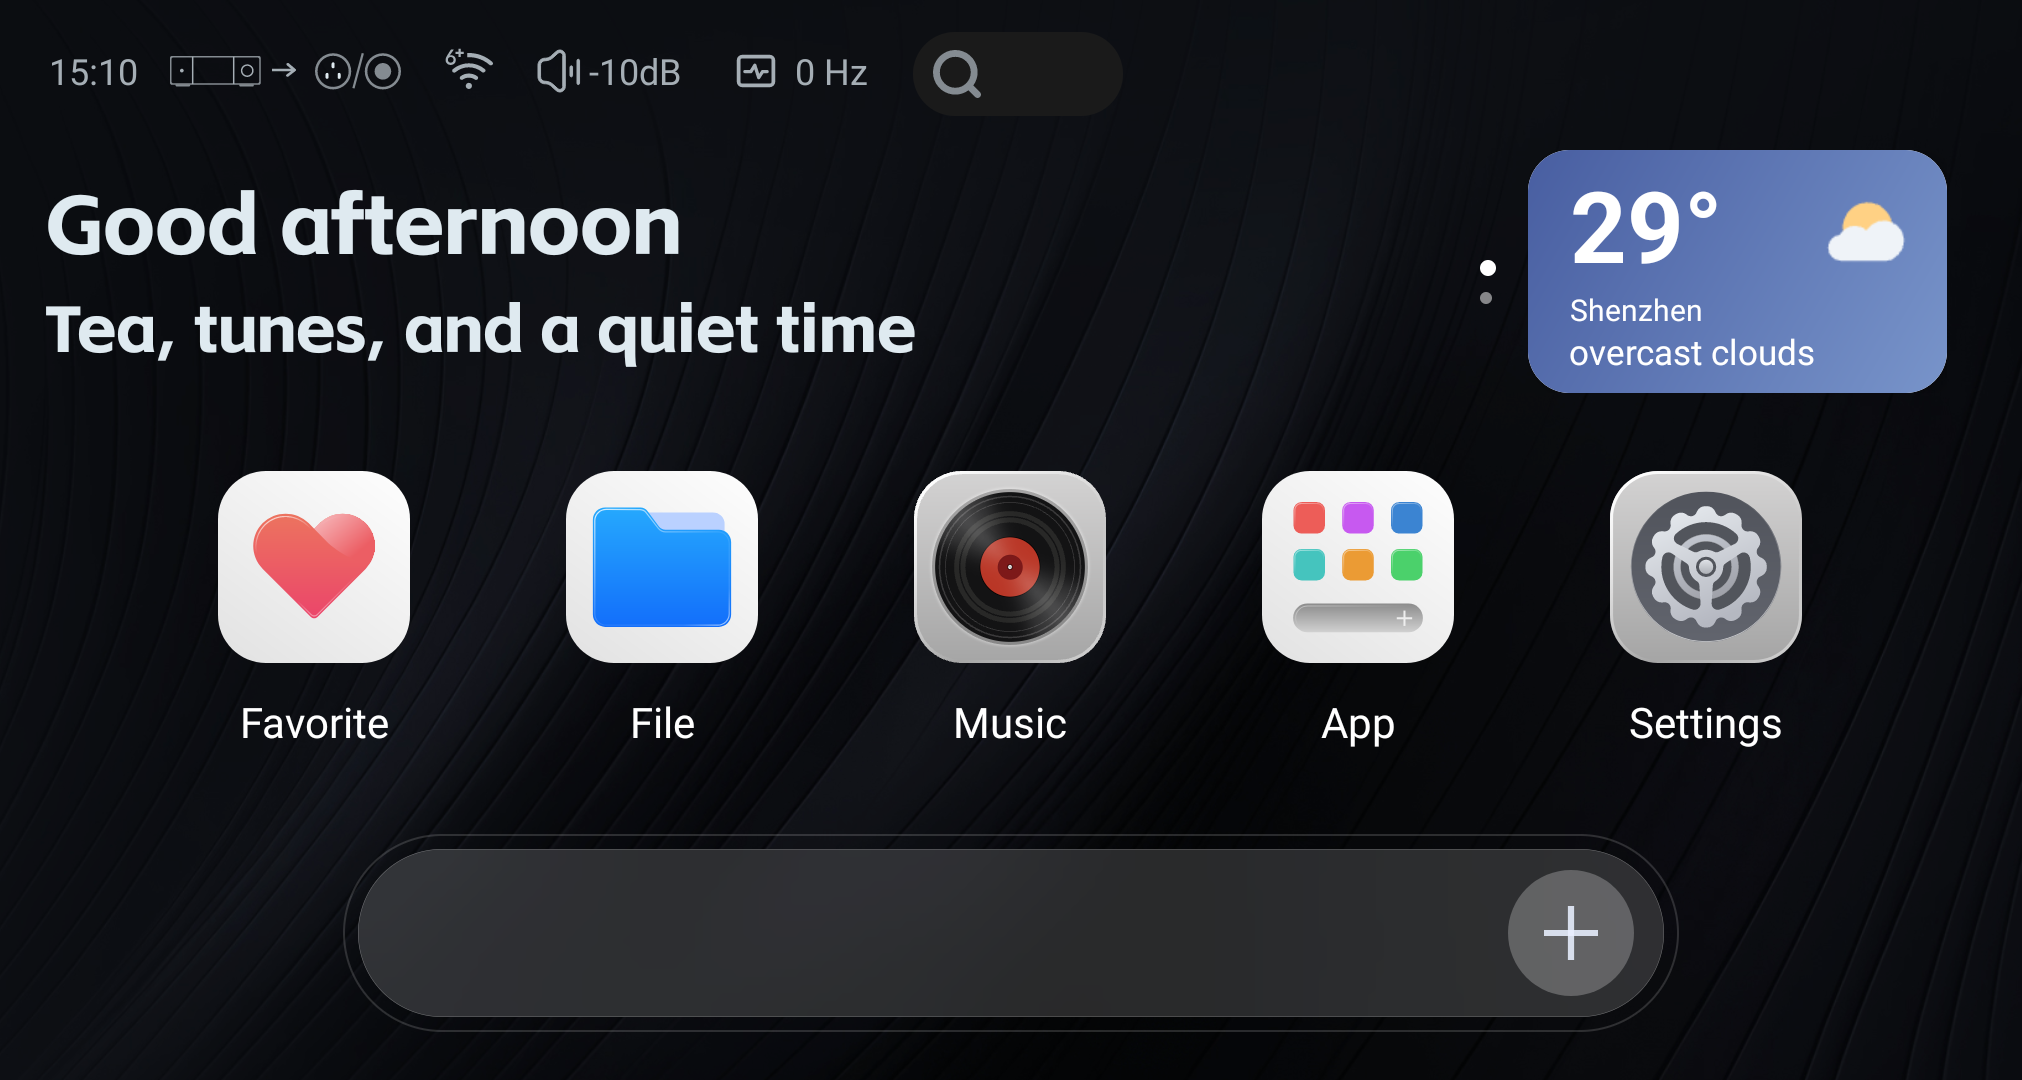
DMP home screen with Favorite, File, Music, App, and Settings shortcuts.
Status Bar: Displays input/output connection, network connection, storage device, volume status, sample rate info, and the name of the currently playing song. Tap the input/output/network/storage icon to open quick settings; tap the quick player to open the music player.
Desktop Widgets: Add frequently used streaming platforms, network storage, or music apps to the desktop for quick access.
Weather & Recommendations: The home screen intelligently recommends music content. Swipe up to switch to weather display mode (long-press to refresh widget status).
Quick Gestures:
Pull down from the top or double-tap the CD icon at the top-right to open the music player.
Swipe up to enter the All Apps interface.
Swipe right on the navigation bar to hide the side navigation bar.
Greeting: Dynamically changes based on the time of day for a more friendly interaction experience.
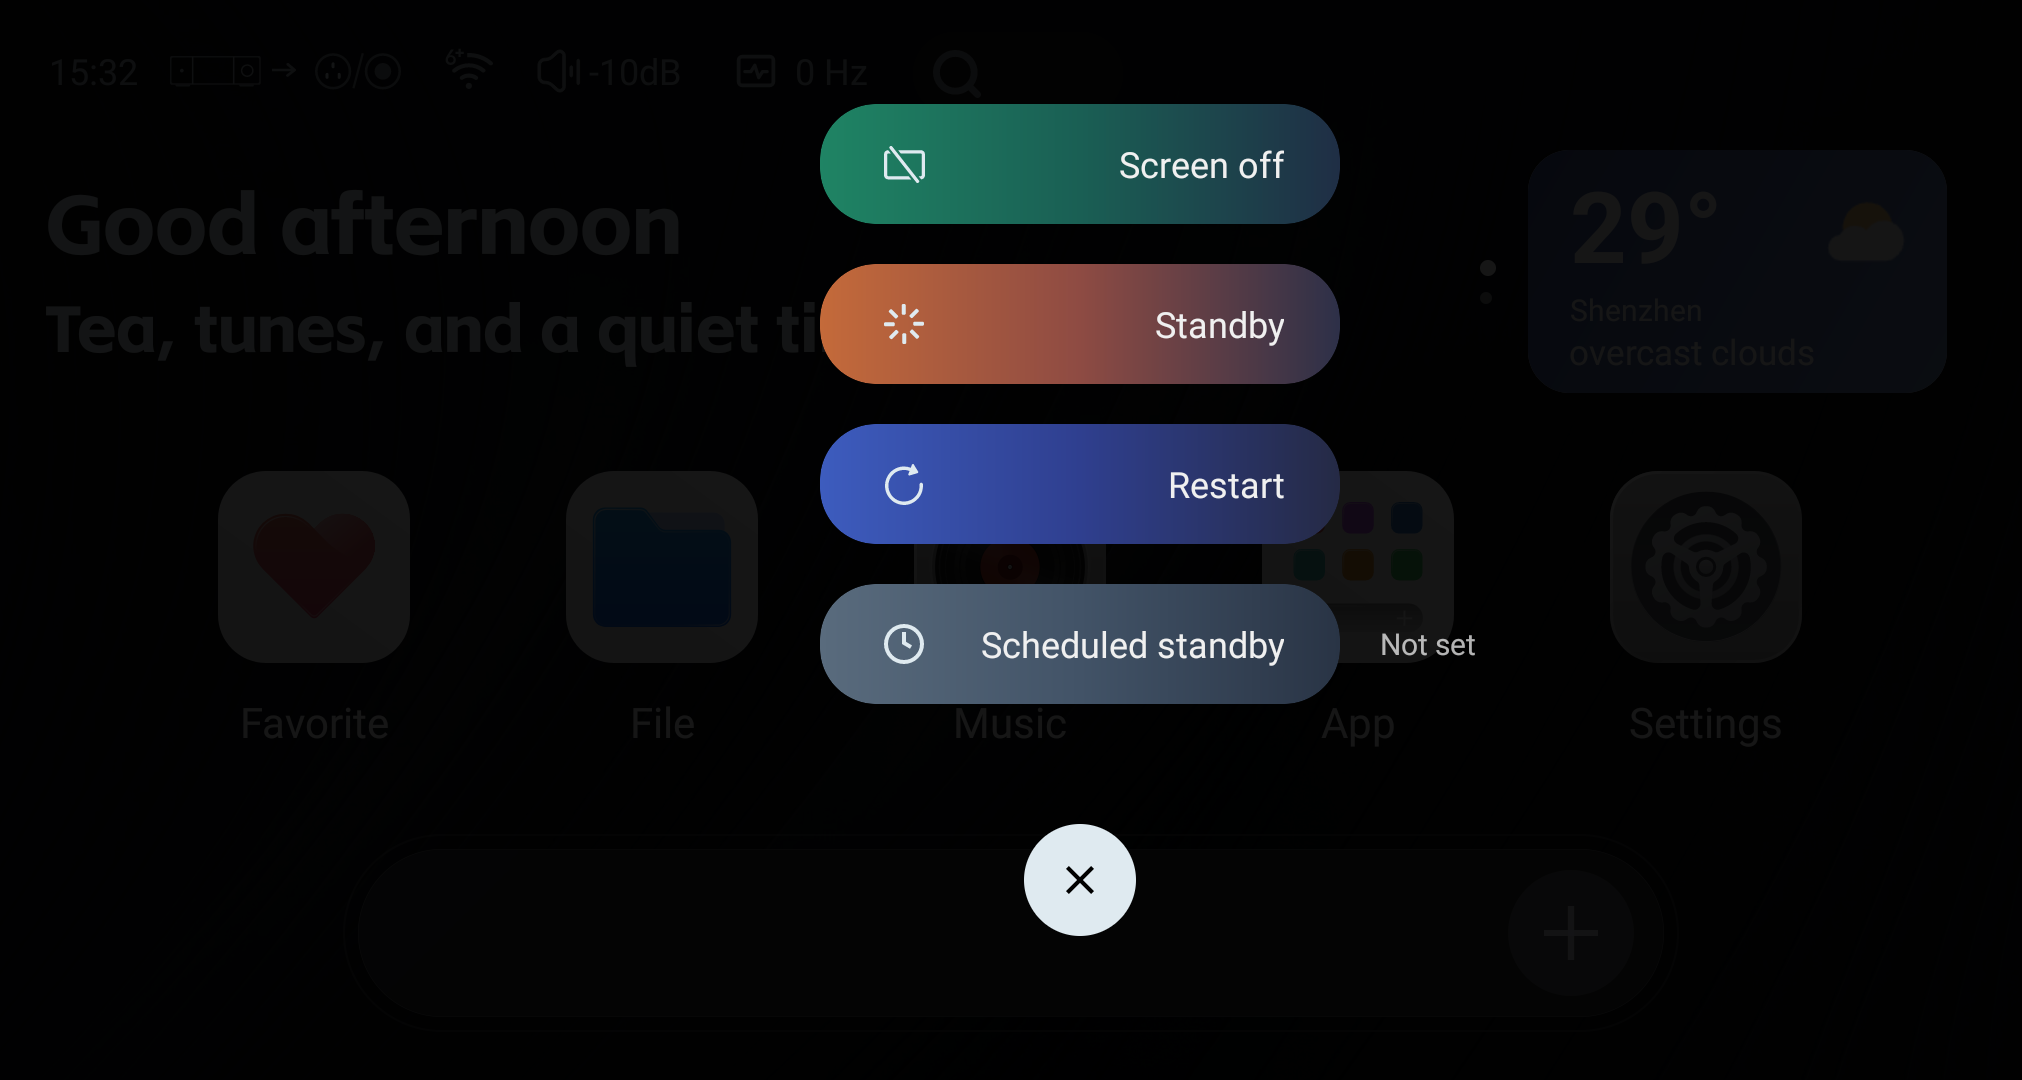
Screen Off / Standby / Restart
Home-screen power menu with Screen off, Standby, Restart, and Scheduled standby.
Long-press the knob to bring up the on-screen menu.
For knob-less product versions, long-press an empty area on the home screen for 3 seconds to bring up the on-screen menu.
Screen Off: Turns off the display but the device keeps running; tap the screen again to wake it.
Standby: This mode is the lowest-power state of the whole unit. The mainboard is fully powered off; a short press of the volume button wakes the device.
Restart: Shuts down the system and reboots the device.
Scheduled Standby: Set a countdown duration; when the timer ends, the device automatically enters the low-power standby state. During the countdown the device runs normally; a short press of the volume button wakes the device.
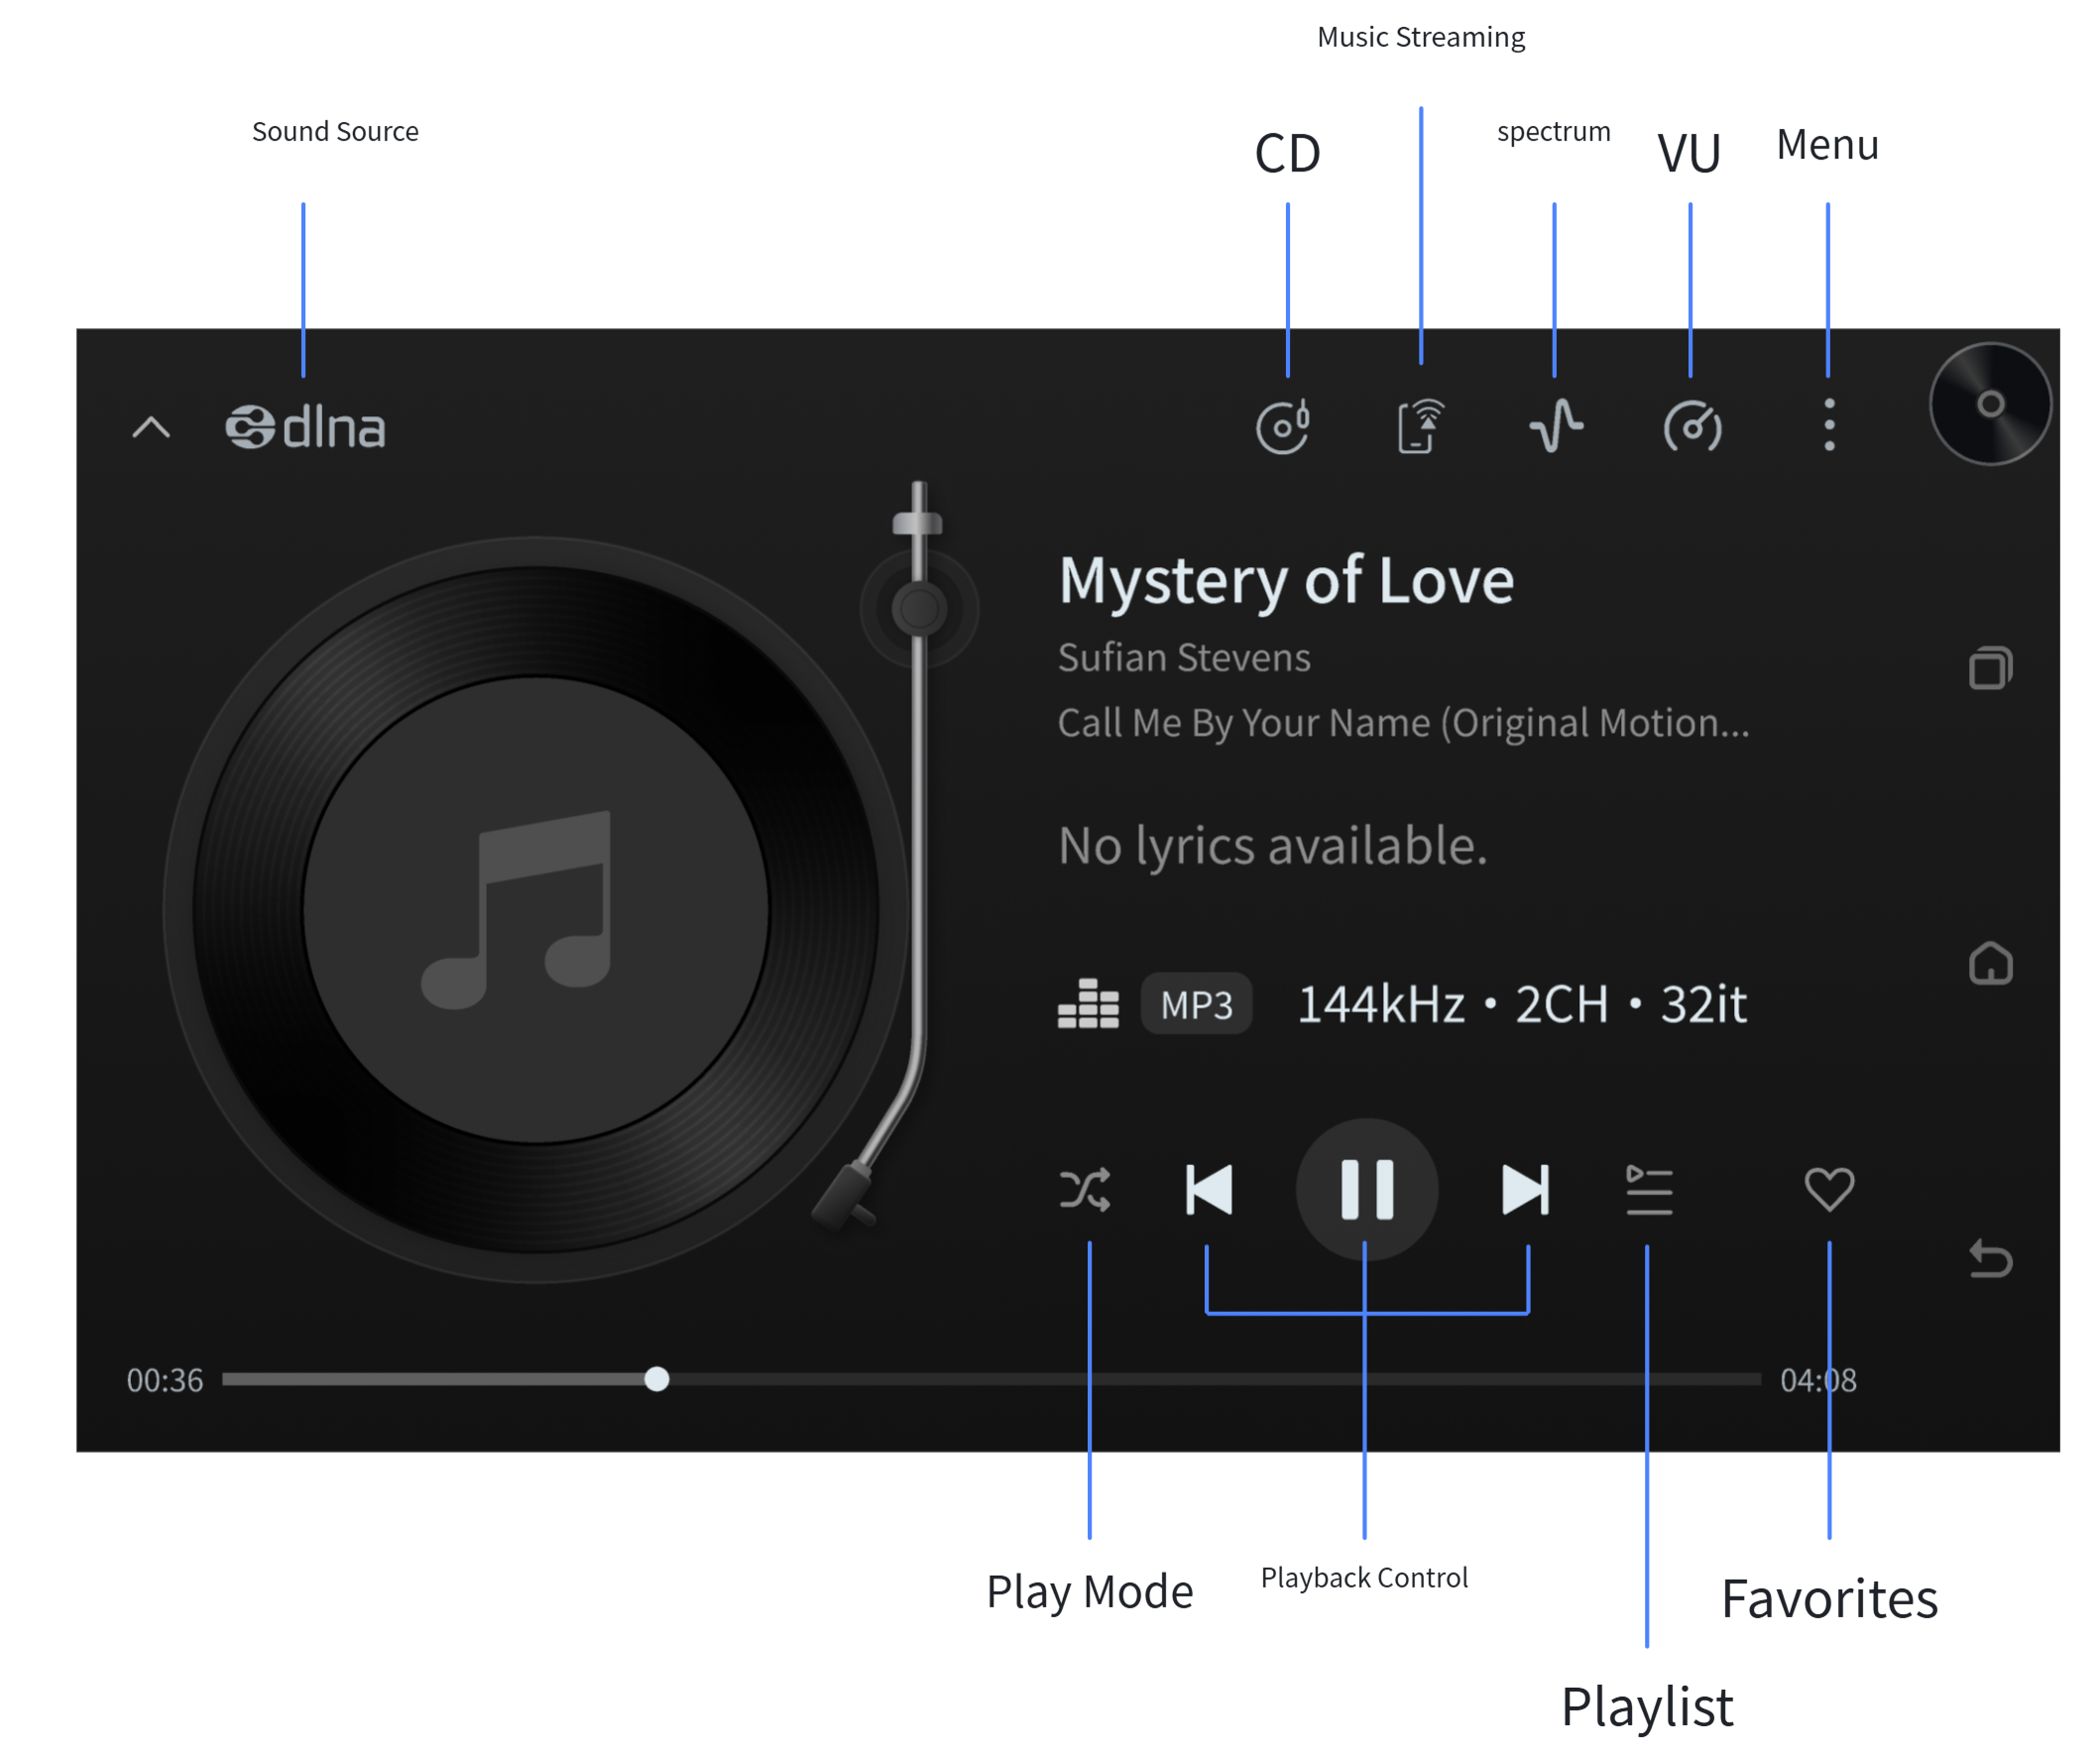
Play Queue: View all music in the current playback queue from the category the current track belongs to. For example, if you enter from an artist and select a single track under that artist, the play queue is the list of all tracks under that artist. The same applies to other categories such as albums, favorites, and playlists.
Play Mode Switch: Switch between list loop, single loop, shuffle, and sequential playback modes.
Favorite: Add a loved song to "Favorites – Singles".
Music Source: Displays the current audio source in real time.
Multi-Room Link: Tap to enter the multi-room link interface and select other room devices to sync playback of the current music.
Sound Optimization: Now integrates EQ and room acoustics functions; tap to DIY your preferred sound.
CD: After a CD disc is detected, tap to switch to the CD playback interface.
Music Services: Choose whether to enable music streaming such as DLNA and AirPlay.
Spectrum: Switch to full-screen spectrum display.
VU: Built-in variety of VU meters; swipe left or right to switch.
Menu: Add to custom playlist, view song details, etc.
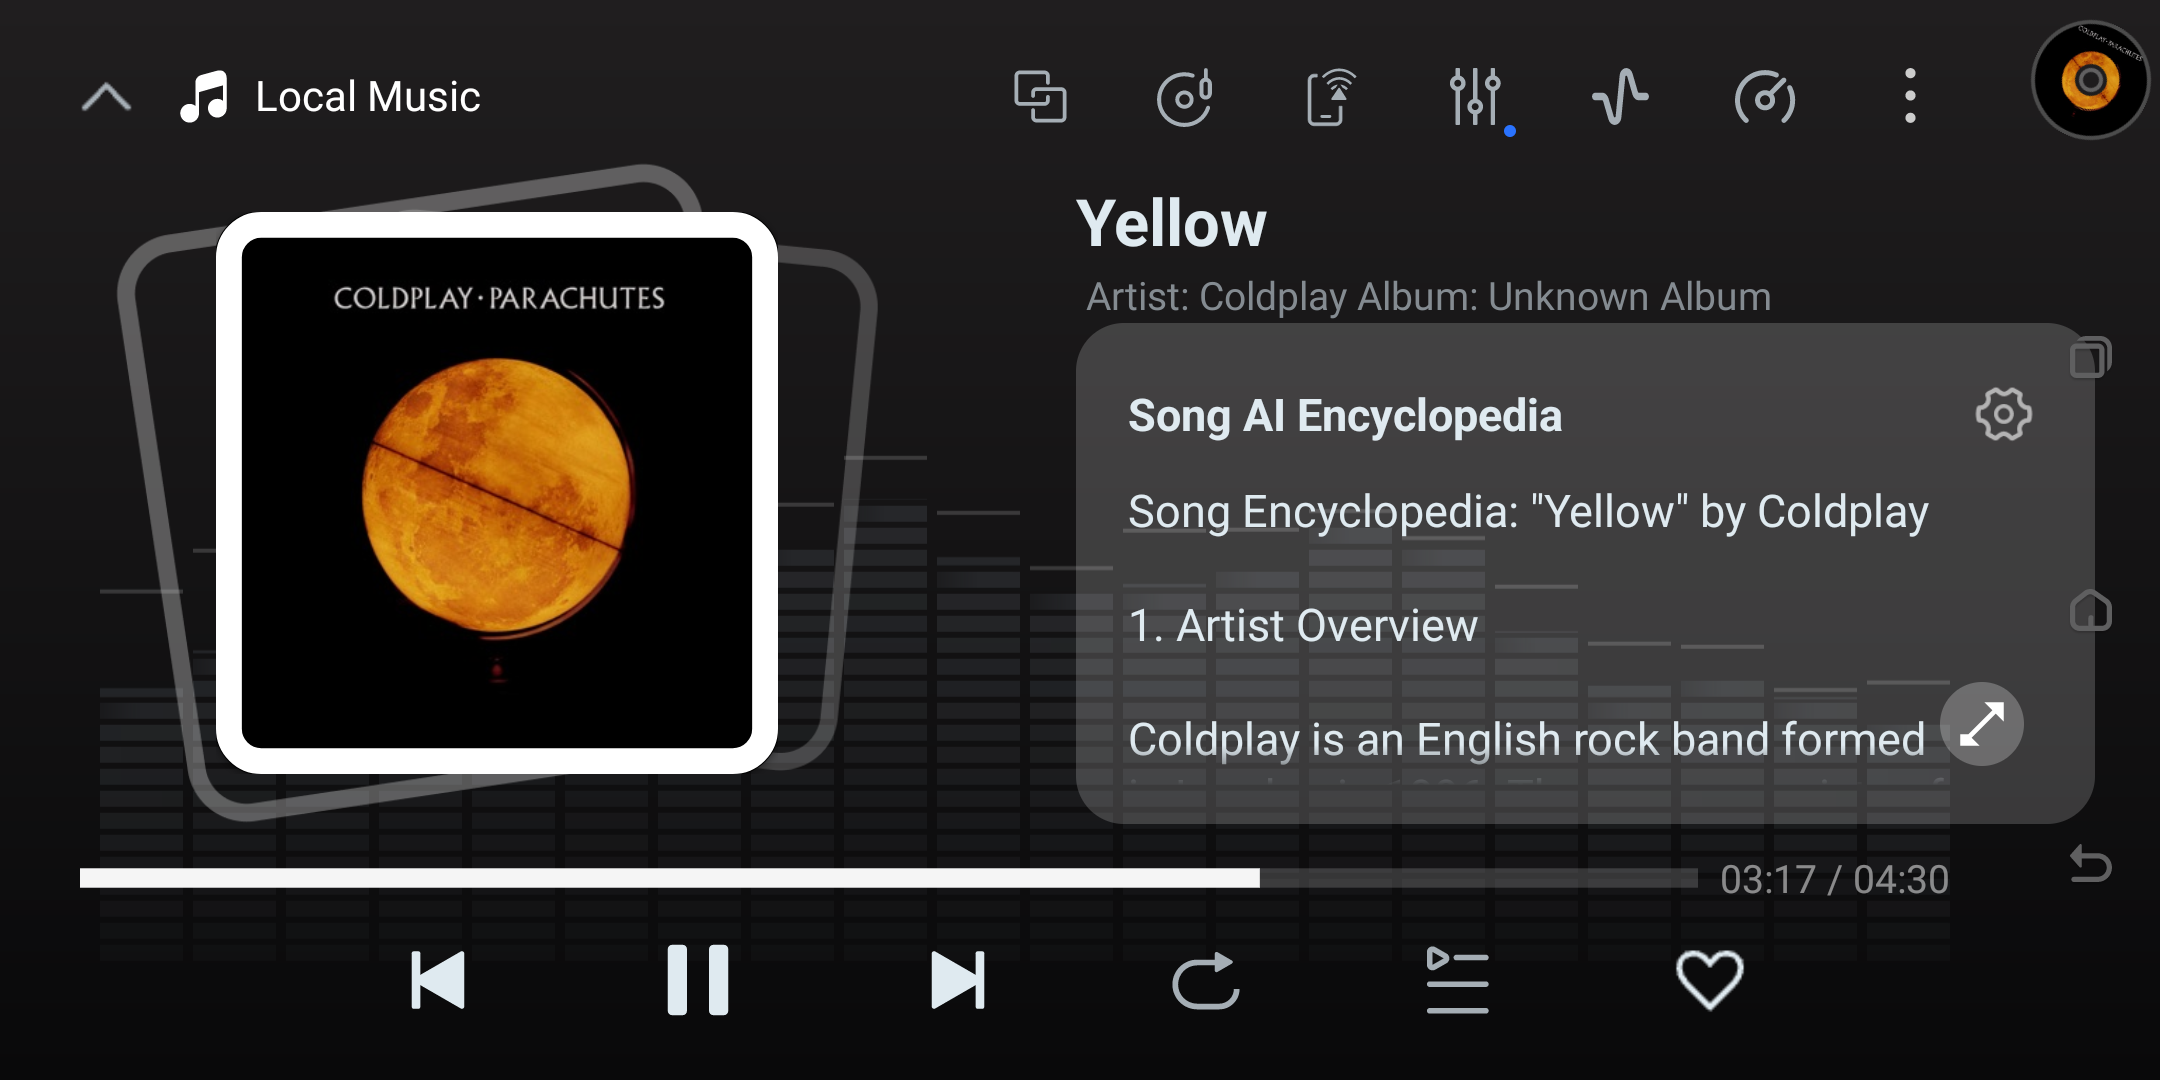
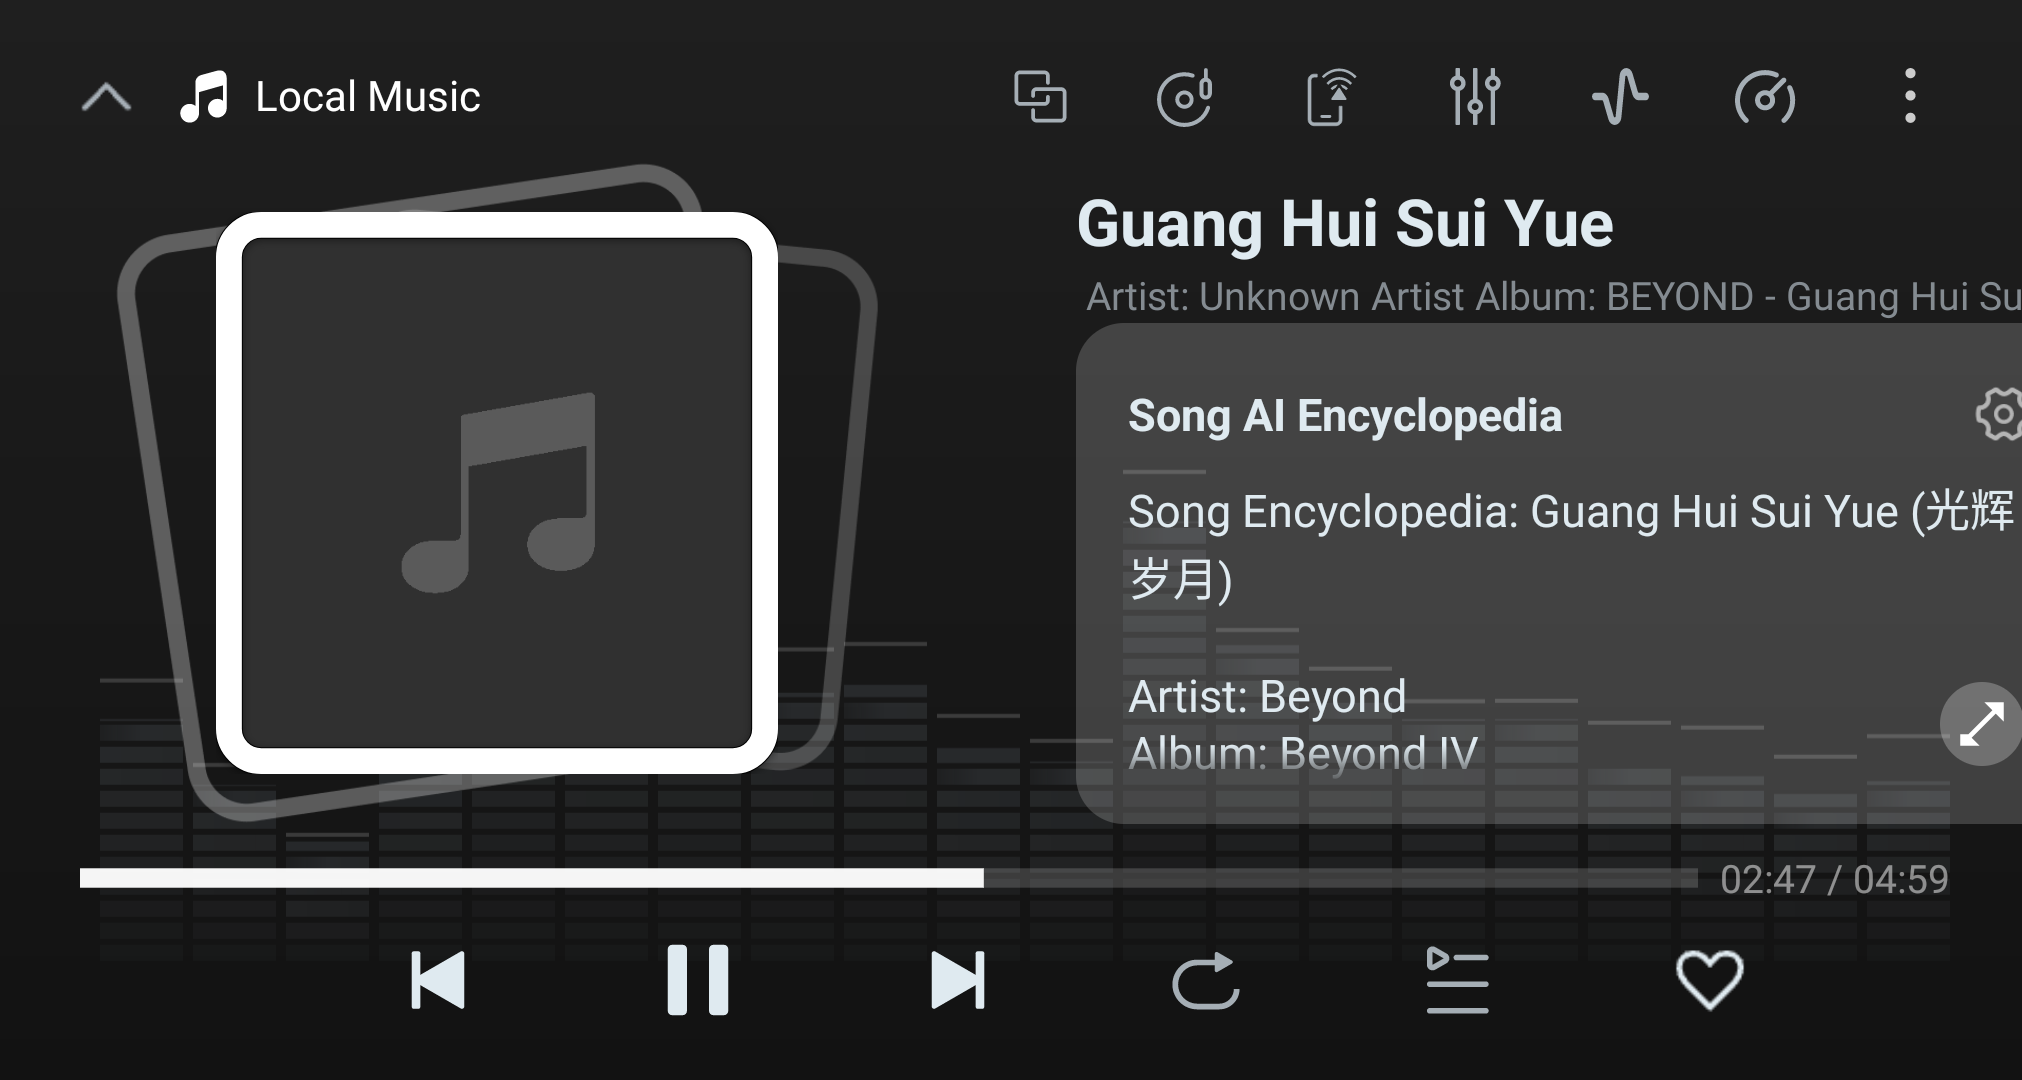
Player Styles
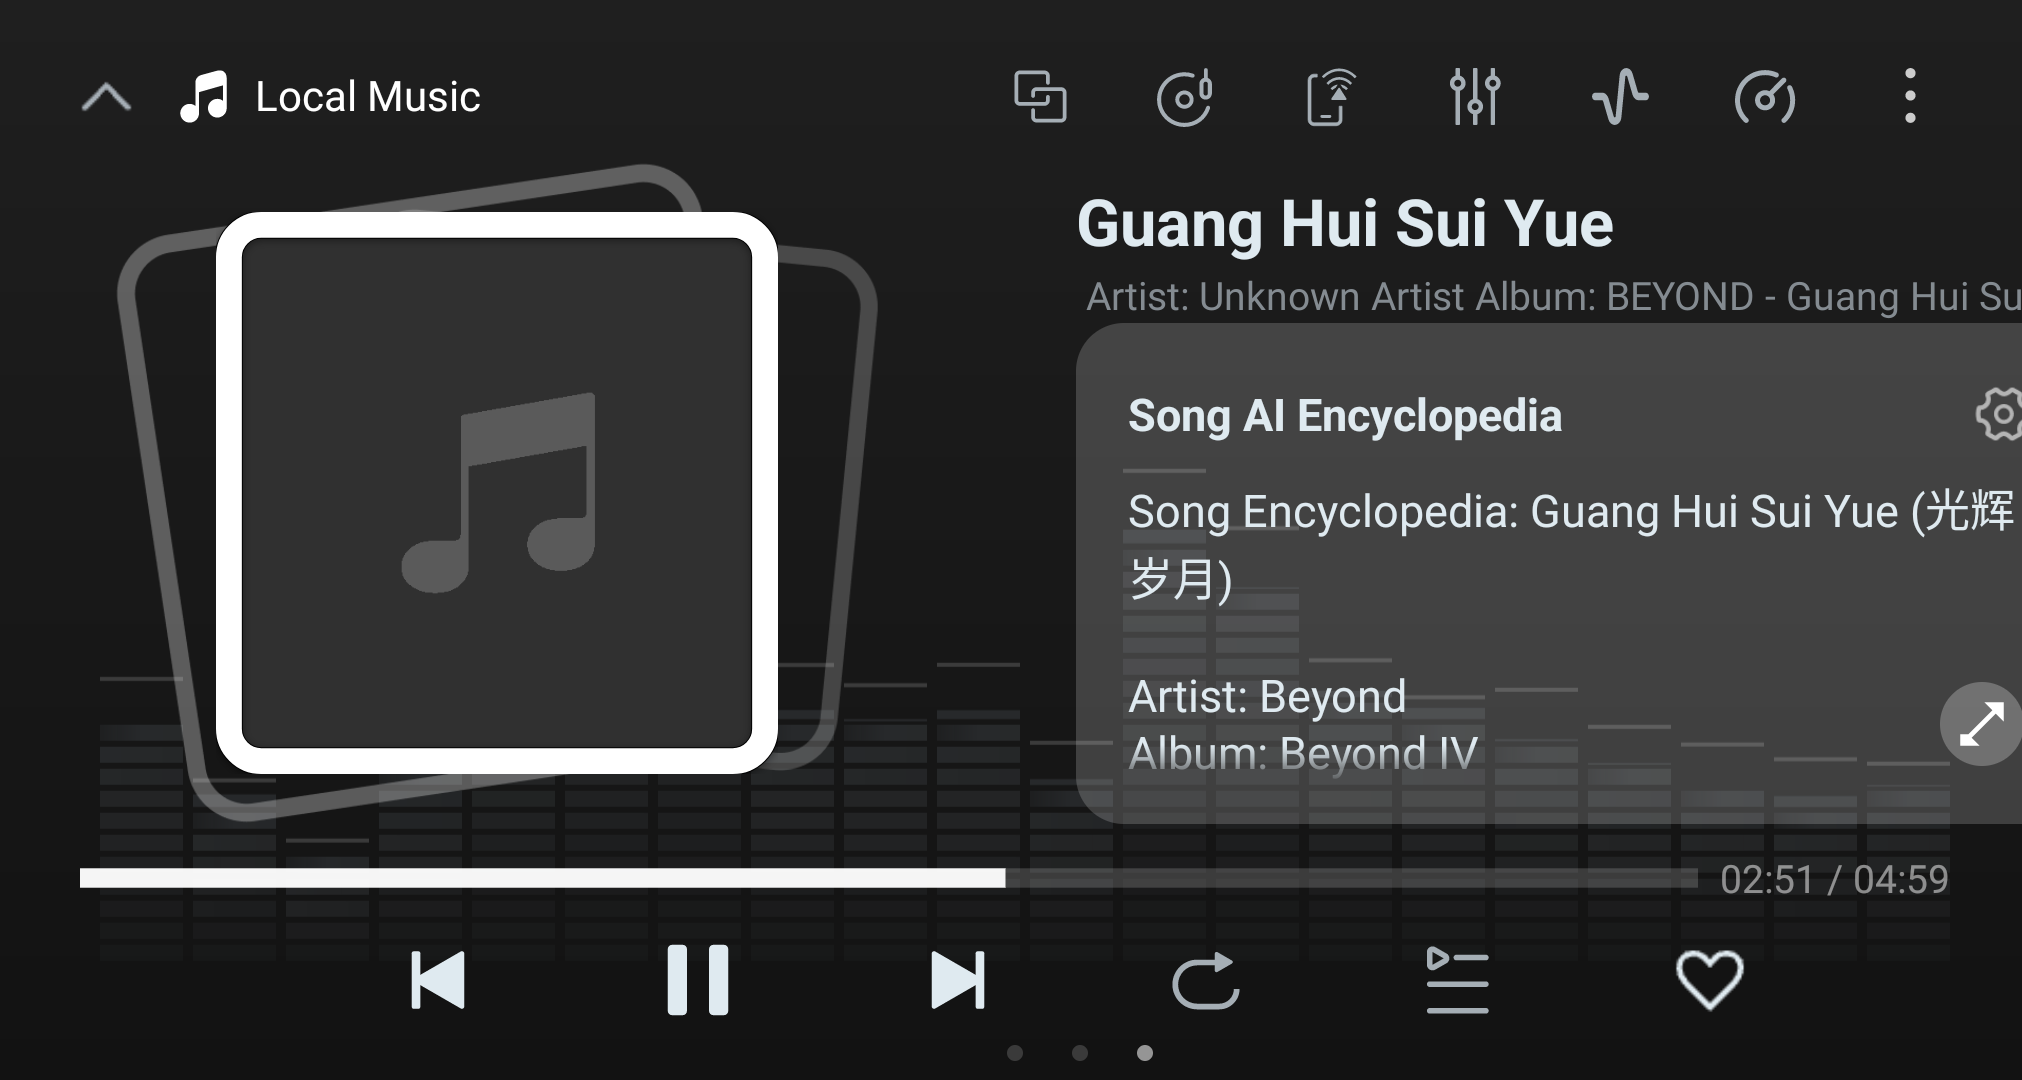
Local Music player style with track information and playback controls.
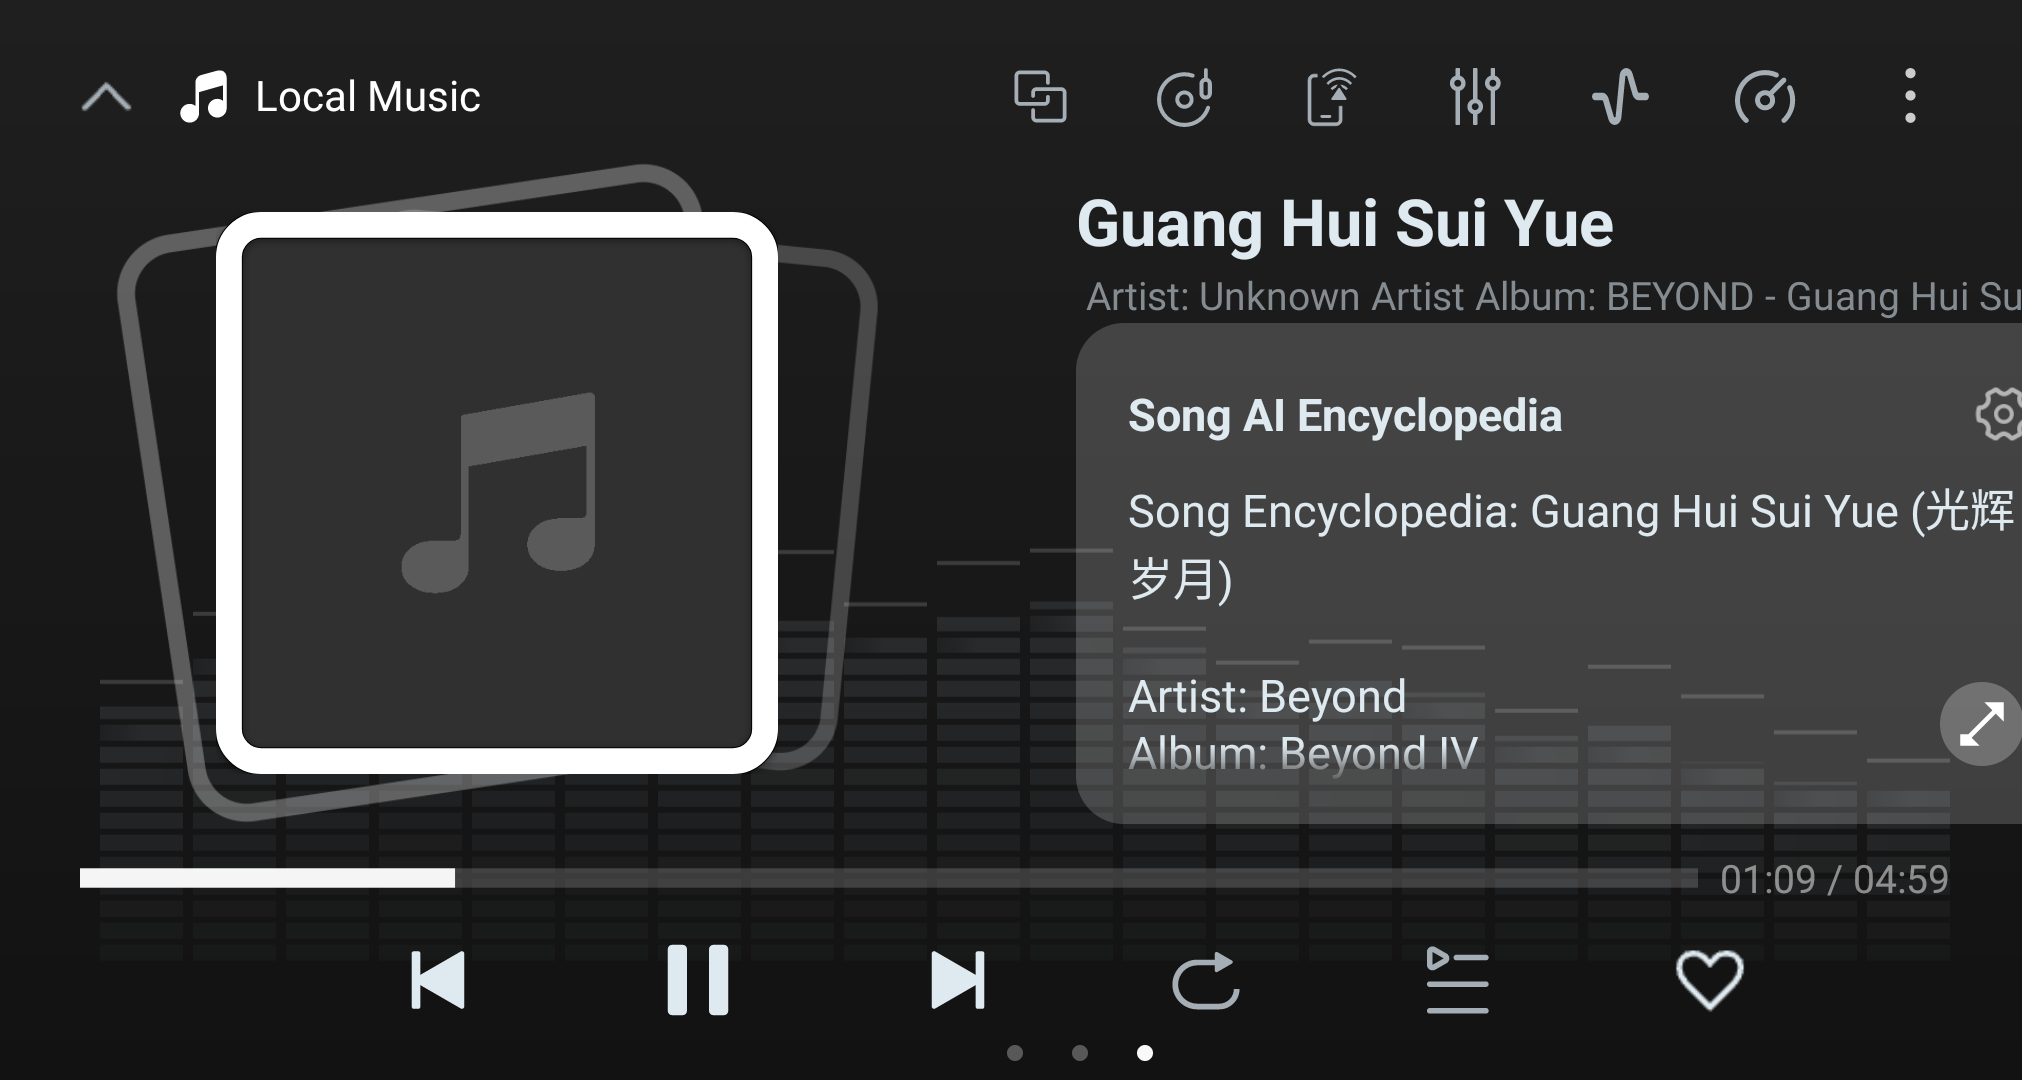
Alternative Local Music player style with track information and playback controls.
Local Music player style showing song details and playback controls.
Style Adjustment: Swipe left or right on the playback interface to change different player themes to satisfy personalized visual preferences.
Gesture Control: Swipe up from the bottom of the home page to exit the playback interface. Pull down globally to quickly enter the player.
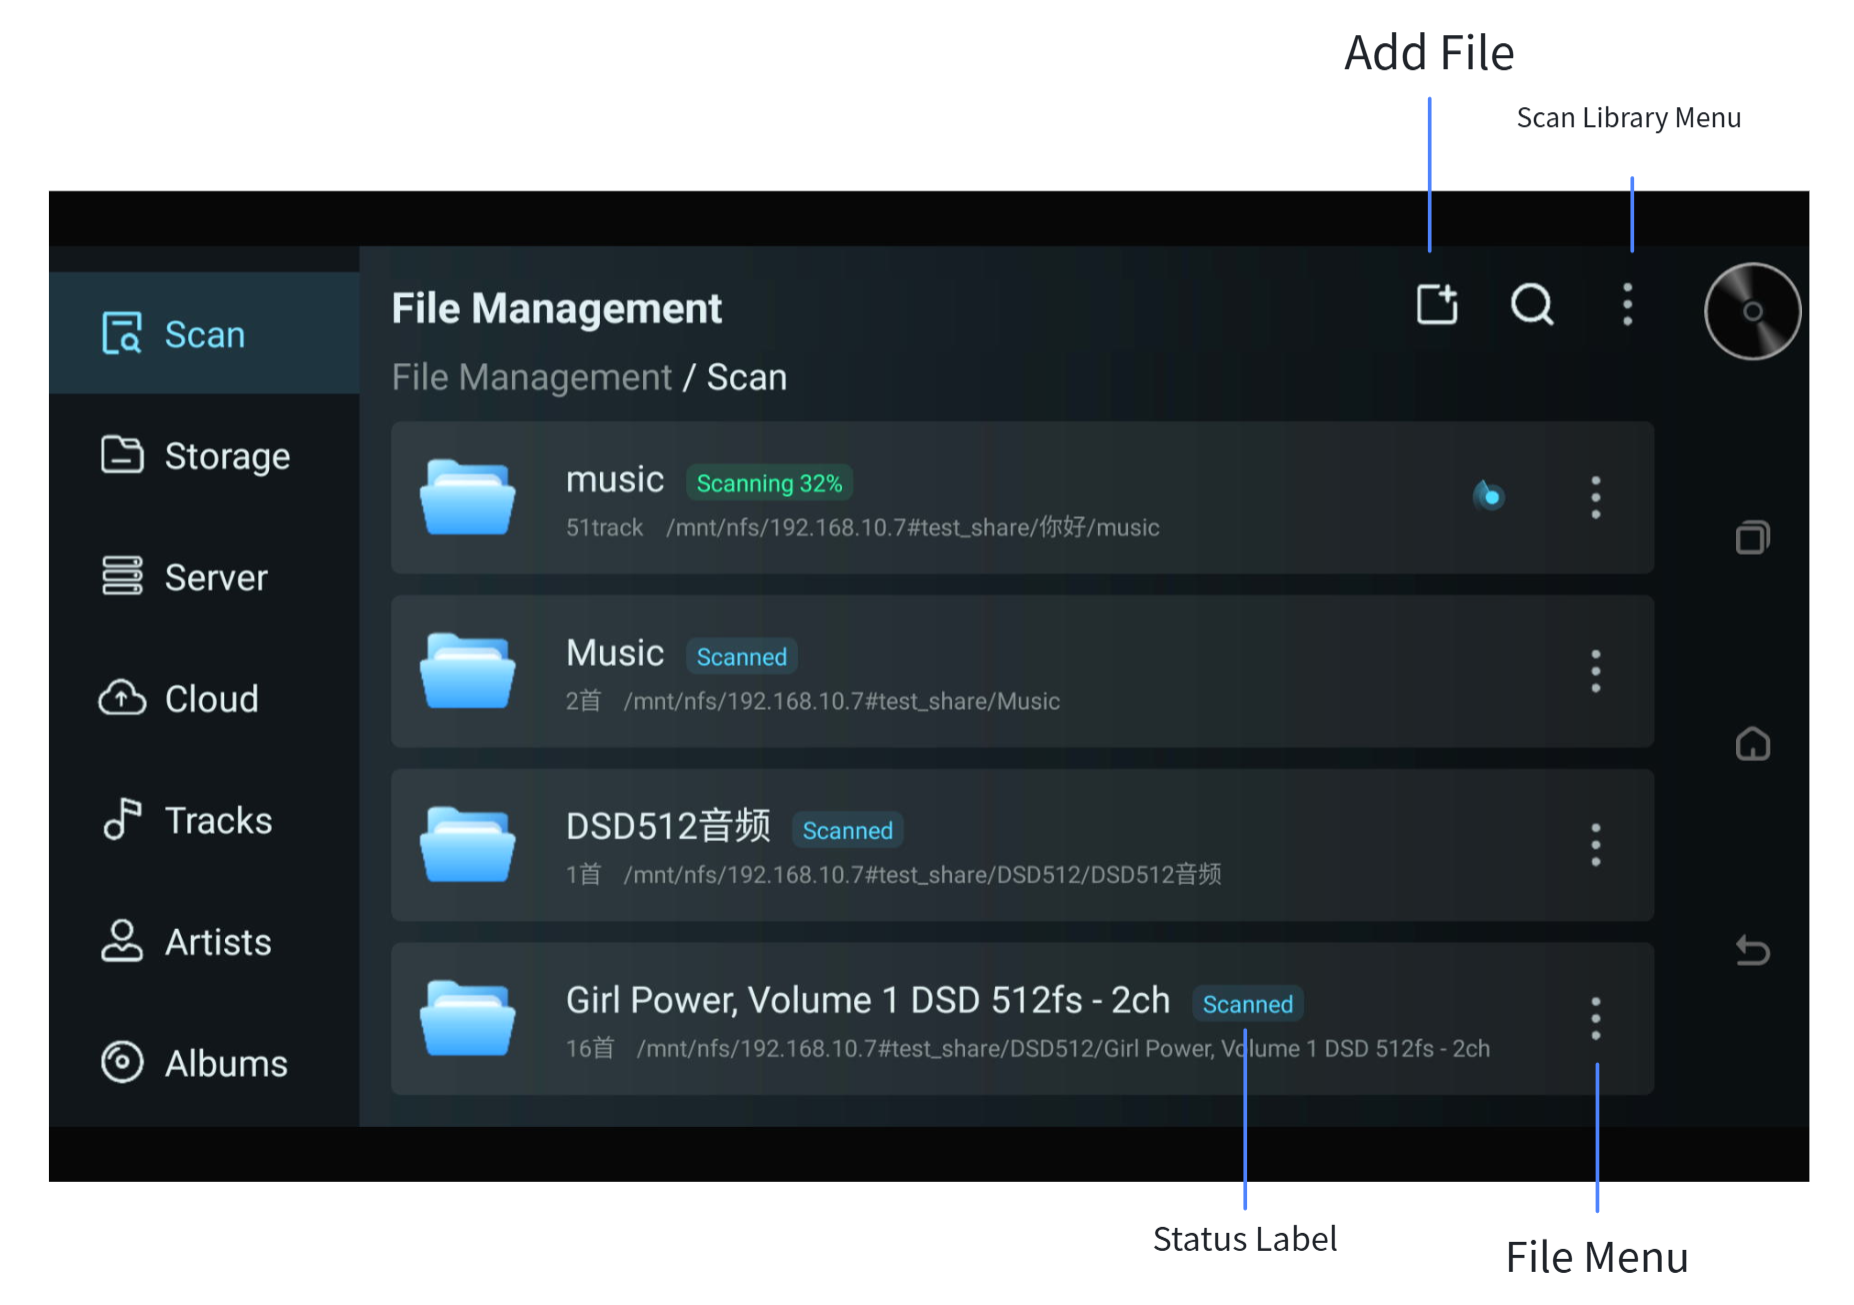
Scan-source controls: add a folder, check scan status, and open the folder menu.
Scan Library screen with file-management controls.
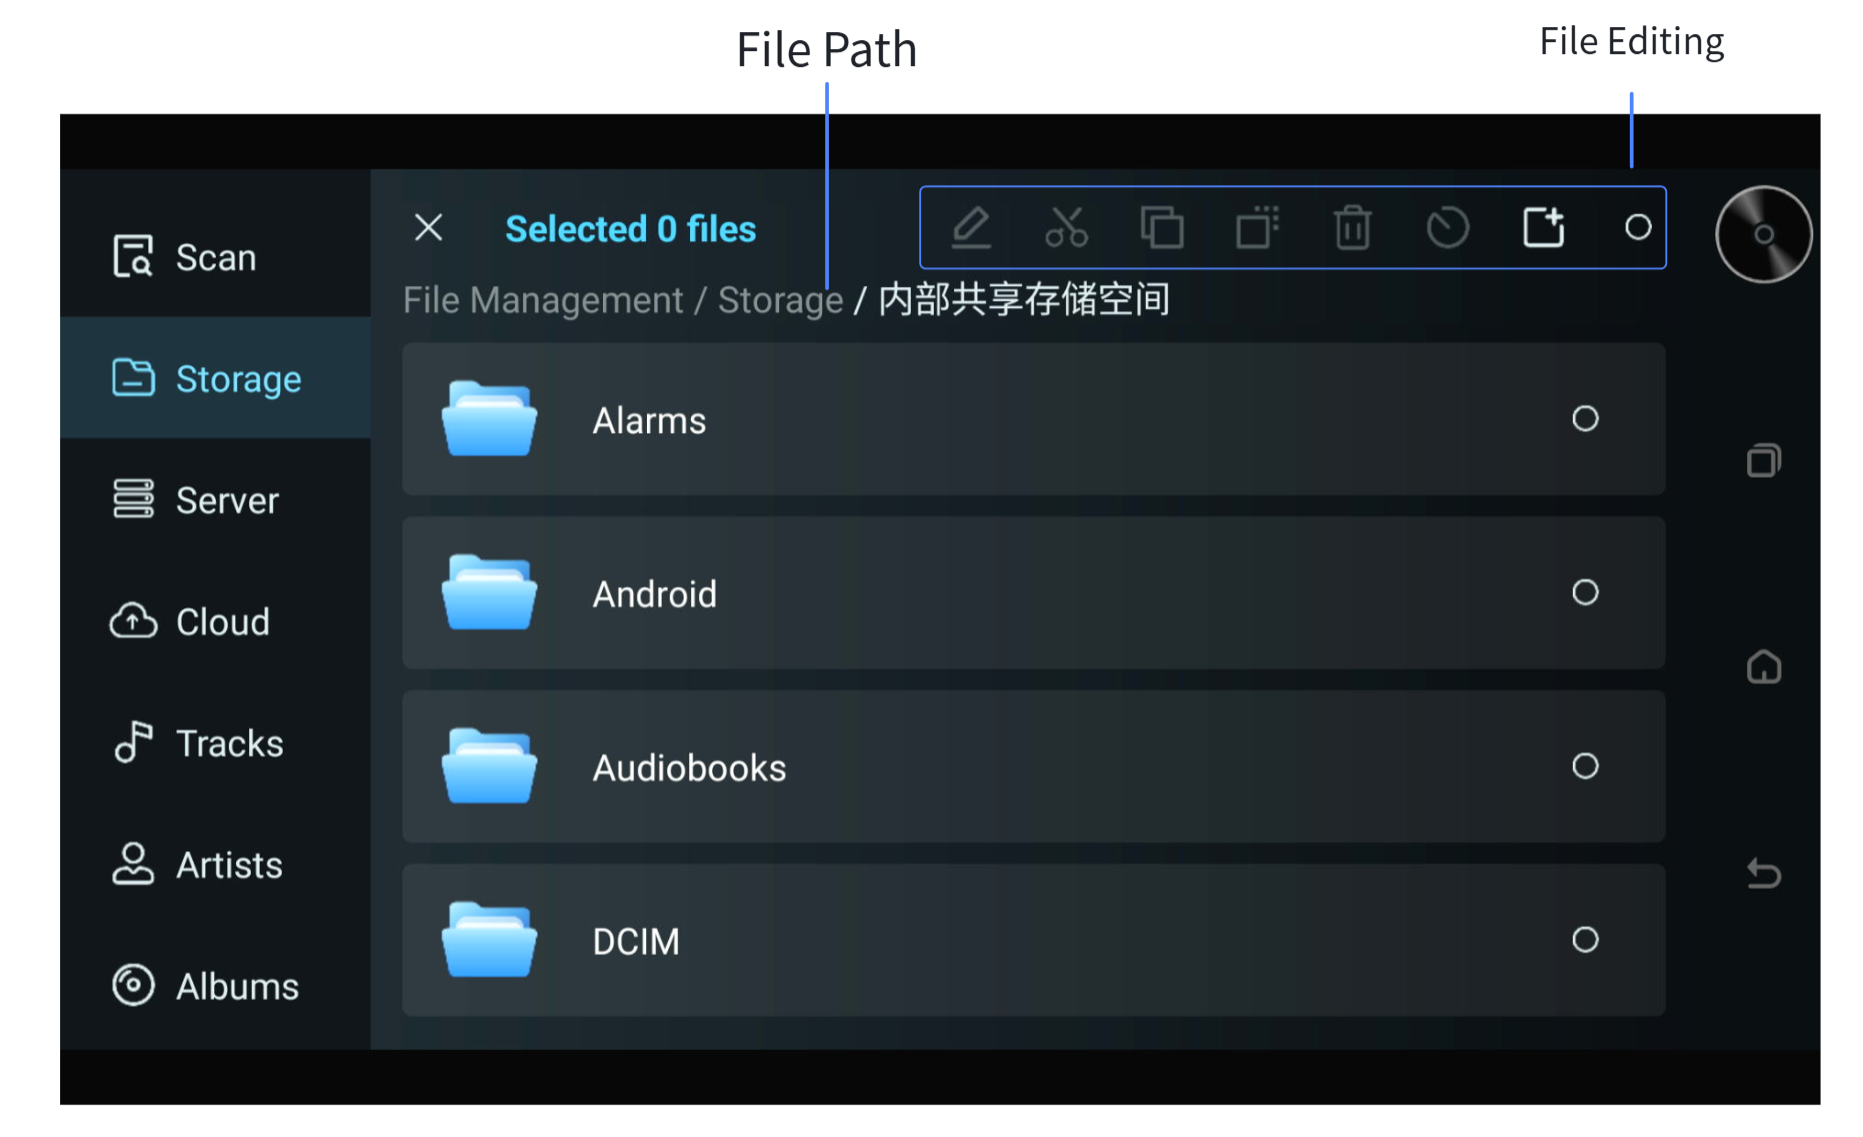
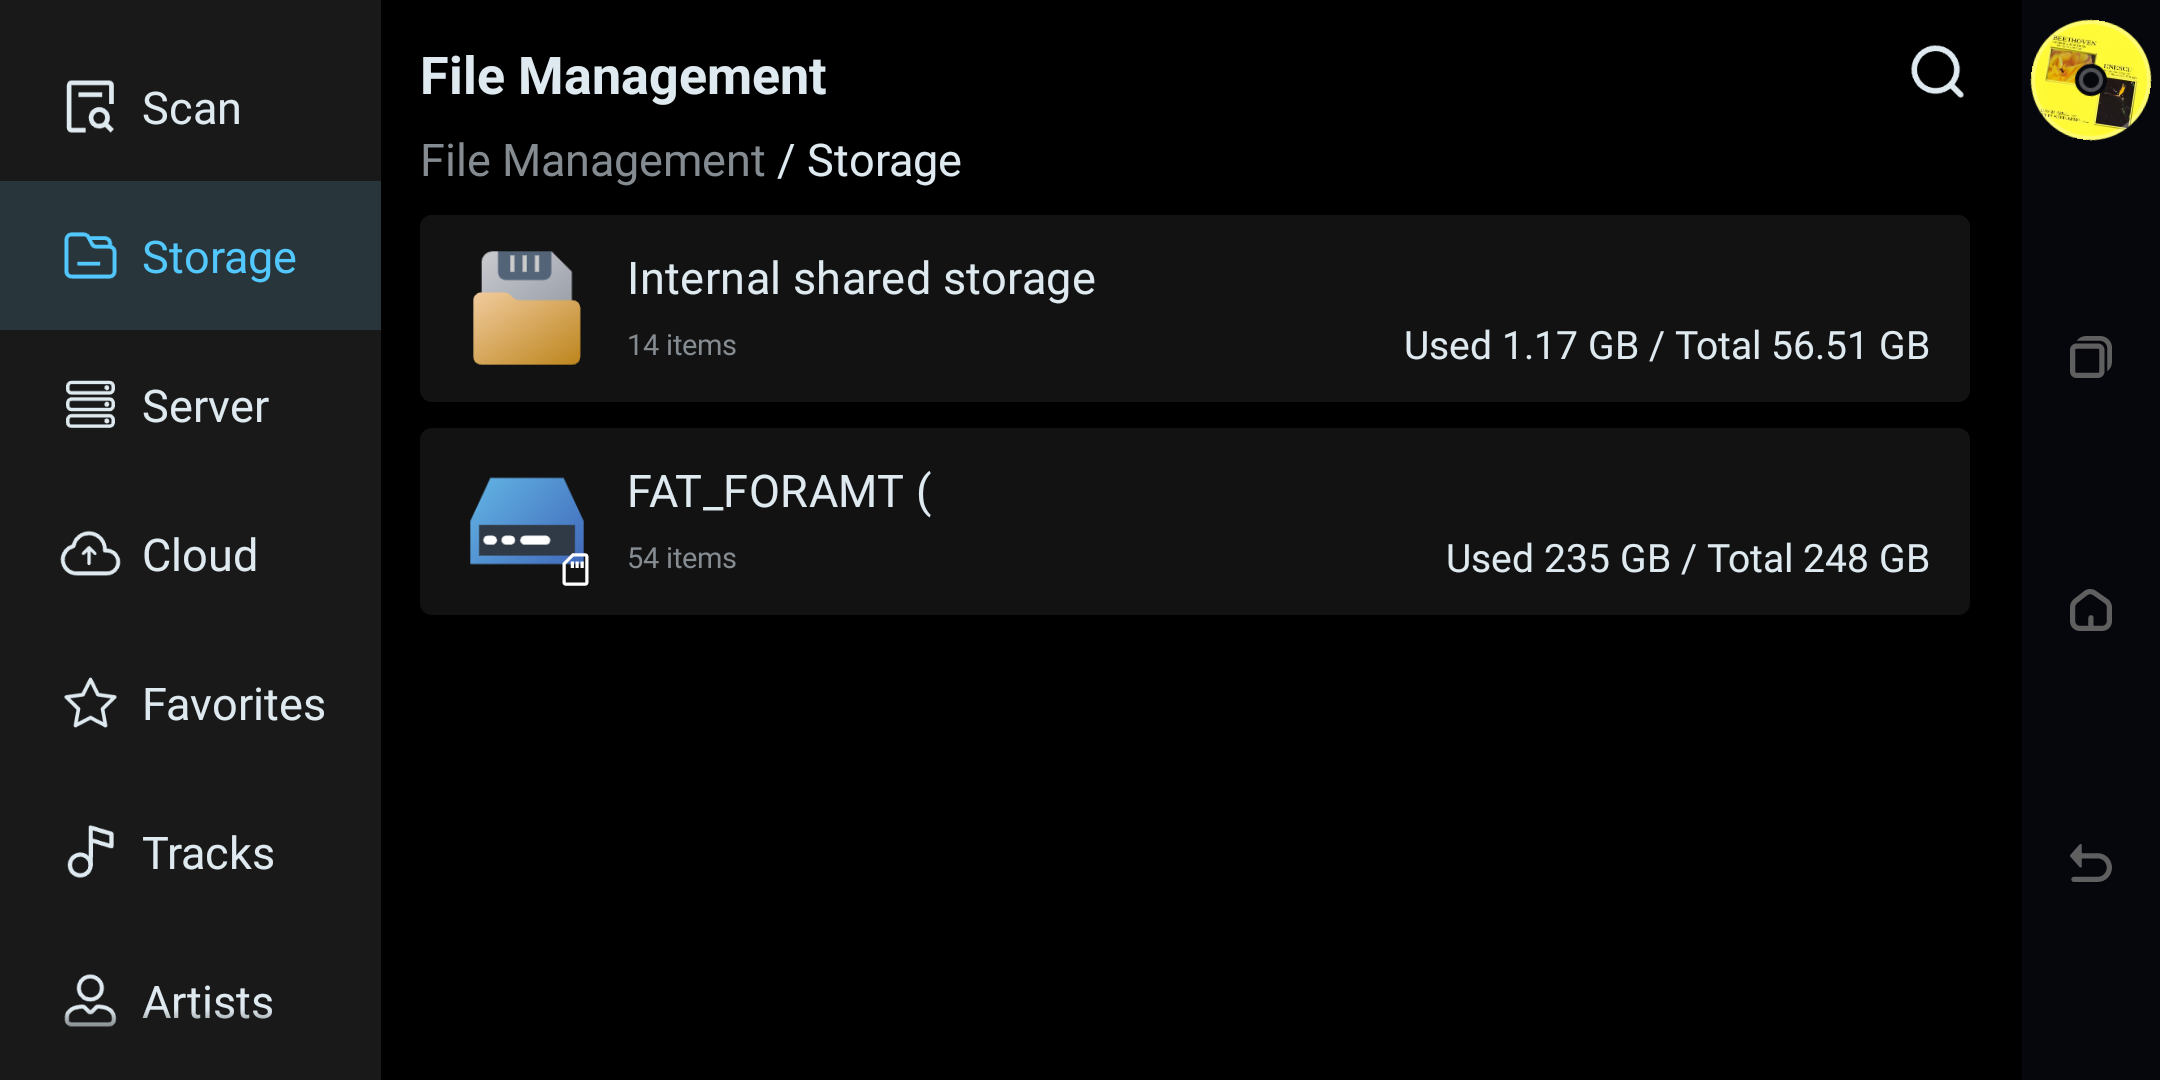
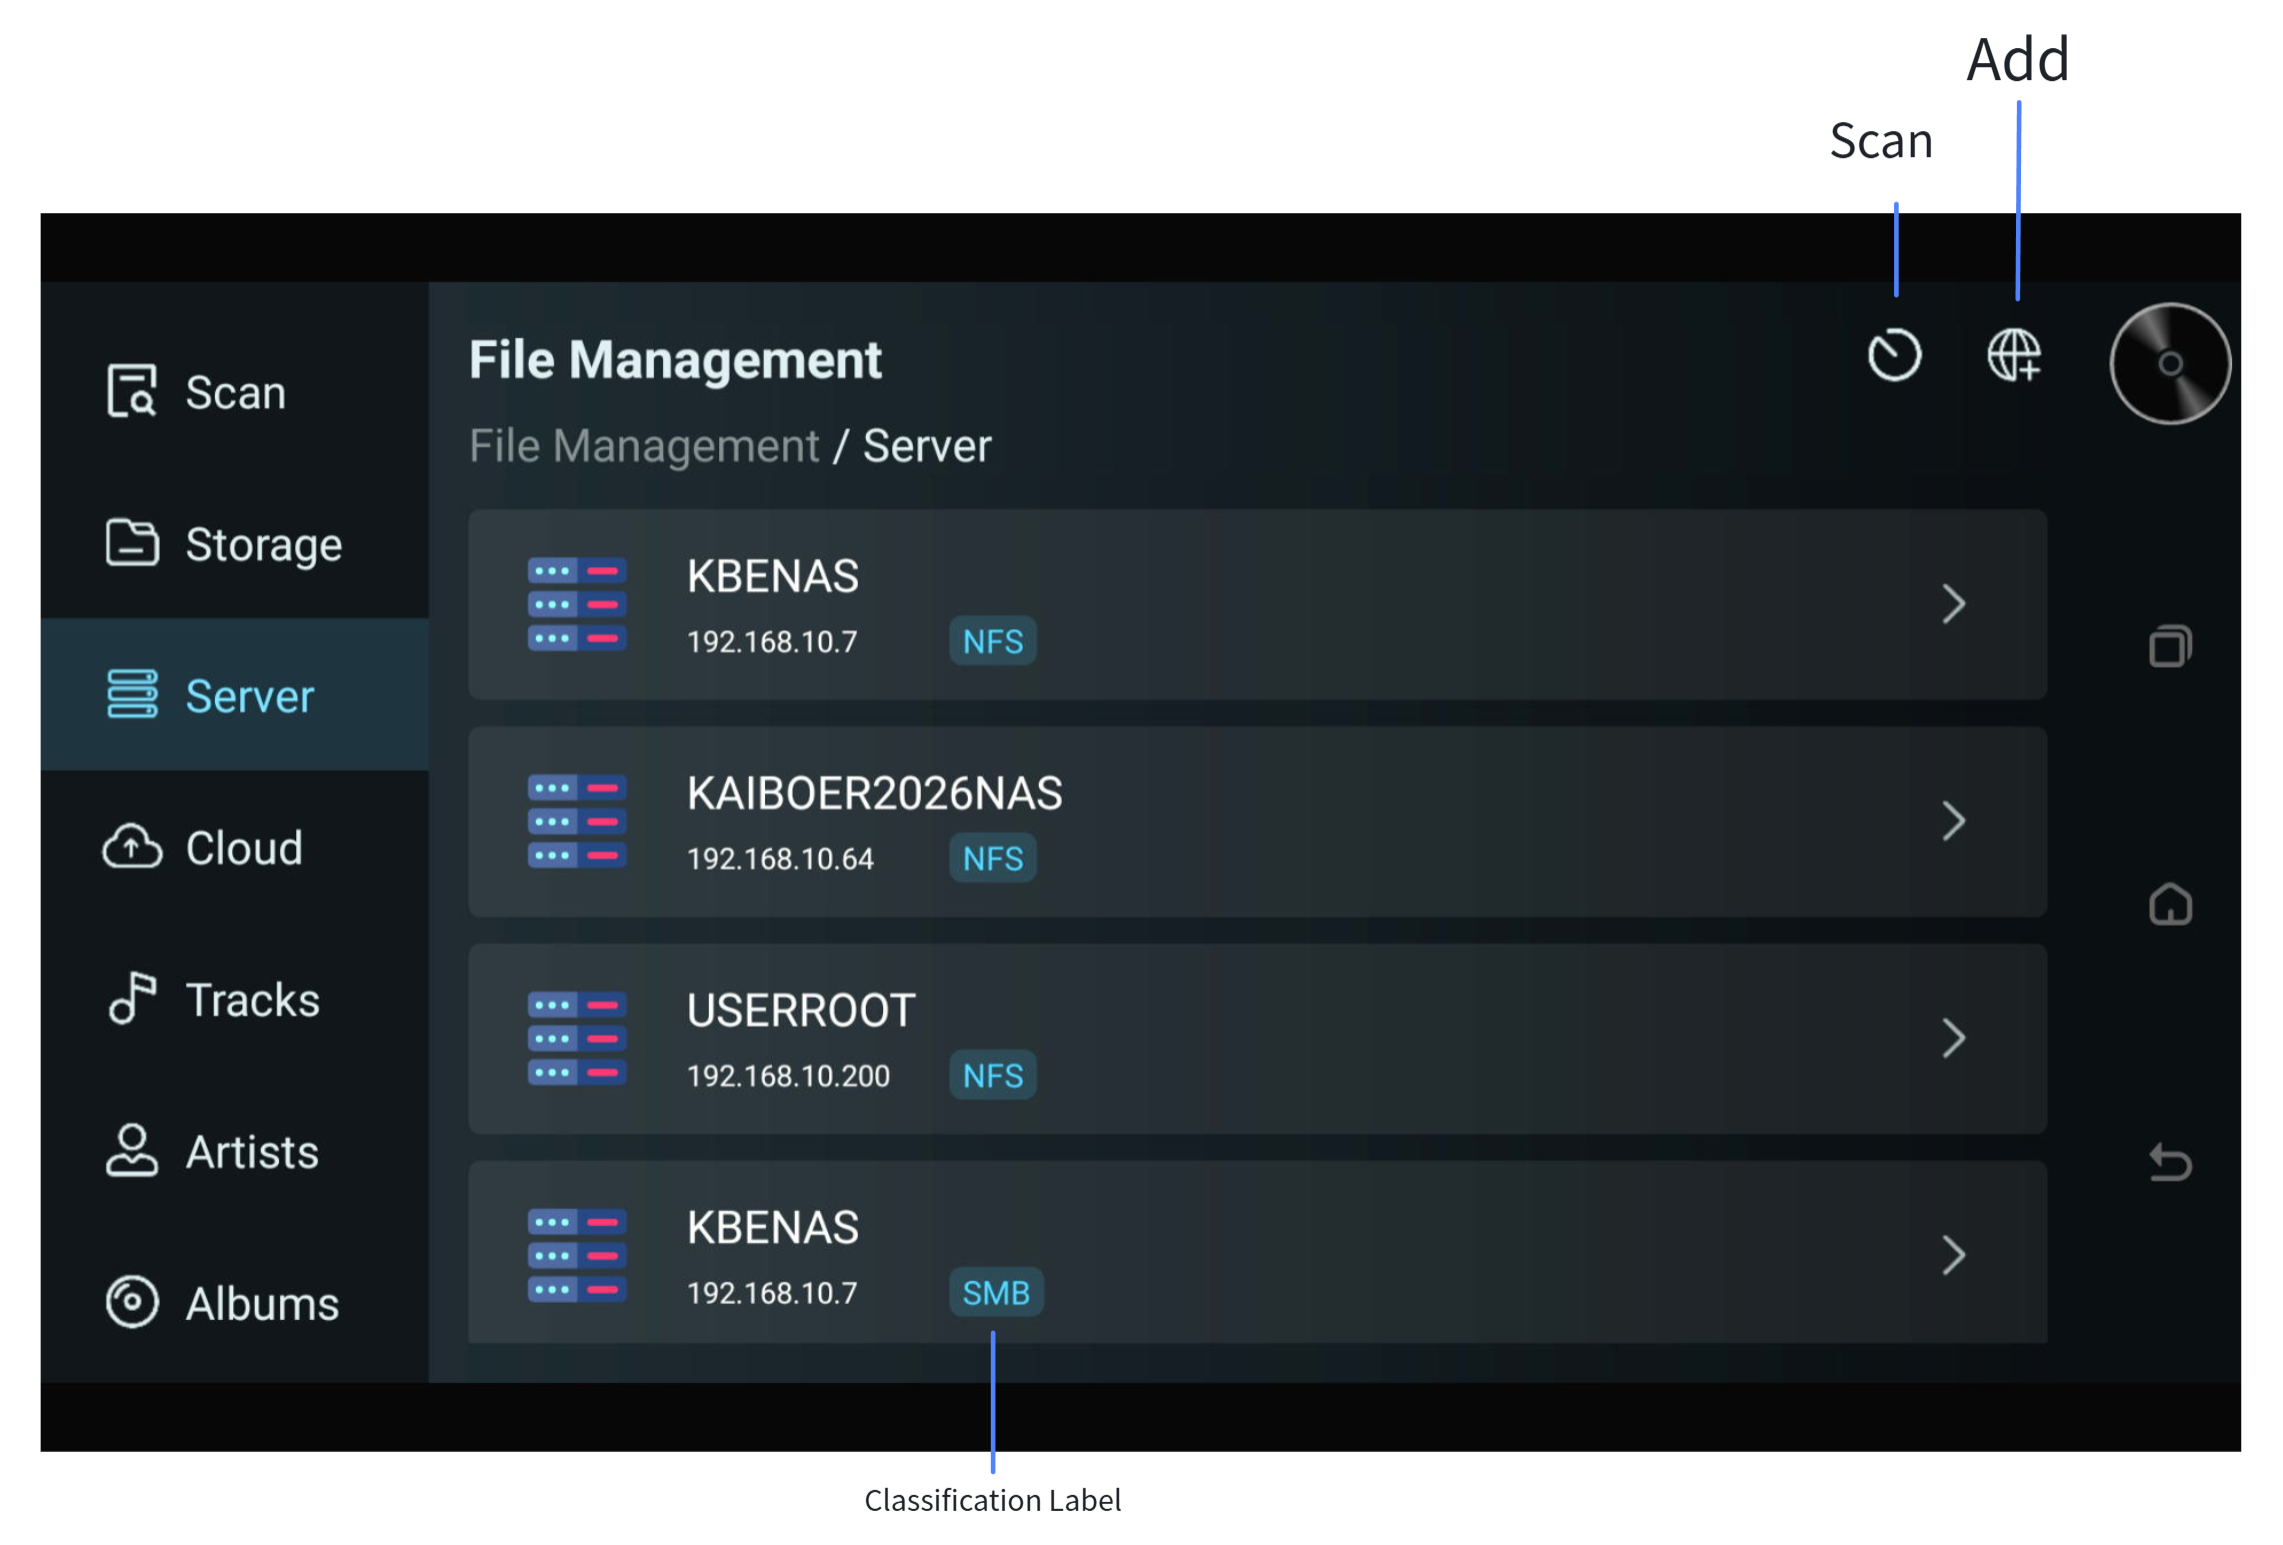
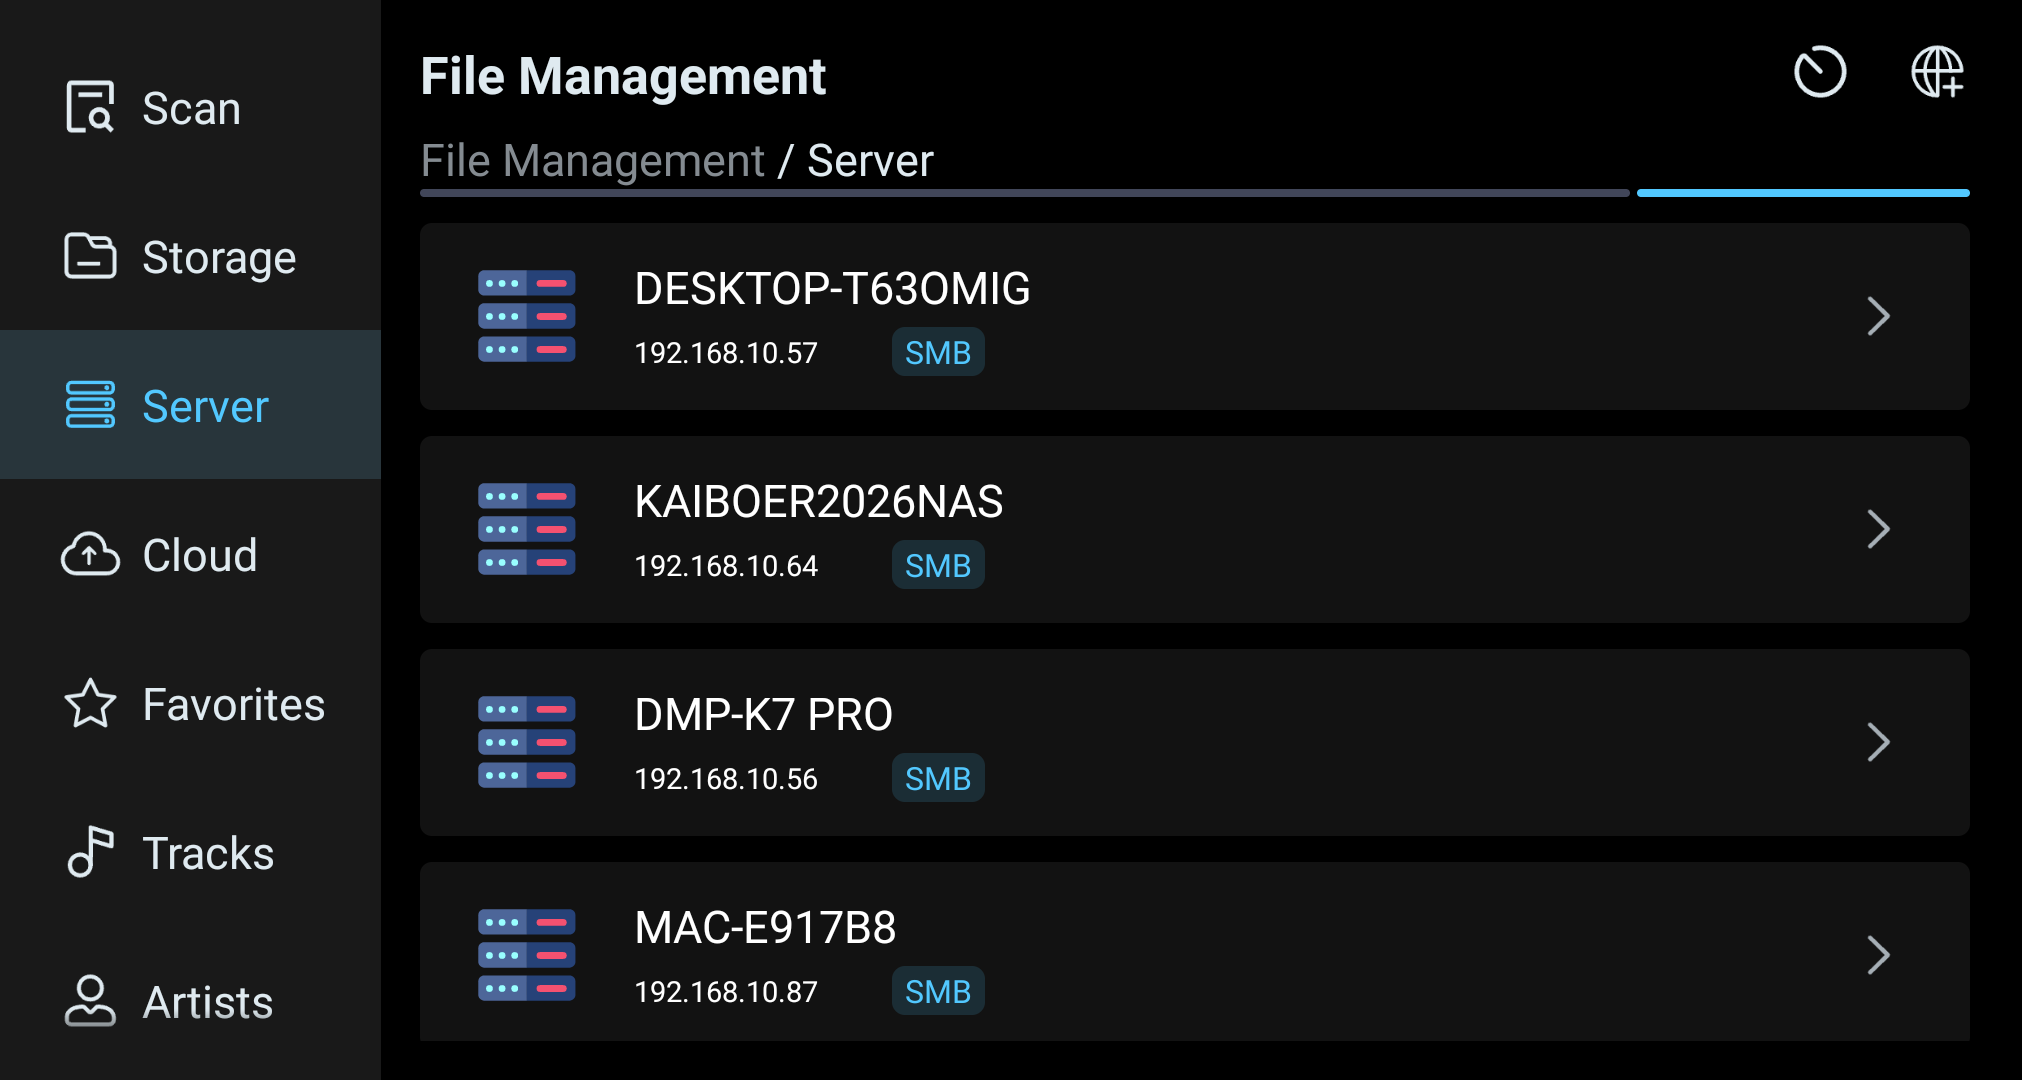
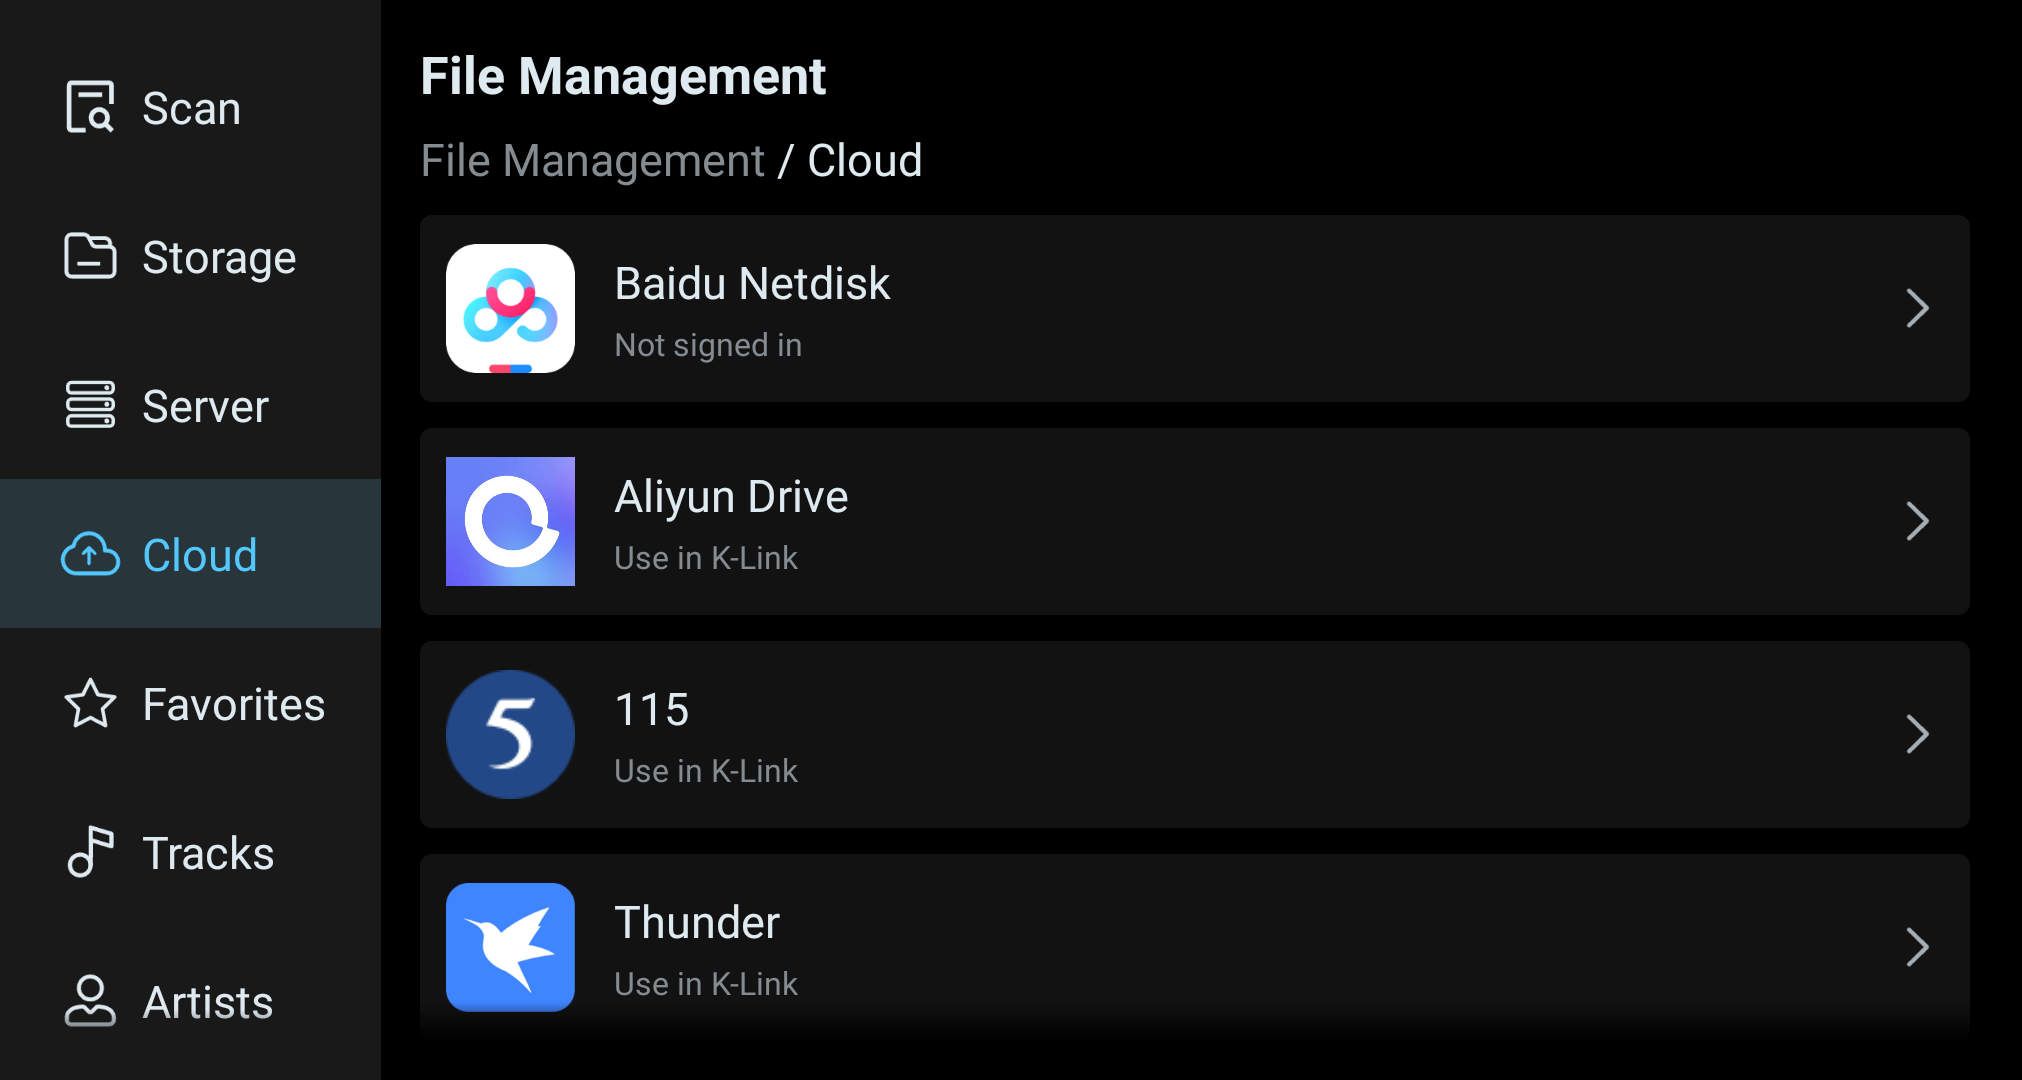
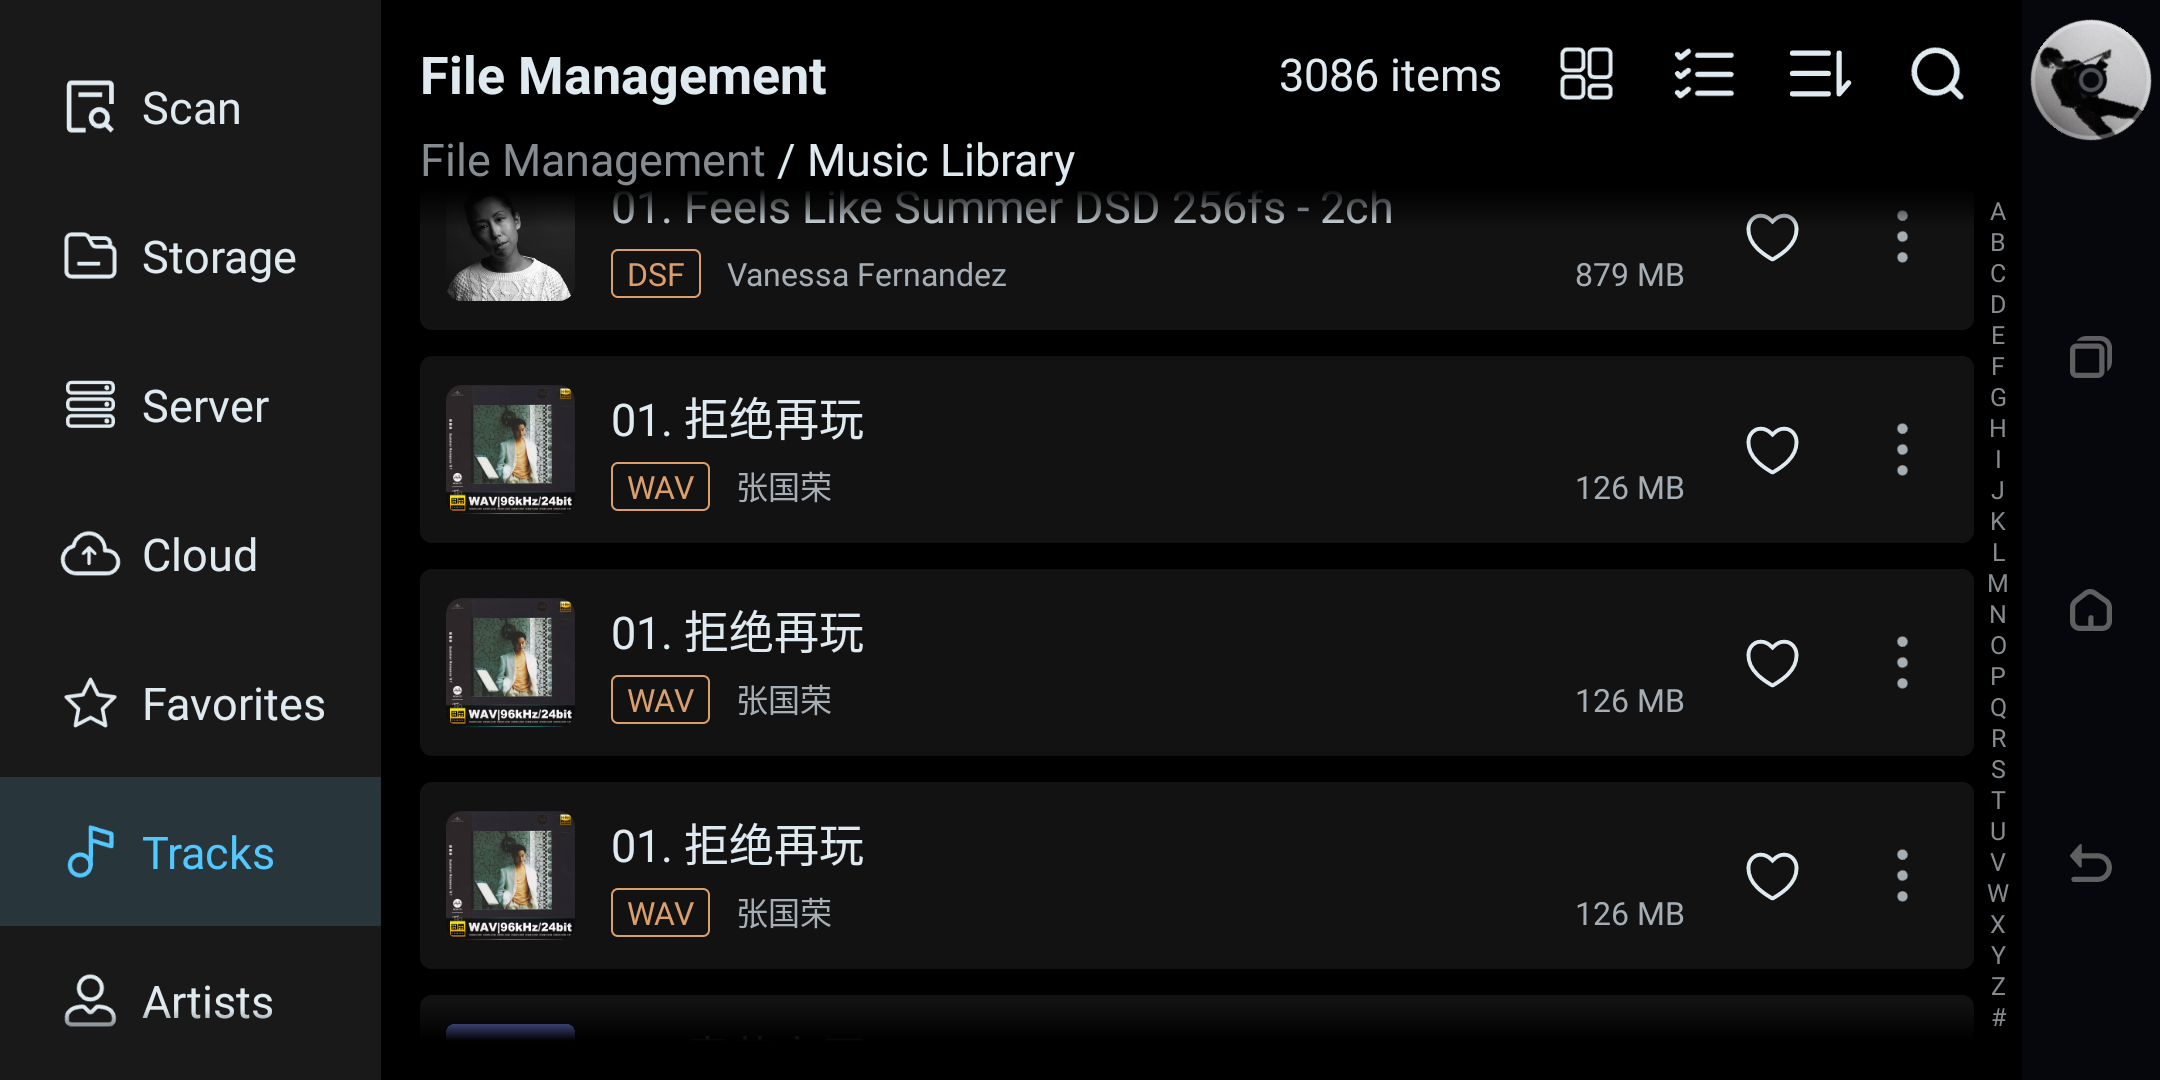
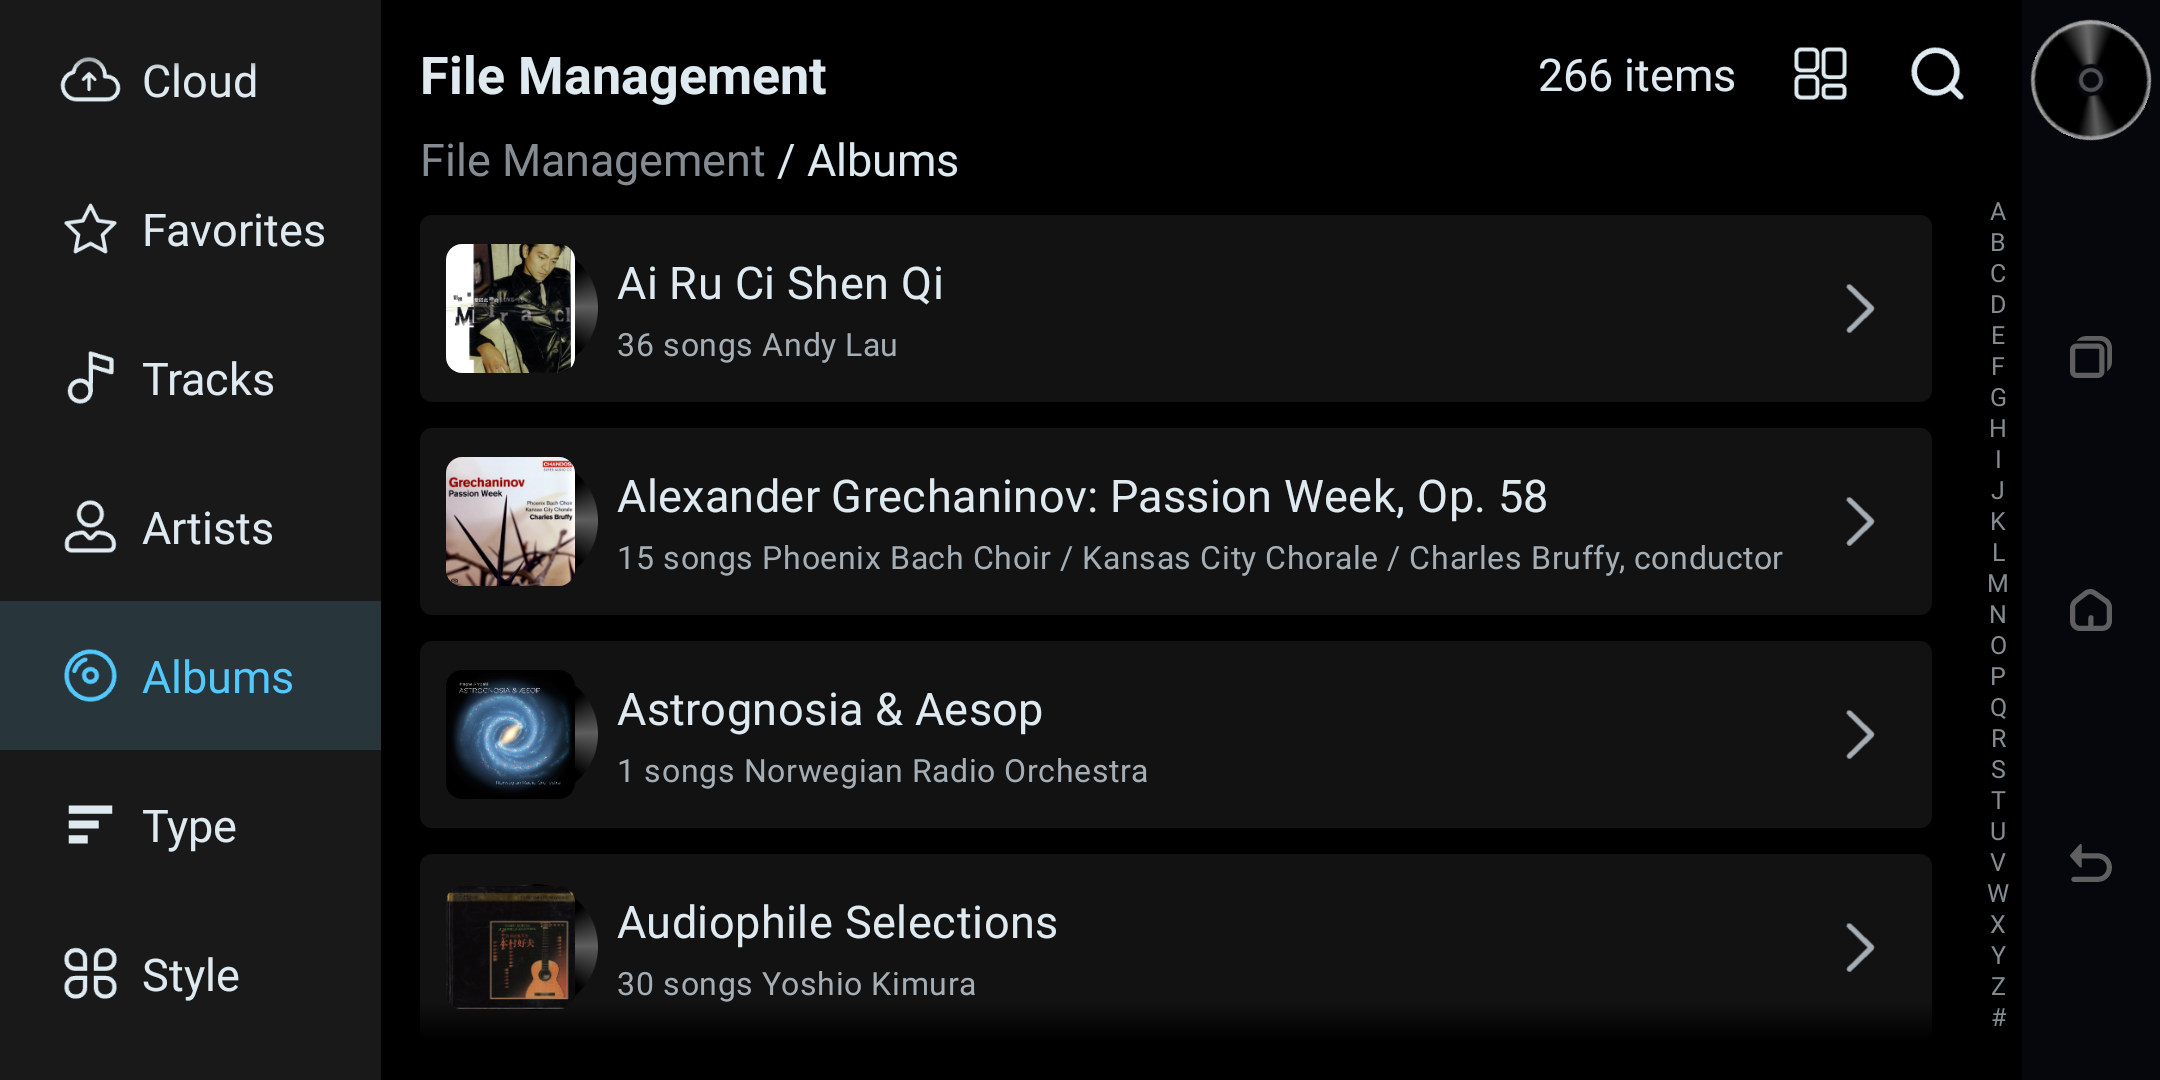
The scan library can manage and categorize locally added music. Before use, tap "Add File" to add local SSD, external storage devices, network SMB, and network NFS.
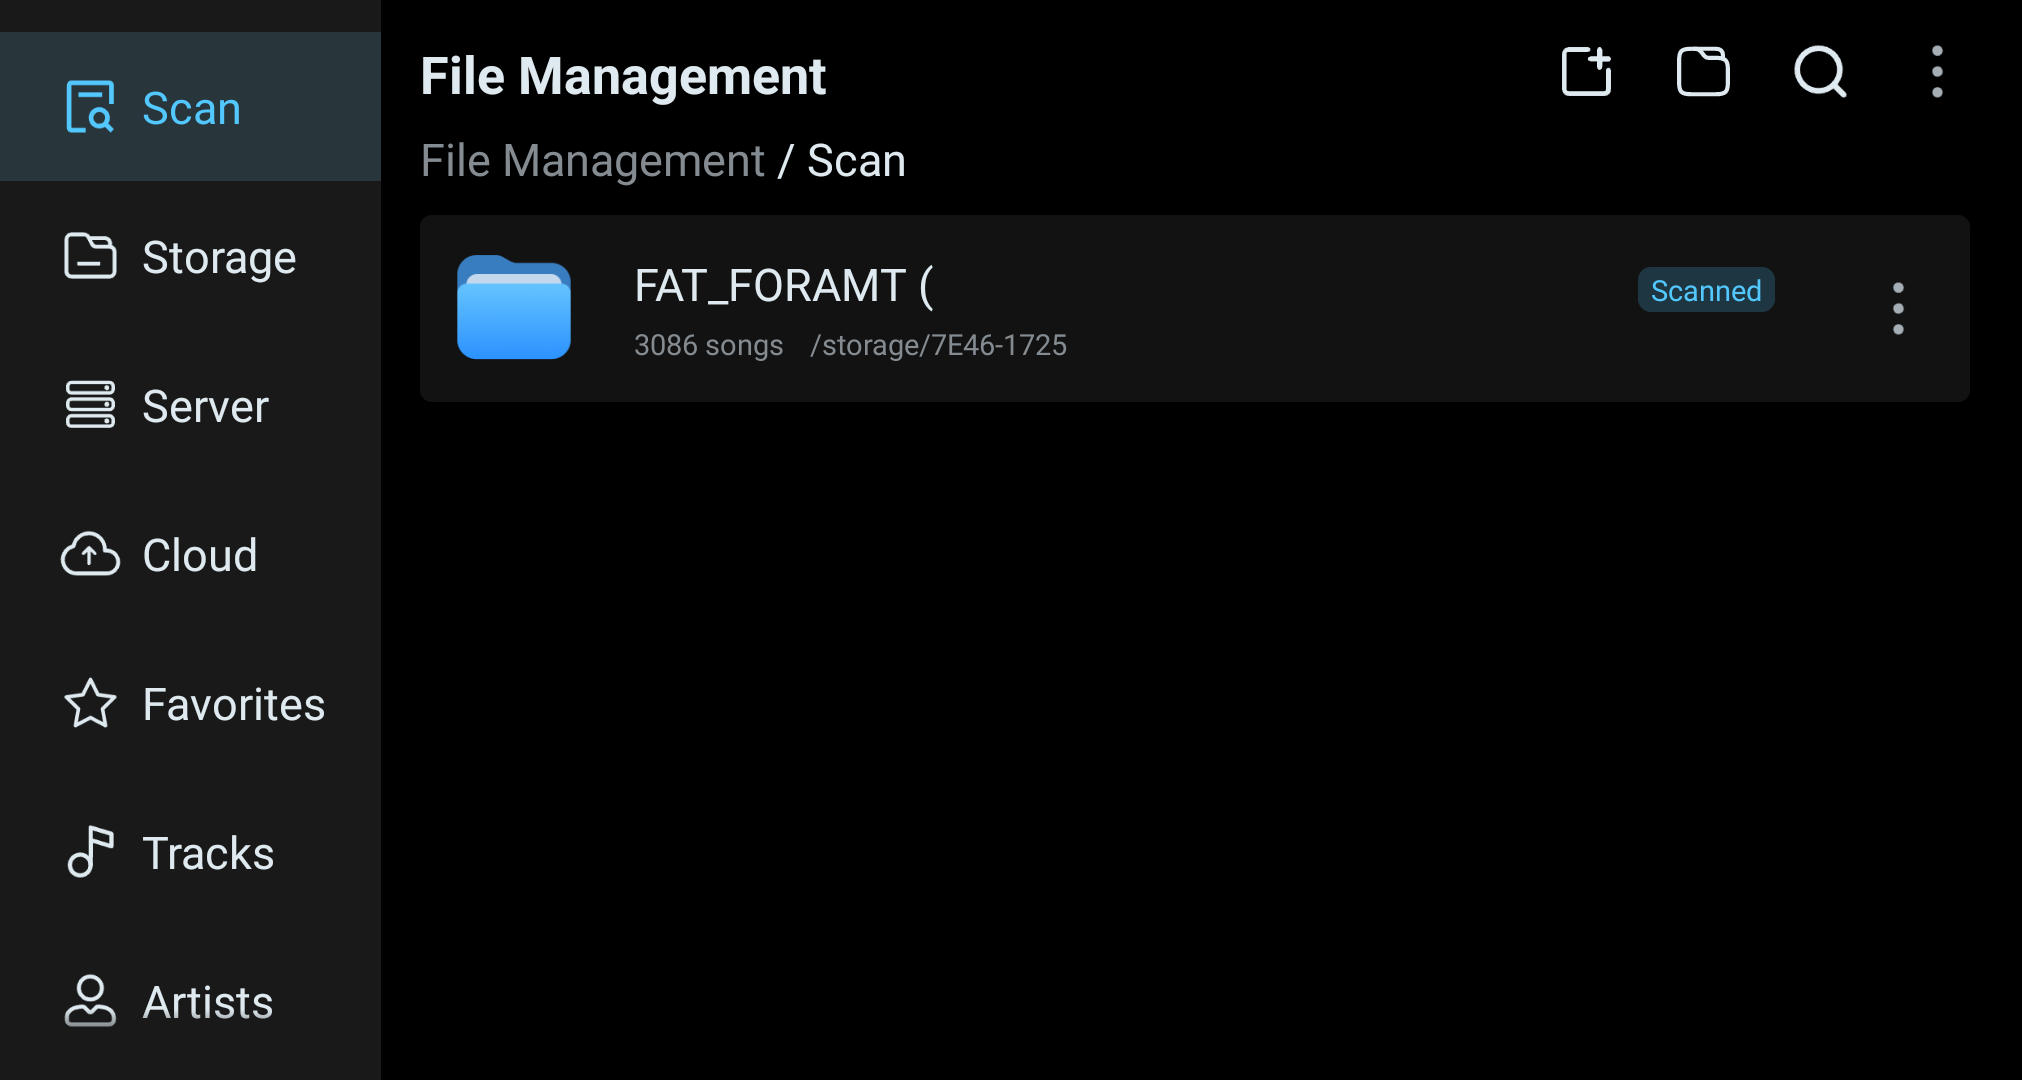
File Management Scan view showing a scanned storage source.
Add Scan File: Tap "Add File" and select the content to scan (e.g. local SSD, external storage, network SMB/NFS).
Queue Appearance Switch: This option toggles the file display mode between file view and icon view.
Status Tag: Indicates the scan status of the current folder.
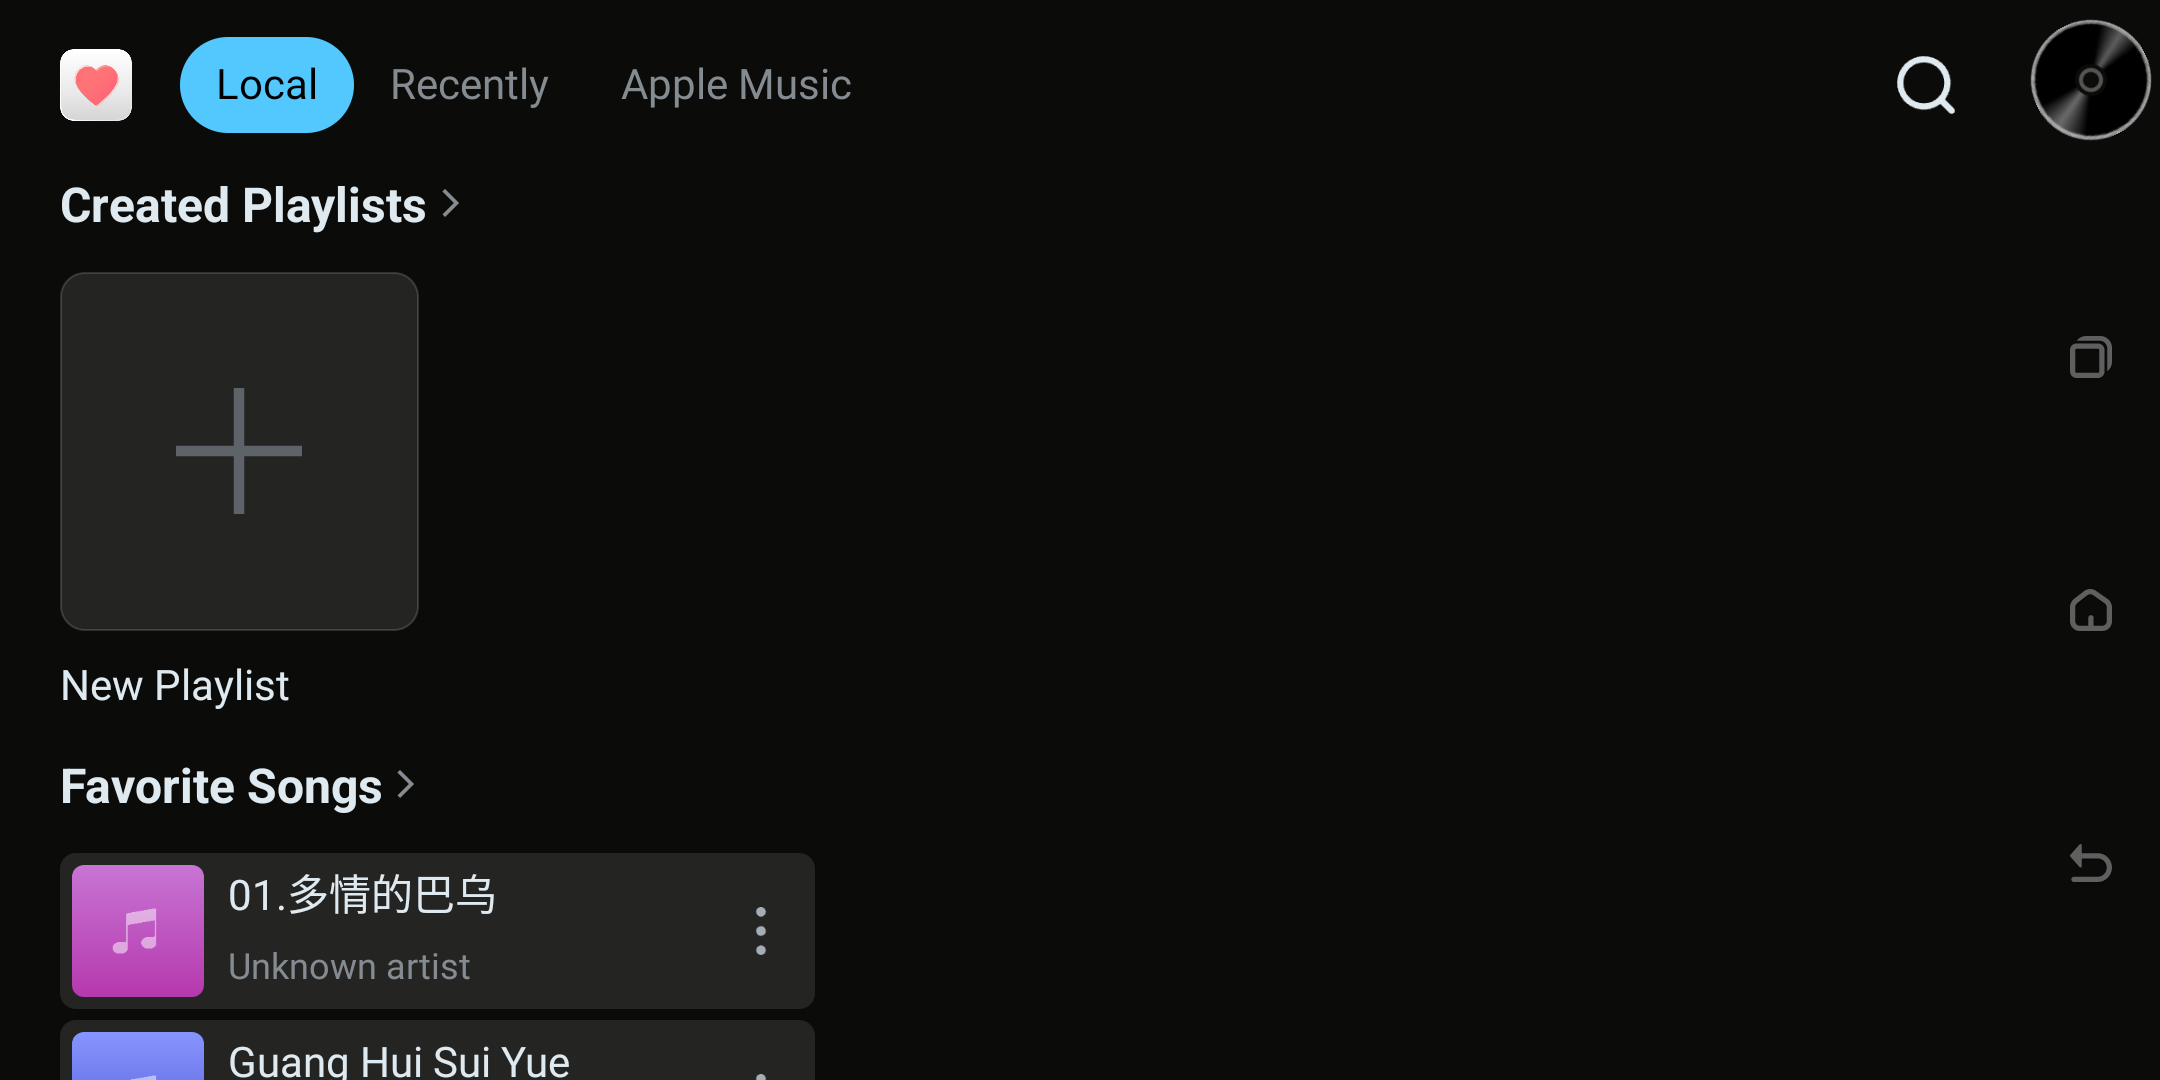
Local music, recently played, and streaming content such as Apple Music is unified and aggregated into the Favorites page. Users can quickly switch between different sources via the top tabs, reducing page jumps and finding desired content faster.
Favorites page with local and streaming source tabs.
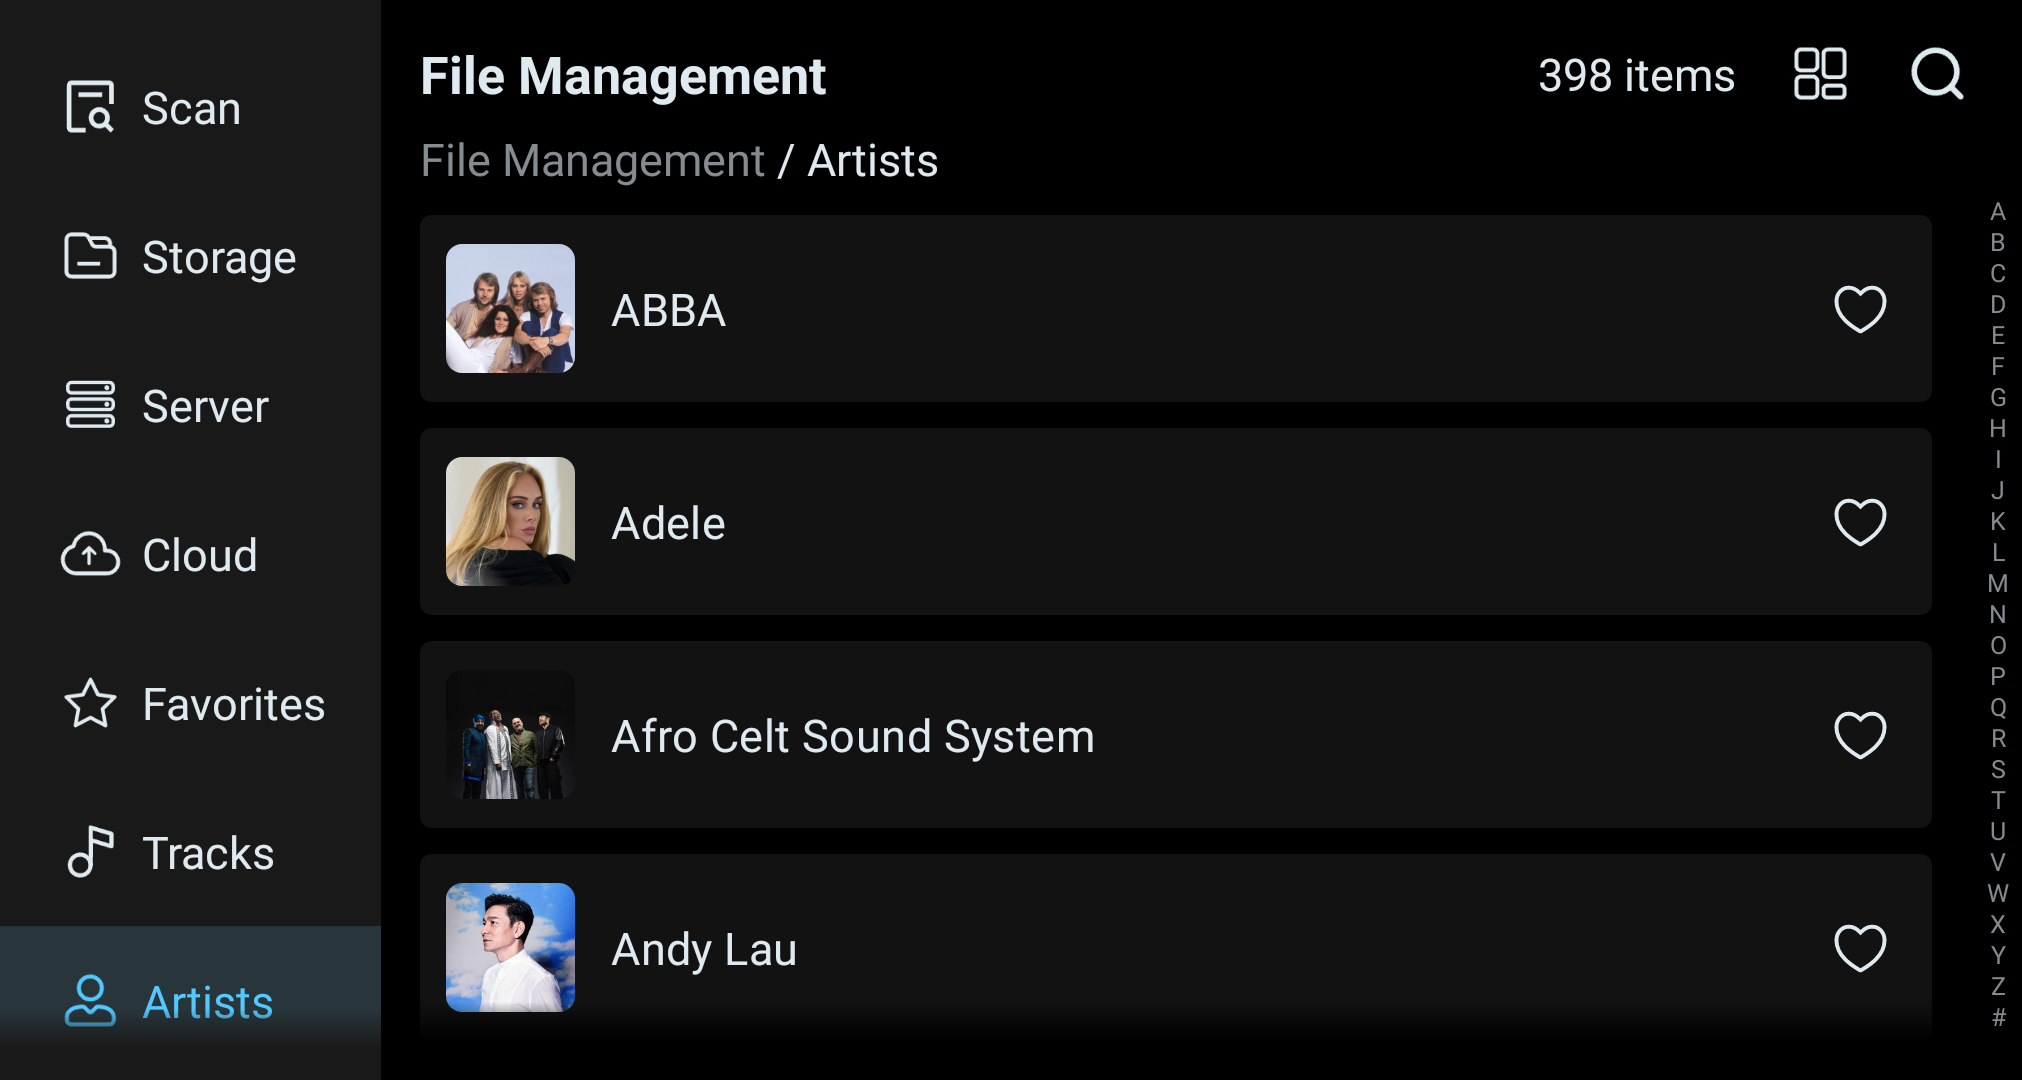
Favorited music, artists, and albums are displayed together on the Favorites page for quick access and playback.
App Management
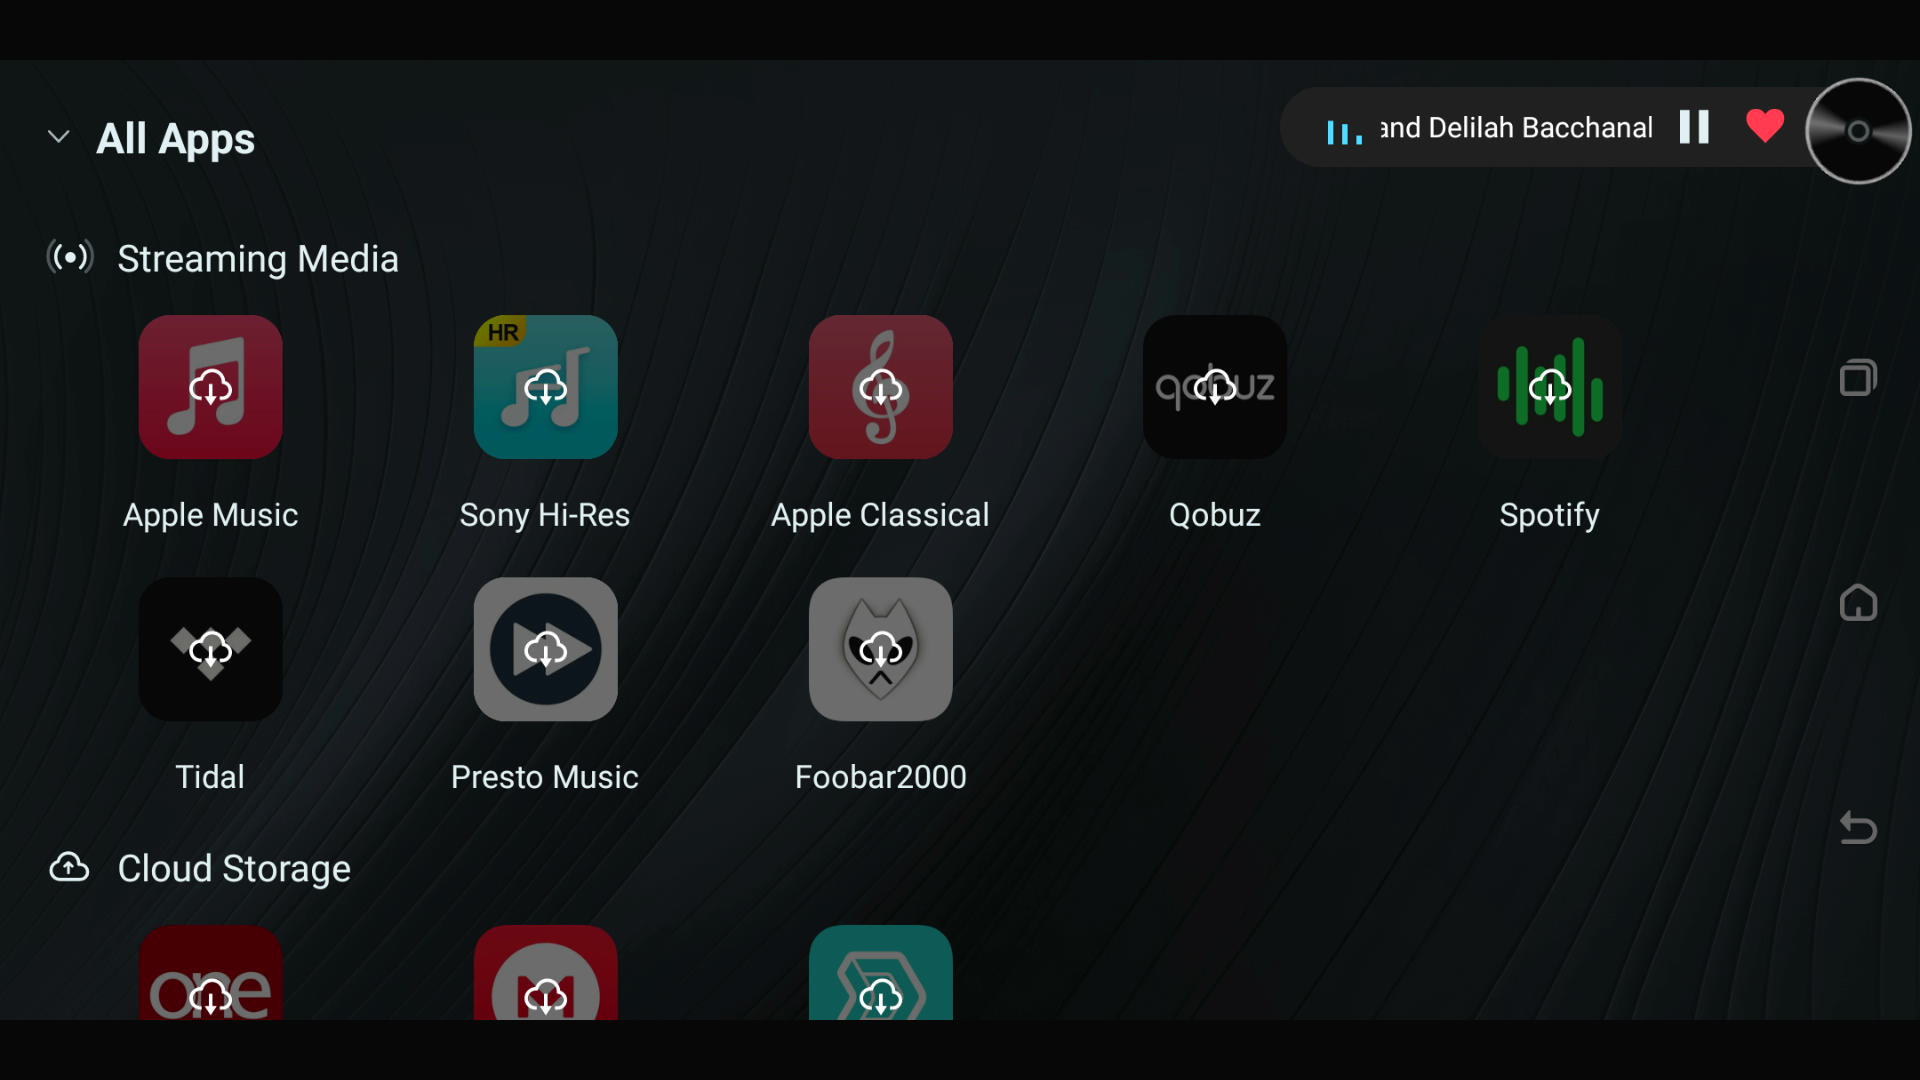
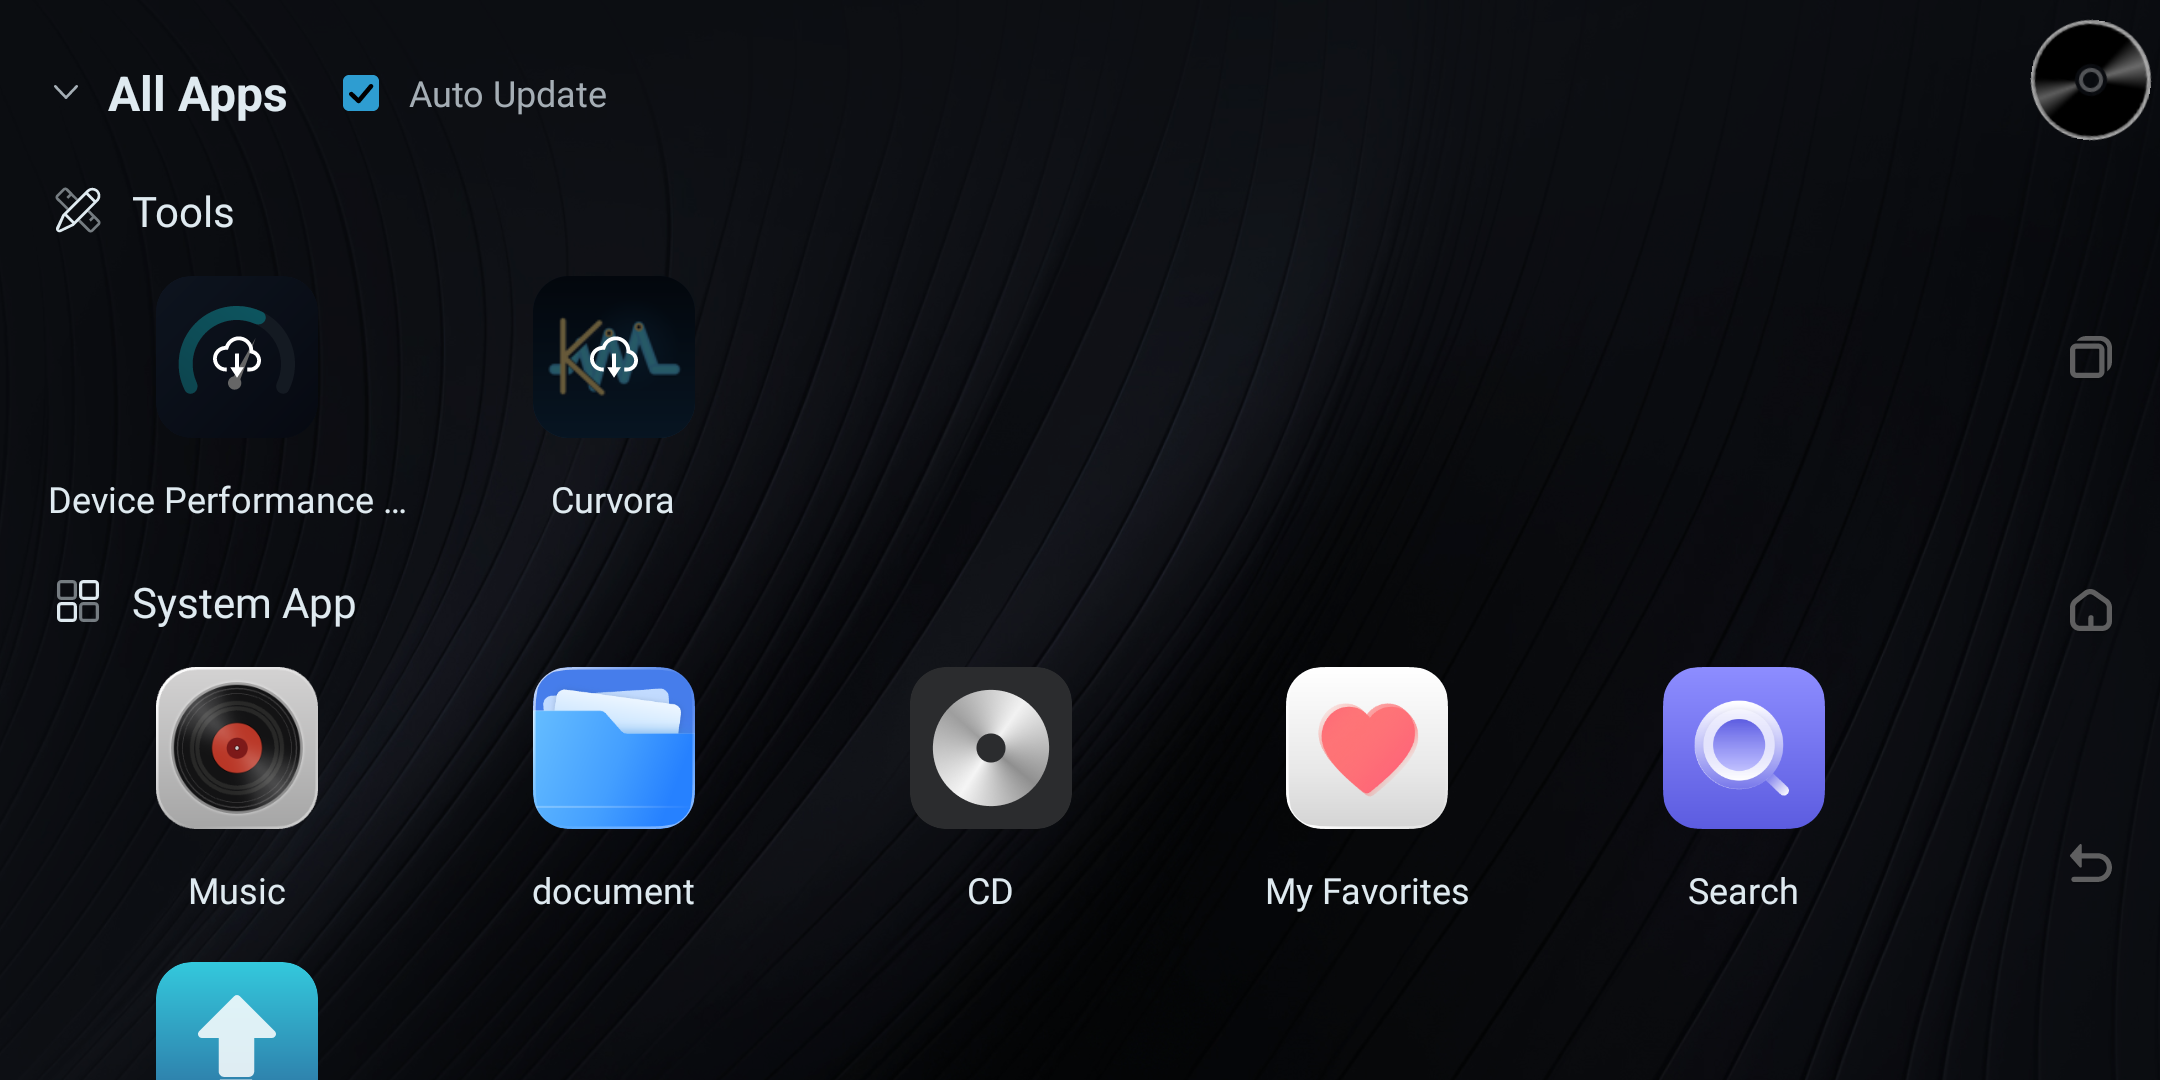
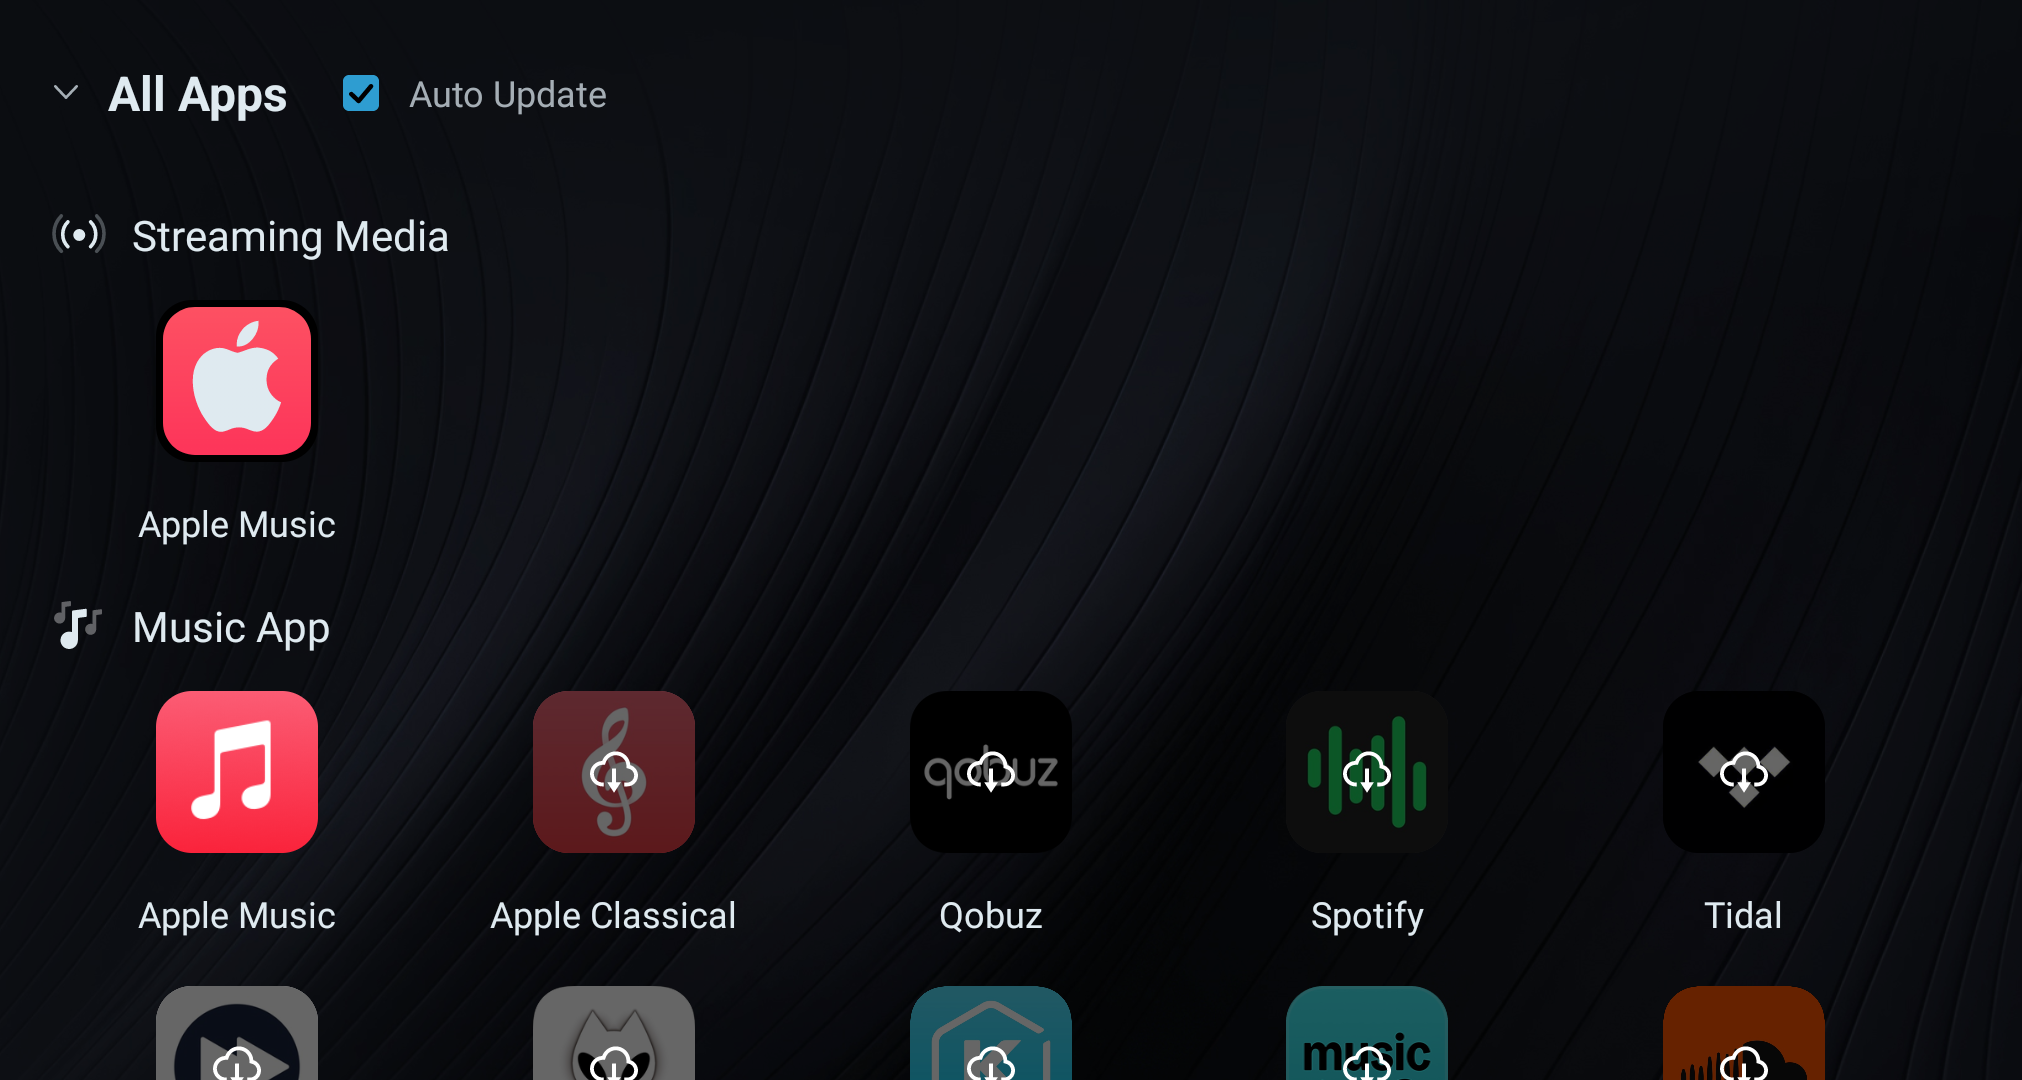
All Apps overview with streaming and cloud-storage categories.
Self-Developed Streaming Apps
This streaming app lets you browse playlists, select tracks, add favorites, and synchronize supported account data.
Official Music Apps
The official version of the music app mainly uses the built-in player; related playback and favorite operations must be completed within the official app.
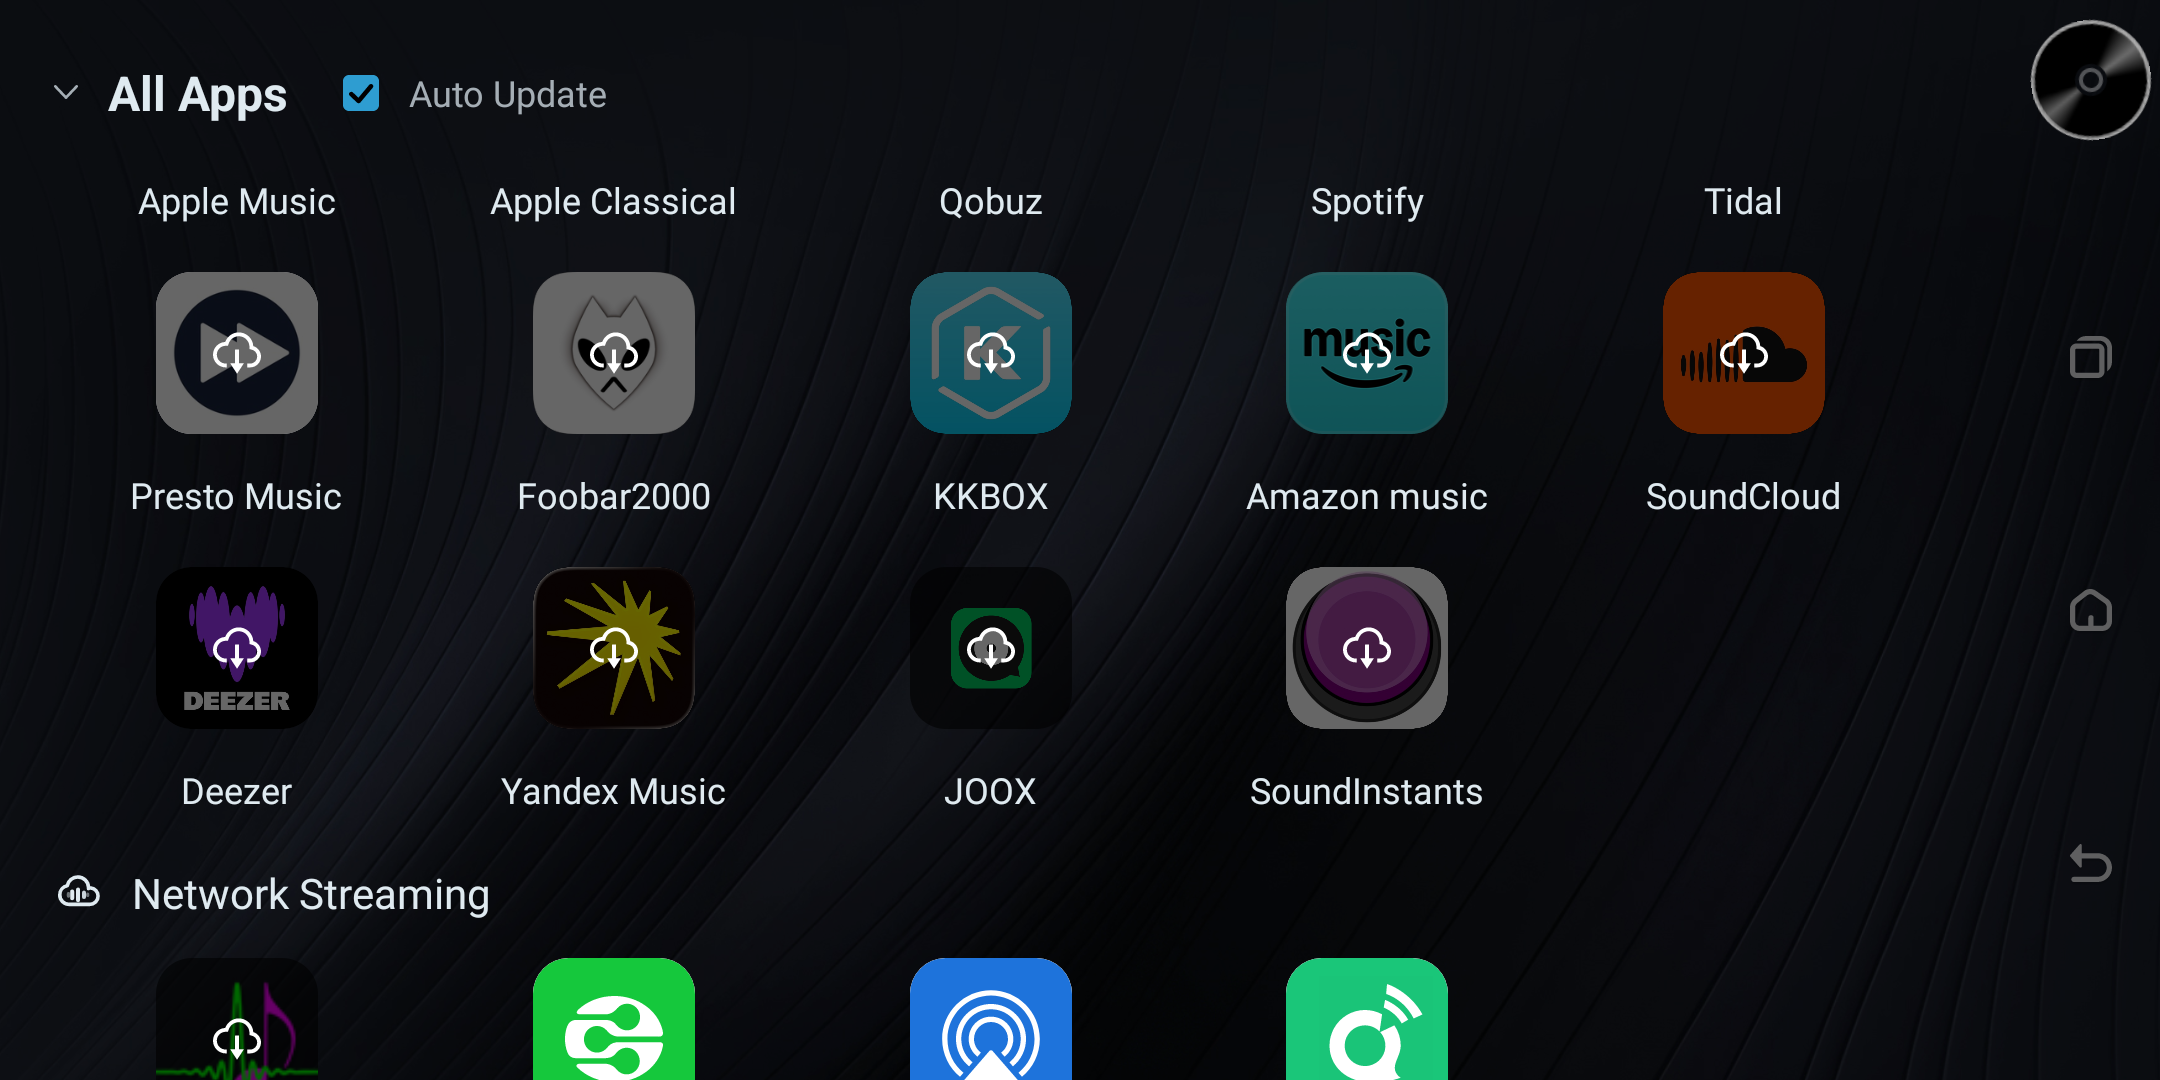
The Apps page displays all installable apps.
When a new version is available, a red dot prompt appears on the icon.
Long-press an icon to uninstall and view app info.
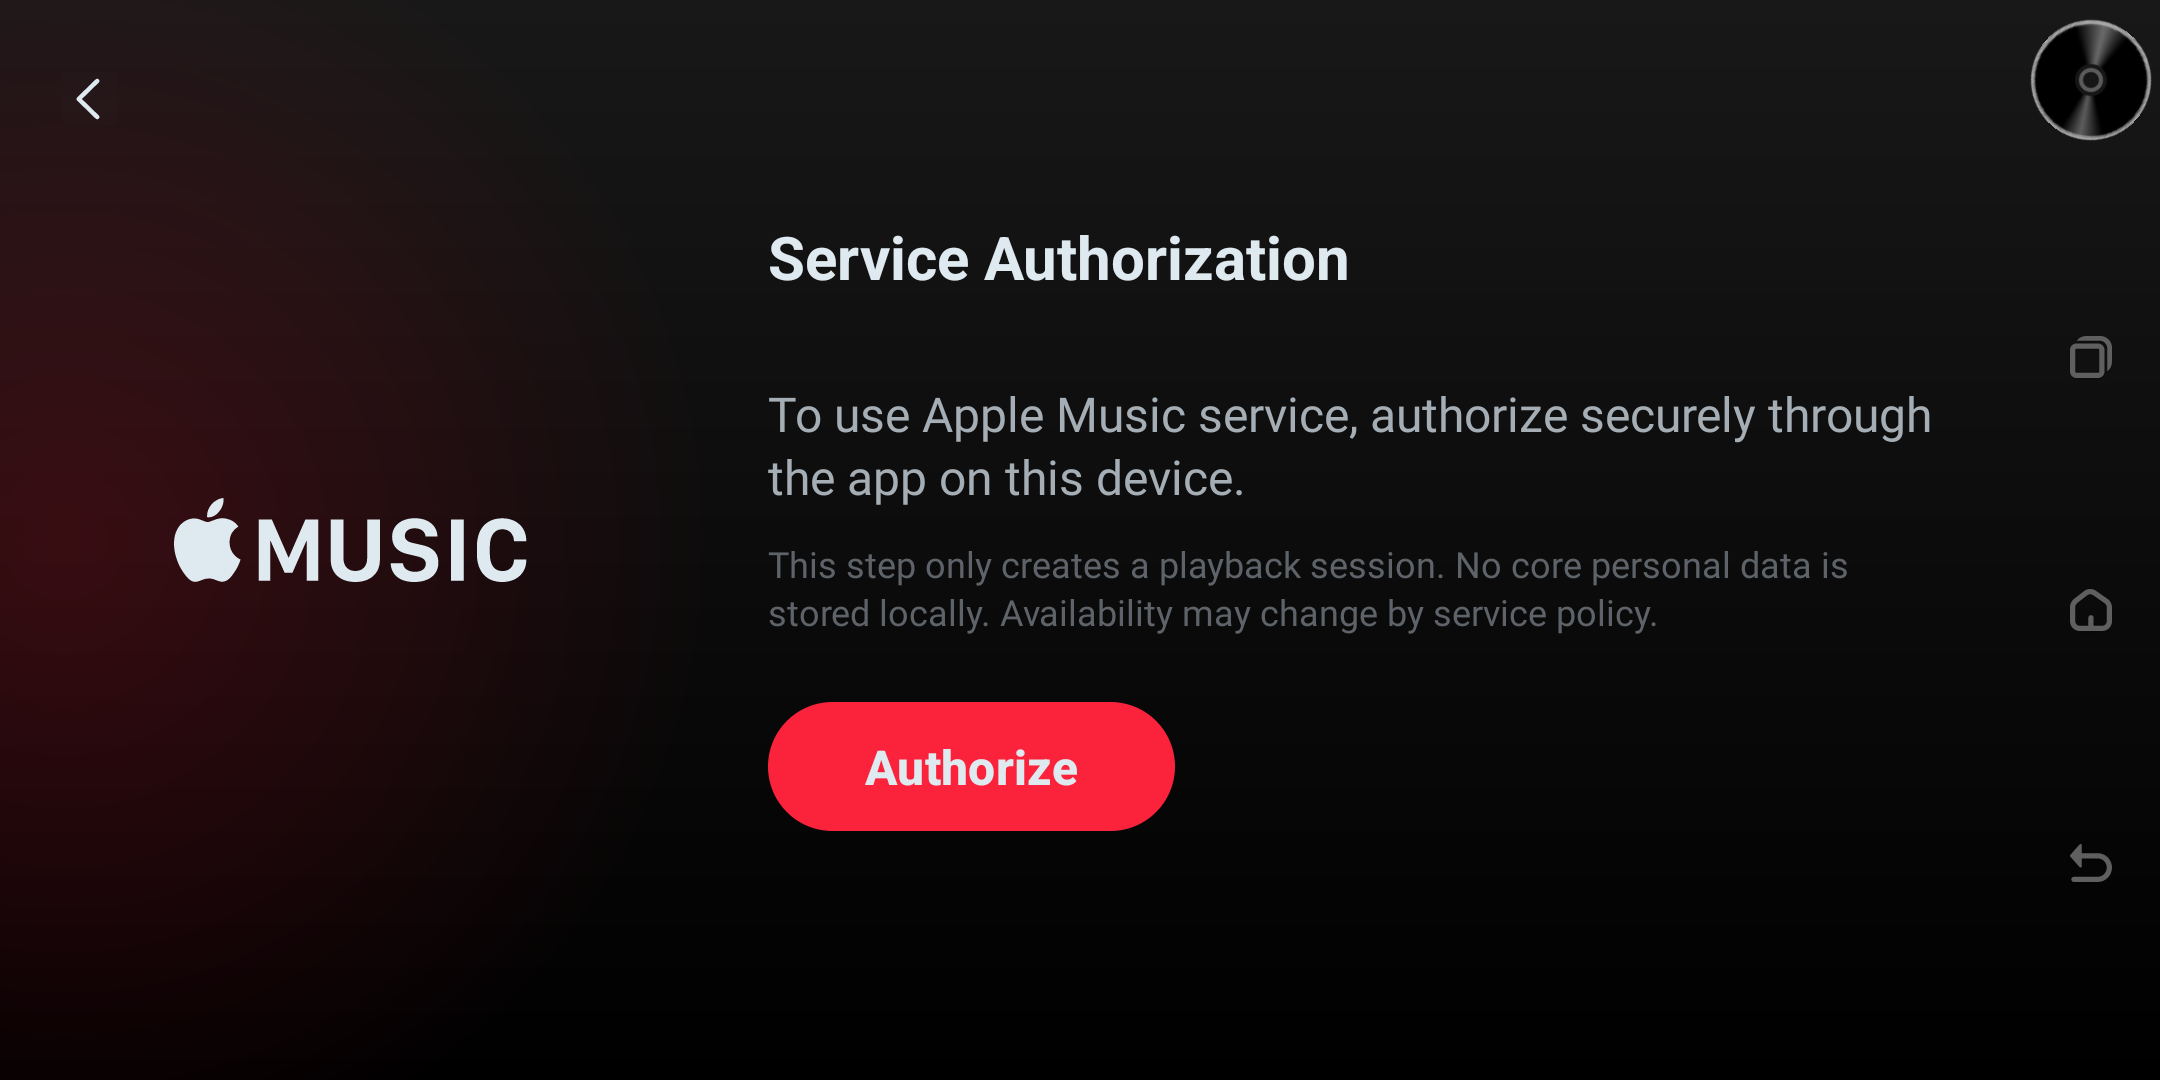
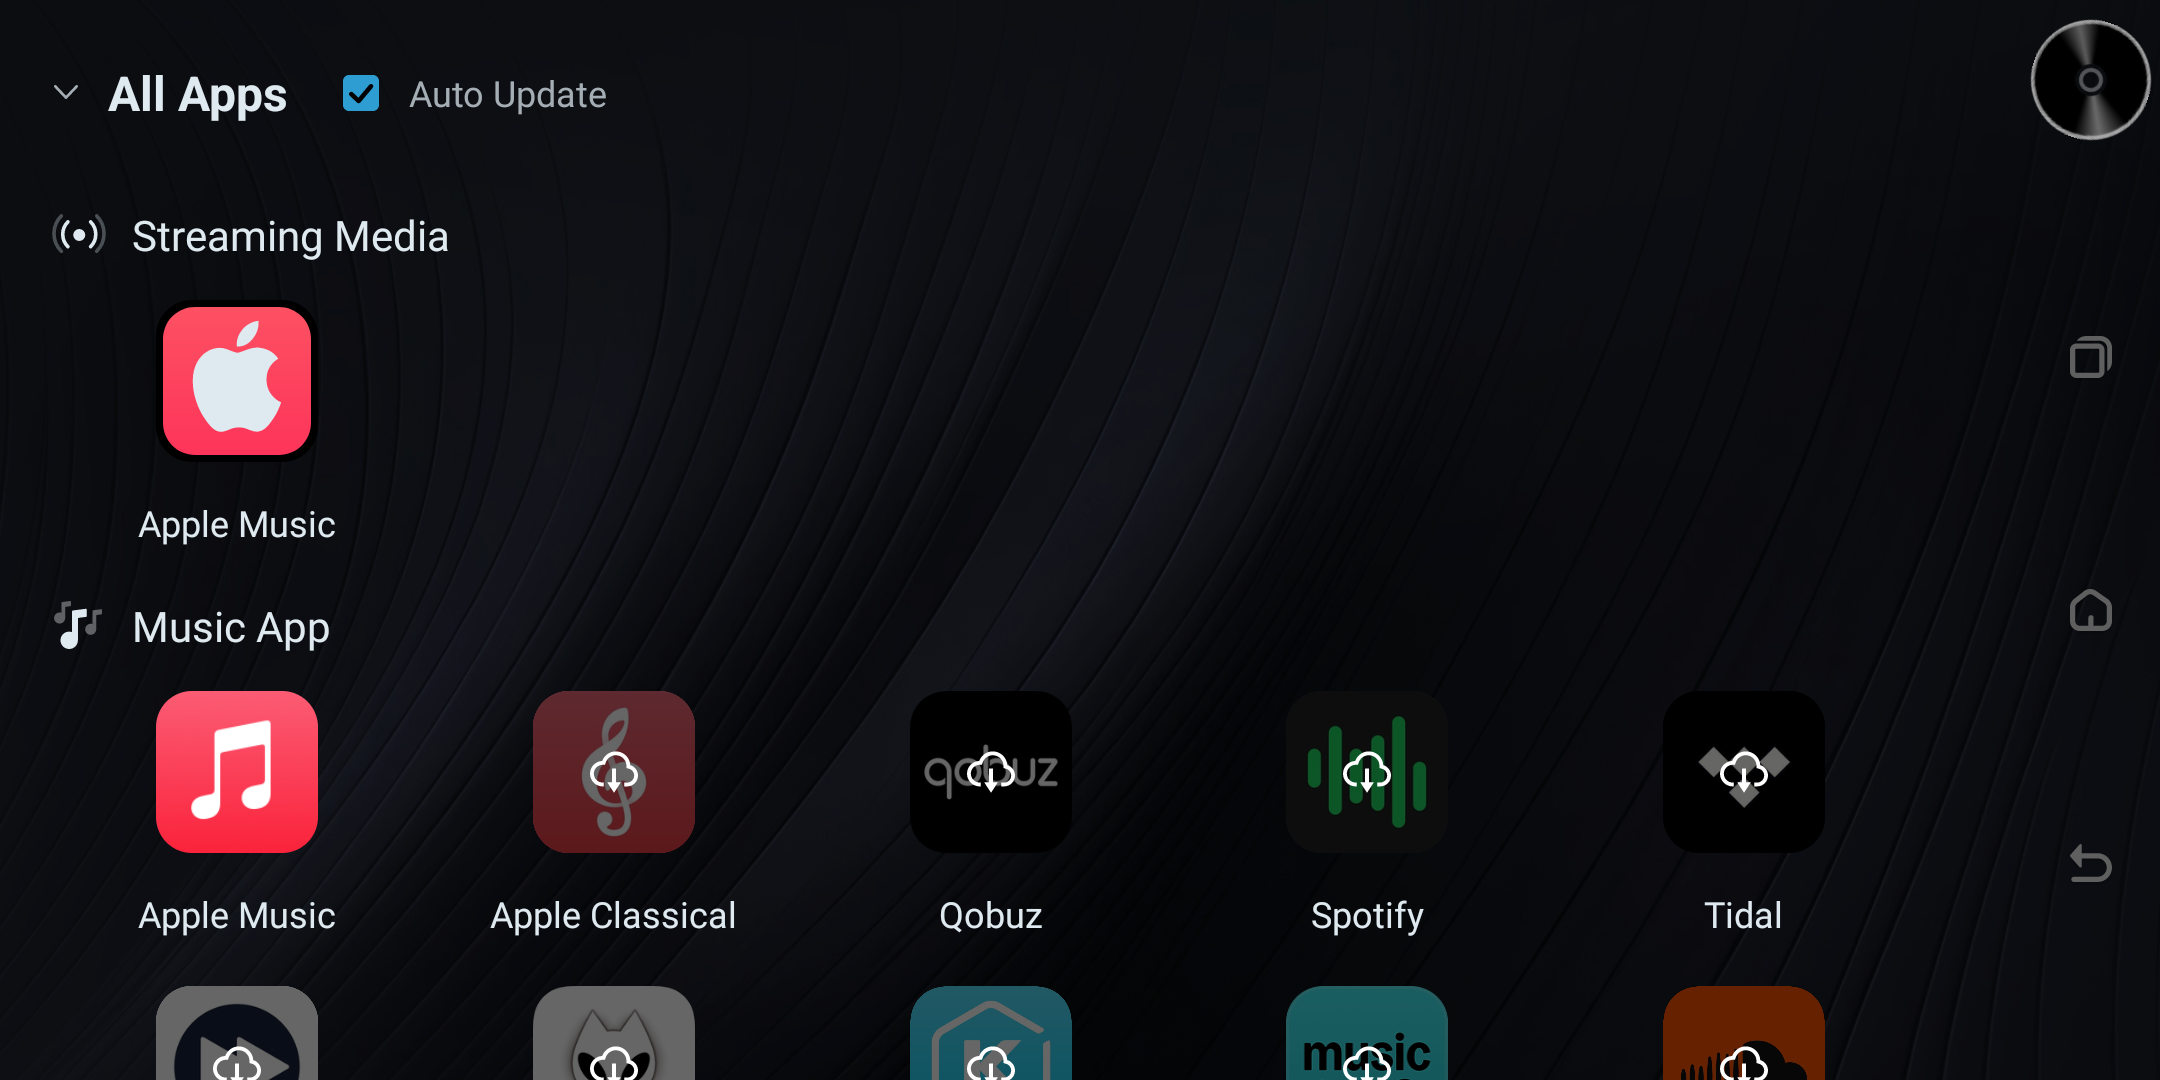
You need to download the official Apple Music app within the music app and log in, then tap this app to authorize and authenticate before entering the home page to play.
All Apps screen showing Apple Music among streaming apps.
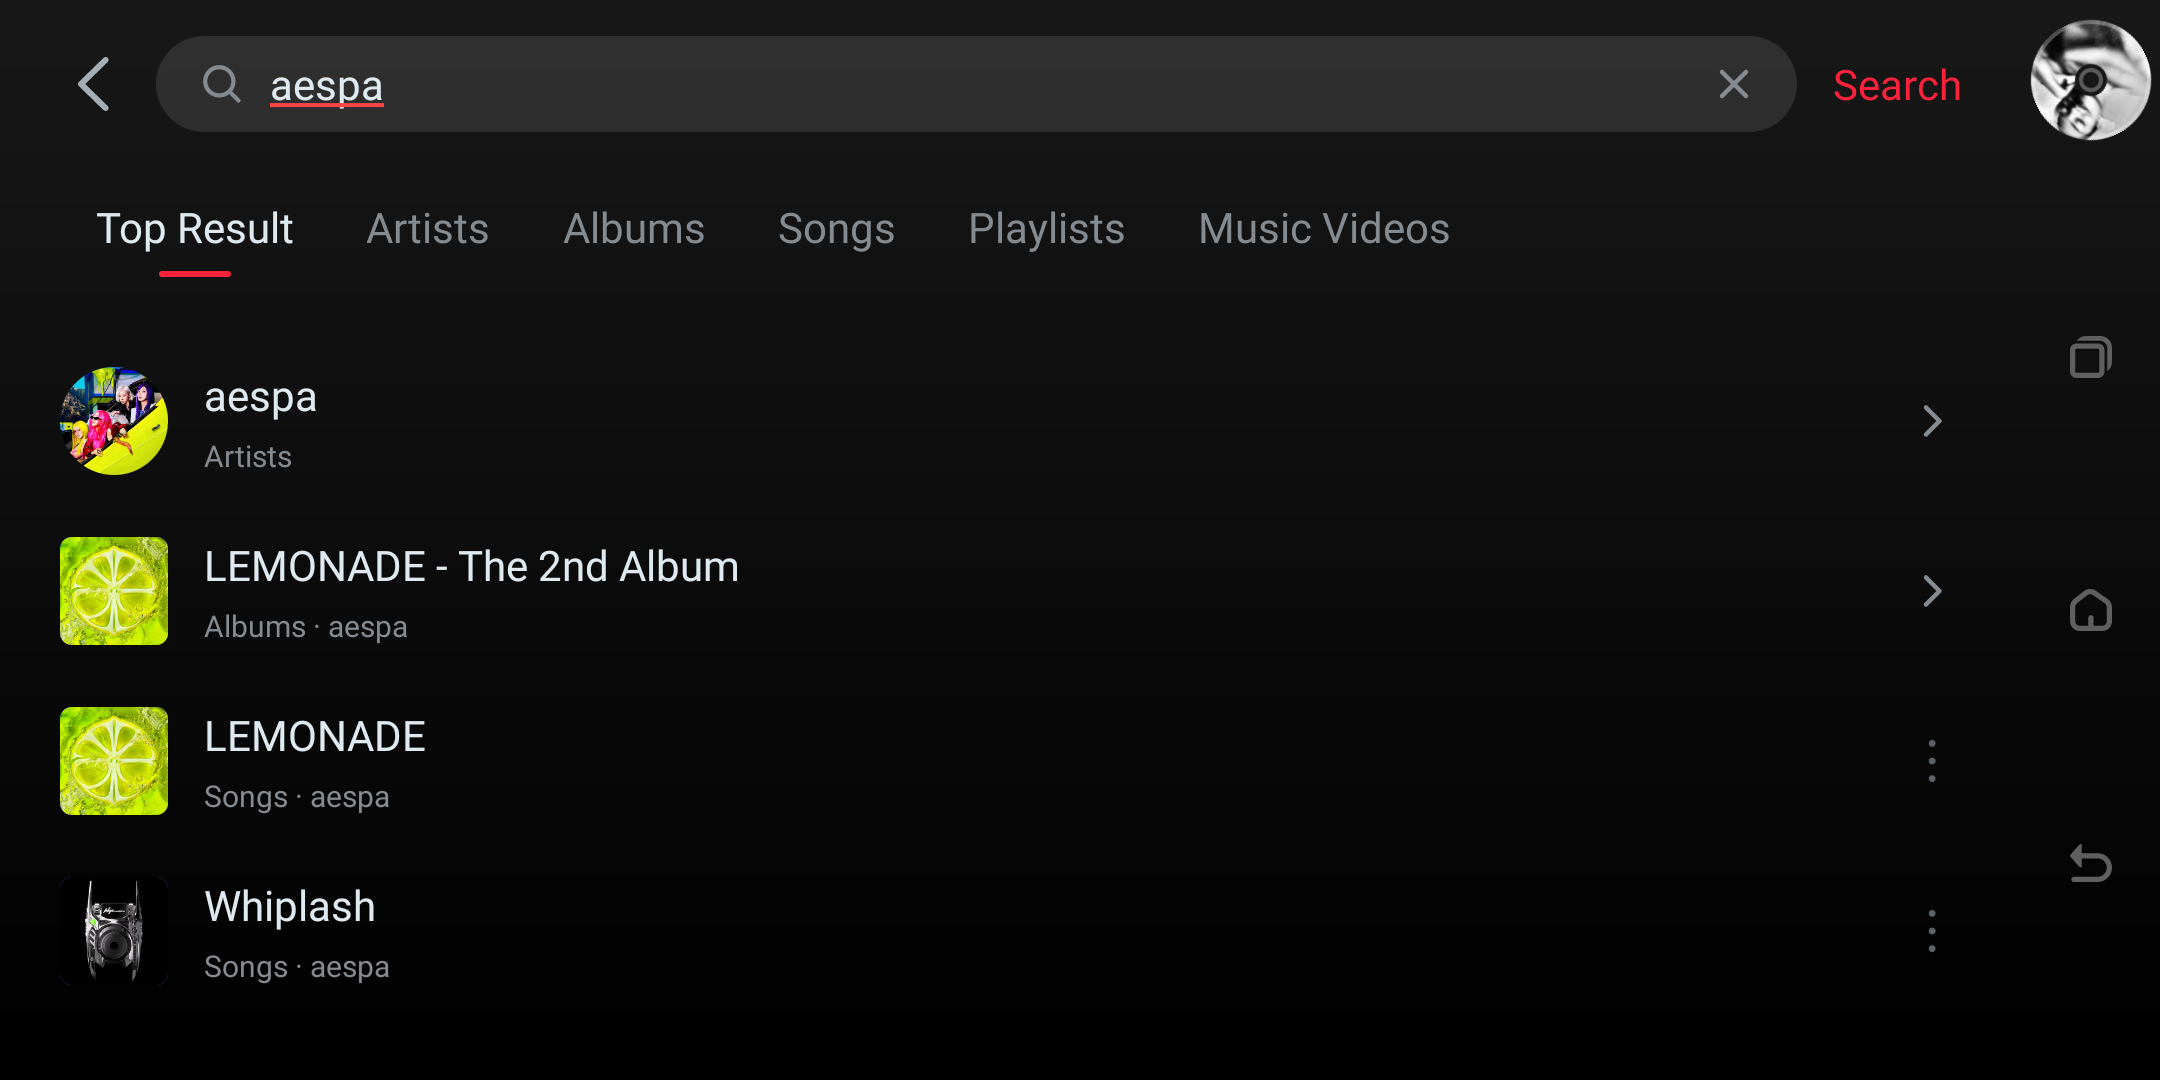
Apple Music search results on the player.
All Apps streaming-services overview.
Apple Music service-authorization screen.
Music Apps
This device supports mainstream music software on the market; feel free to use it.
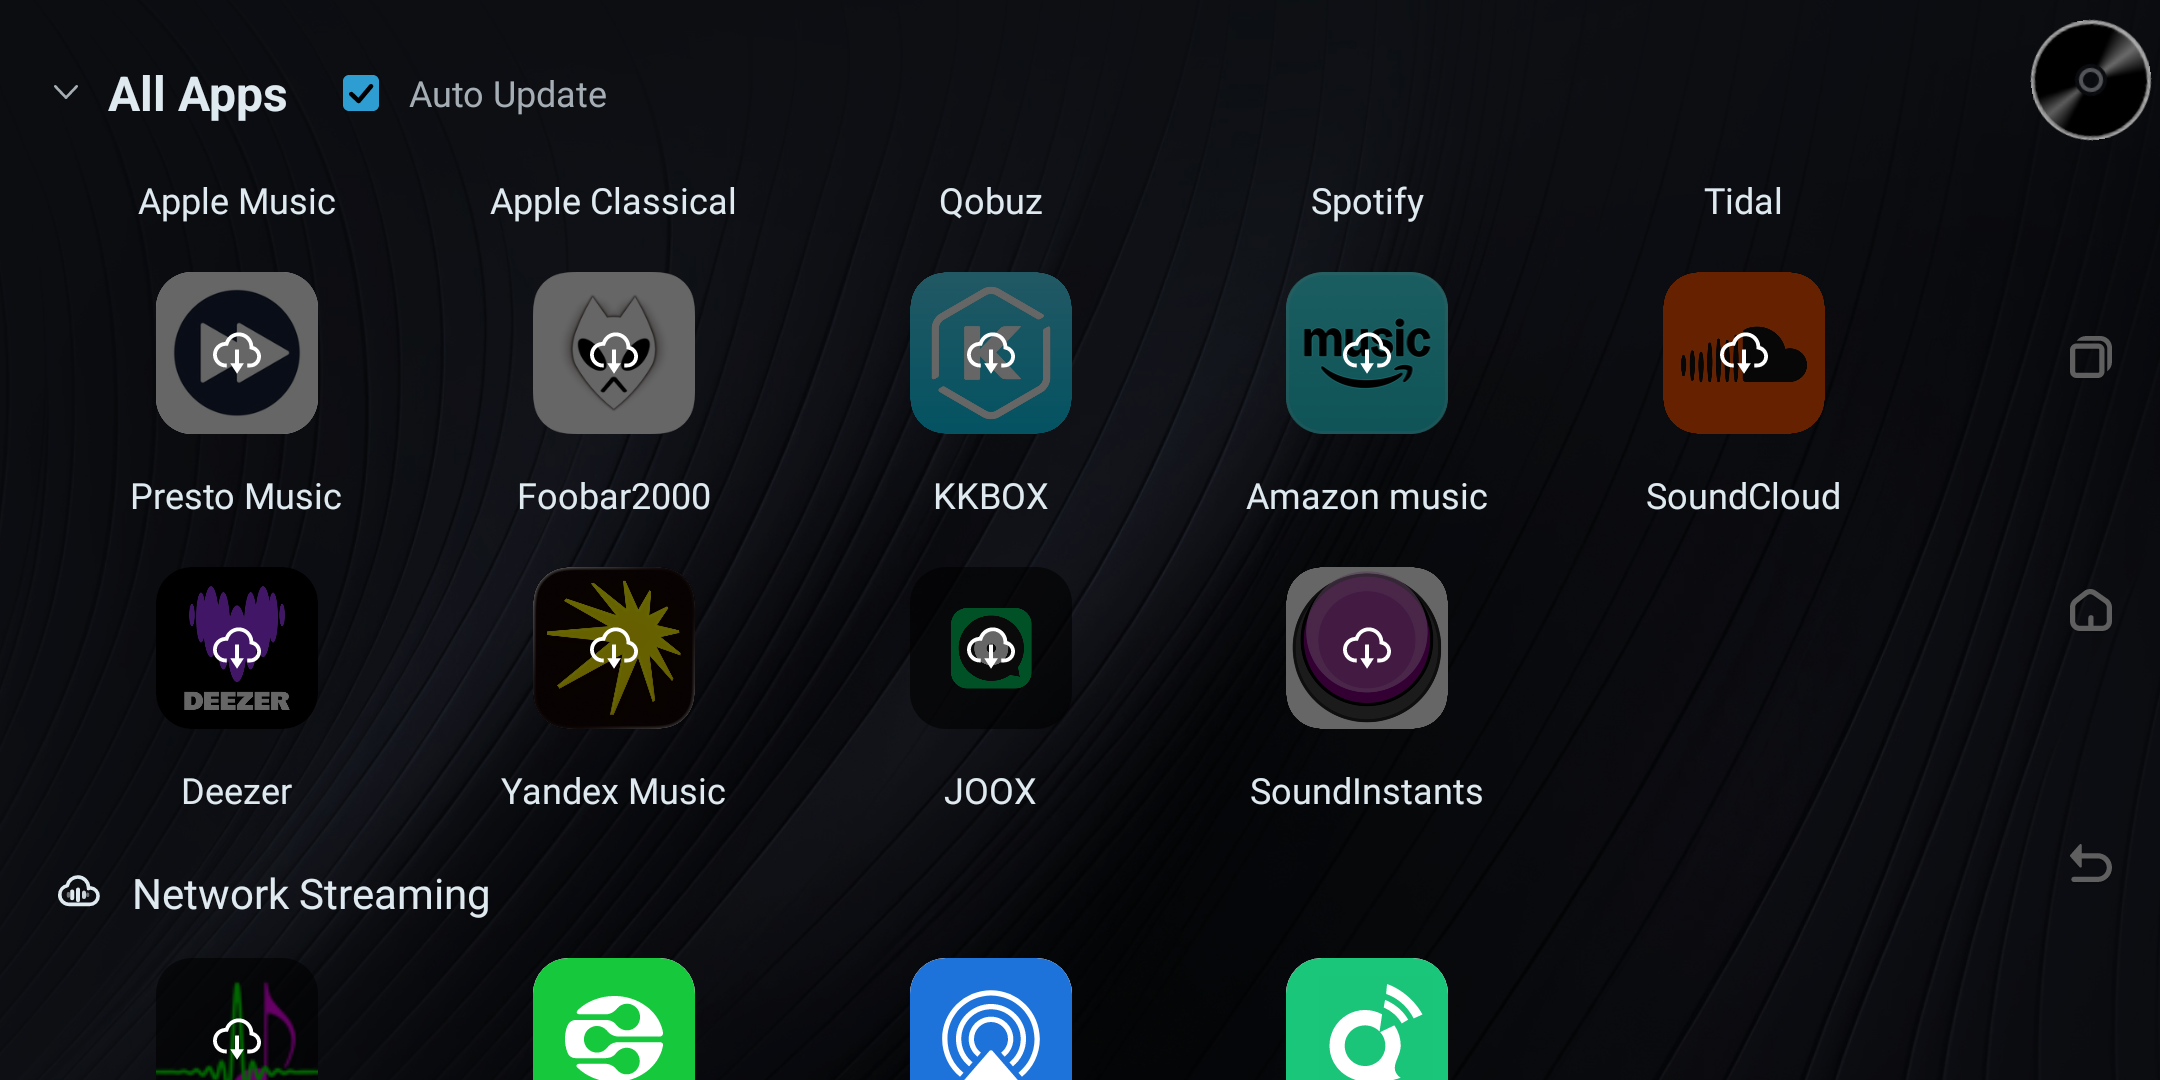
All Apps screen showing installed music apps.
Others
Besides various music apps, the streamer also comes with network streaming, online cloud drives, and several practical tools to meet audiophiles' diverse usage needs.
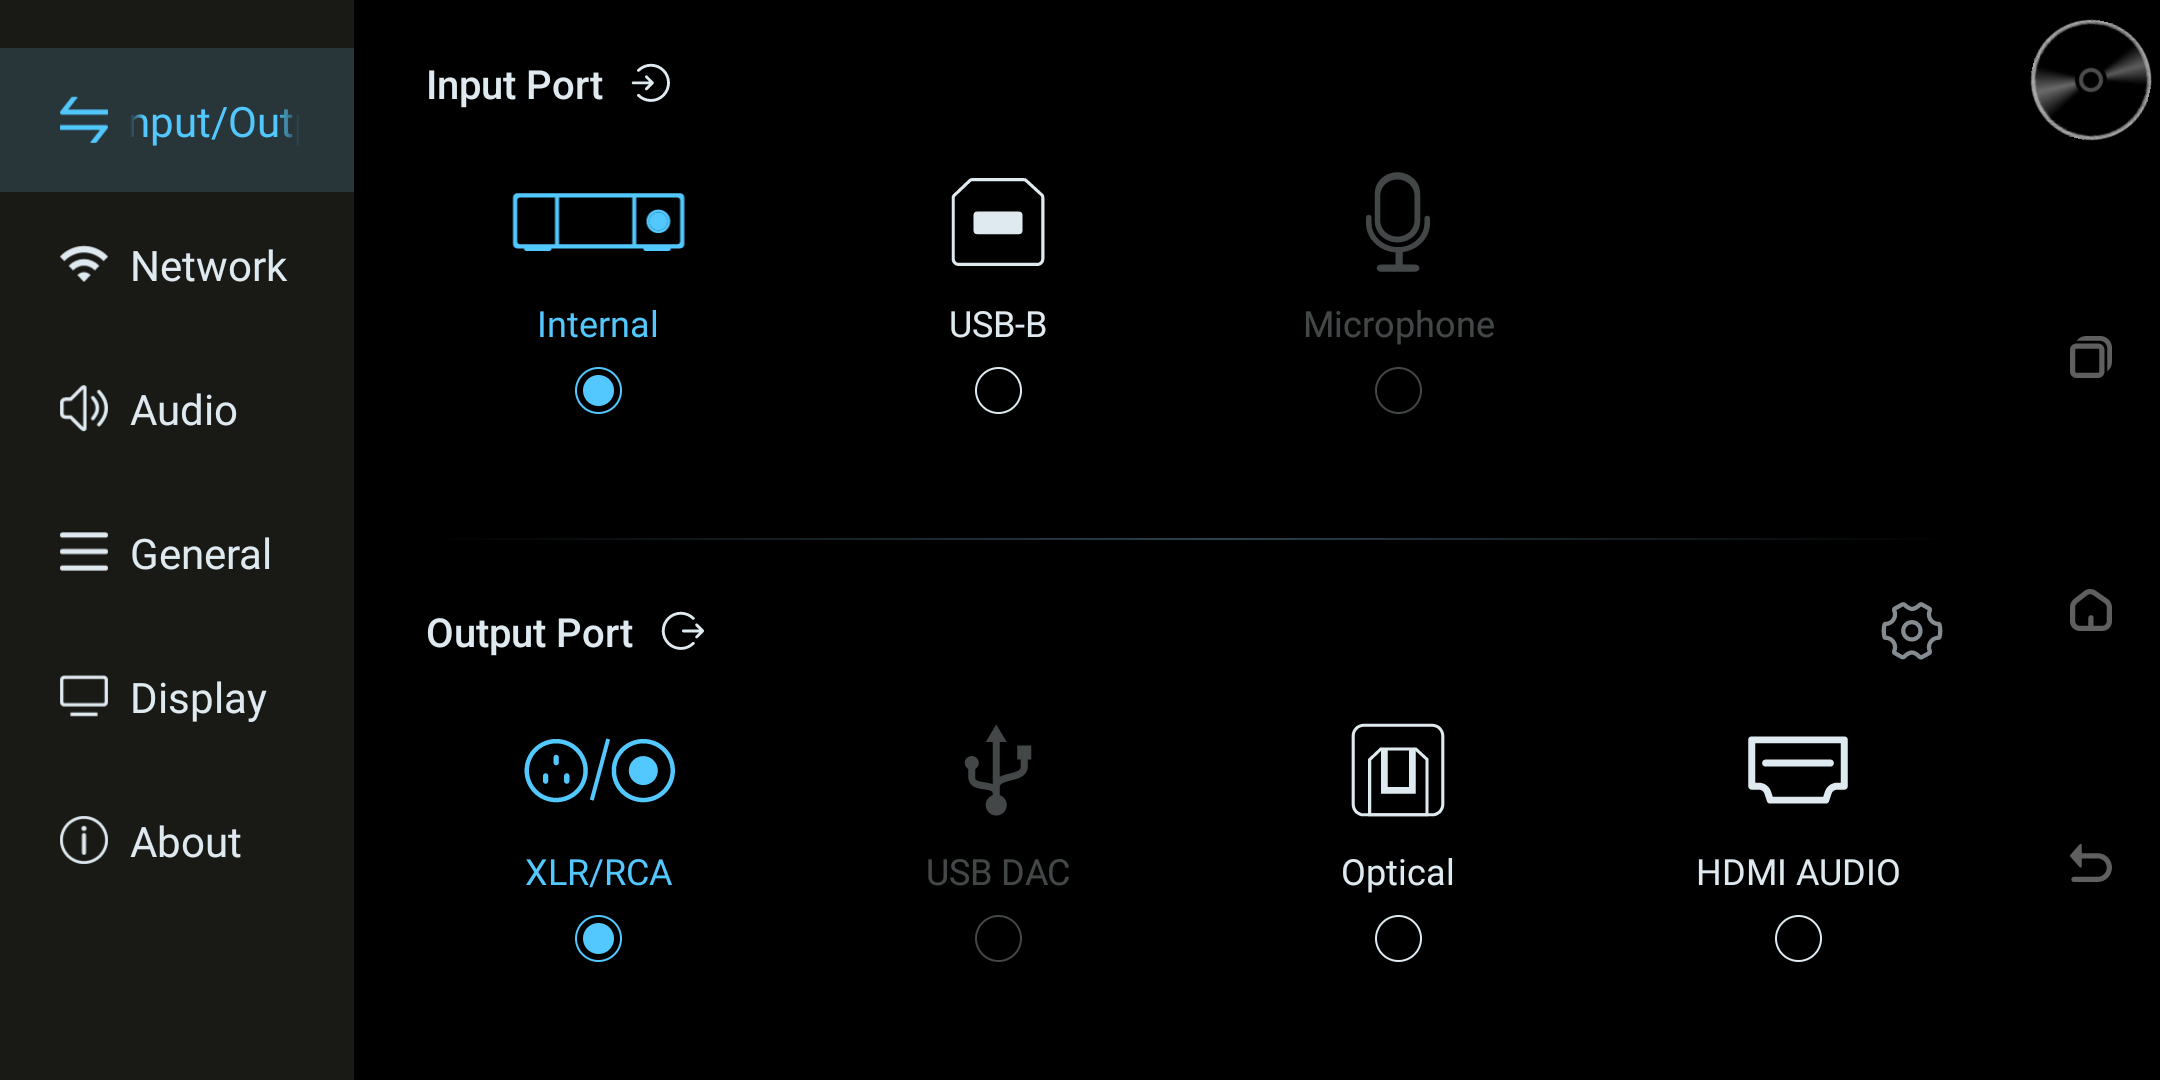
Input/Output settings screen showing input and output port options.
Here you can select the desired input and output ports. Tap the "Settings" button on the right of the output option to enter the detailed settings interface (the illustration shows the Pro series).
Network
Wi-Fi & Wired Network
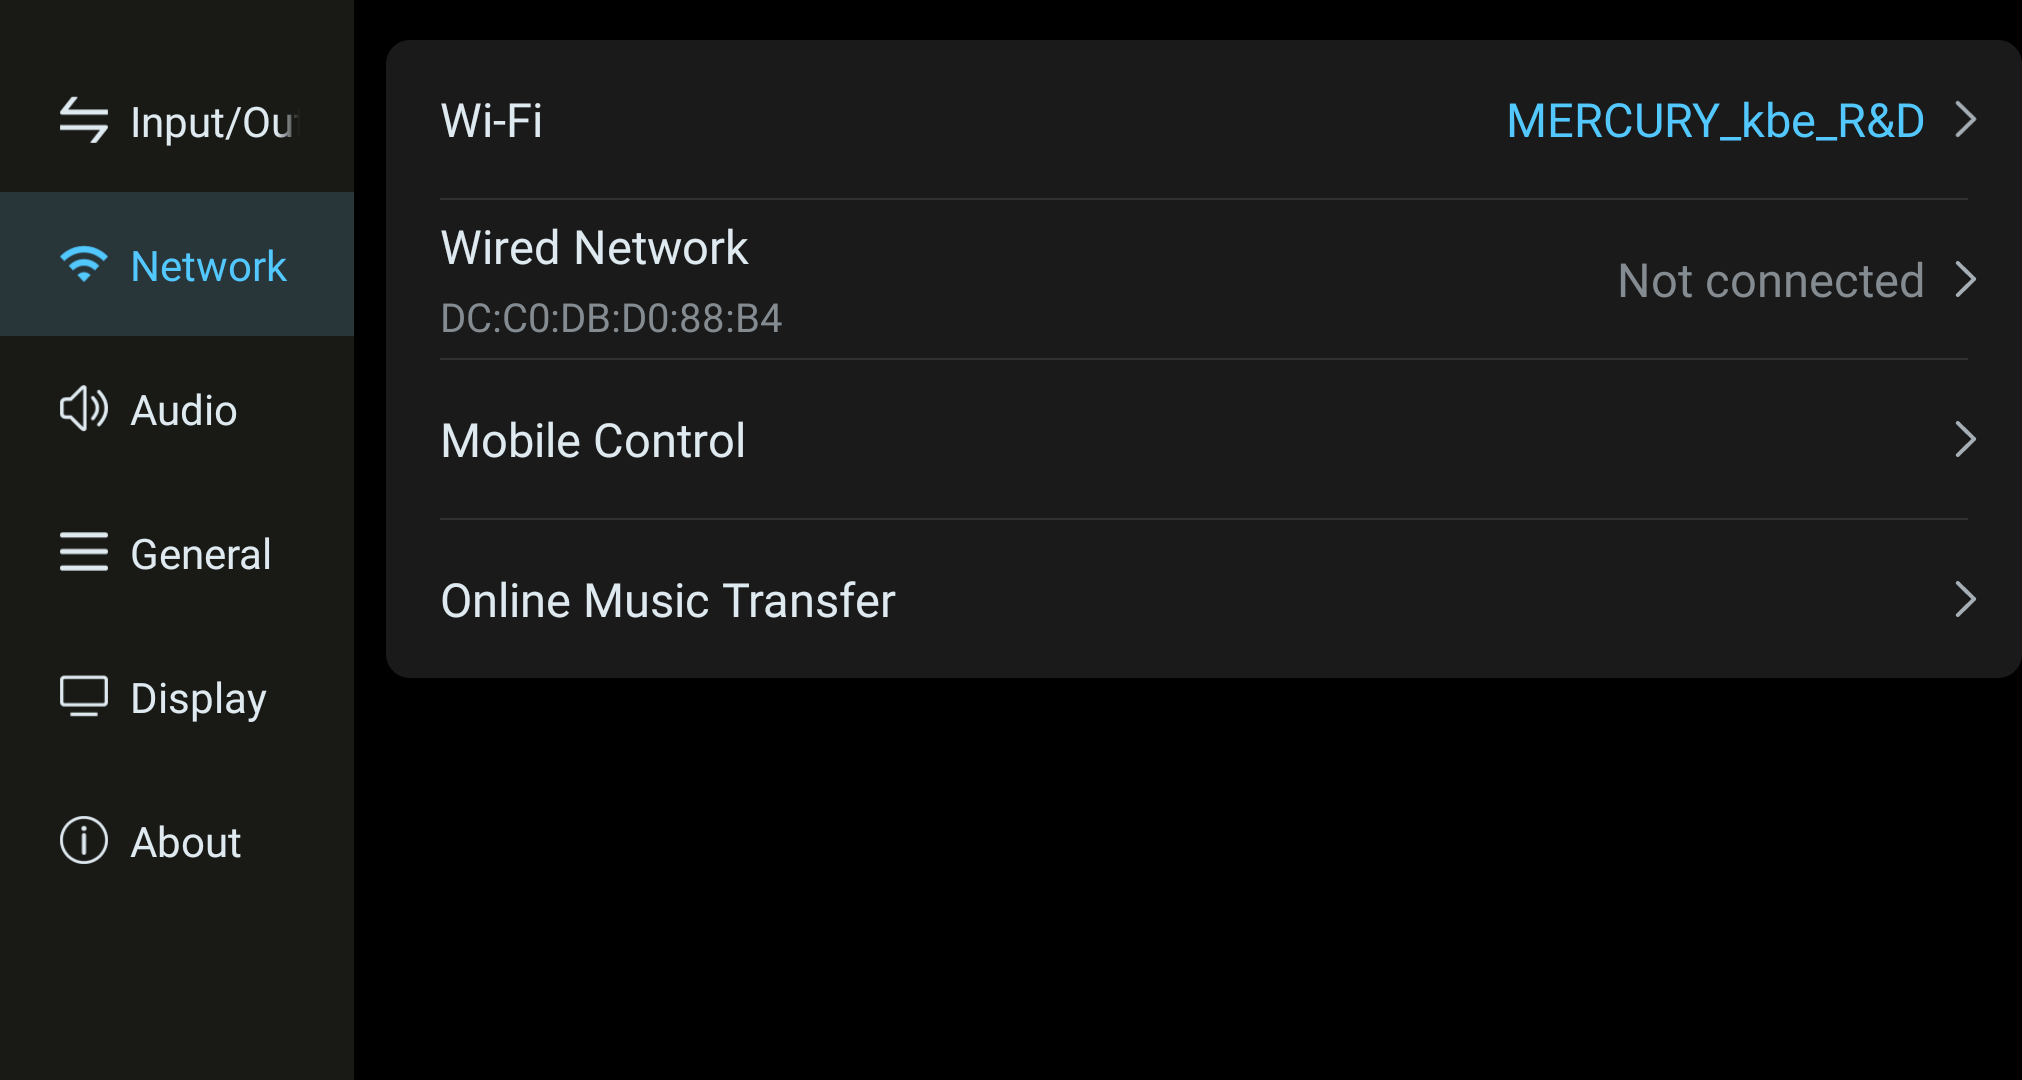
Before using the DMP-K series products, ensure the network is connected. The device supports both wired network and Wi-Fi. For Wi-Fi settings, go to Settings menu > "Network" > "Wi-Fi".
Network settings screen showing Wi-Fi, wired network, phone control, and transfer options.
Online Music Transfer
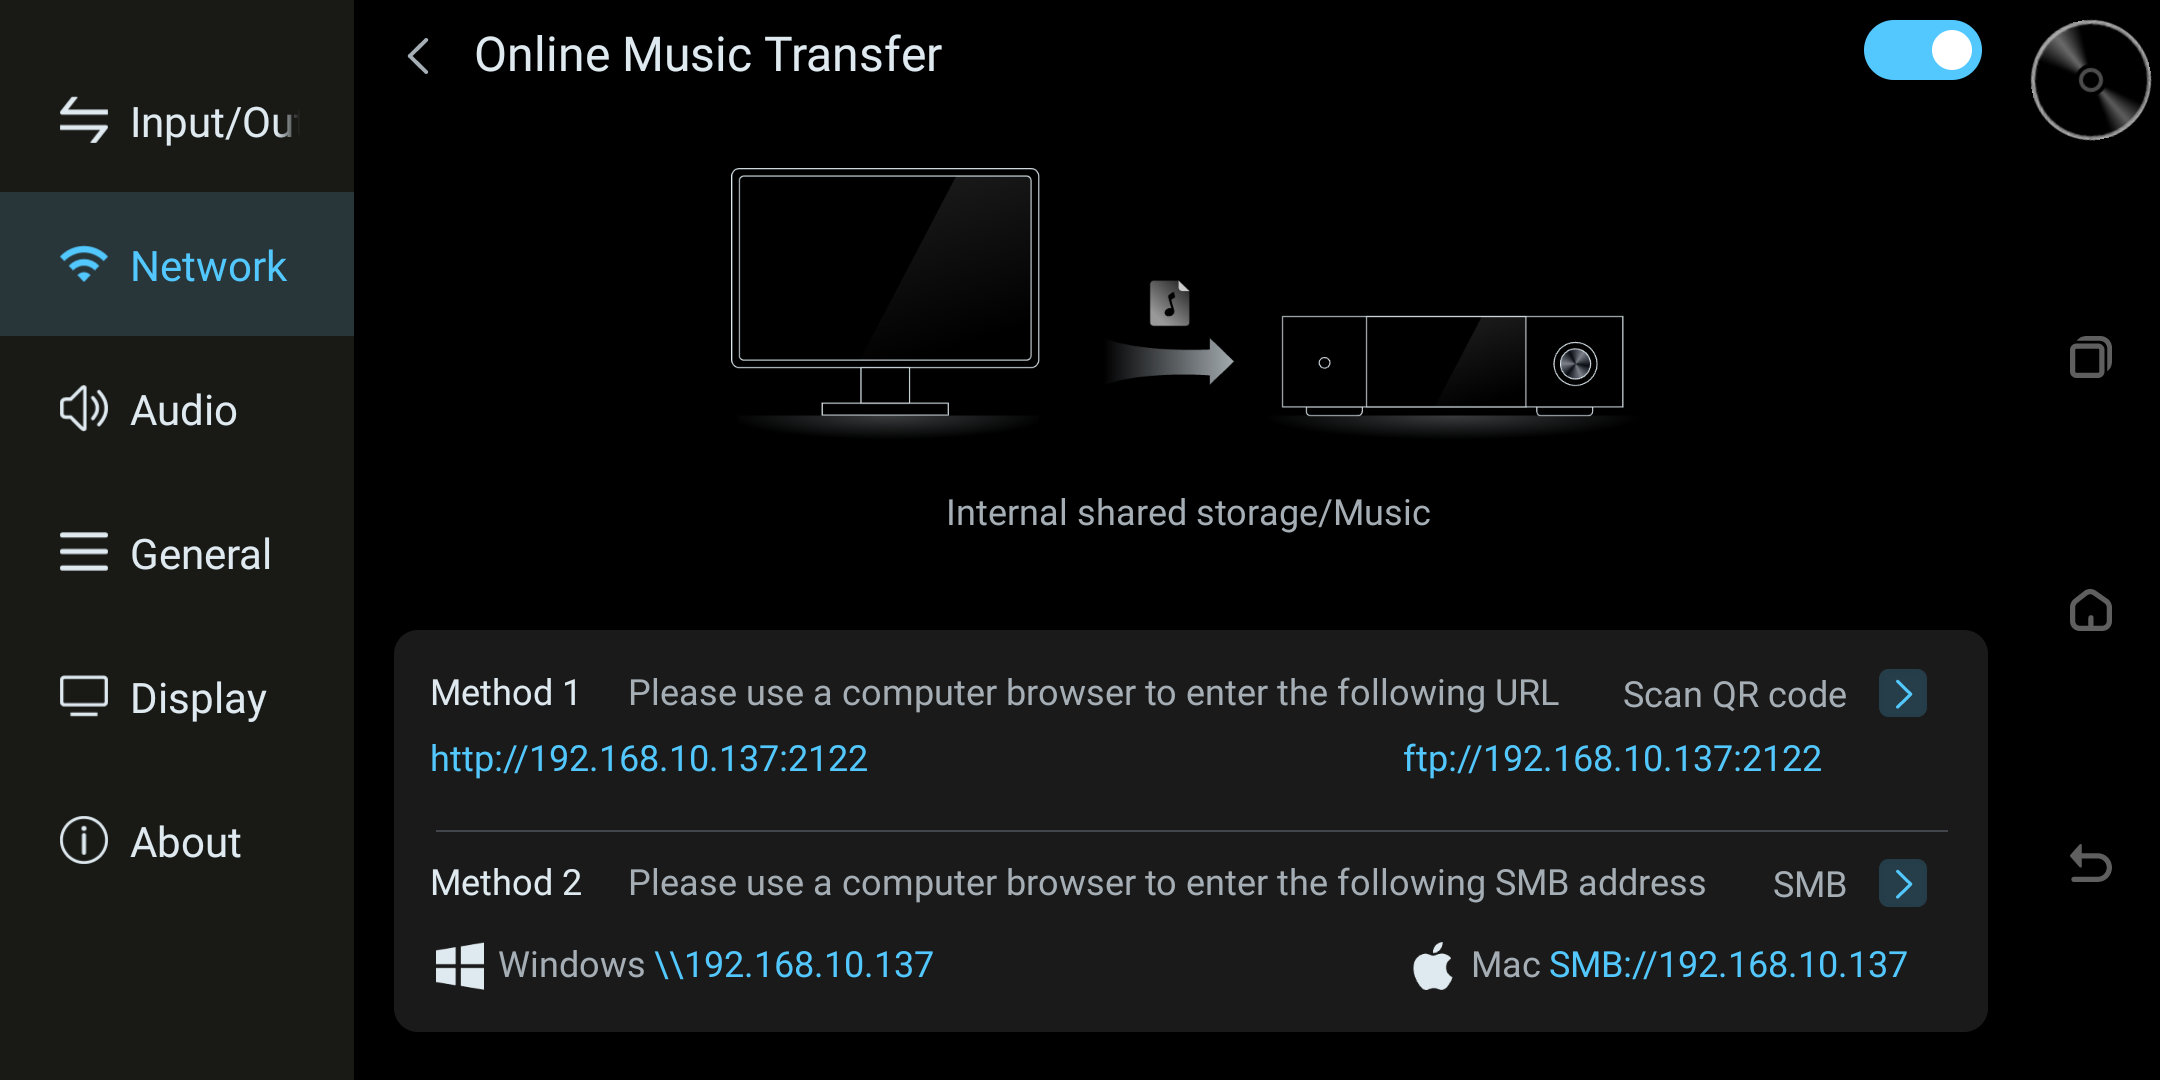
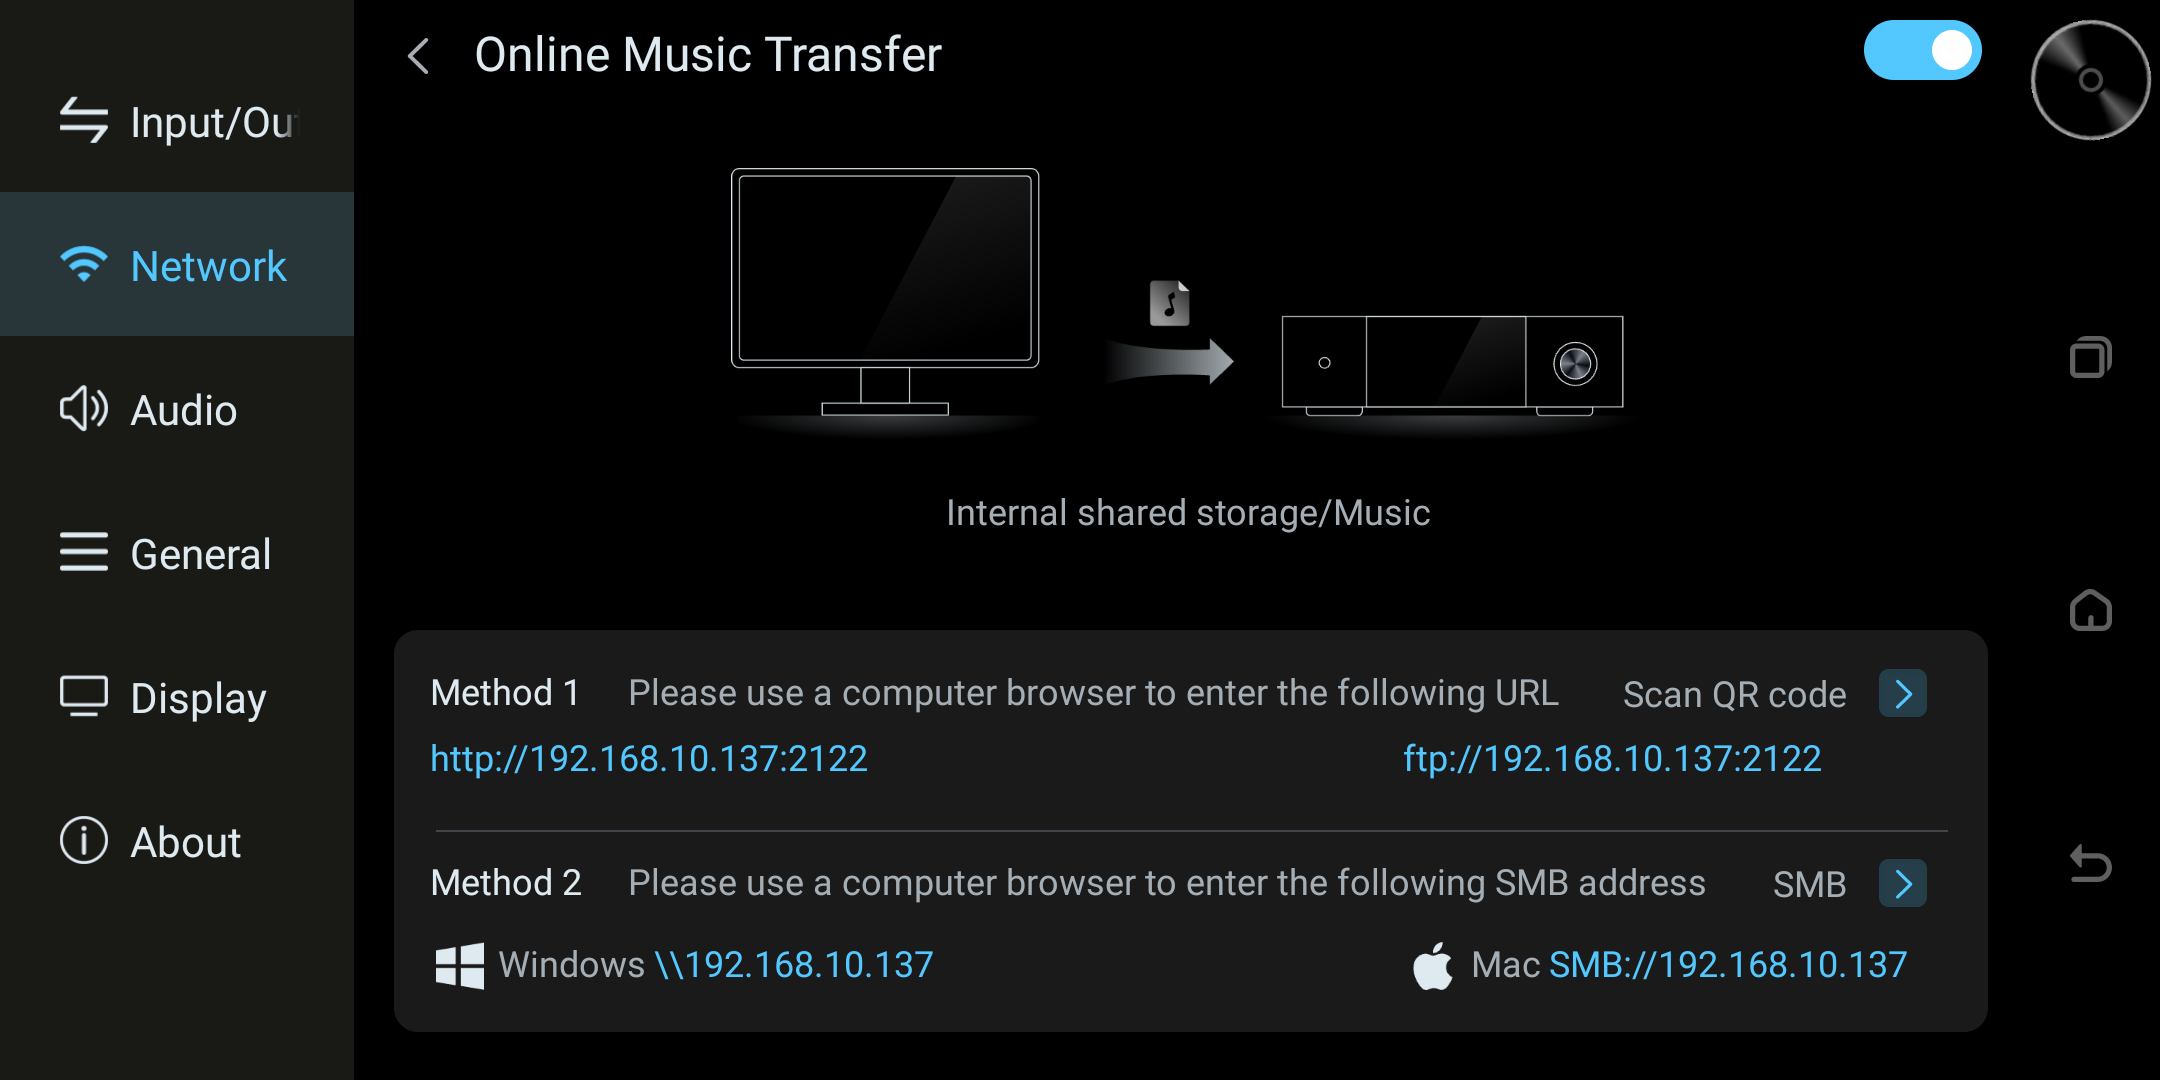
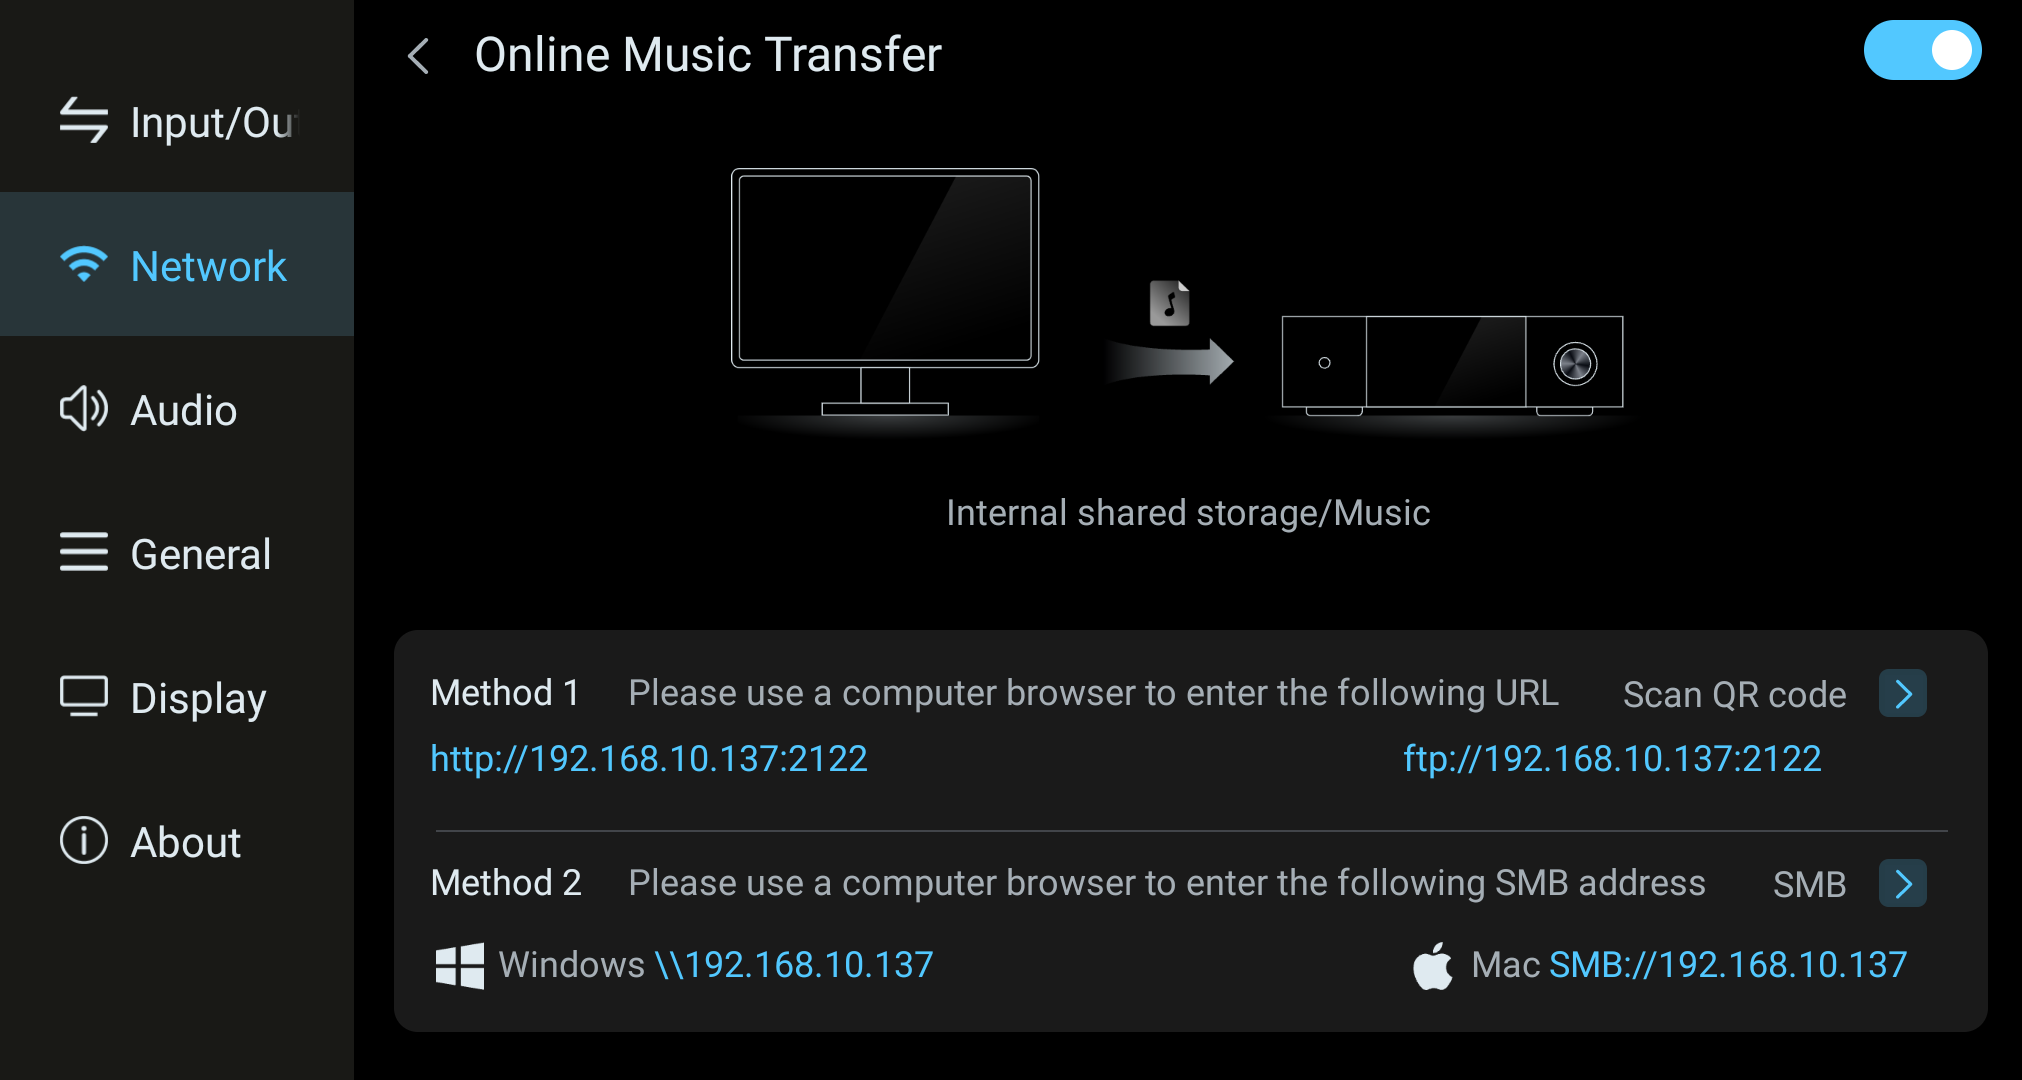
Settings – Network – Online Music Transfer: Make sure the computer and device are on the same LAN, turn on the switch at the top-right, and enter the URL shown on the page (tap the path edit button to select the music file path you want to save to).
Online Music Transfer screen with browser and SMB access methods.
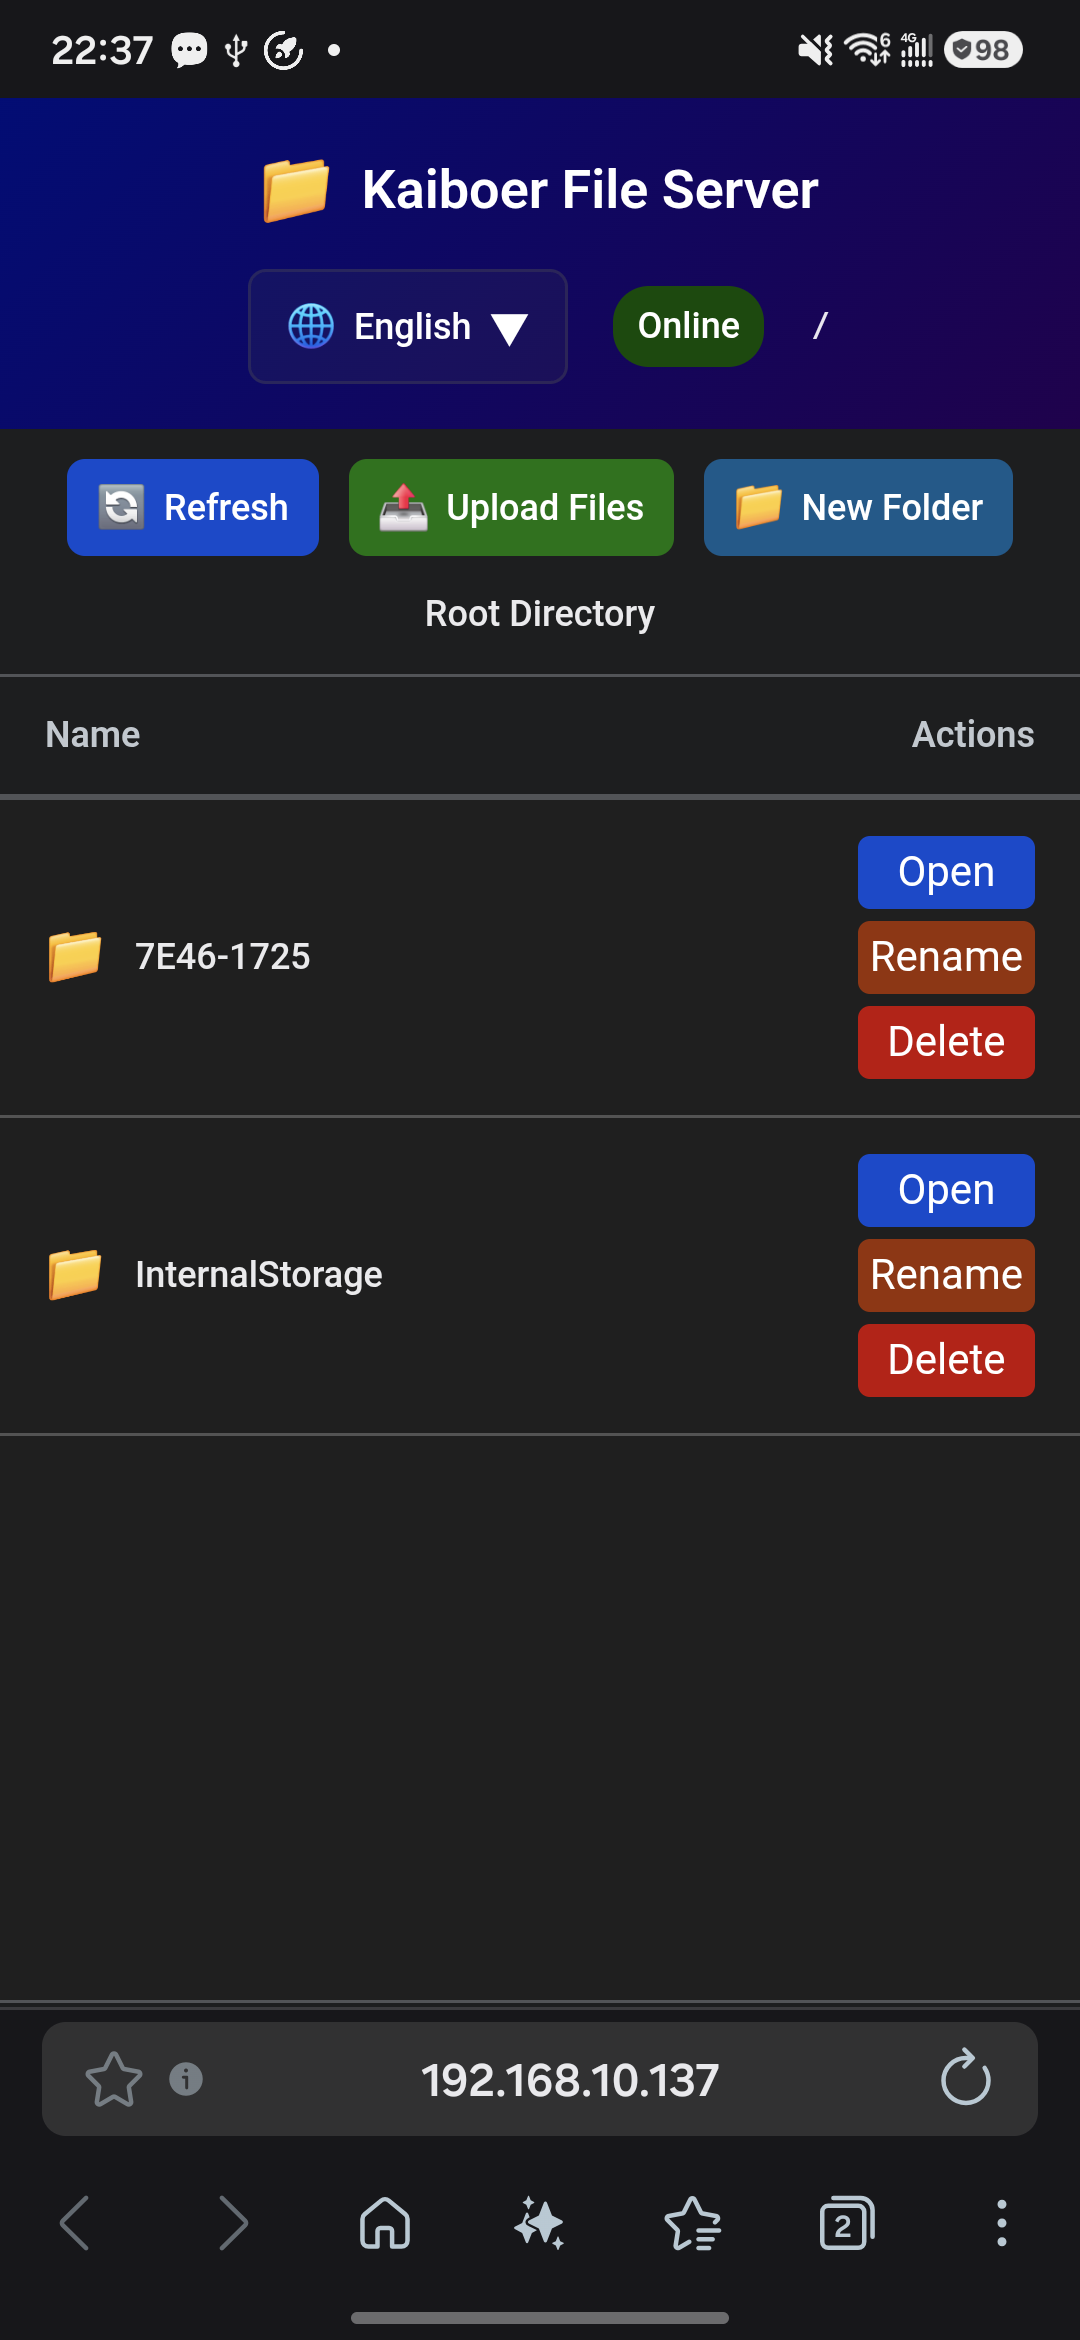
After opening the URL on the computer, click the "Upload File" button on the page and select the music files you want to transfer.
Online Music Transfer screen with browser and SMB access methods.
Online Music Transfer screen with browser and SMB transfer addresses.
You can also tap "Scan QR" on the right side of the device interface to jump to the mobile scan interface. After scanning with your phone, the page opens; likewise, tap "Upload File" and select the corresponding file.
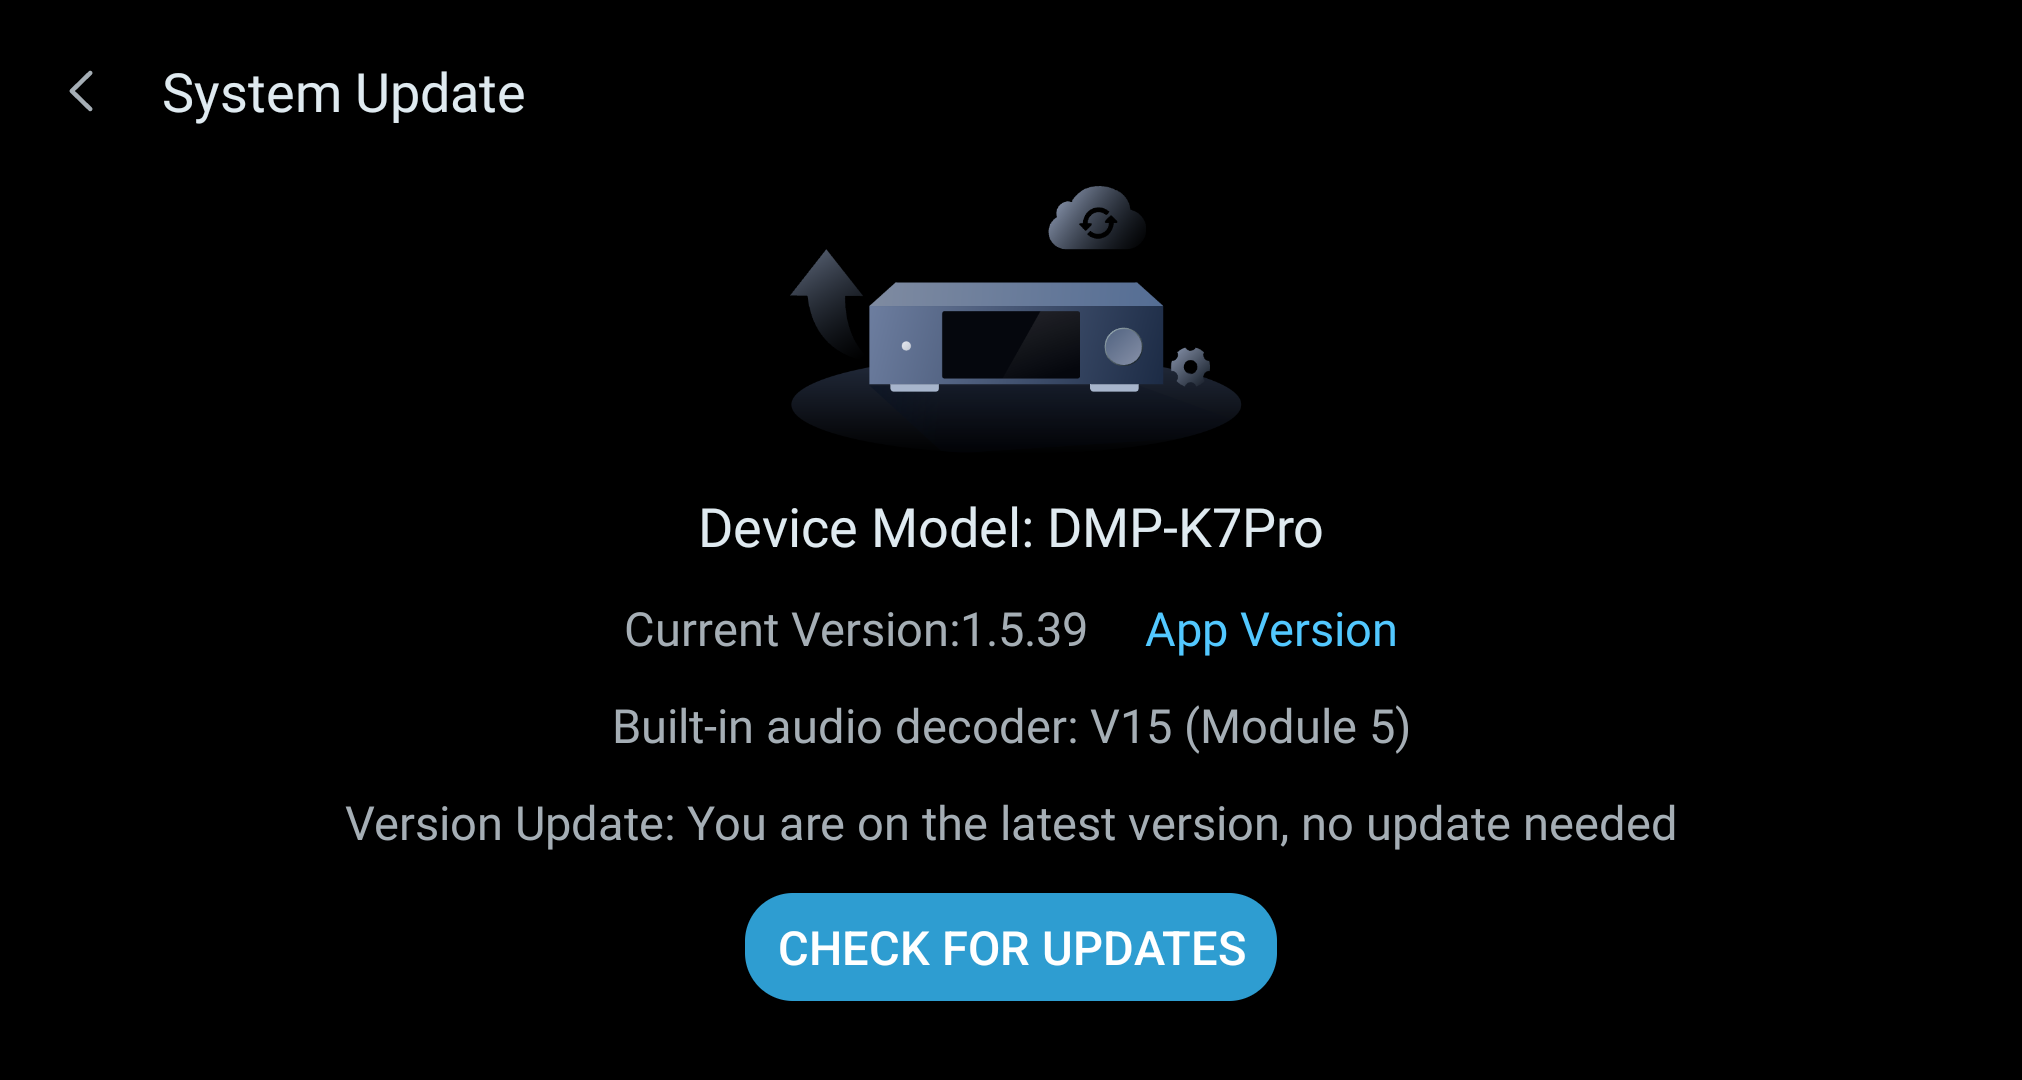
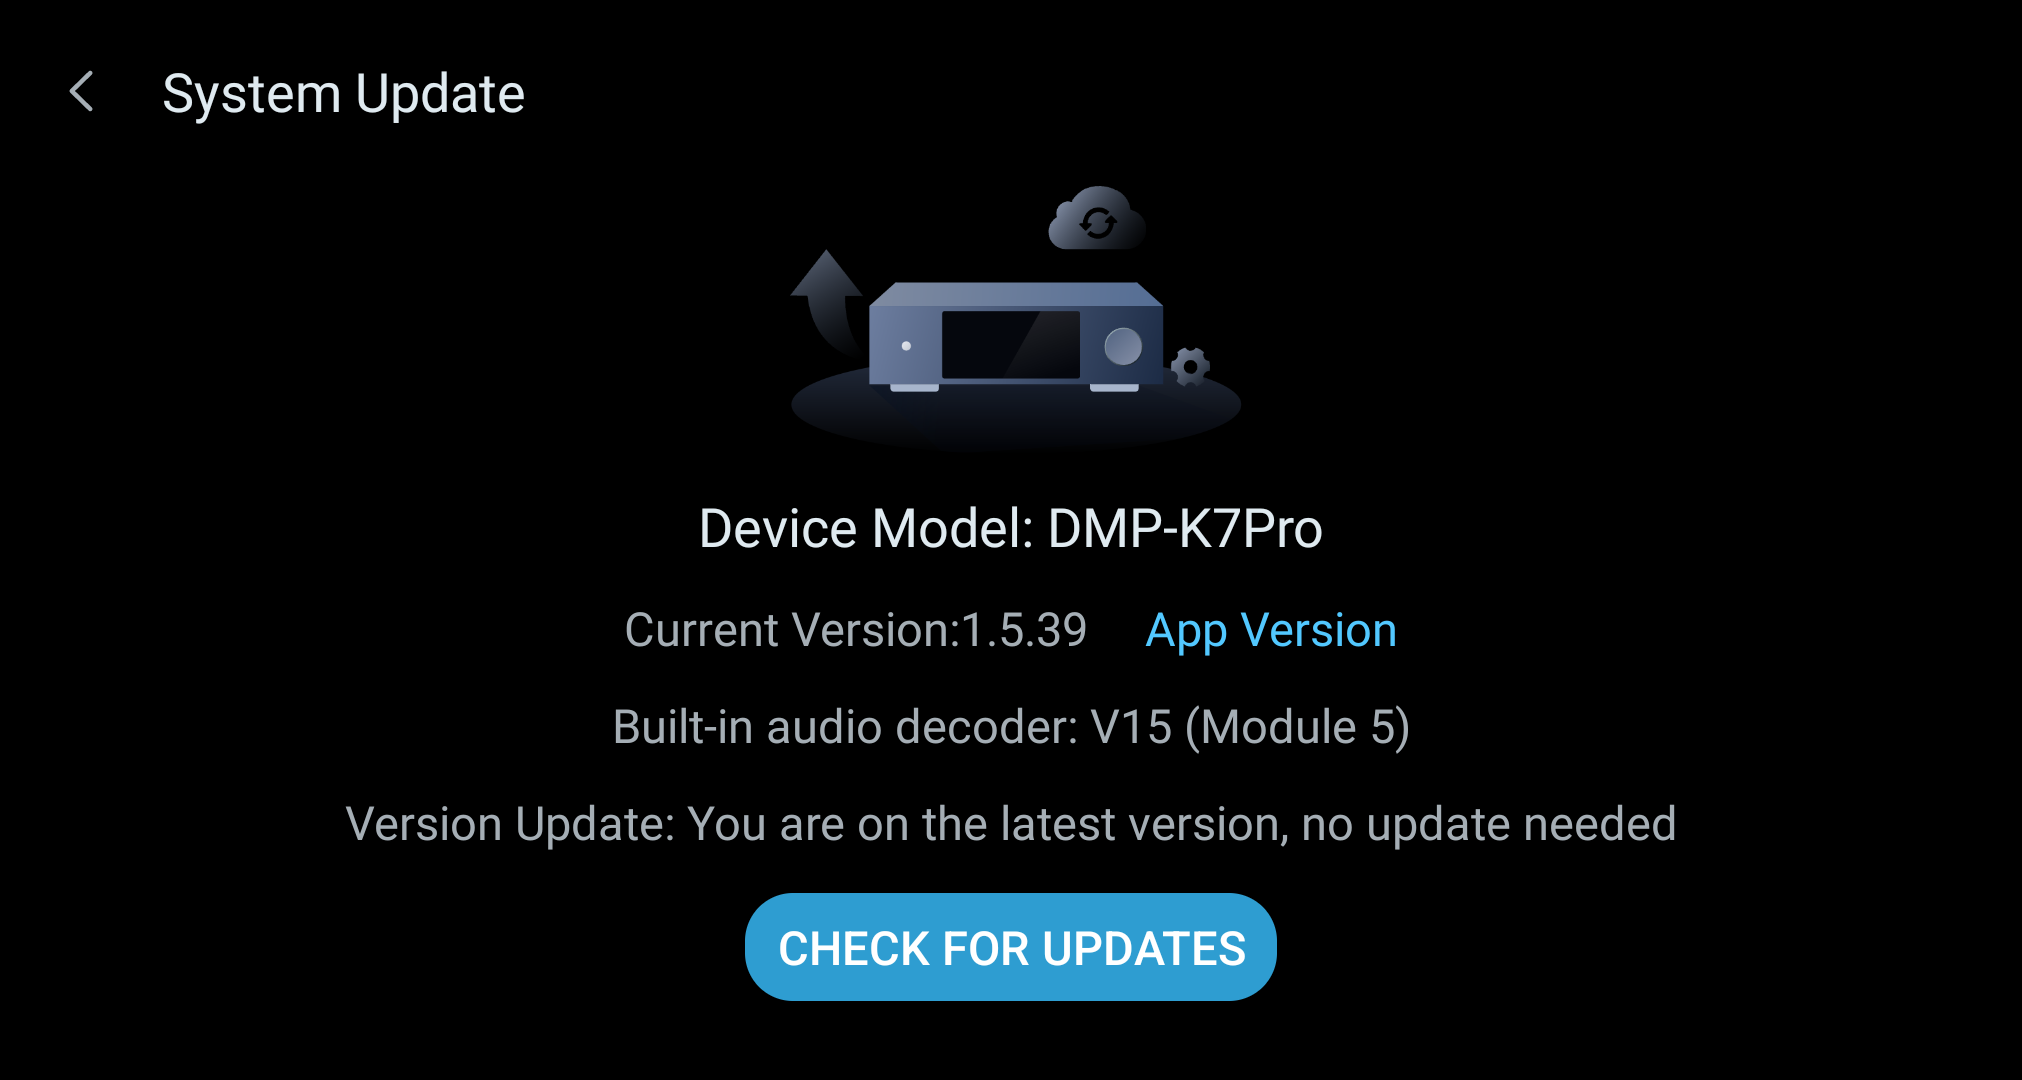
System Update screen showing the device version and Check for Updates button.
Kaiboer Home transfer page.
Open the previously set file path in the device's local storage to see the transferred songs.
Audio
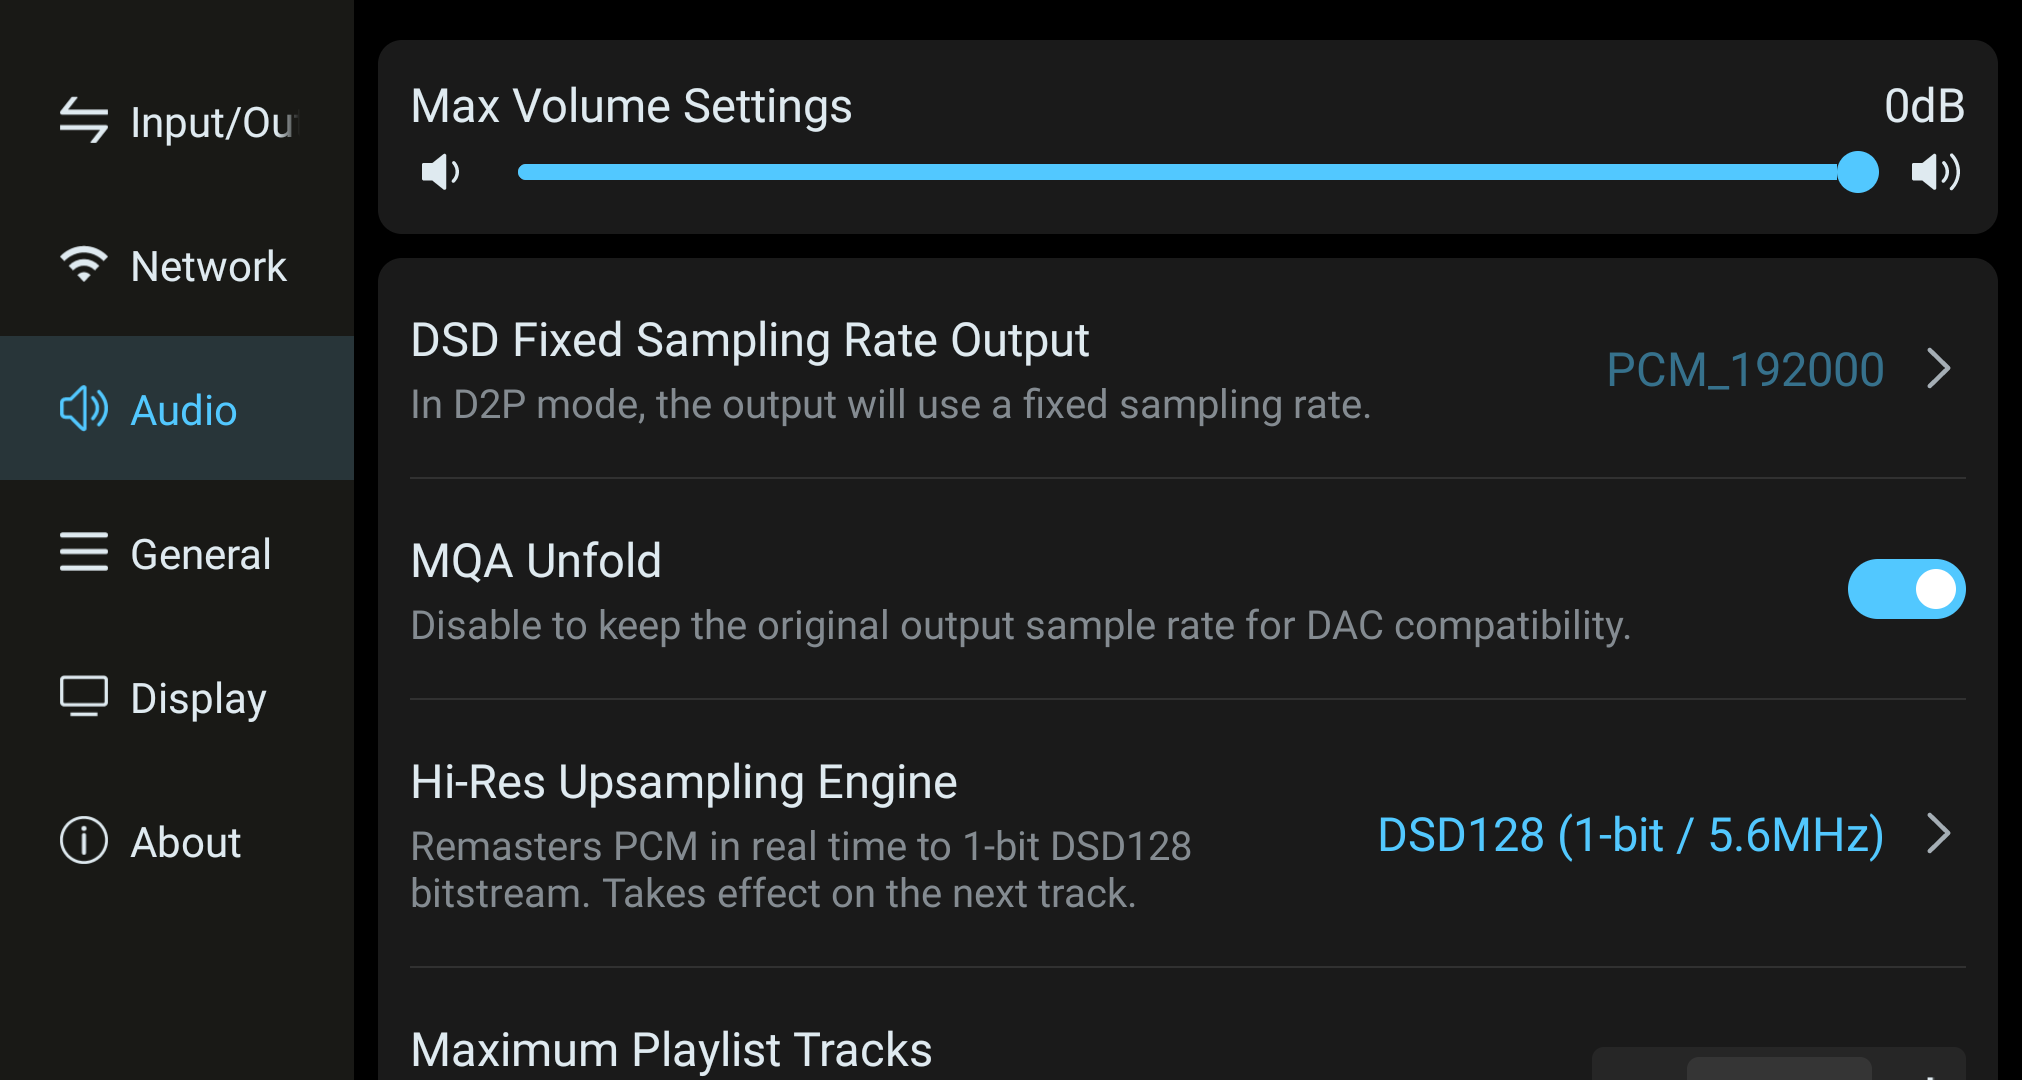
Audio settings screen with volume and audio-processing options.
DSD Fixed Sample Rate Output: Sample rate adjustment is only available when the output mode is D2P.
MQA Rendering: This function lets you actively choose whether to render (expand) the sample rate of MQA format songs.
Max Tracks in Playlist: The maximum number of tracks added to the playlist when playback starts.
Integer Volume Display: Toggle the volume display style.
Digital Volume Bypass: Disables digital volume attenuation on supported output routes. Adjust the connected DAC or amplifier from a low level. End-to-end bit-perfect playback also depends on other active processing and the output route.
Auto-Mute on Output Switch: When switching audio output ports, the device briefly mutes to help protect connected equipment.
Jump to Player on Play: Automatically opens the playback interface after selecting a song file in the File app.
Add Single Track Only to Playlist: When enabled, only the currently clicked single track plays; when disabled, clicking the current track list adds all of them to the current playlist.
Folder Track Skip: In sequential playback mode, songs in different folders at the same directory level can skip-play.
Resume Playback: After the device boots, opening the music app automatically resumes the last playback queue.
VU Meter Algorithm: You can choose the response mode (real-time level / analog level).
Adjust the maximum volume value the device knob can output, as well as some other audio playback functions. Please refer to the notes below each function to adjust the audio settings that suit you.
General
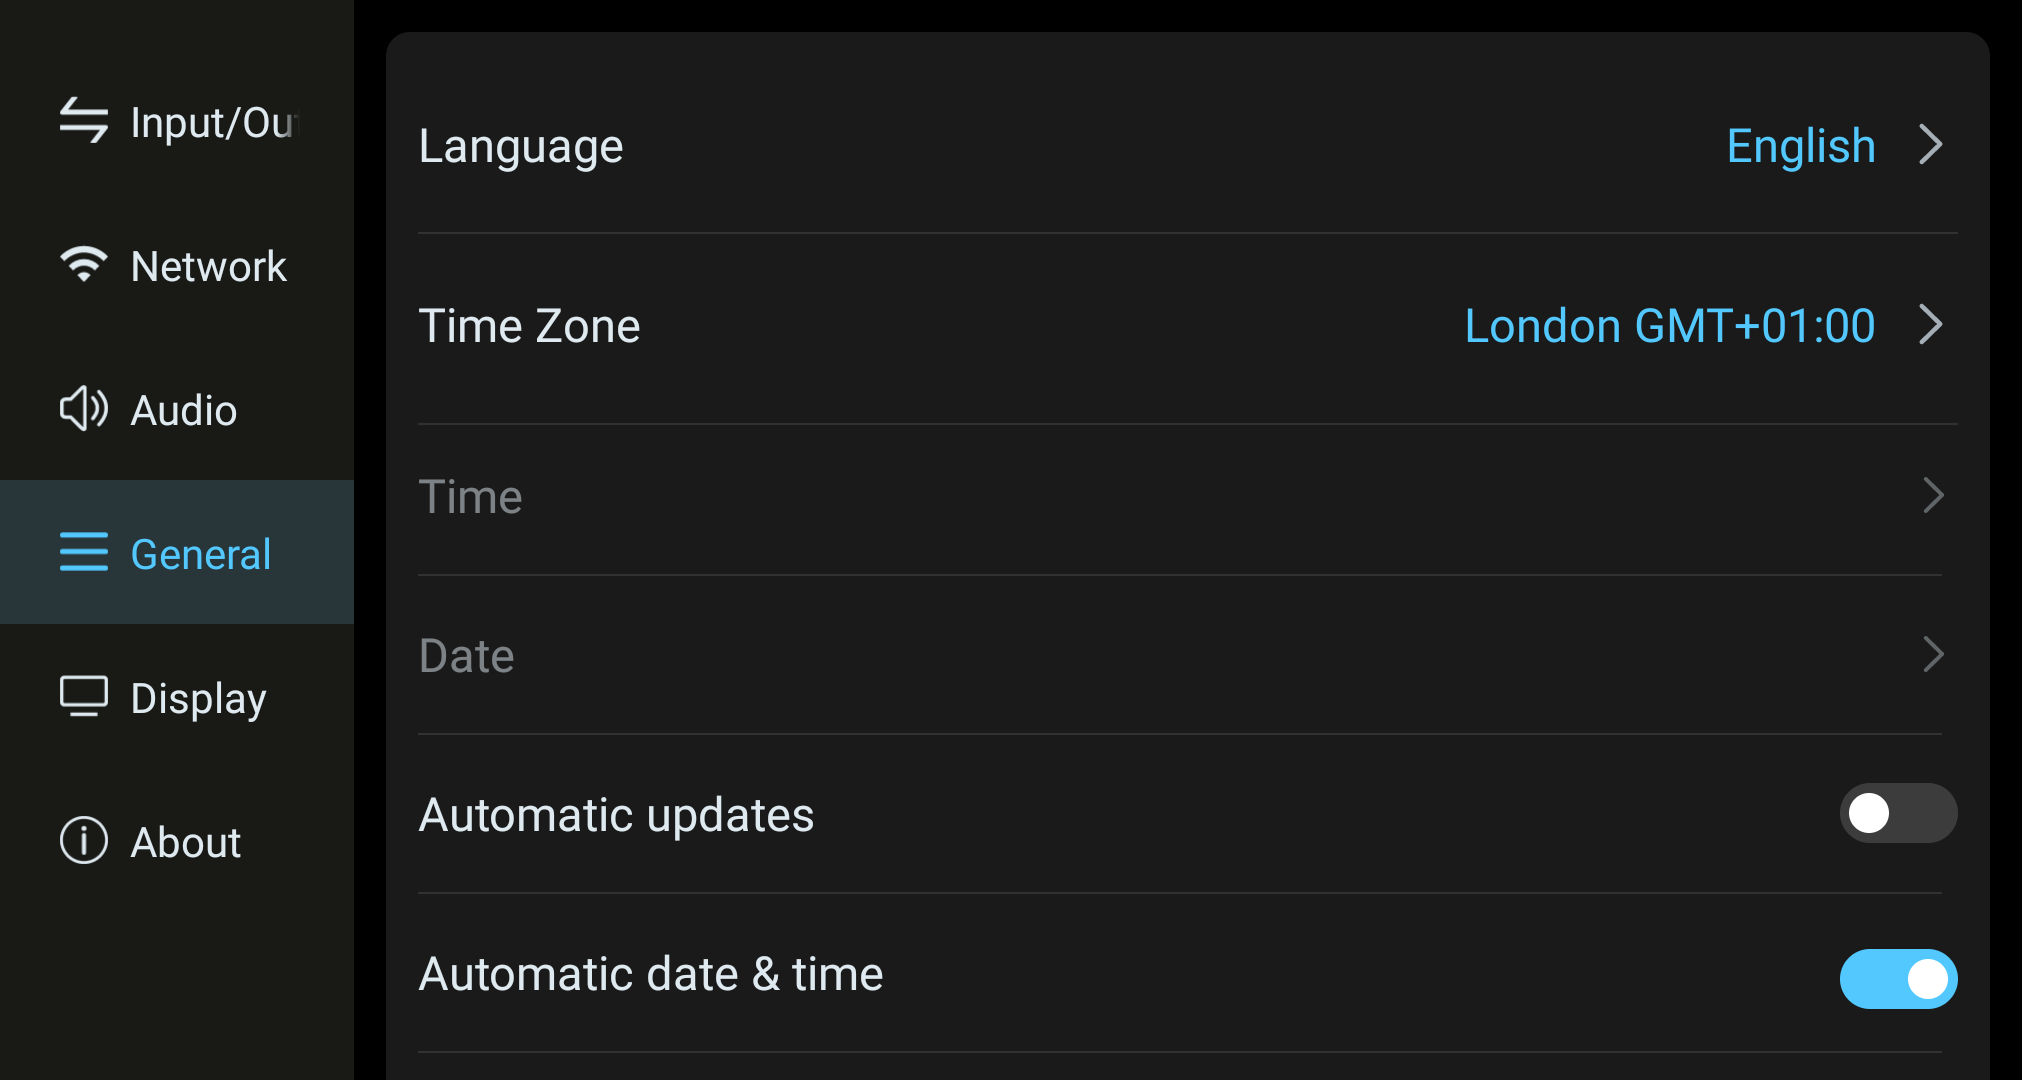
General settings screen showing language, time zone, and automatic date and time.
Language & Time Zone: Click the dropdown list to select the corresponding language and time zone.
Time & Date: Turning on the auto-set-time switch disables manual time and date adjustment; the system automatically uses network date and time. After switching time zones, our corresponding software list automatically switches to the software for that time zone.
Remote Control: Tap to enter and open the remote control pairing switch to pair with the remote.
Daily AI Usage Count: View the number of AI calls made that day.
USB Function Switch: The device's OTG-USB port can be set to external storage read/write mode (HOST) and computer file transfer mode (OTG).
Display
Display settings screen.
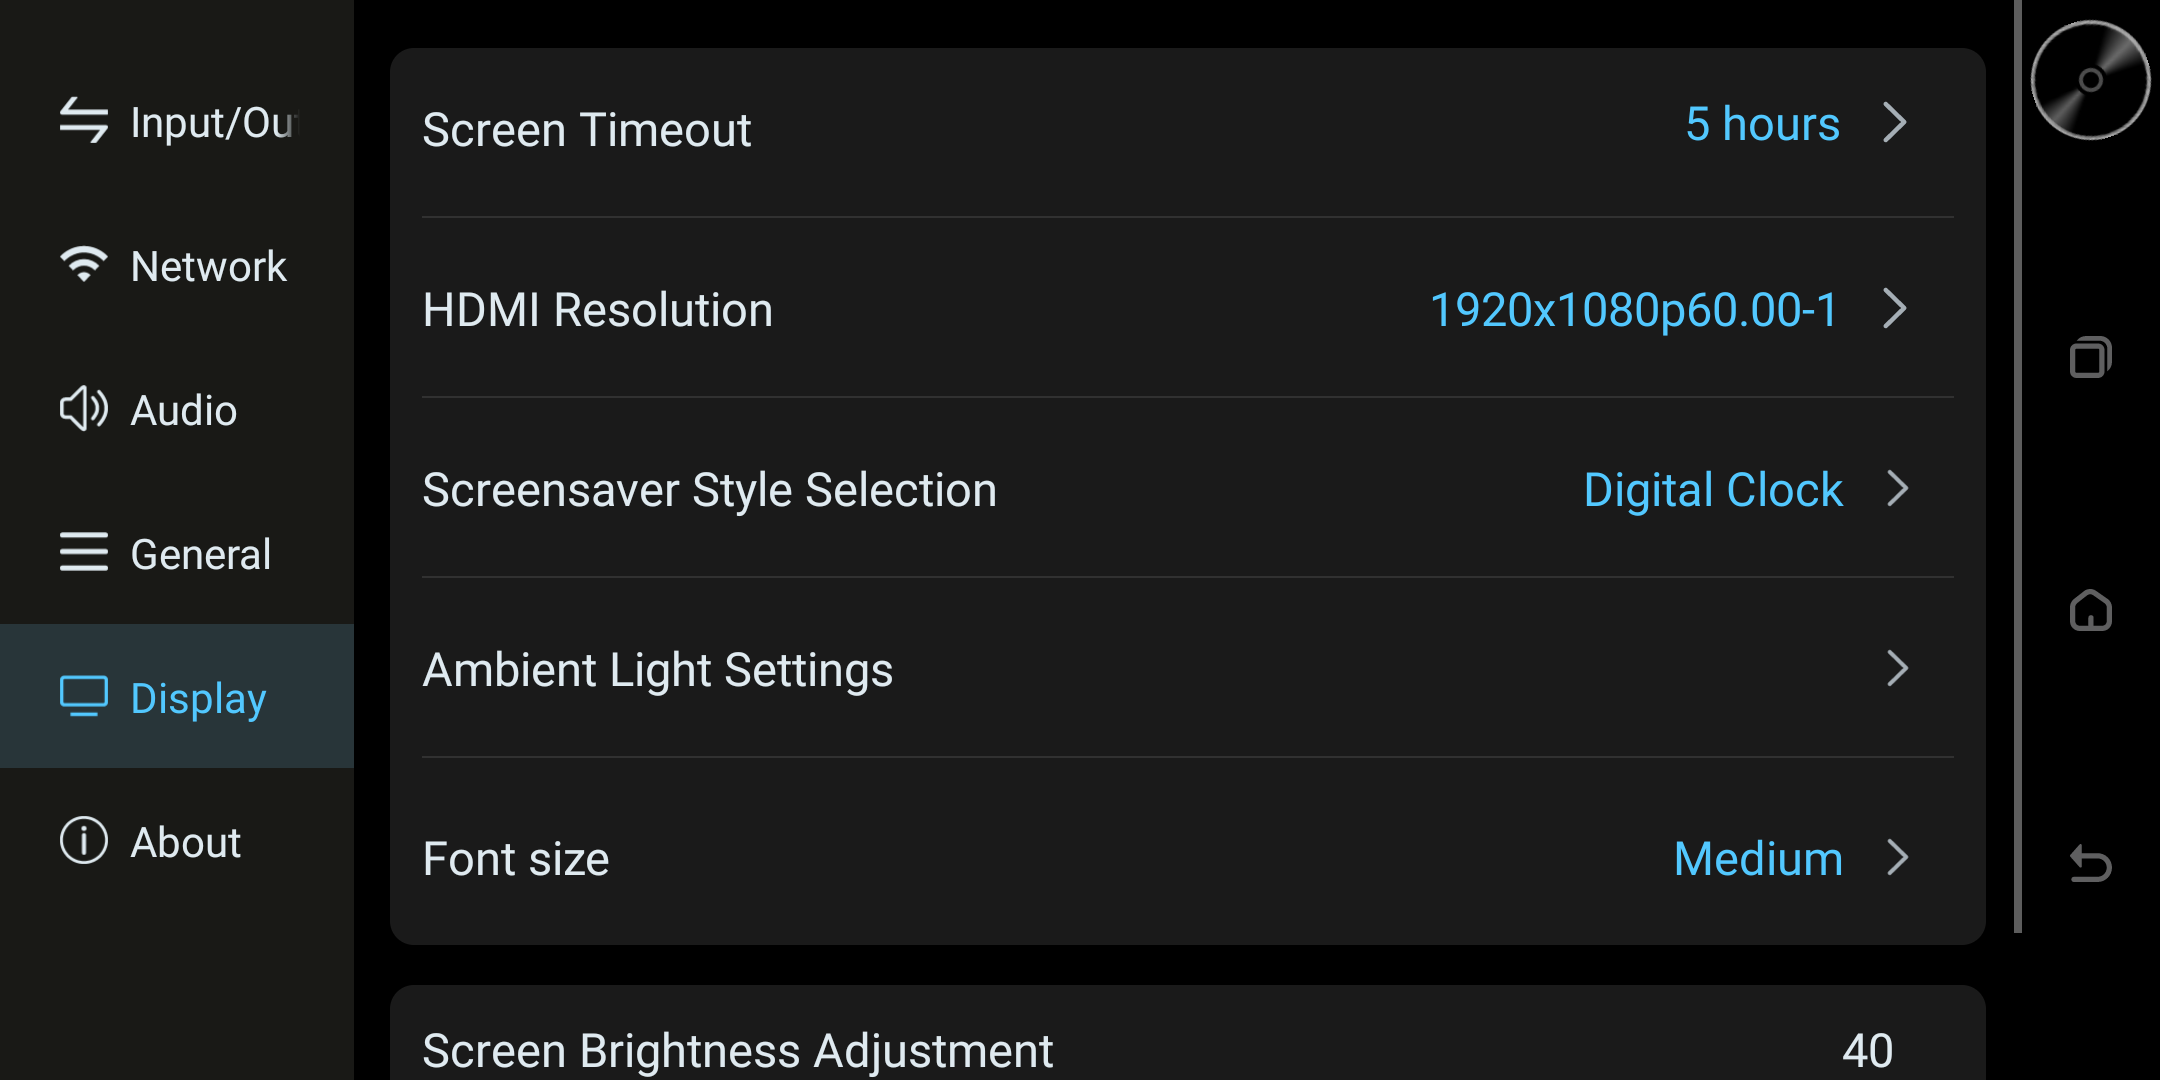
Description: Screen brightness, standby time, and video output resolution settings, etc.
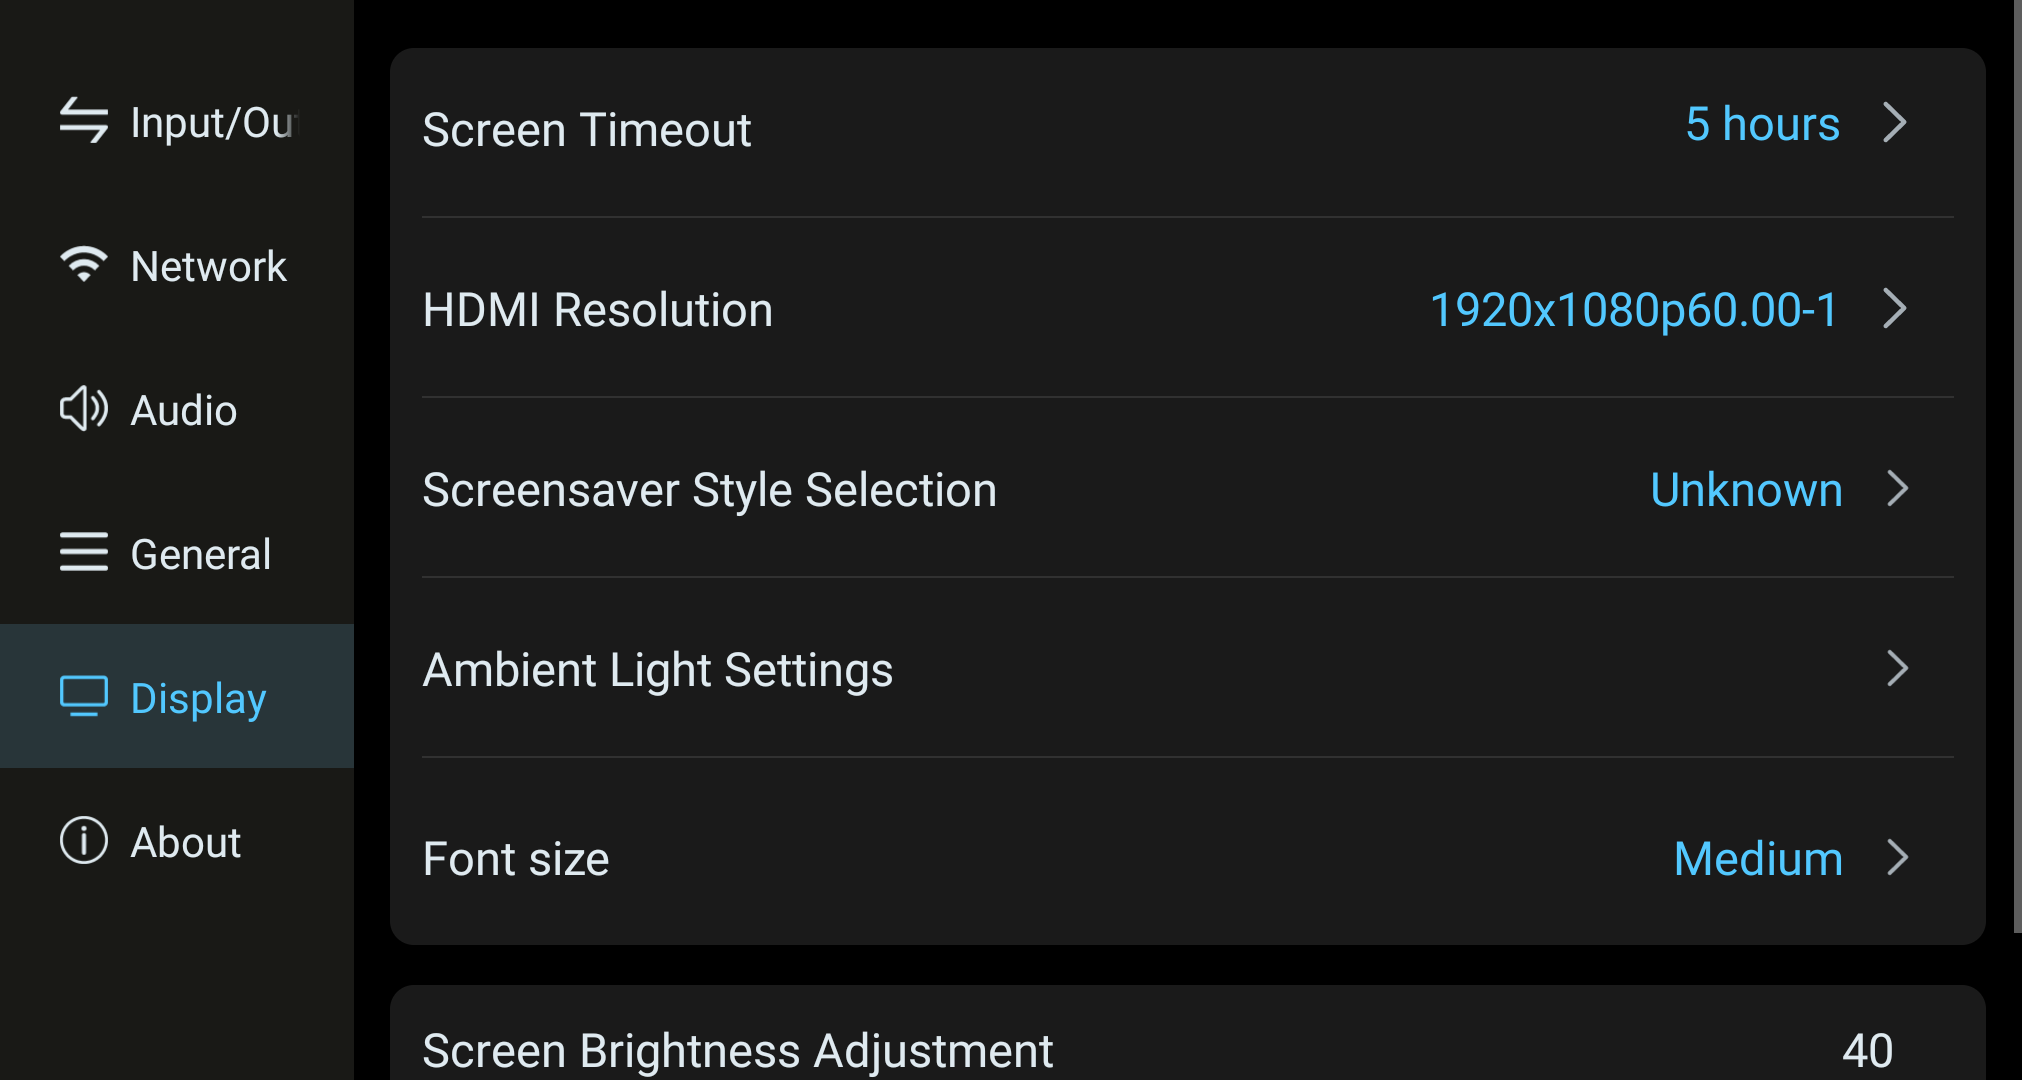
Display settings screen with screen timeout, HDMI resolution, screensaver, and font size.
Screen Saver: Settings → Display → Screen Saver Style lets you choose one of the built-in screen saver styles.
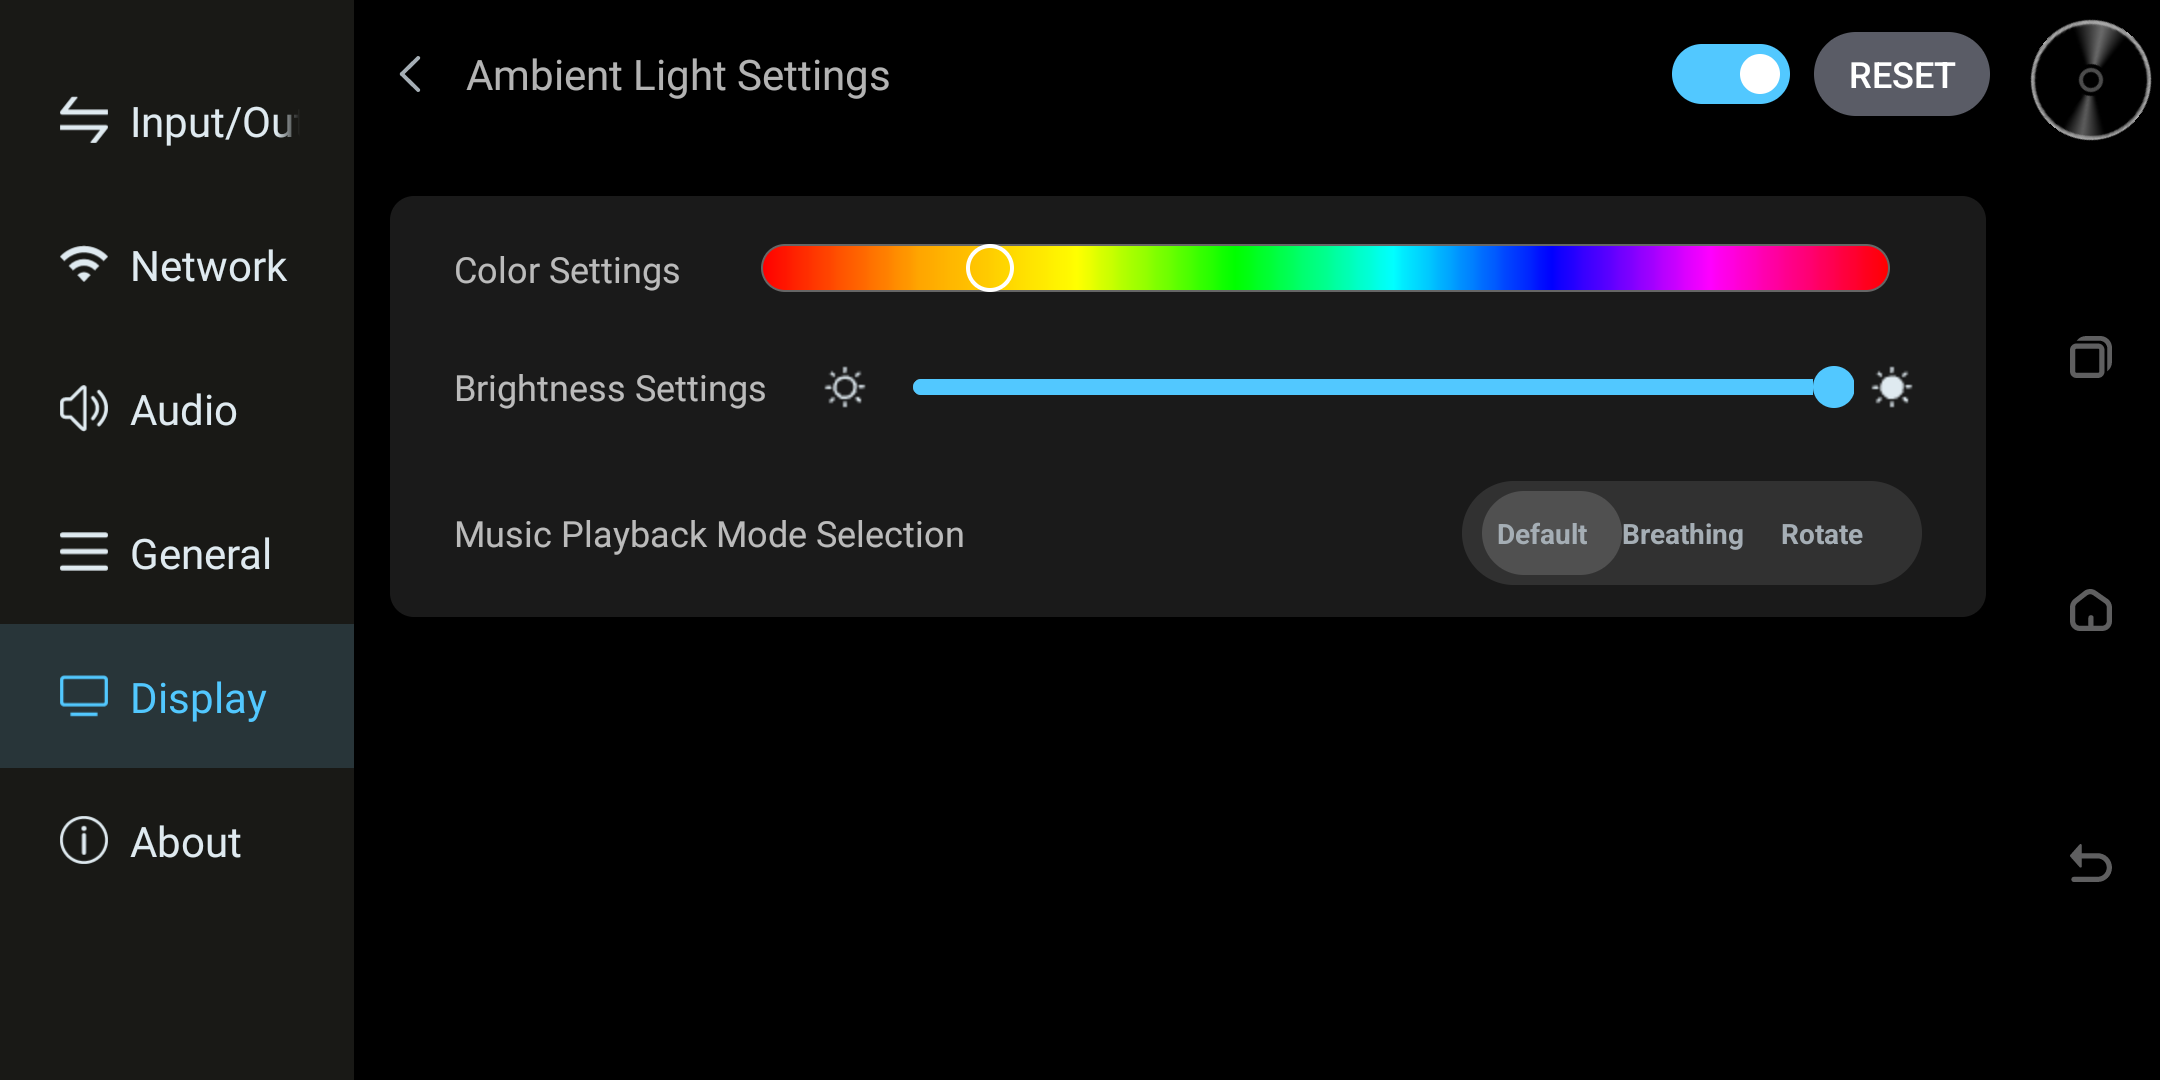
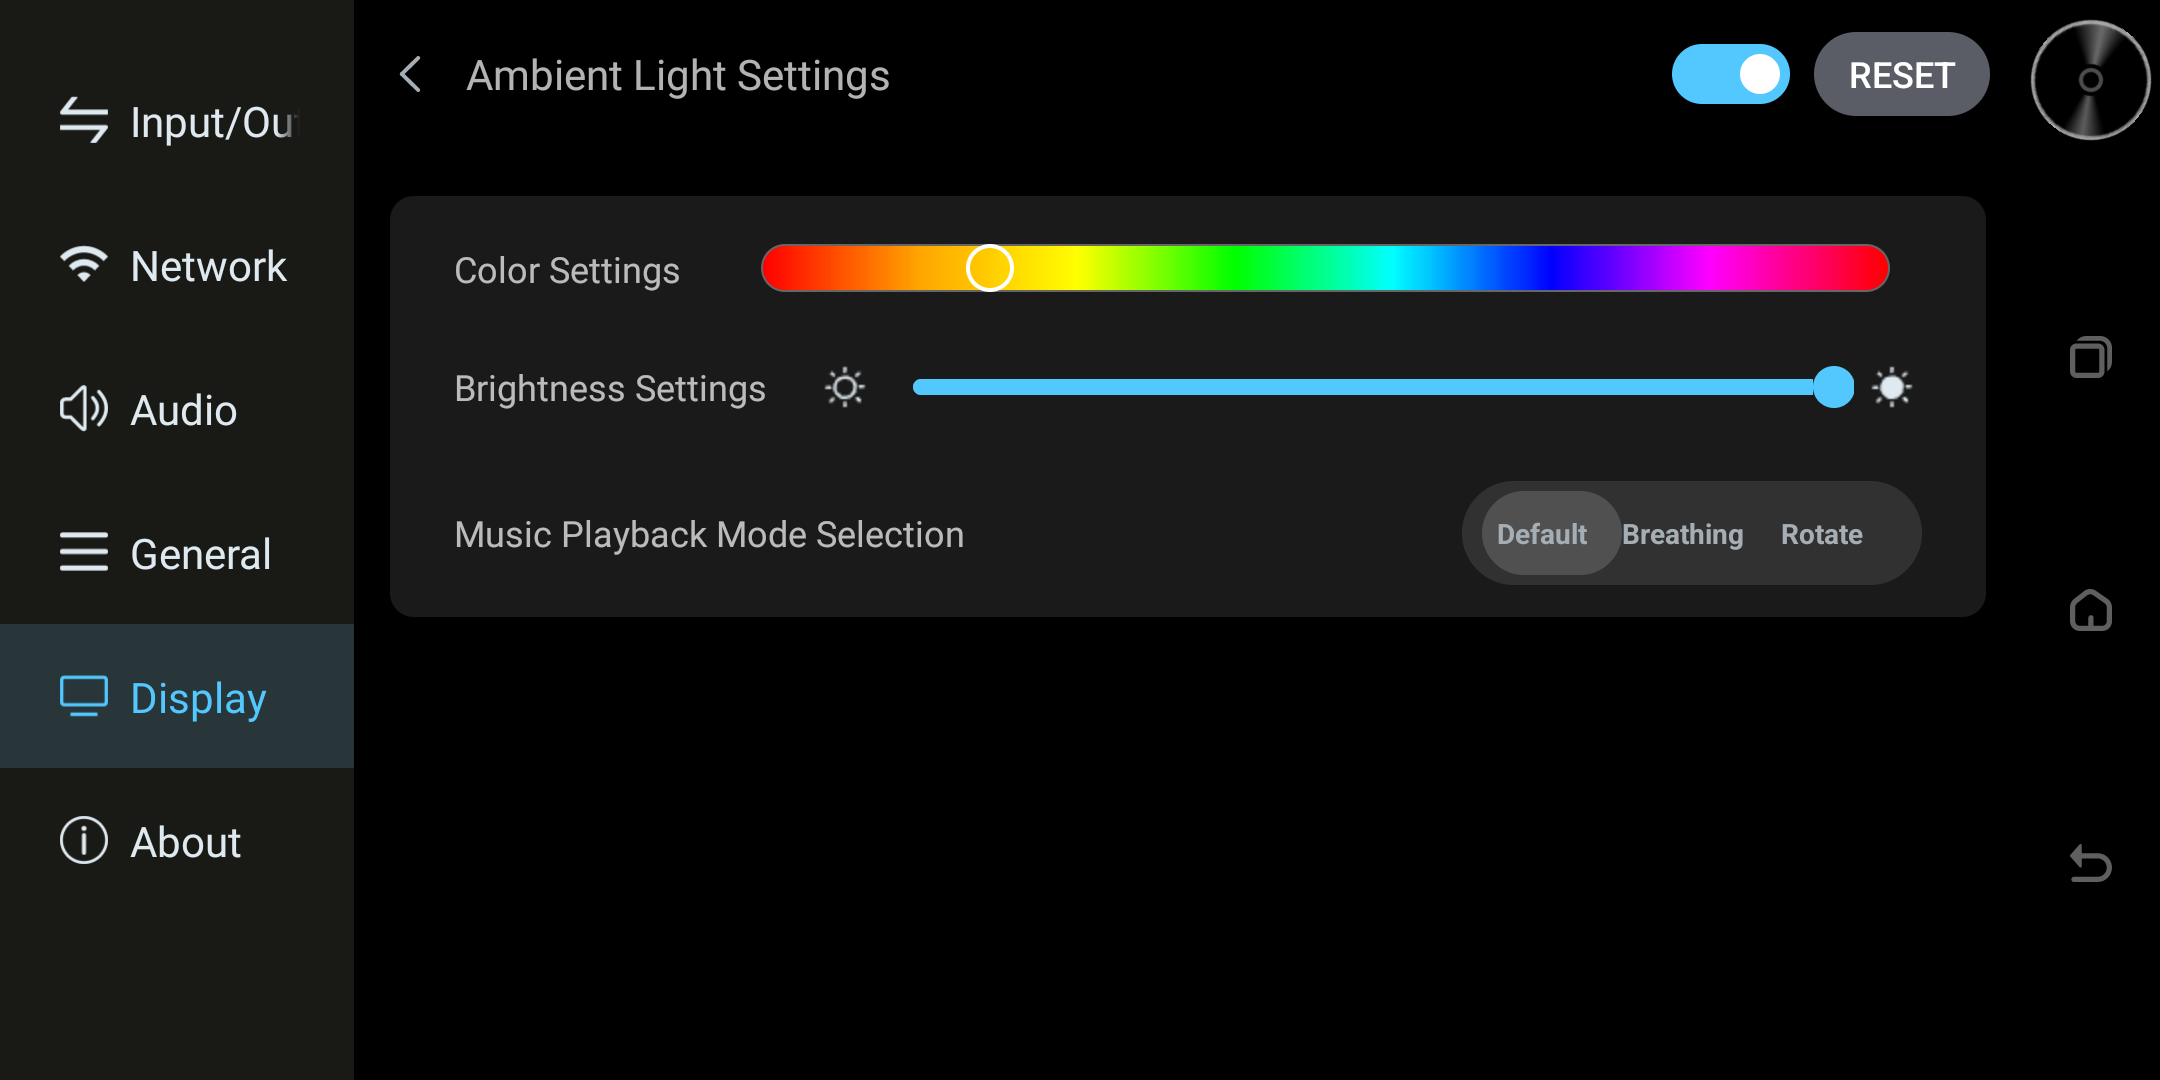
Ambient Light Settings screen with color, brightness, and playback modes.
Ambient Light: Settings – Display – Ambient Light Settings: This page lets you customize the ambient light color and brightness, as well as the device's three built-in lighting modes.
About
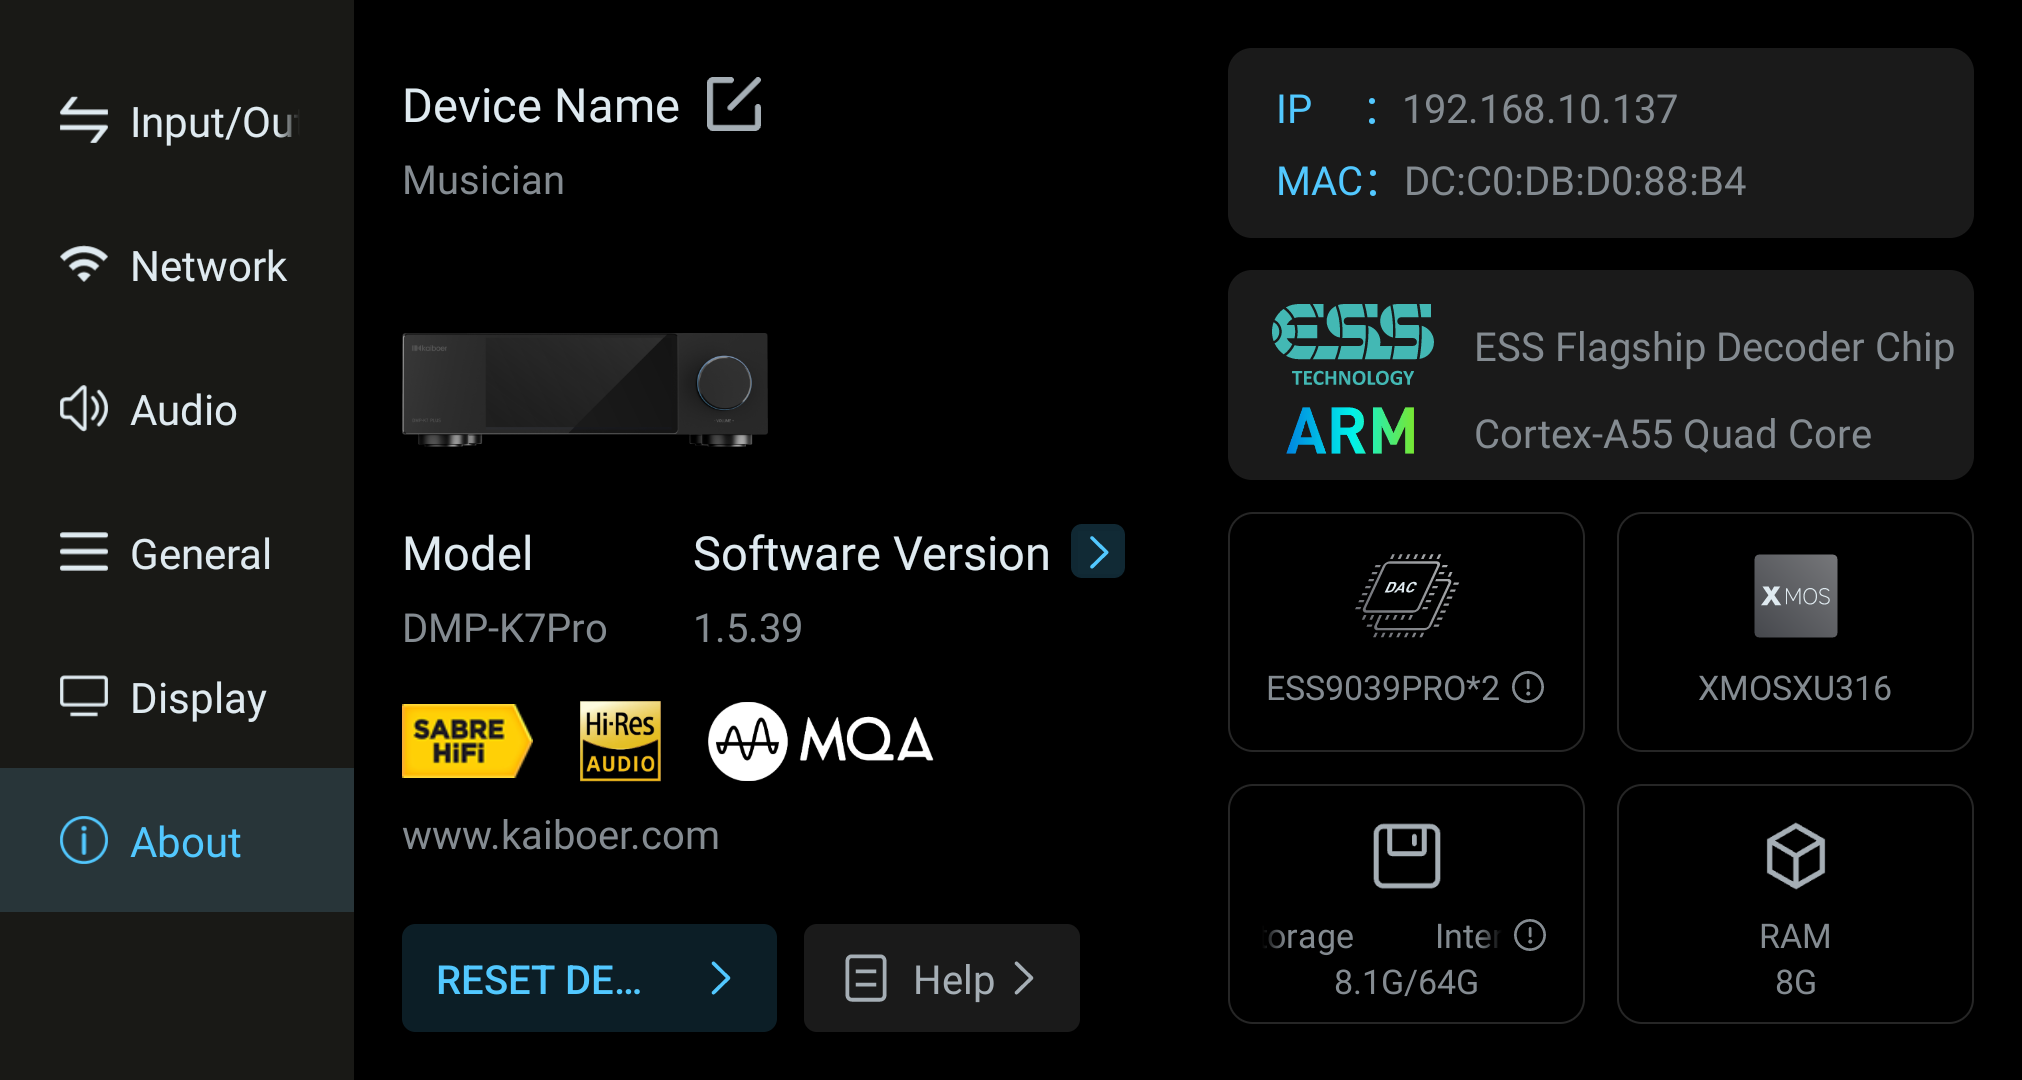
About screen showing device information and hardware details.
Device Info: This page displays the device's software version, hardware information, and custom device name.
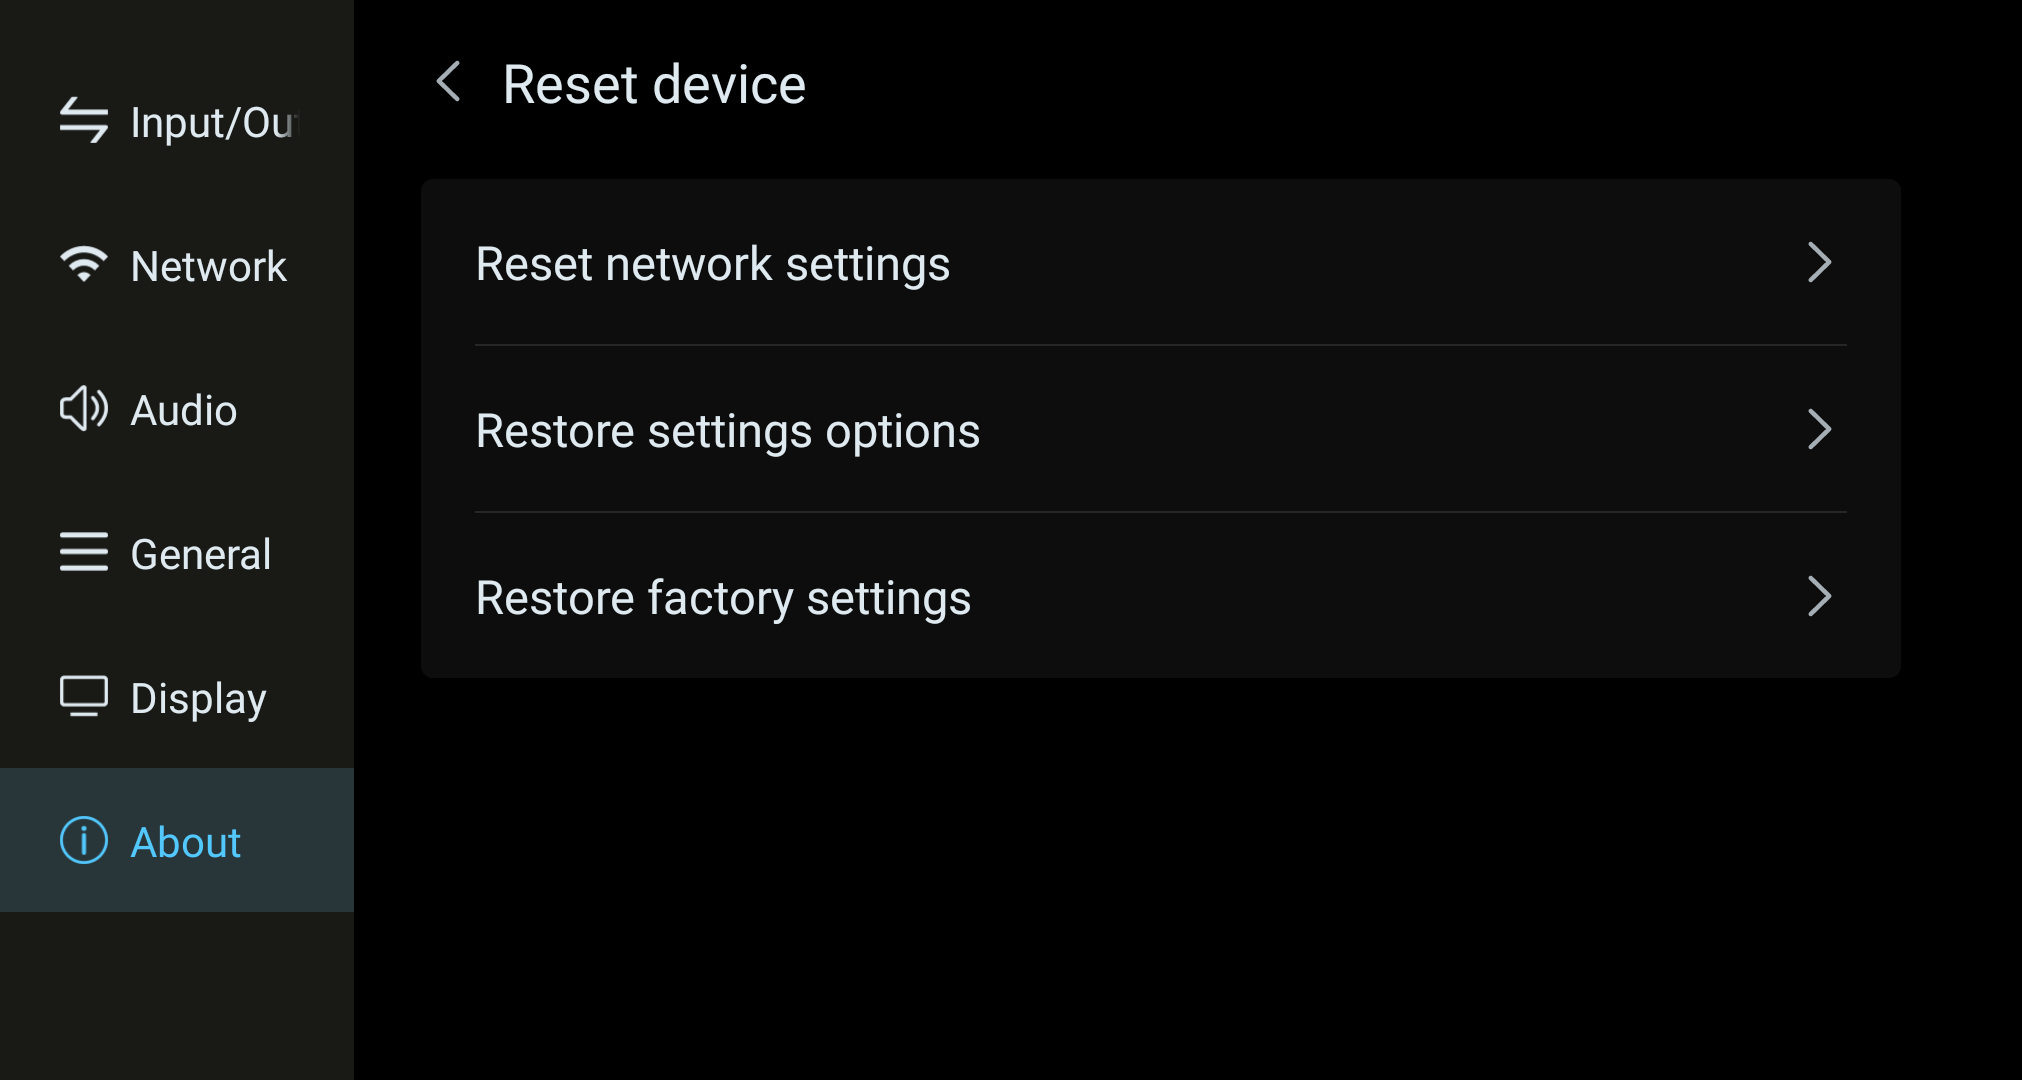
Reset device screen with reset-network, settings, and factory-reset options.
Reset Device: In this interface you can choose which module's data you want to erase, including network settings, settings options, and factory reset.
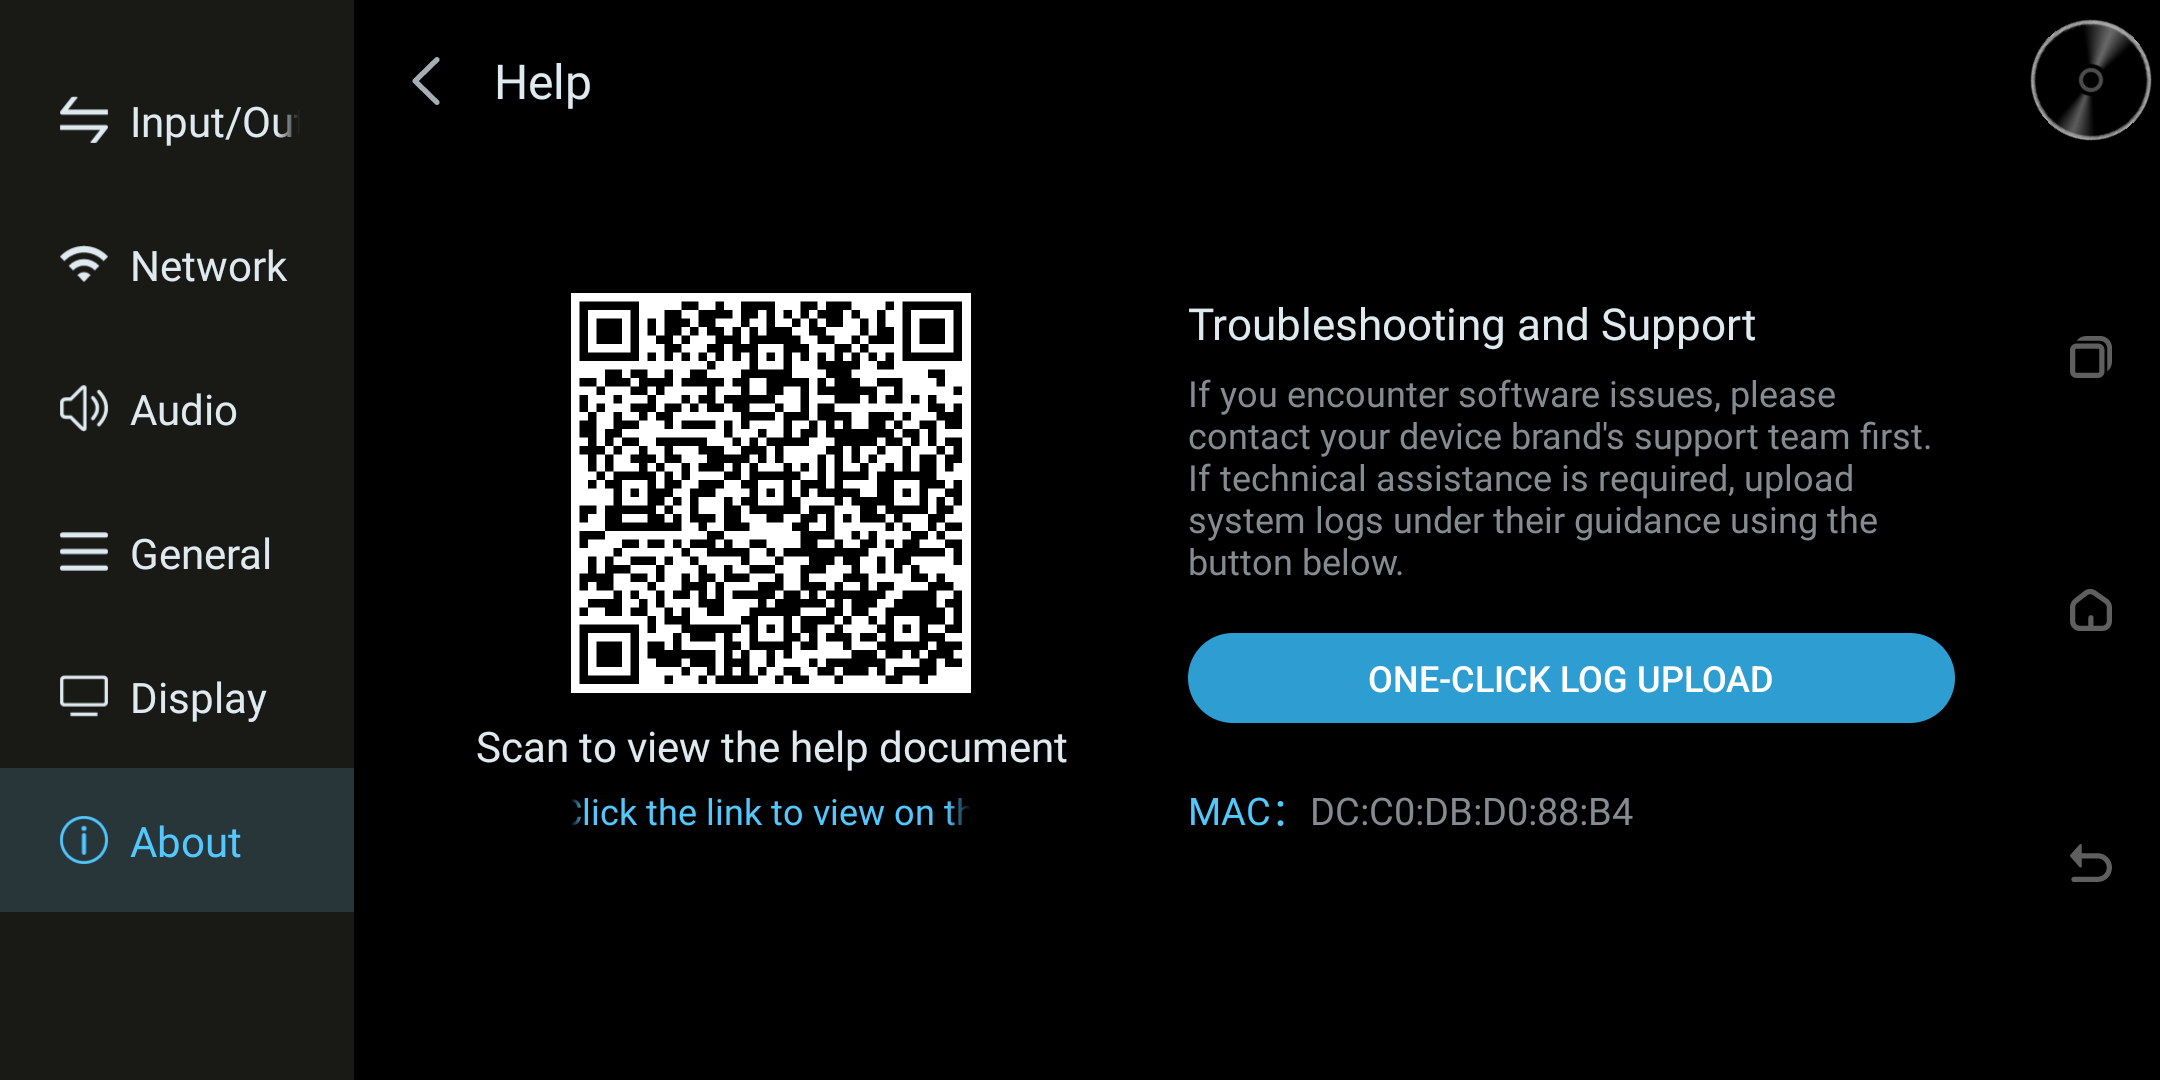
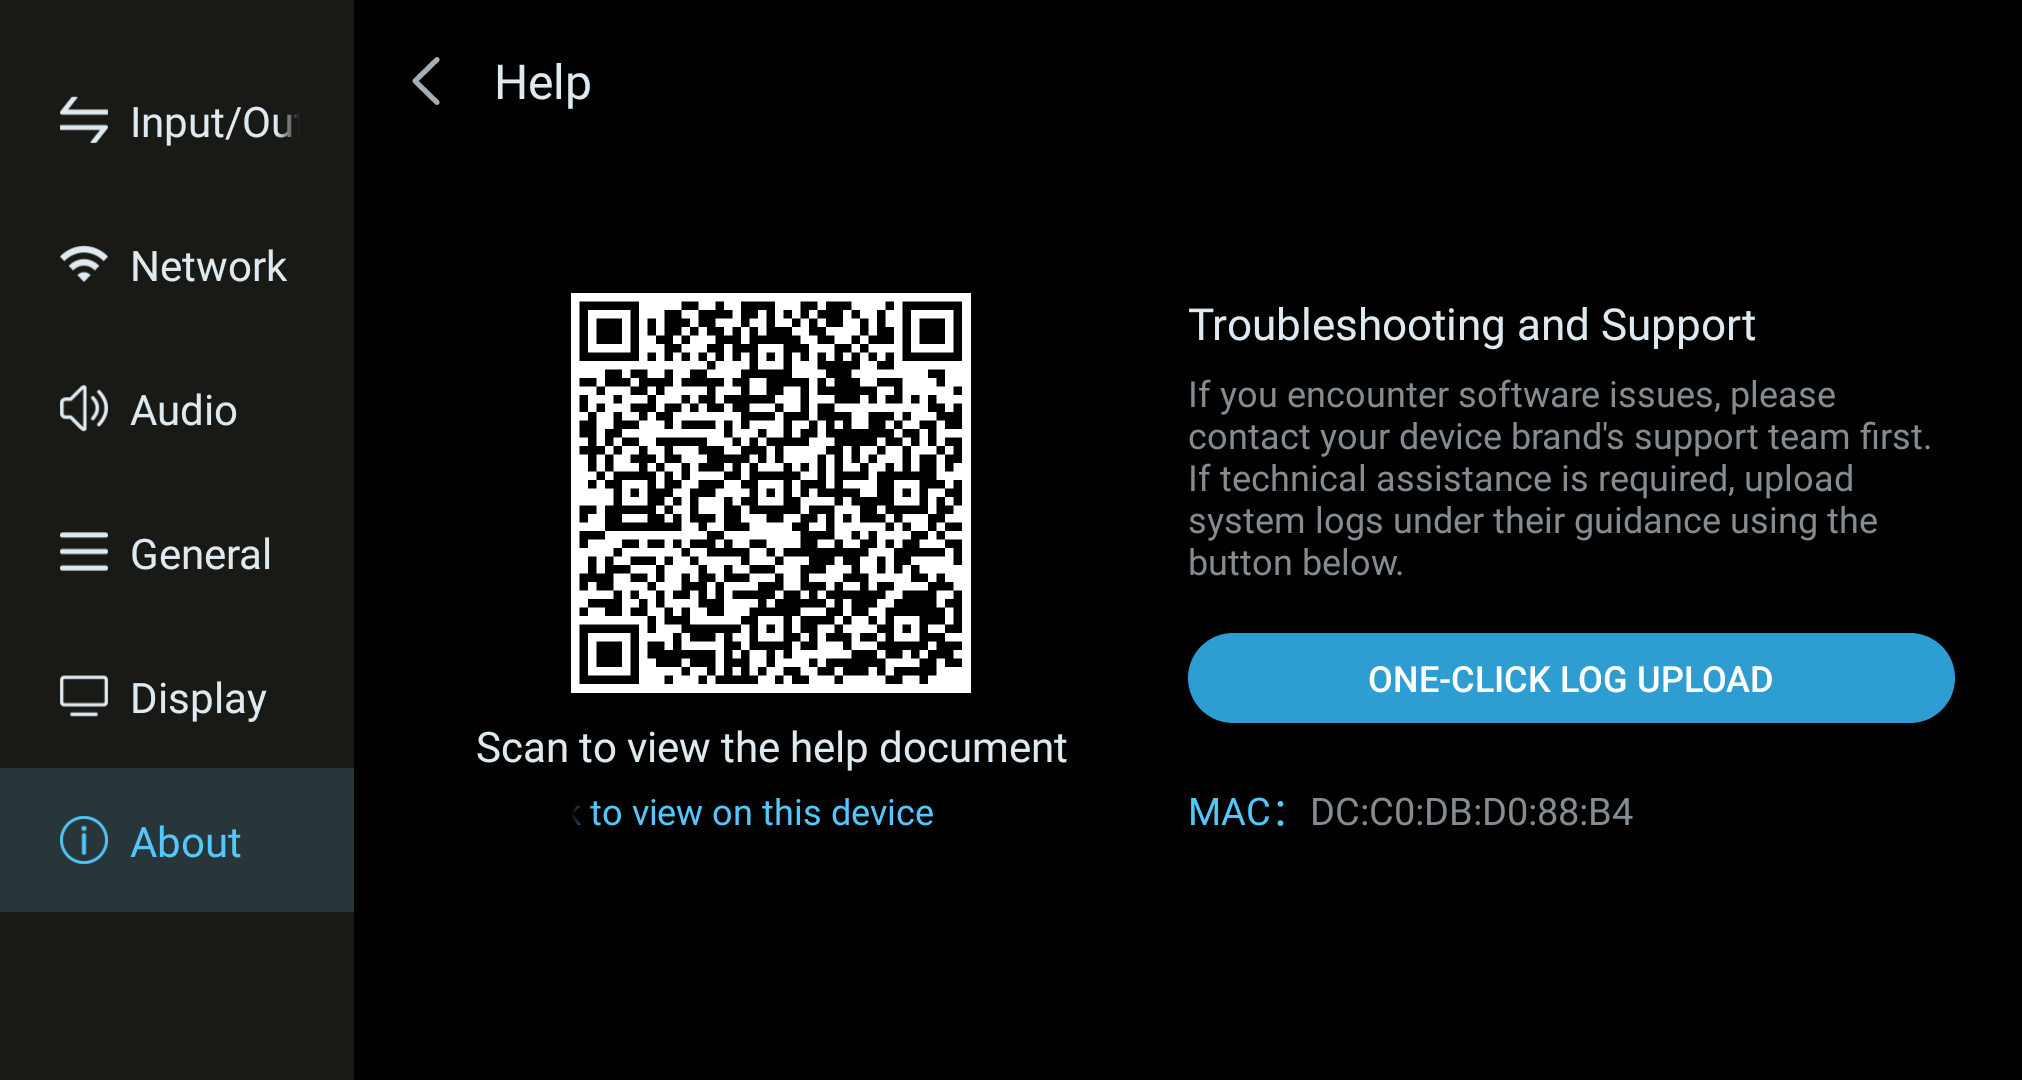
Help screen with documentation access and support options.
Help: After tapping, scan the QR code on the page to browse this document, or directly tap "Click Link to View on This Device" to browse the document on the device.
Log Upload Path:
About screen showing device information and settings shortcuts.
Help screen with a documentation QR code and support options.
Tap Home Settings – About
Tap Help
Tap One-Click Log Upload and wait for the log upload to succeed
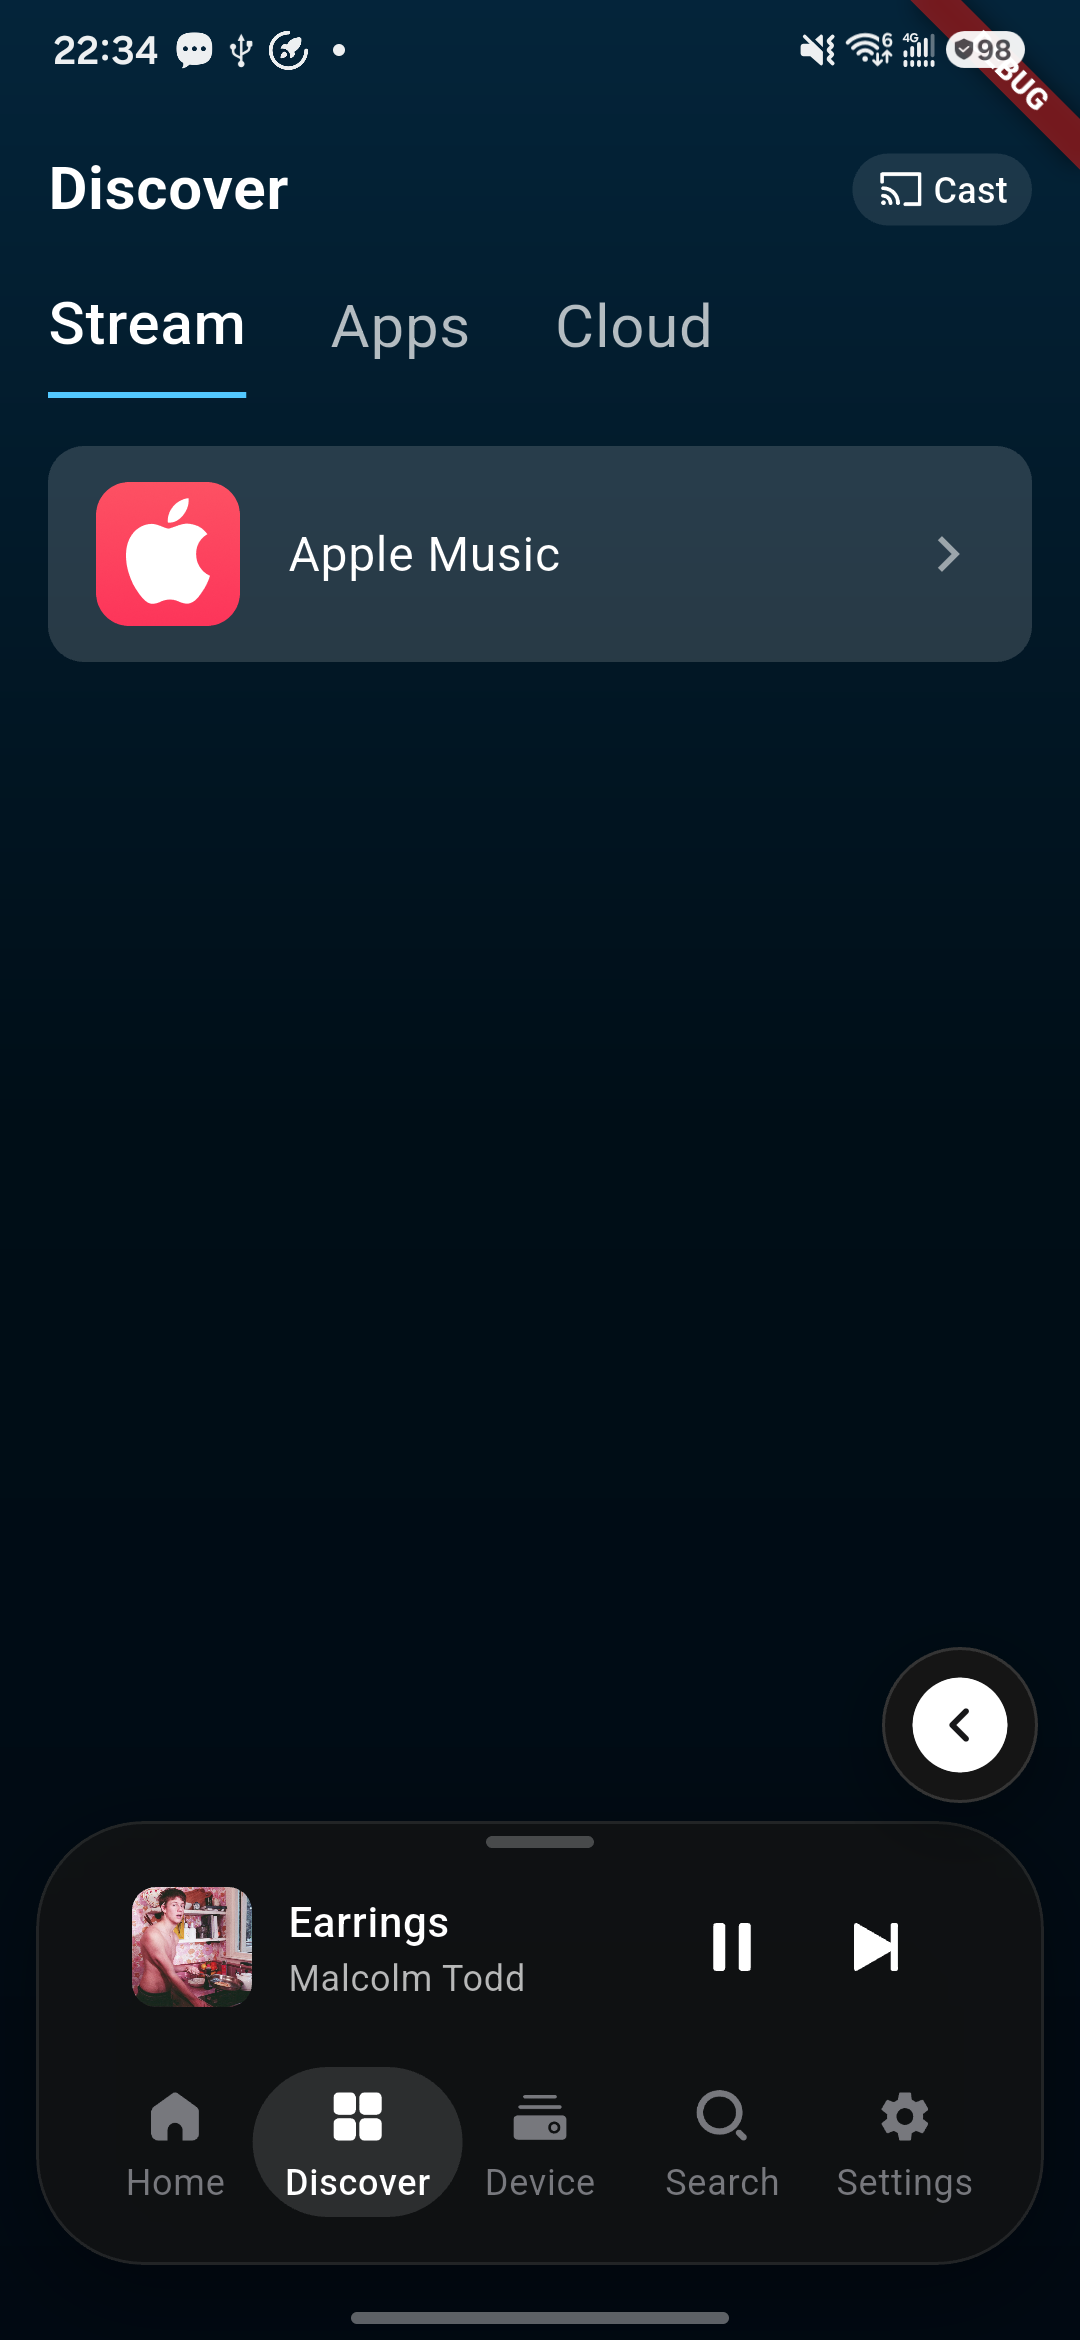
Kaiboer Home Discover screen with streaming, apps, and cloud entries.
②
Kaiboer Home Device screen for the connected player.
③
Kaiboer Home Settings screen.
④
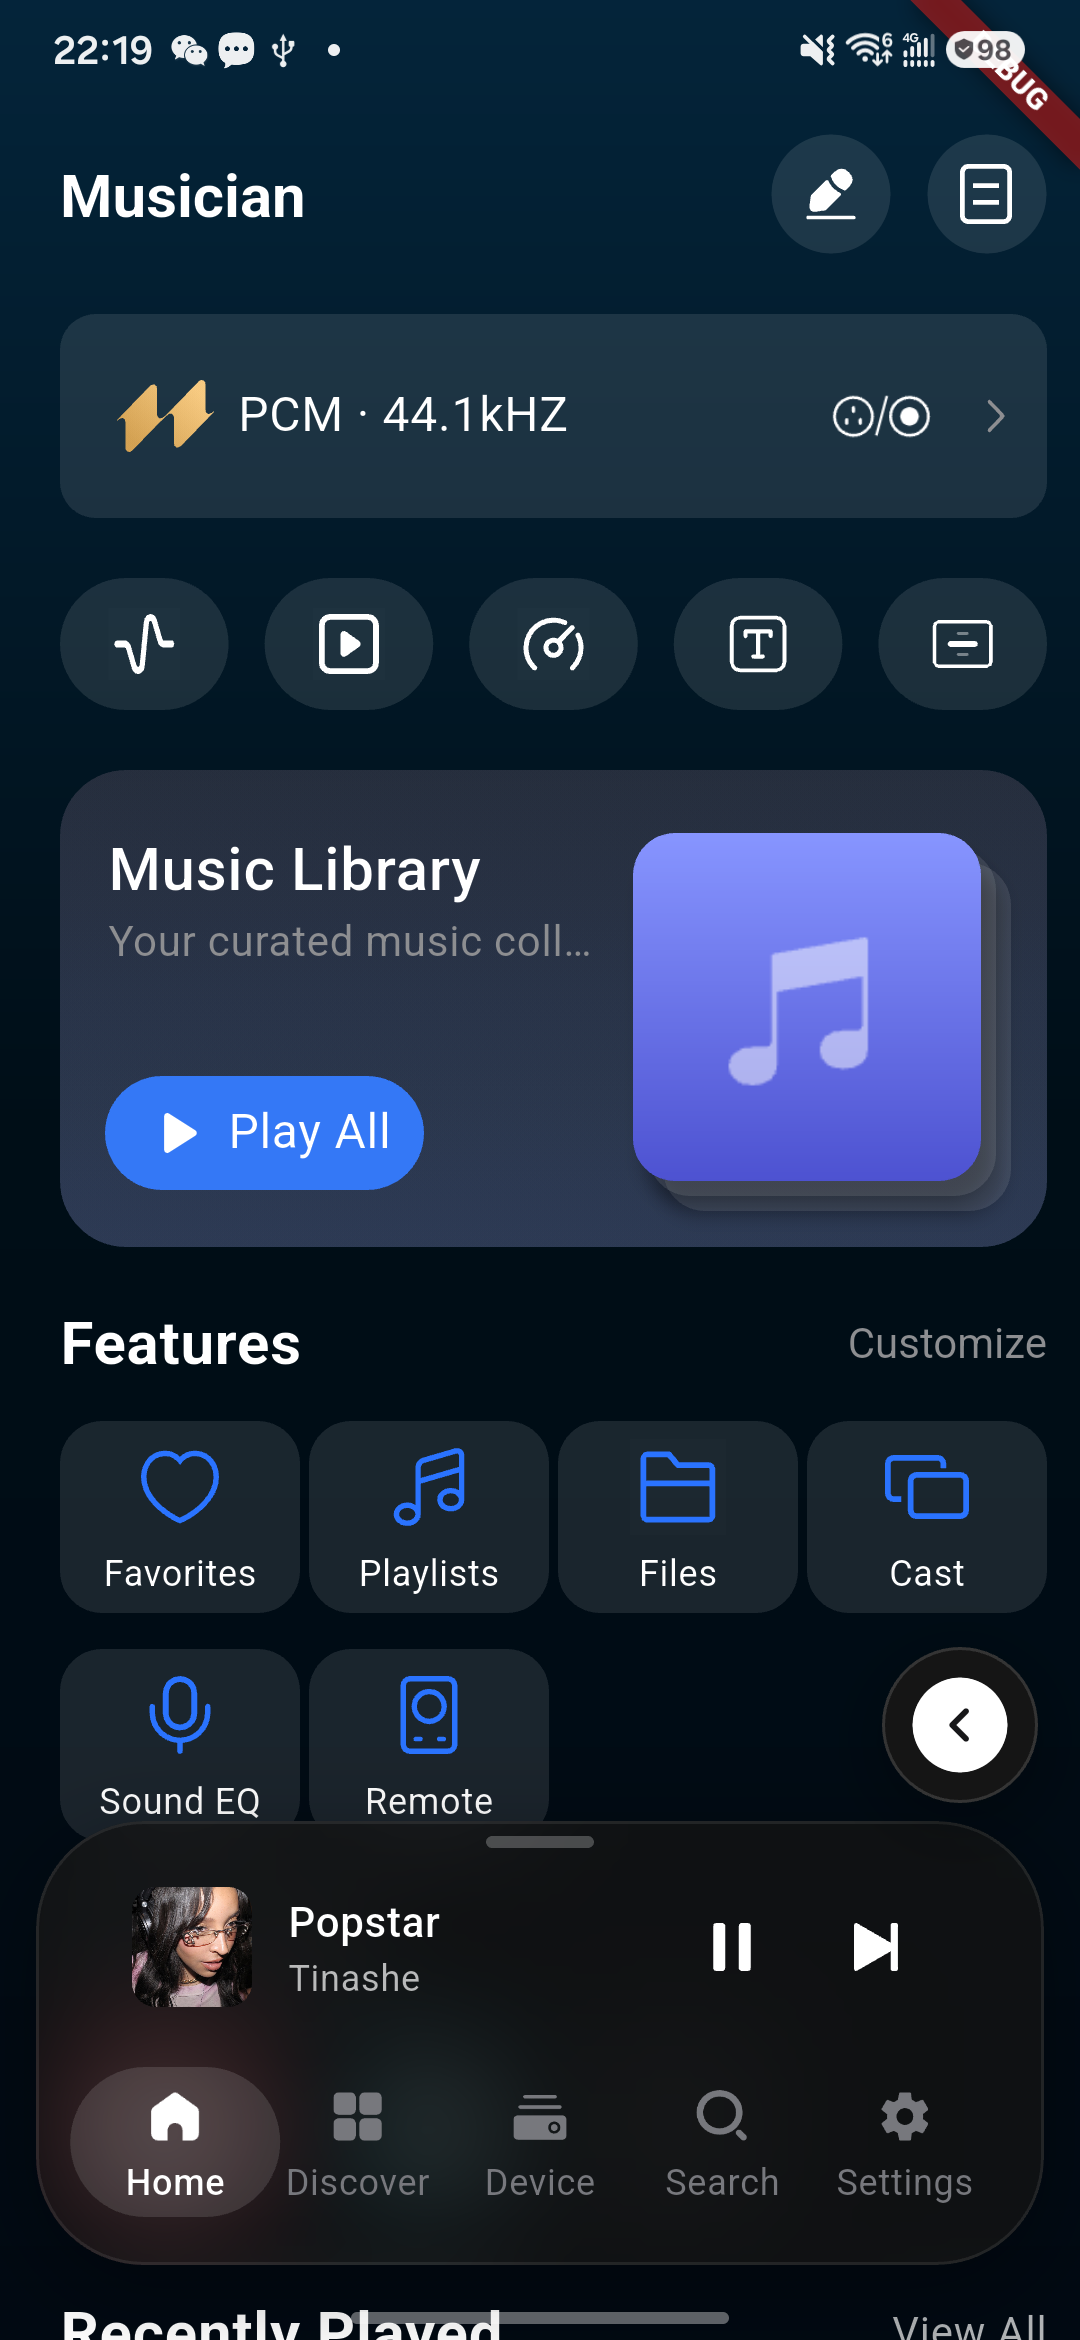
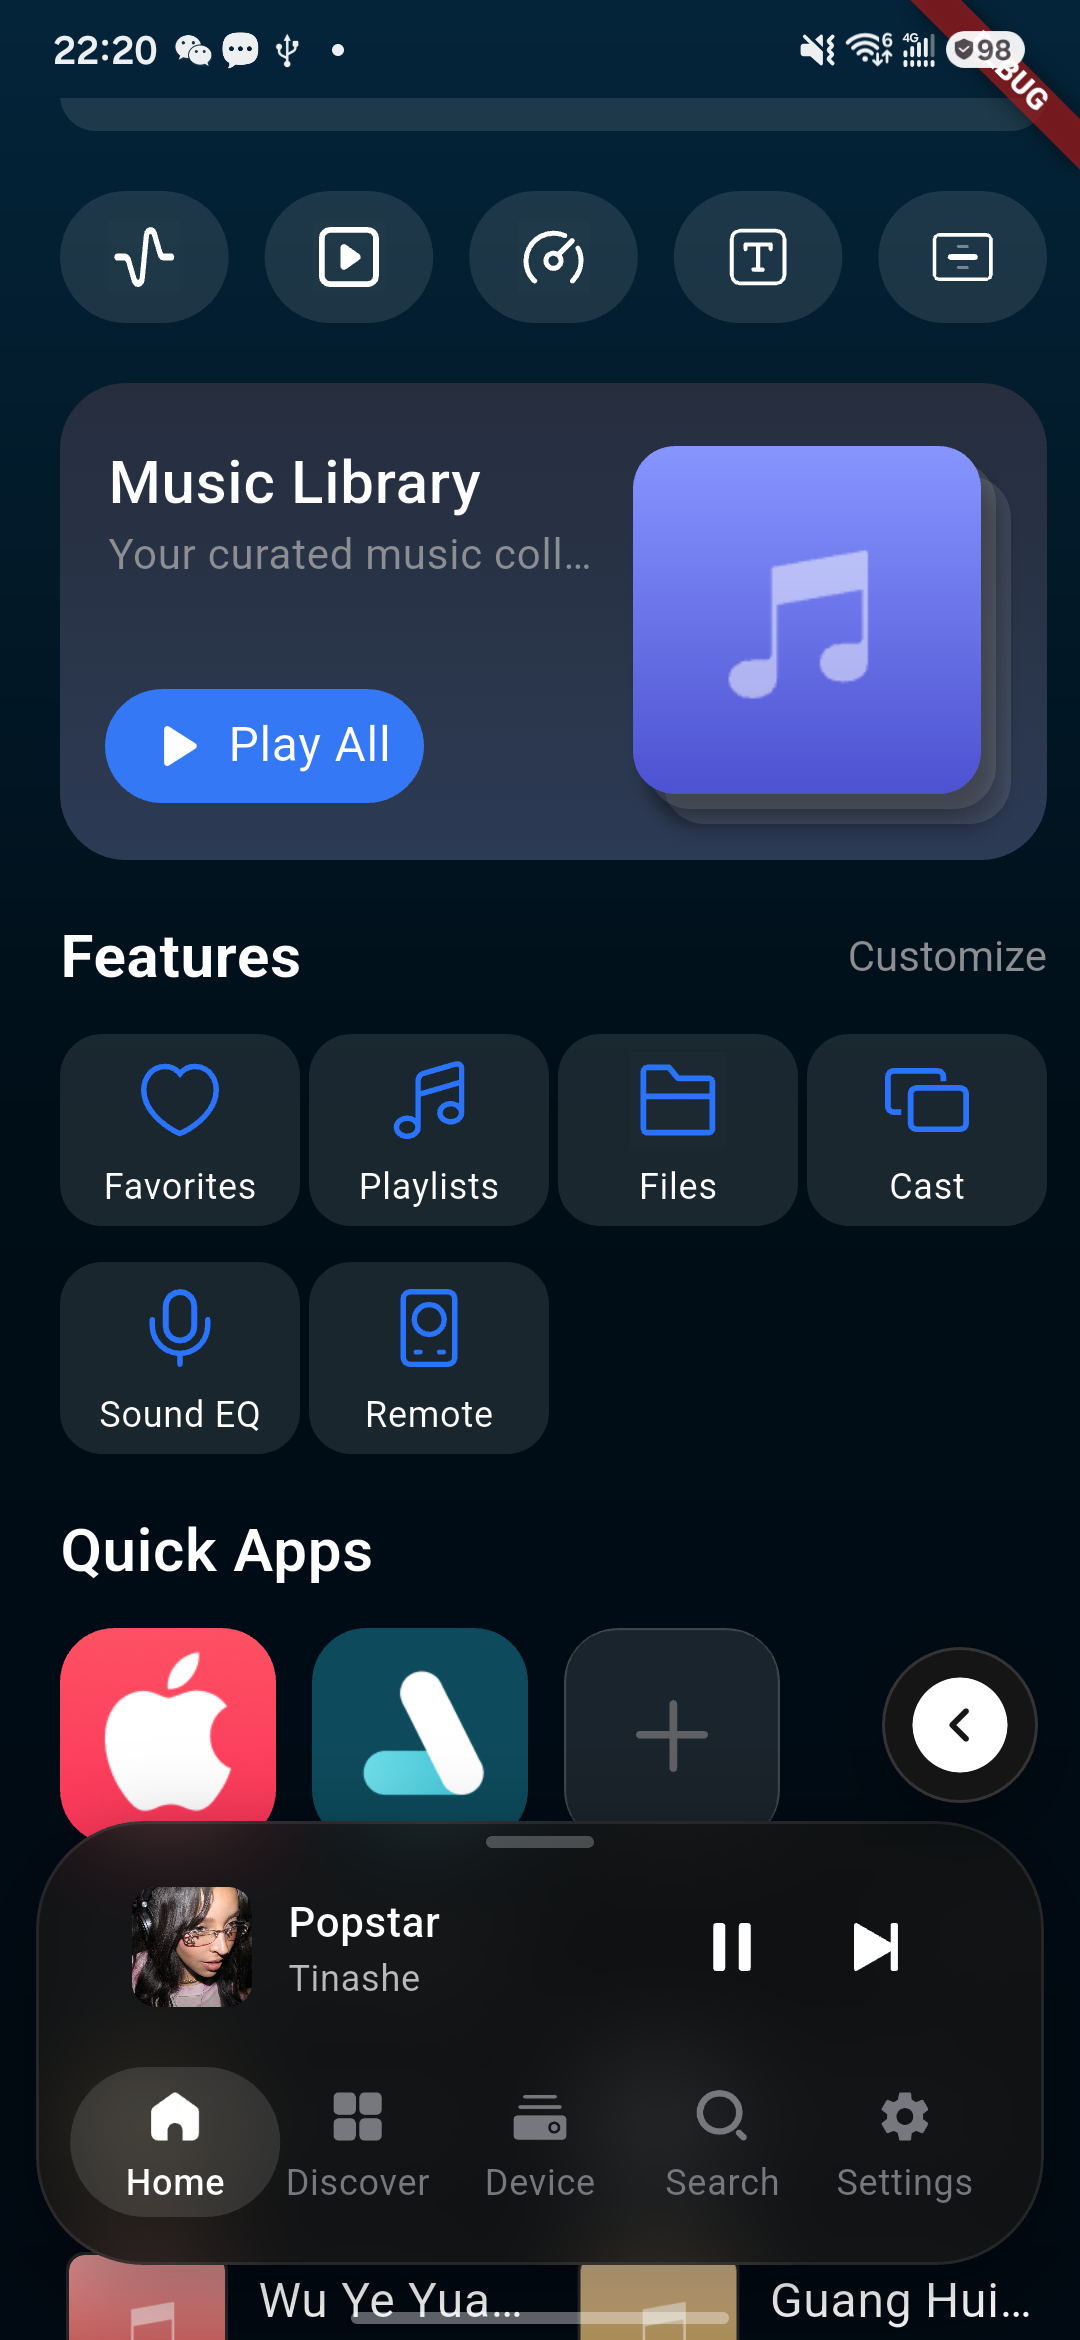
Home: Quickly enter the music library, favorites, and playlists; continue playing recently listened and recently favorited content; also supports quick actions such as opening screen mirroring and opening the player page, etc.
Discover: Connect third-party music apps such as Apple Music, Qobuz, Spotify, etc.; you can also browse cloud drives and Kaiboer's self-developed streaming services.
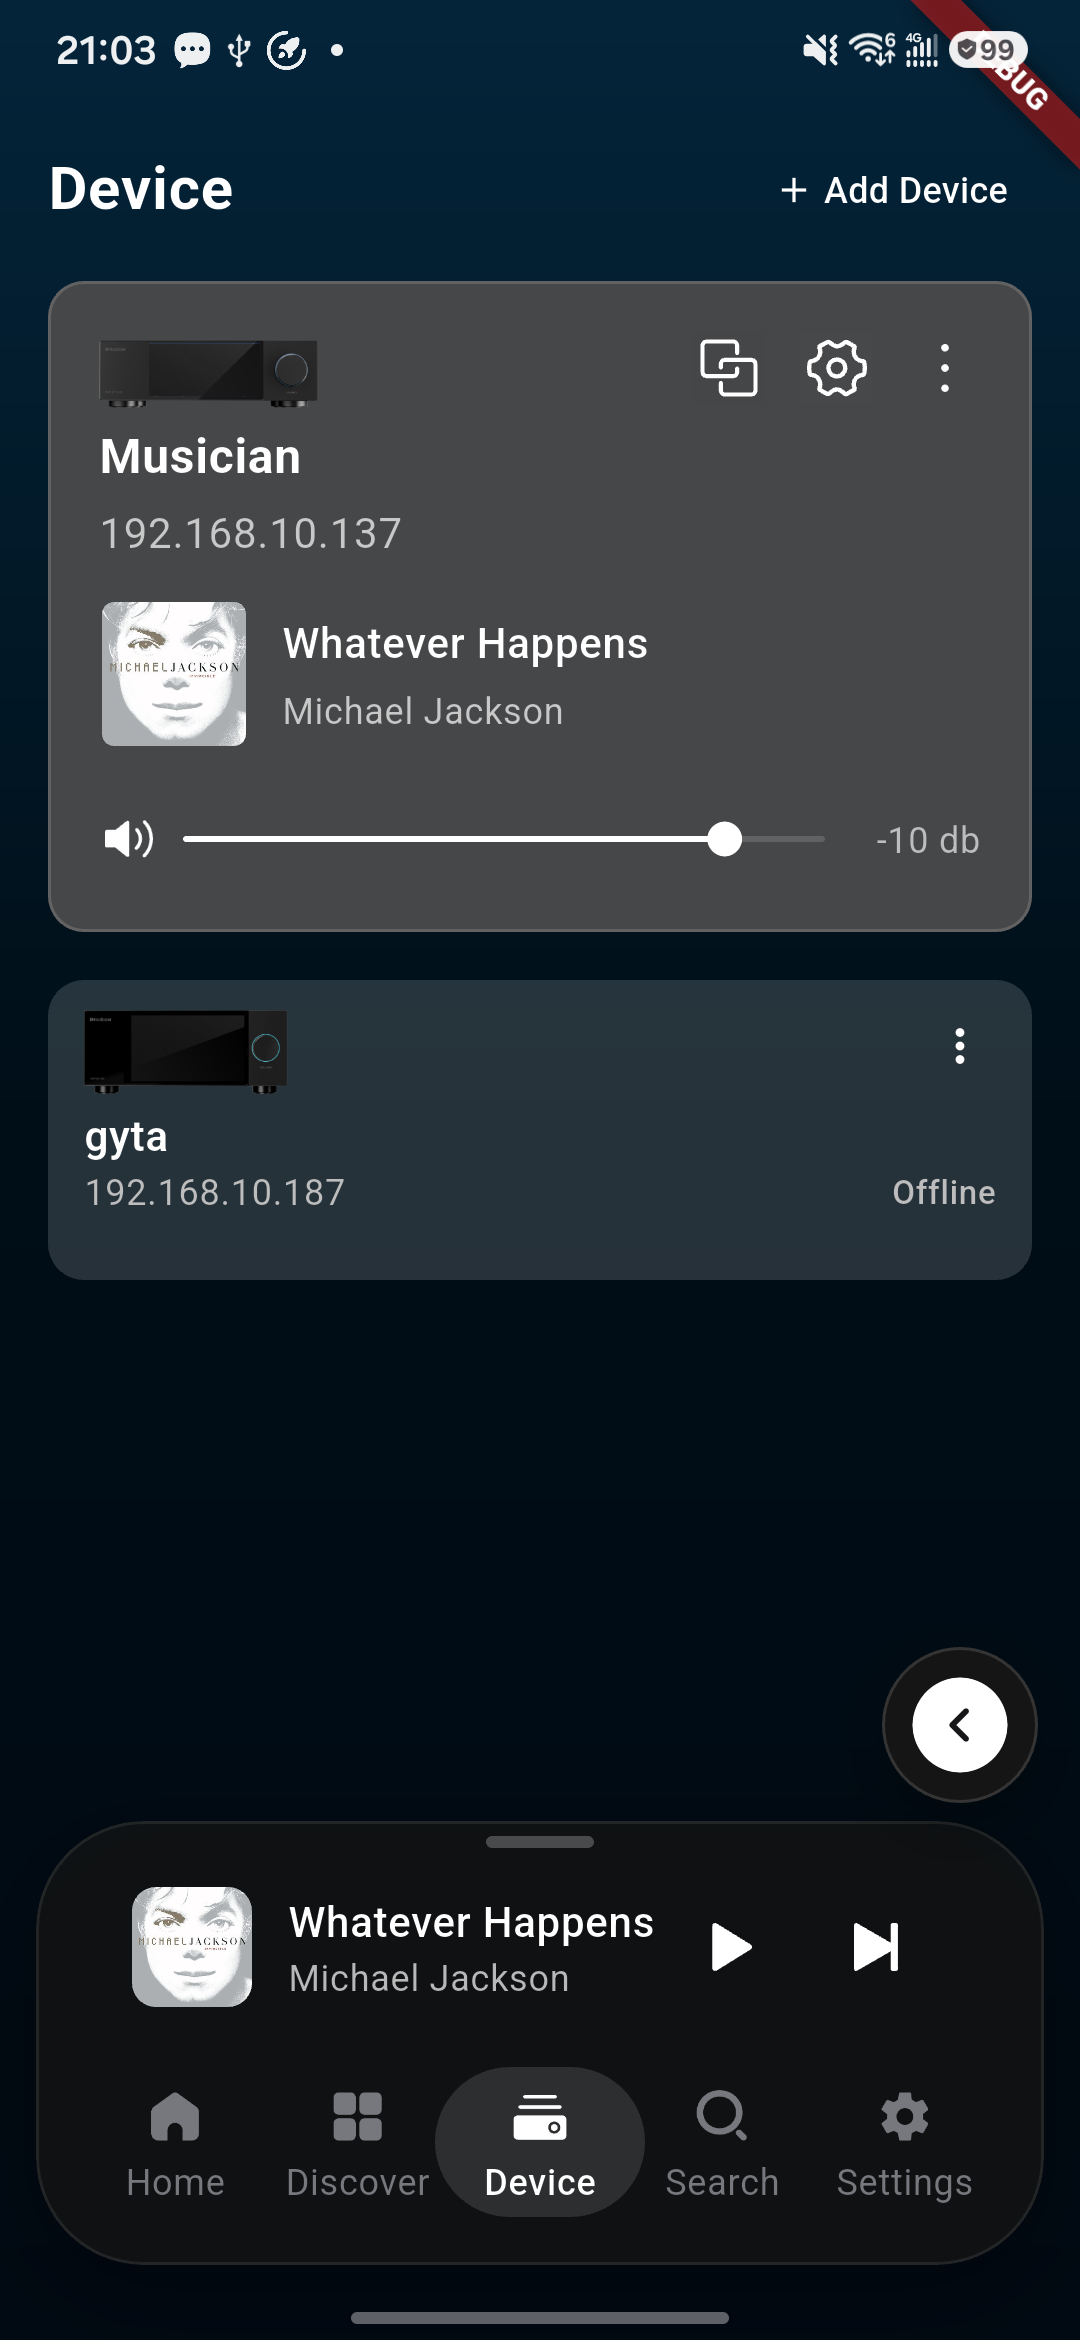
Device: View the currently connected player, switch devices, adjust volume, and manage playback status.
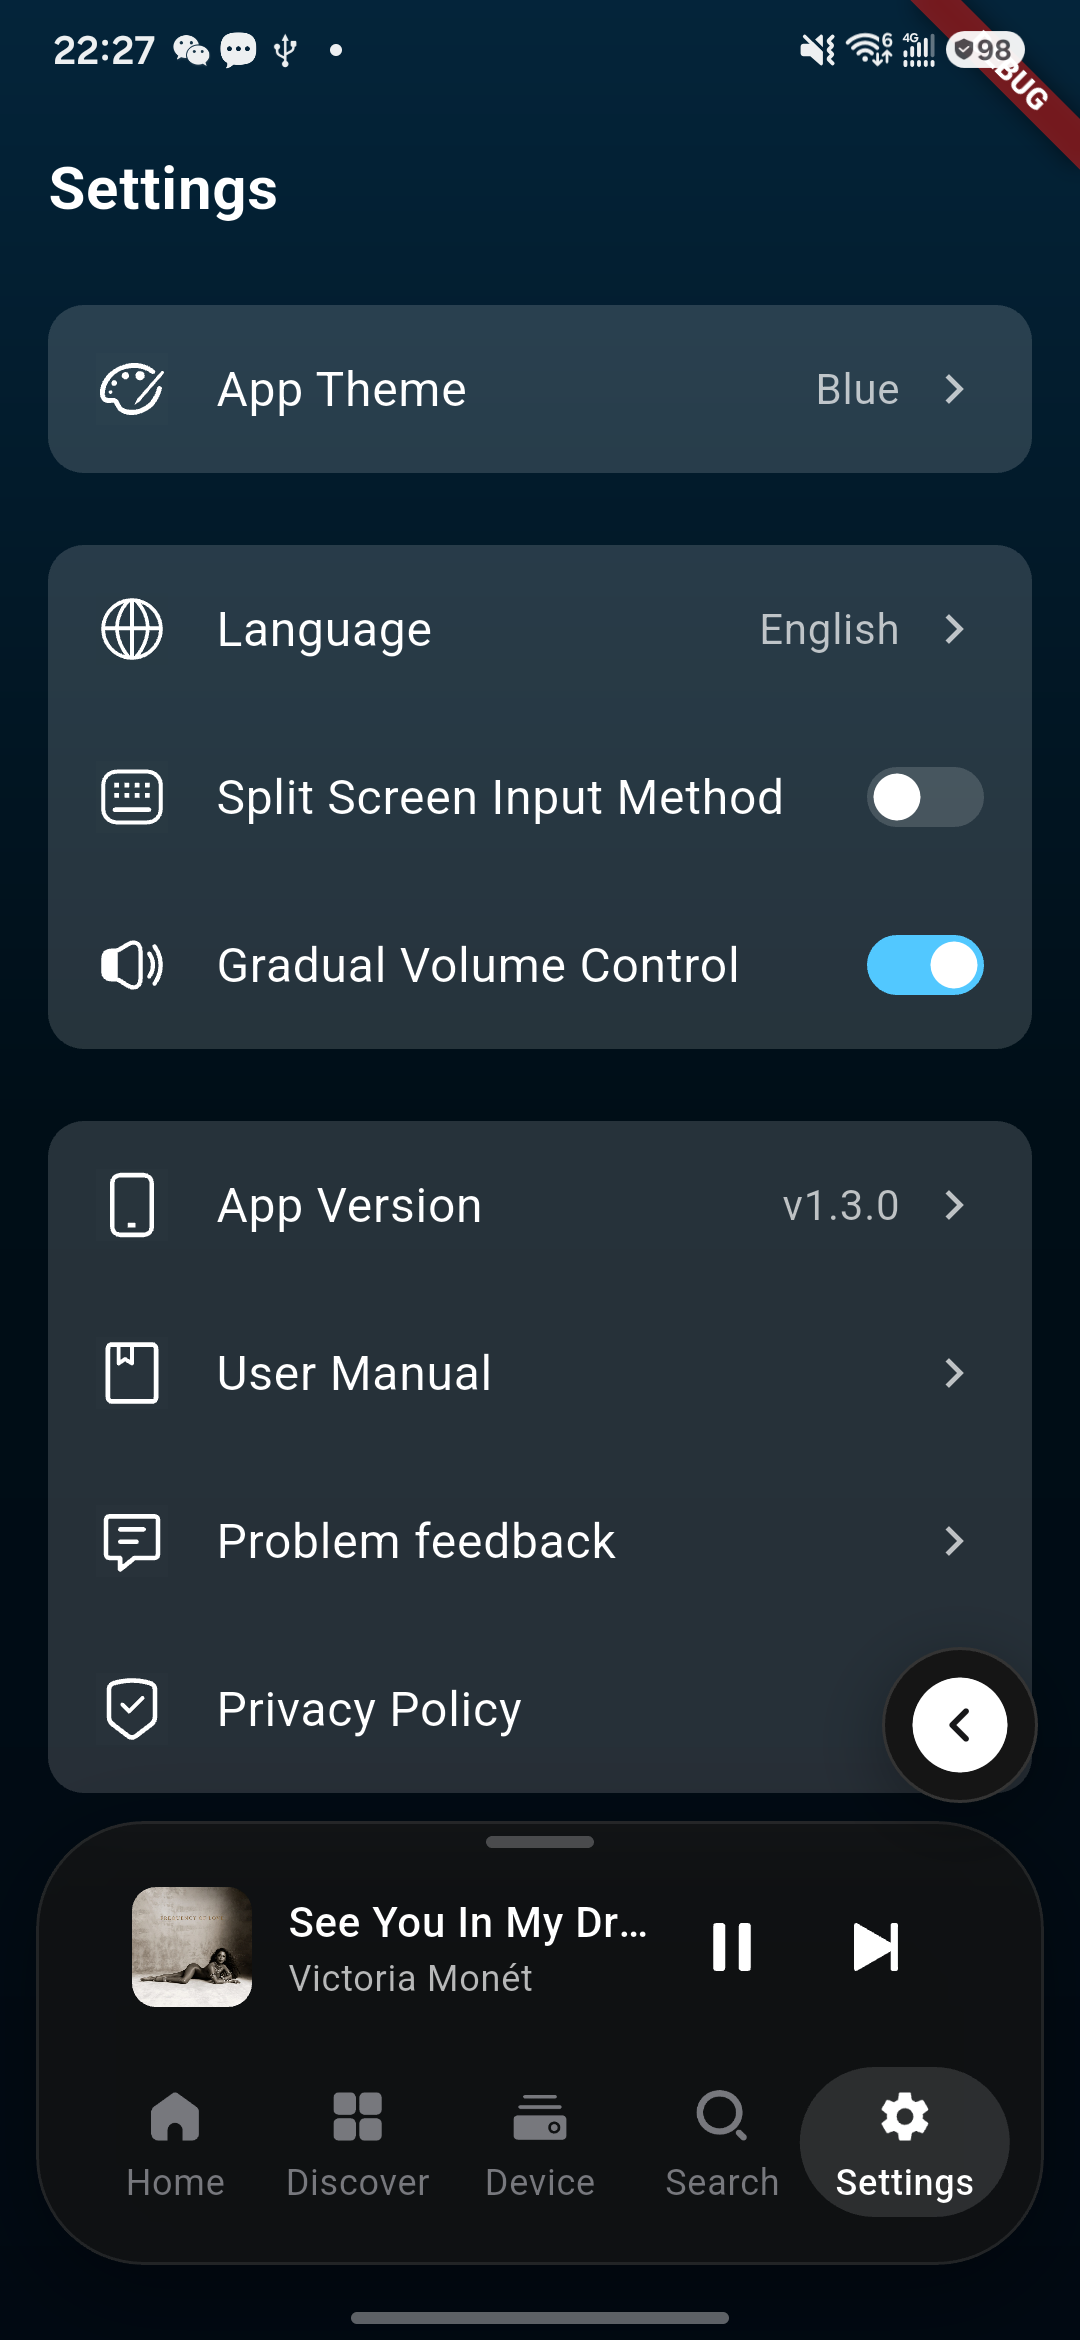
Settings: Phone app theme, language settings, view the current phone app version.
In the top-right corner of the home page, you can quickly open the software manual.
Kaiboer Home quick-app shortcuts on the home screen.
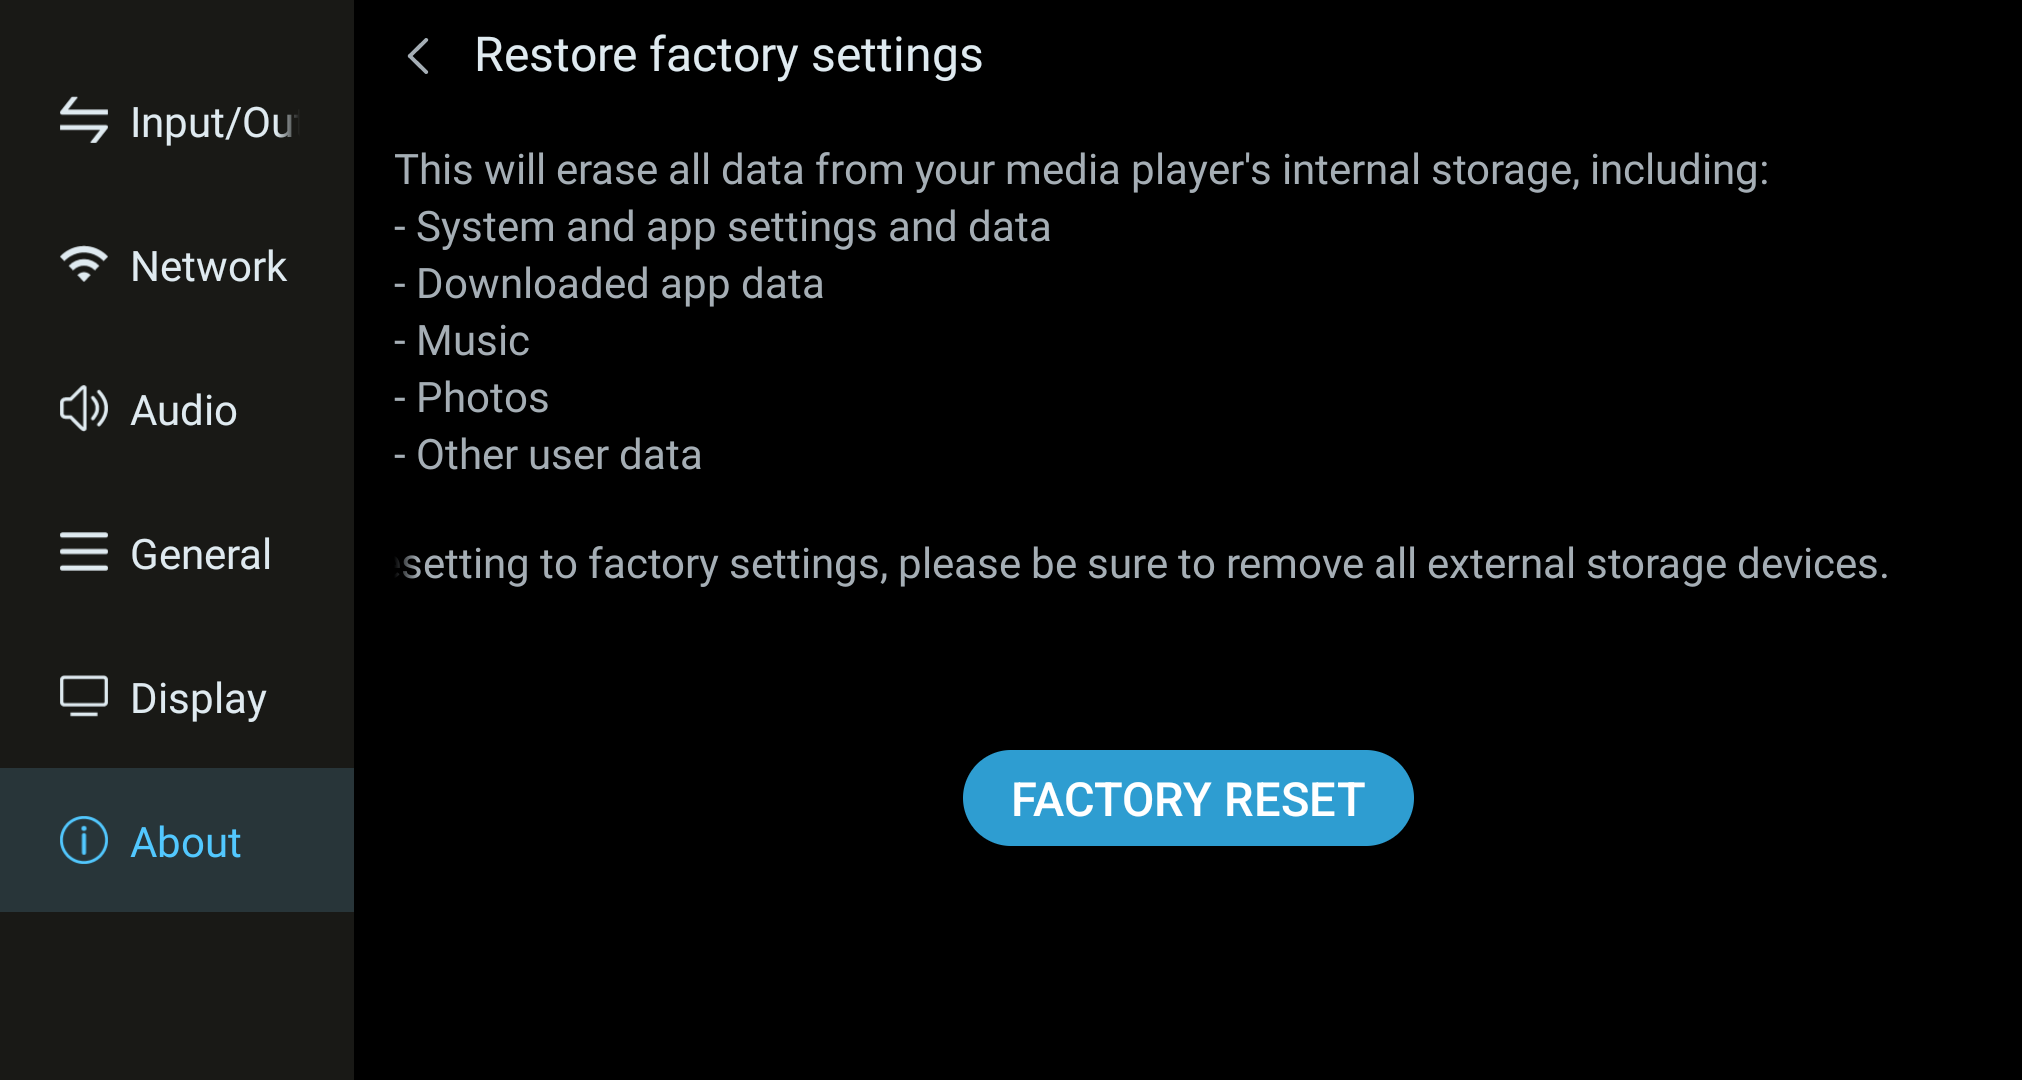
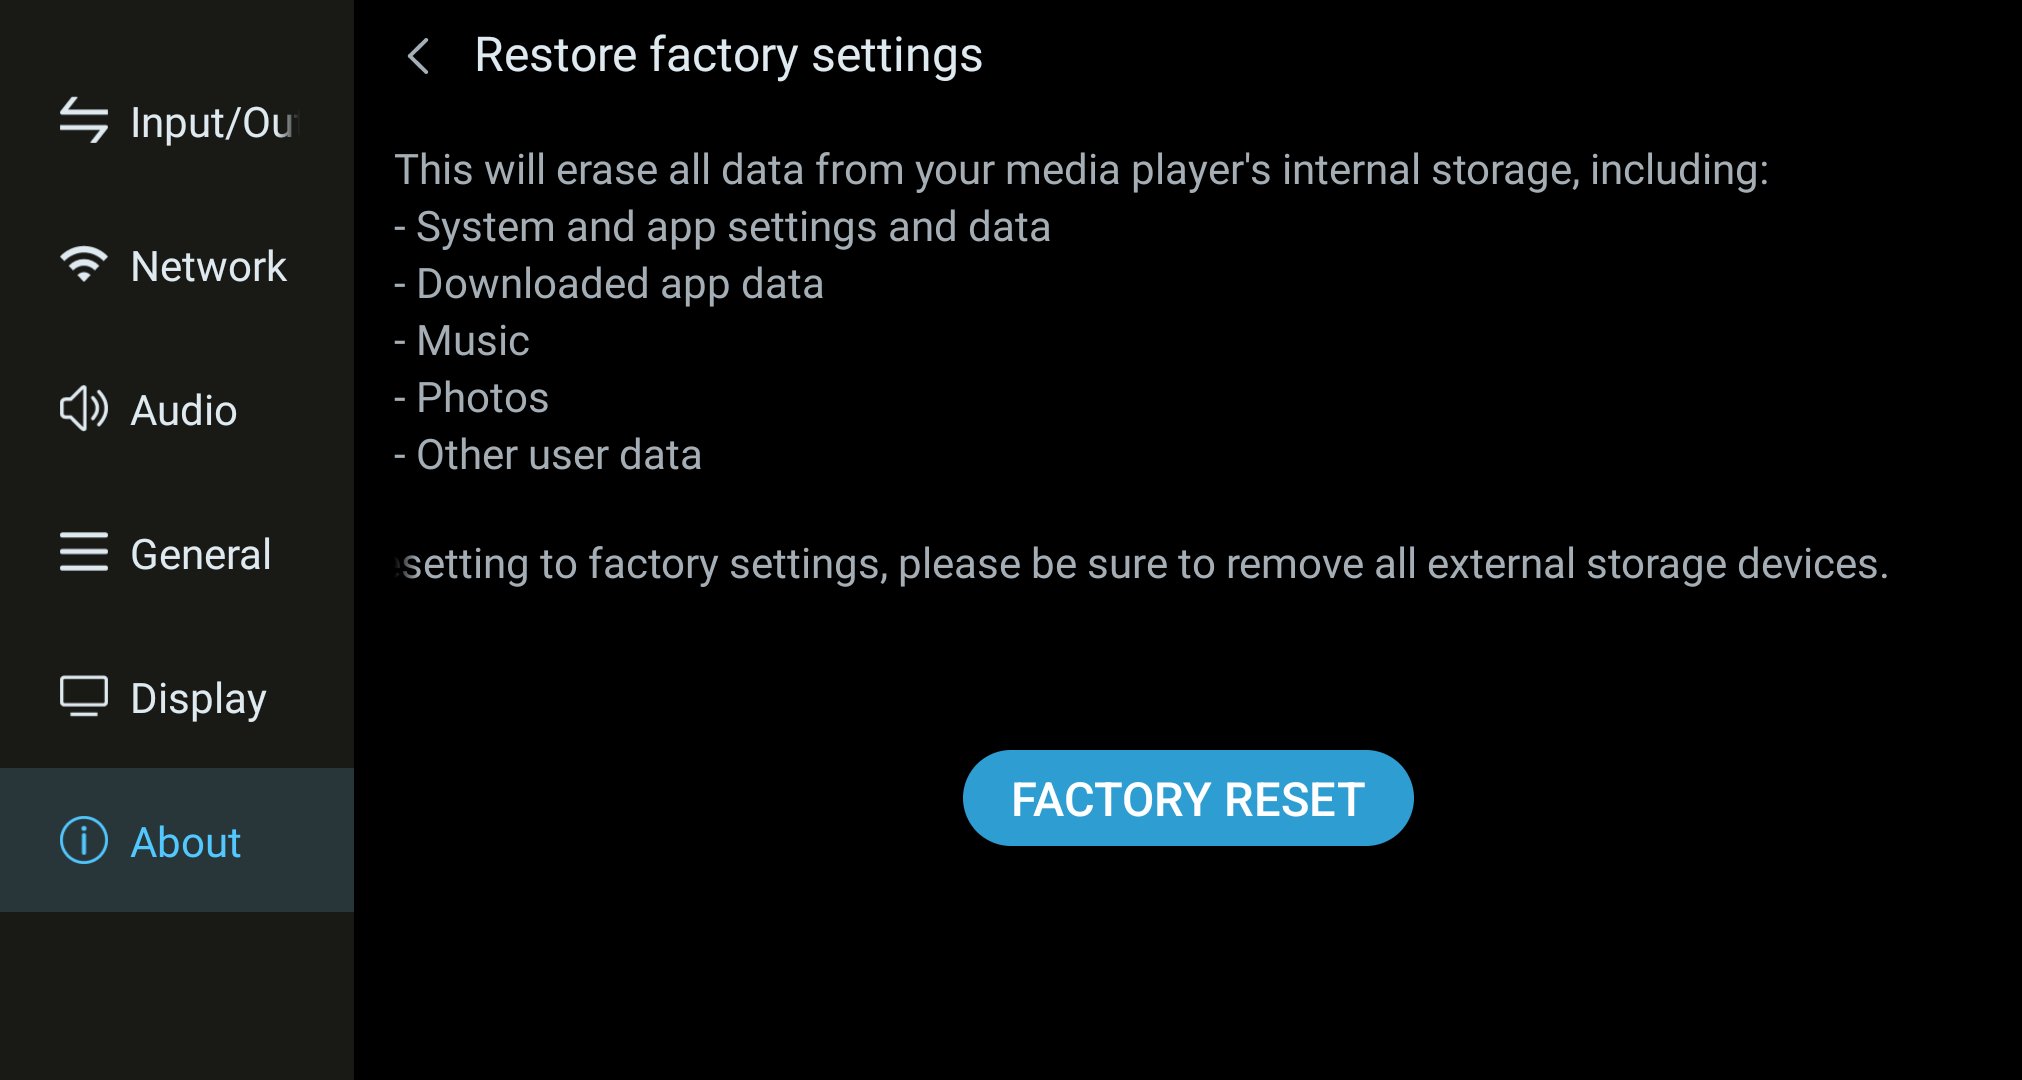
Factory-reset confirmation screen describing data that will be erased.
Open Settings – About, and tap the Factory Reset button at the bottom.
Factory-reset confirmation screen.
Please read the factory reset introduction carefully, tap the "Factory Reset" button at the bottom, and wait for the device to clear the corresponding data.
App Uninstallation
All Apps screen showing installed streaming and system apps.
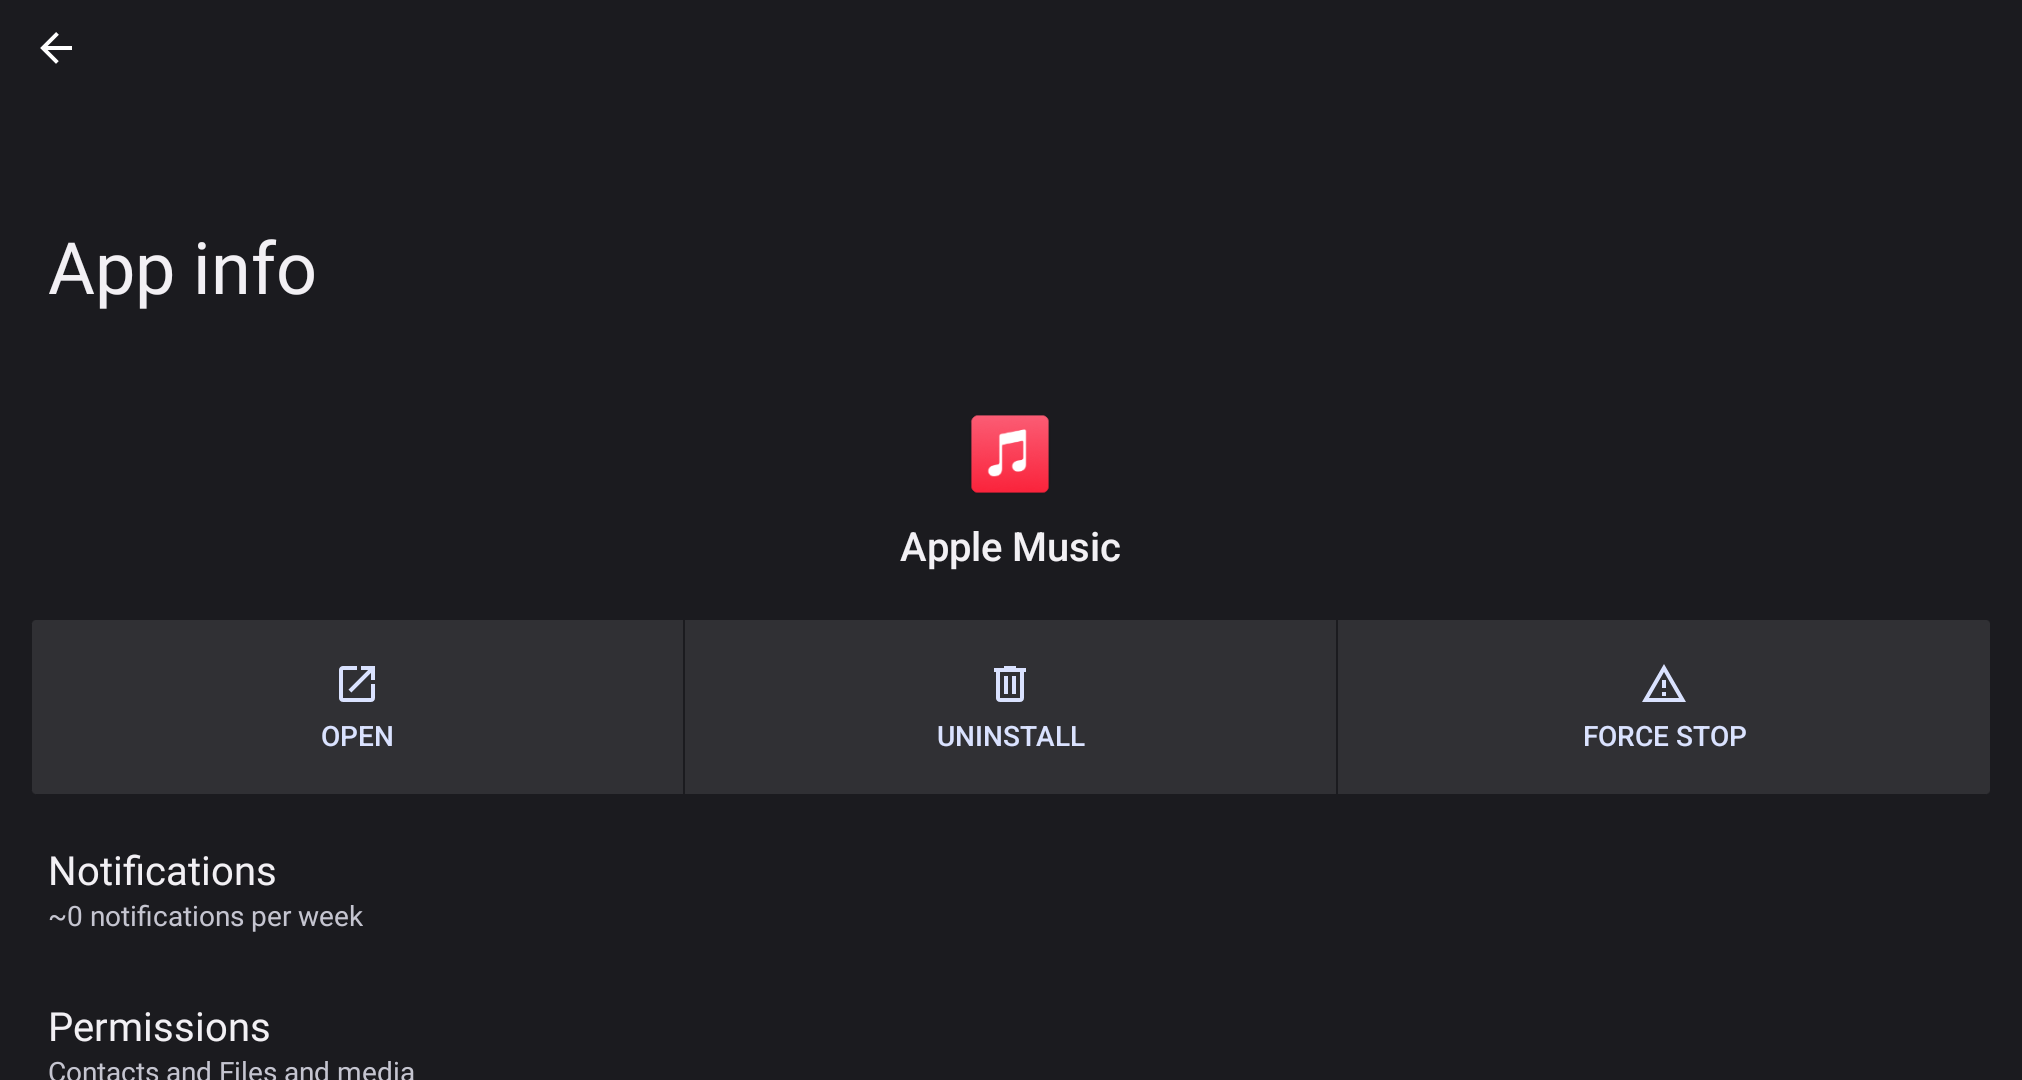
Apple Music App info screen with open, uninstall, and force-stop controls.
Swipe up on the device home screen, or tap All Apps to enter the app interface, then long-press an app icon to pop up app info. Open the app info interface to uninstall the app, change permissions, and perform other operations.
Note: After enabling auto-update, the device-side apps will automatically download updates.
How to Customize the Knob Light of the DMP-K Series
Ambient Light Settings screen for the control-knob light.
Open Settings – Display – Ambient Light Settings; this page lets you customize the knob light's color, brightness, and lighting mode.
CD Audio Playback and Ripping to Local
This function varies by product model; please refer to the actual device interface.
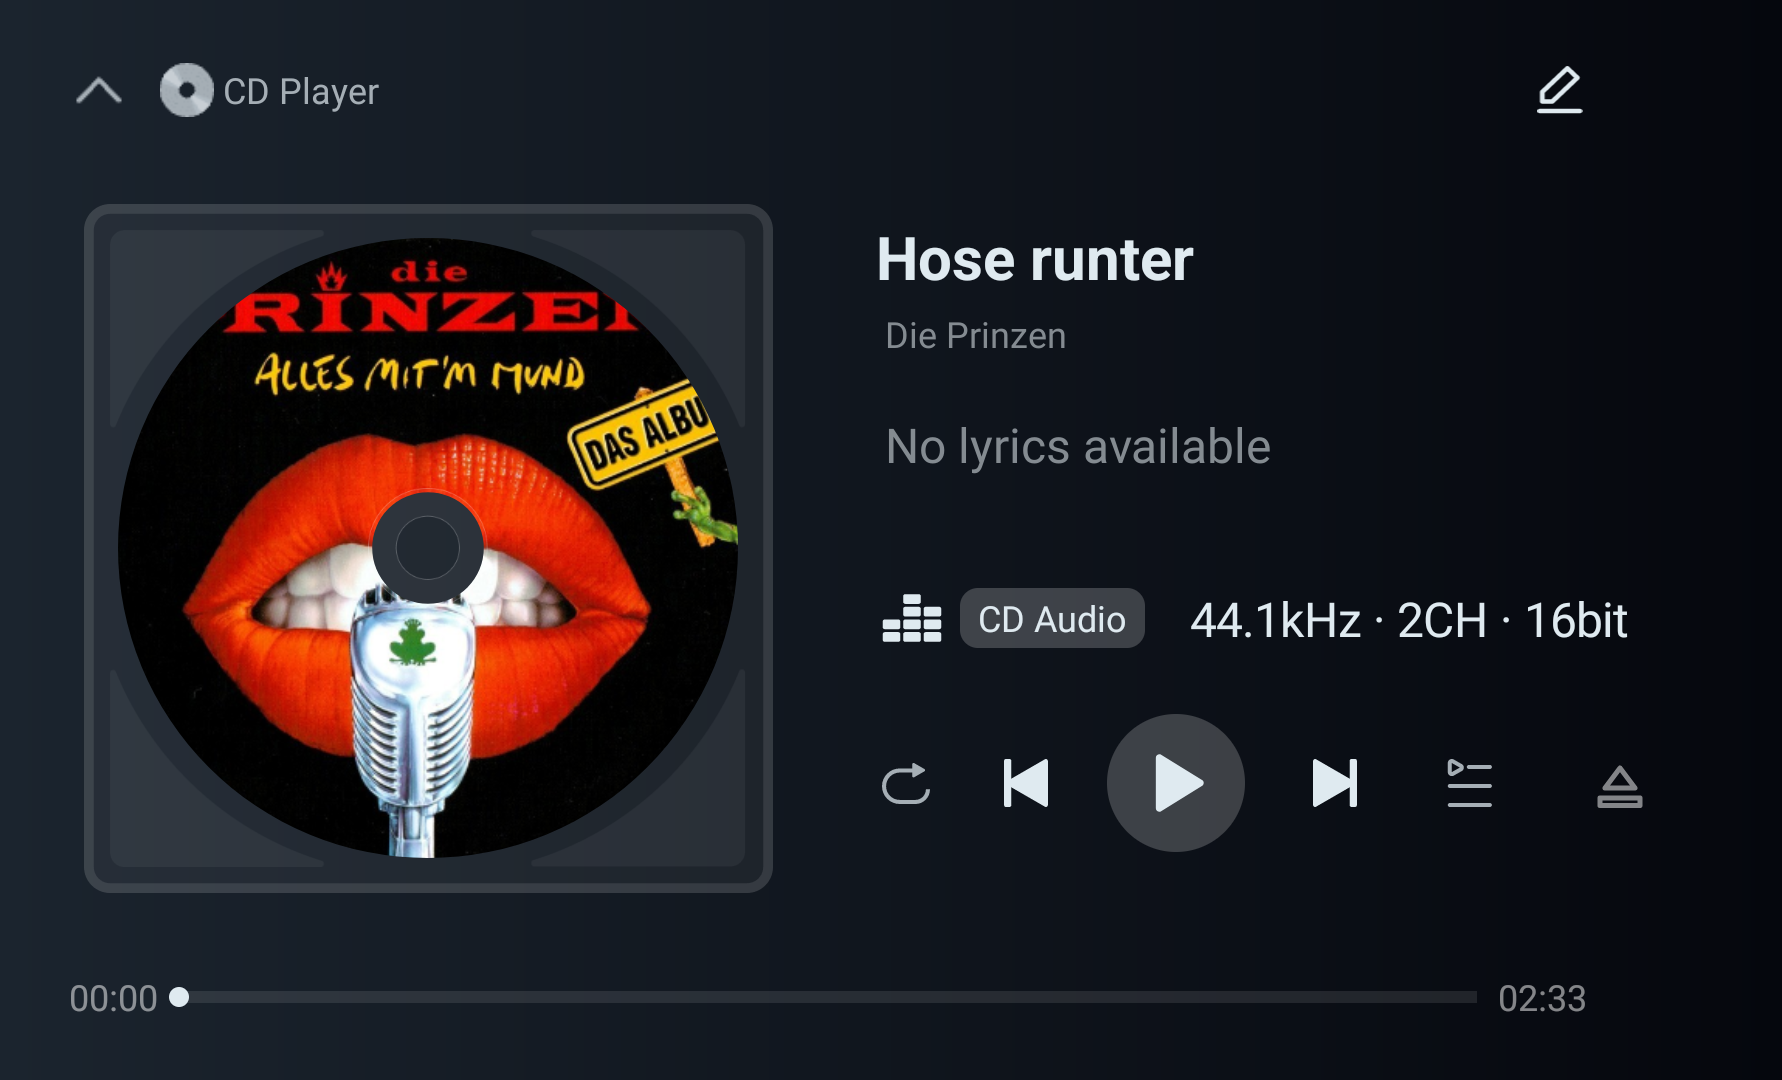
CD Player screen showing the loaded CD track and playback controls.
After placing the CD disc into the device and waiting for it to load, tap the CD icon at the top of the playback page to light it up, indicating entry into the CD playback page. Tap again to exit CD playback and return to the local playback interface.
Friendly tip: Some officially released CDs can have their album and track info looked up via Kaiboer's built-in CD music library.
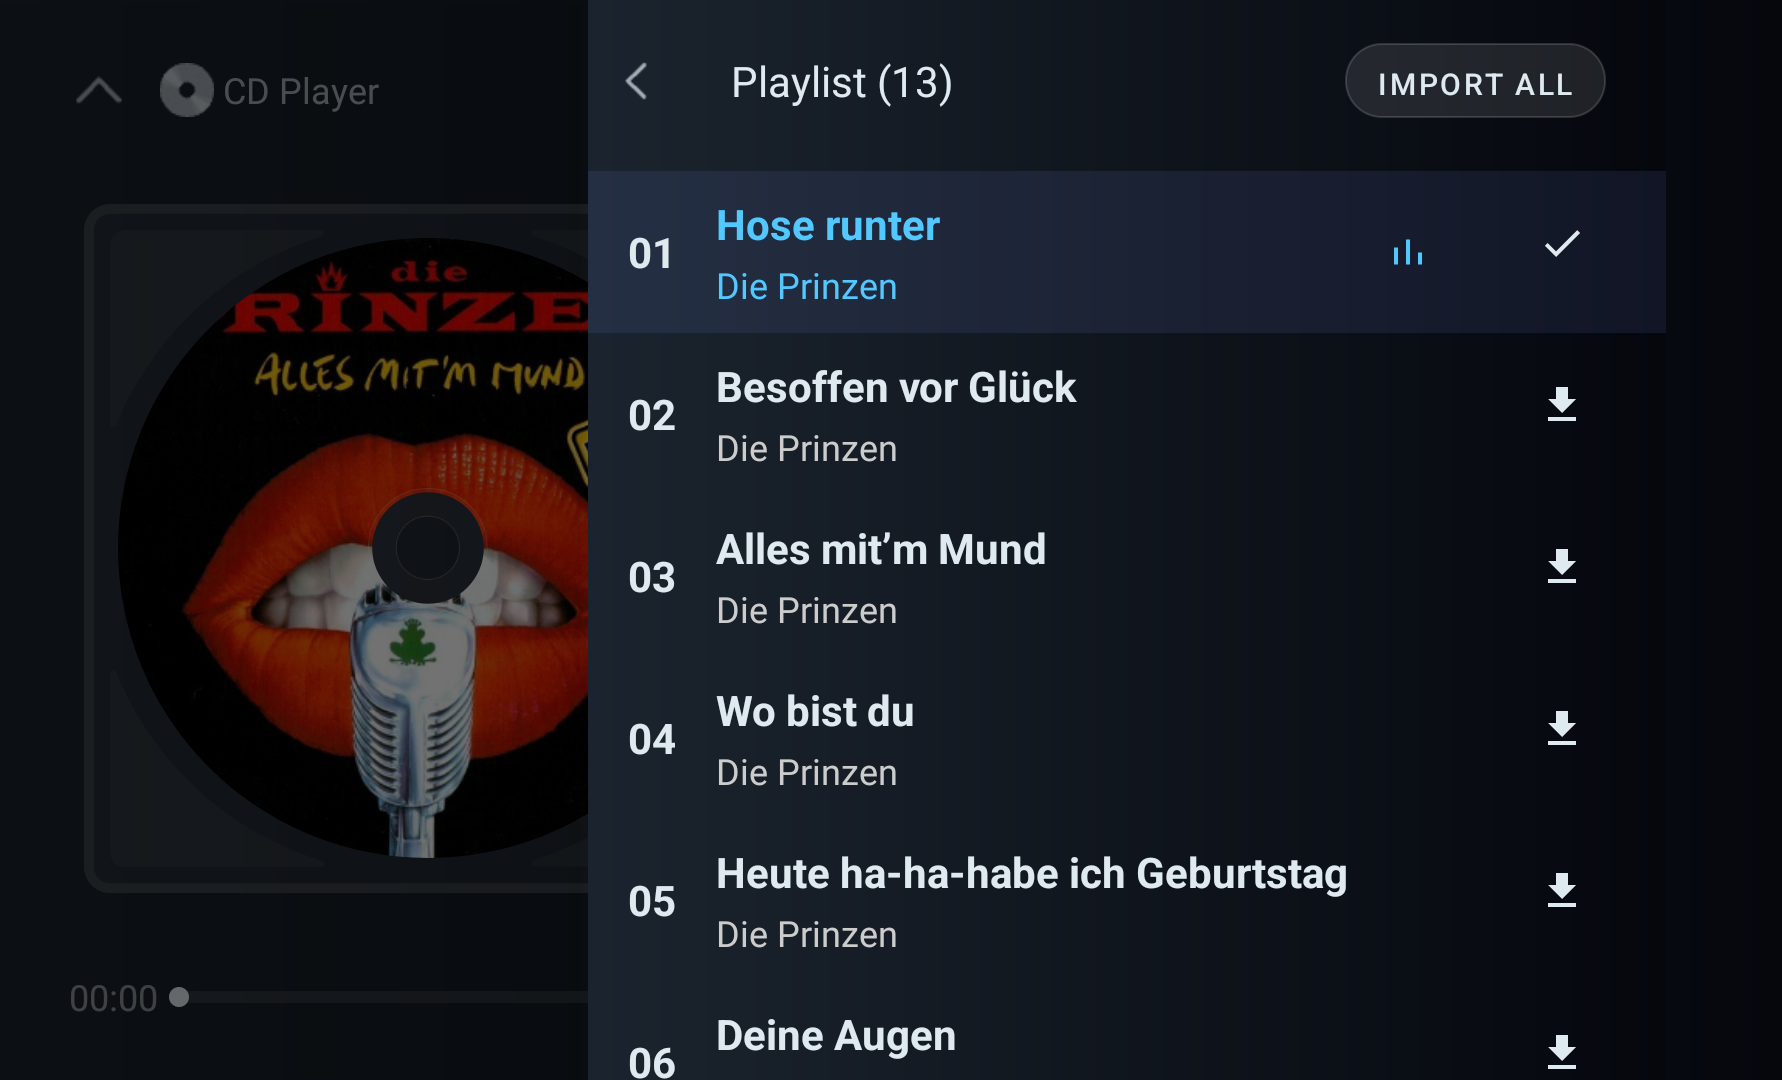
CD playlist screen with the Import All action.
At this point, tap the play queue, and the "Import All" button at the top-right can perform batch ripping; tapping the "↓" to the right of a single track will only rip the selected single track, saved by default to the MUSIC folder in local storage.
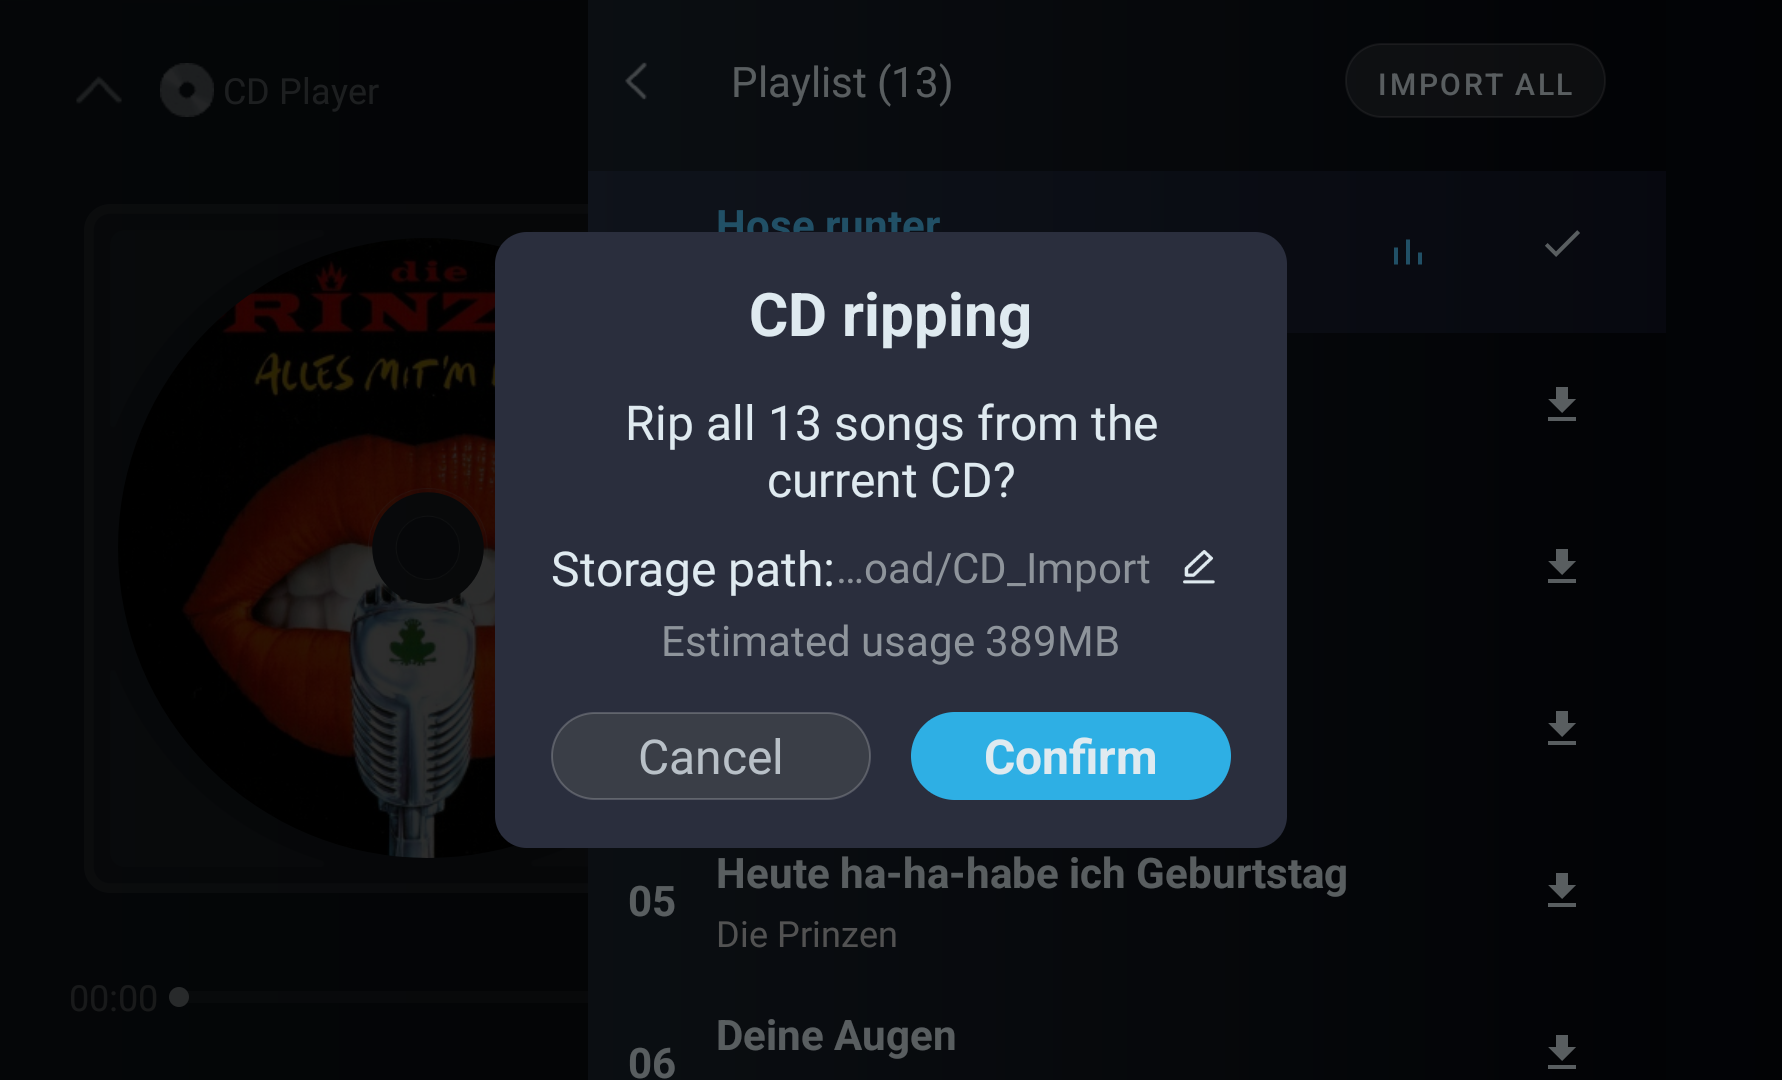
In the CD ripping popup, select the file path where you want to save, then tap "Start" and the device immediately performs the batch ripping operation.
CD ripping confirmation dialog with storage-path selection.
Tap "Cancel" to exit the ripping flow.
Ripping stops the current music playback; please wait patiently (this function varies by product model; please refer to the actual device interface).
How to Perform a System Upgrade
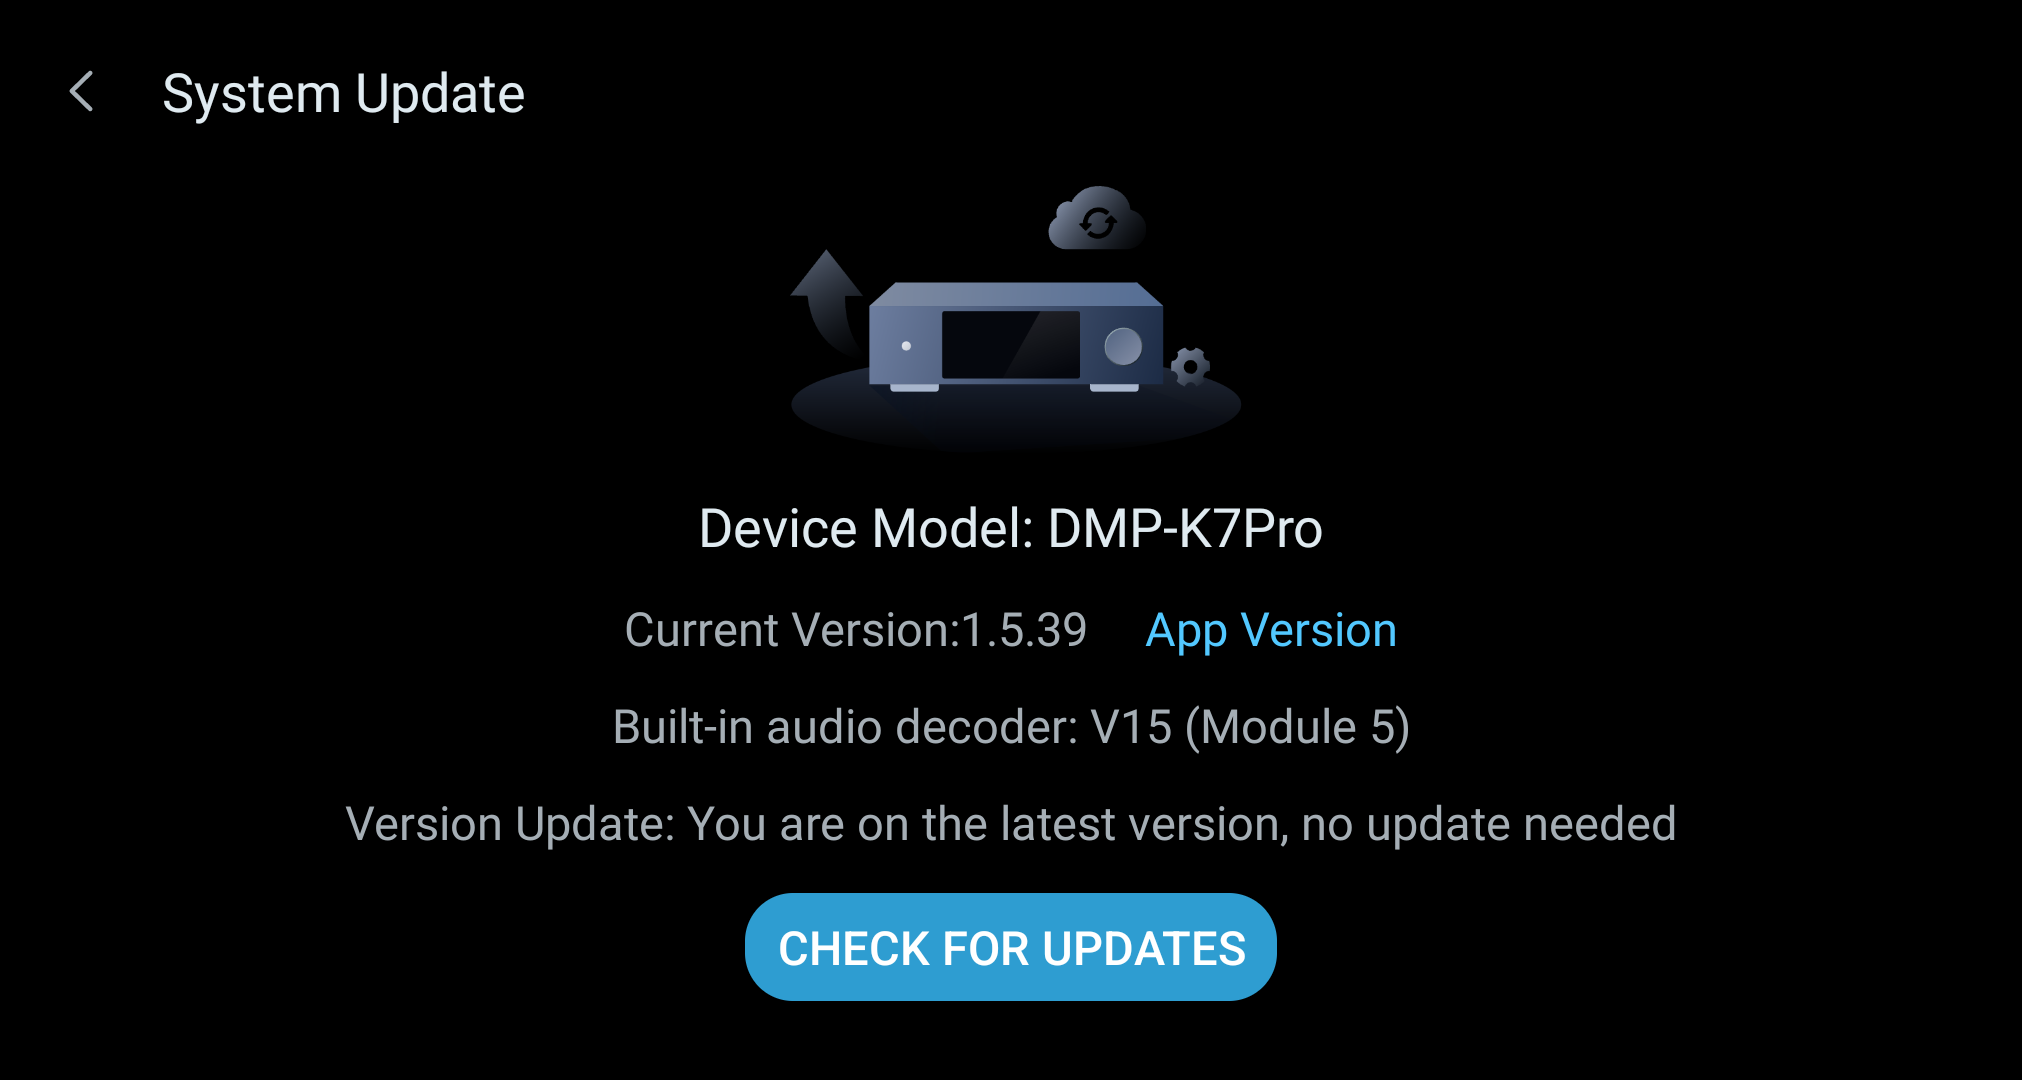
System Update screen showing the current version and update-check button.
Go to Settings – About, and tap the software version button to enter the system upgrade interface.
Each time the device is started, the background automatically performs an update check. If a new version is released, you will see a red dot prompt; tap "Download & Install" to proceed.
System Update screen showing the current version and update-check button.
At this point, a popup with the new version's update details appears; continue tapping "Upgrade" to enter the system update page.
Then wait patiently for the system update to complete.
Common Phone Connection Failure Causes
When a connection fails, an error popup appears. You can determine the failure cause based on the detection result and perform corresponding troubleshooting.
Connection Timeout
Possible causes:
Weak or unstable network signal
Slow device response
Firewall blocking the connection
Network congestion
Troubleshooting steps:
Check Wi-Fi signal strength
Ensure both phone and device Wi-Fi signals are within good range
– Try moving closer to the router
Restart network equipment
Restart the router (power off for 30 seconds then turn on)
– Restart the Wi-Fi connection of the device and phone
Check network load
Pause large downloads on other devices
– Reduce the number of simultaneously connected devices
Switch network band
If using 2.4GHz, try switching to 5GHz (if the device supports it)
– Or switch from 5GHz to 2.4GHz
Connection Failed
Possible causes:
Temporary network fluctuation
Device is starting up
Port occupied
Troubleshooting steps:
Wait a moment and retry
Wait 10-30 seconds and try connecting again
Check device status
Confirm the device is fully started (usually takes 1-2 minutes)
– Check whether the device screen displays normally
Reconnect
Tap the "Reconnect" button in the app
– Or return to the device list and re-select the device
Connection Interrupted by Device, Please Retry
Possible causes:
Device actively disconnected
Device restarted or powered off
Device service crashed
Troubleshooting steps:
Check device status
Confirm whether the device is running normally
– Check whether the device screen shows any abnormal prompts
Restart the device
Long-press the device power button to shut down
– Wait 10 seconds and power on again
– Wait for the device to fully start, then reconnect
Check device firmware
Go to device "Settings > About > Firmware Upgrade"
– Check for available updates
Device Service Not Started, Please Check Device Status
Possible causes:
Device control service not running
Device just started, service not ready
Device system abnormal
Troubleshooting steps:
Wait for the device to fully start
The device needs 1-2 minutes to start all services after powering on
– Wait for the device screen to display the main interface
Start the control service on the device
Go to device "Settings > Network > Phone Control"
– Confirm the "Phone Control Service" function is enabled
– Tap the "Refresh" button to reset the service
Restart the device
If the service still hasn't started, try restarting the device
– After the device restarts, wait 2 minutes before connecting
Device Service Abnormal, Please Restart the Device
Possible causes:
Device service crashed
Insufficient system resources
Firmware bug
Troubleshooting steps:
Restart the device (recommended)
Method 1: Press the device power button and select "Restart"
– Method 2: Tap "Restart Device" in the app
– Wait for the device to fully restart, then reconnect
Clear device cache
Go to device "Settings > About > Running Memory"
– Clear unnecessary cache files
Factory Reset (last resort)
⚠️ Note: This operation will erase all data
– Go to device "Settings > About > Factory Reset"
– Reconfigure the device after reset
Device Unreachable: Check Local LAN Reachability
Possible causes:
Phone and device are not on a reachable local LAN, for example because of guest or client isolation.
Device IP address has changed
Router isolated the device
Device powered off or disconnected
Troubleshooting steps:
Confirm reachable local LAN
Phone: check the current Wi-Fi or wired network connection.
Device: open Settings → Network and check the active connection. The device may use Ethernet while the phone uses Wi-Fi when the router allows the two clients to communicate.
– Check that both devices are on the same reachable LAN. The player may use Ethernet while the phone uses Wi-Fi; matching Wi-Fi names alone do not establish reachability.
Check device IP address
On the device: view "Settings > Network > Wi-Fi"
– Record the device IP address
– Try manually adding the device in the app (using this IP)
Check router settings
Log in to the router management interface
– Confirm "AP Isolation" or "Guest Network Isolation" is not enabled
– Confirm the device is in the router's device list
Reconnect to network
Disconnect Wi-Fi on the device
– Reconnect to the correct Wi-Fi network
– Re-search for the device in the app
💡 Tip: If you can use it normally when connected to a phone hotspot but cannot use it when connected to router Wi-Fi, it is highly likely that your router has enabled the "AP Isolation" function. Please refer to step 3 to disable this function.
Check whether the router indicator lights are normal
– Try restarting the router
– Check whether other devices can access the internet normally
Cannot Connect to This IP
Possible causes:
Incorrect IP address entered
Device IP has changed
Device powered off
Network isolation
Troubleshooting steps:
Verify the IP address
View the current IP on the device: "Settings > Network"
– Confirm the IP address format is correct (e.g. 192.168.1.100)
– Re-enter the correct IP address
Use auto-discovery
Return to the app home page
– Tap "Add Device > Search Device"
– Let the app auto-search for the device
Ping test (advanced)
Use a network tool app to test whether the device IP is reachable
– A failed ping can indicate a reachability problem, but it is not conclusive: ICMP may be blocked even when the app connection can work. Use it together with the device status and app discovery result.
Phone and Device Not on the Same Subnet
Description: A subnet is determined by the IP address and subnet mask. Only on a typical 255.255.255.0 (/24) network do the first three address segments identify the subnet. With any other mask, do not use the first-three-segment shortcut; evaluate the mask or ask the network administrator.
Possible causes:
Phone and device connected to different subnets
Router configured with multiple VLANs
Guest network used
Troubleshooting steps:
Check IP address subnet
Phone IP: Open "Settings > Wi-Fi > Current Network Details"
– Device IP: View "Settings > Network > Network Info" on the device
– For a 255.255.255.0 (/24) network, compare whether the first three segments are consistent. With another subnet mask, use the mask to determine reachability or ask the network administrator. Example:
From the day you receive your product. The seller covers all costs for quality defects.
5 years
Repair support
At-cost repairs after warranty. Replacement parts can be supplied by agreement.
7 days
Unconditional returns
Return any product within seven days of receipt, unconditionally.
Buyer-paid
Import duties & taxes
Paid by the buyer. We provide accurate declarations and documents to assist clearance.
Read full warranty, returns & customs details
Worldwide one-year warranty: All products are covered for one year from receipt. The seller covers all costs to resolve quality defects during this period.
Five-year repair support: After the warranty ends, quality defects within five years of receipt can be repaired at cost. With your agreement, replacement parts can be supplied without returning the product to China.
Seven-day unconditional returns: All products may be returned unconditionally within seven days of receipt.
Import duties: All import duties, taxes and customs charges are paid by the buyer. The seller provides accurate declarations and supporting documents based on the actual transaction to assist clearance.