Manual contents
2. Music Player App
On this page
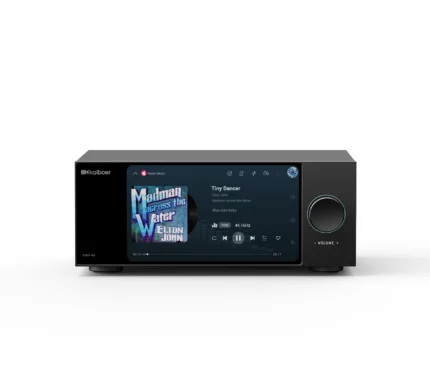
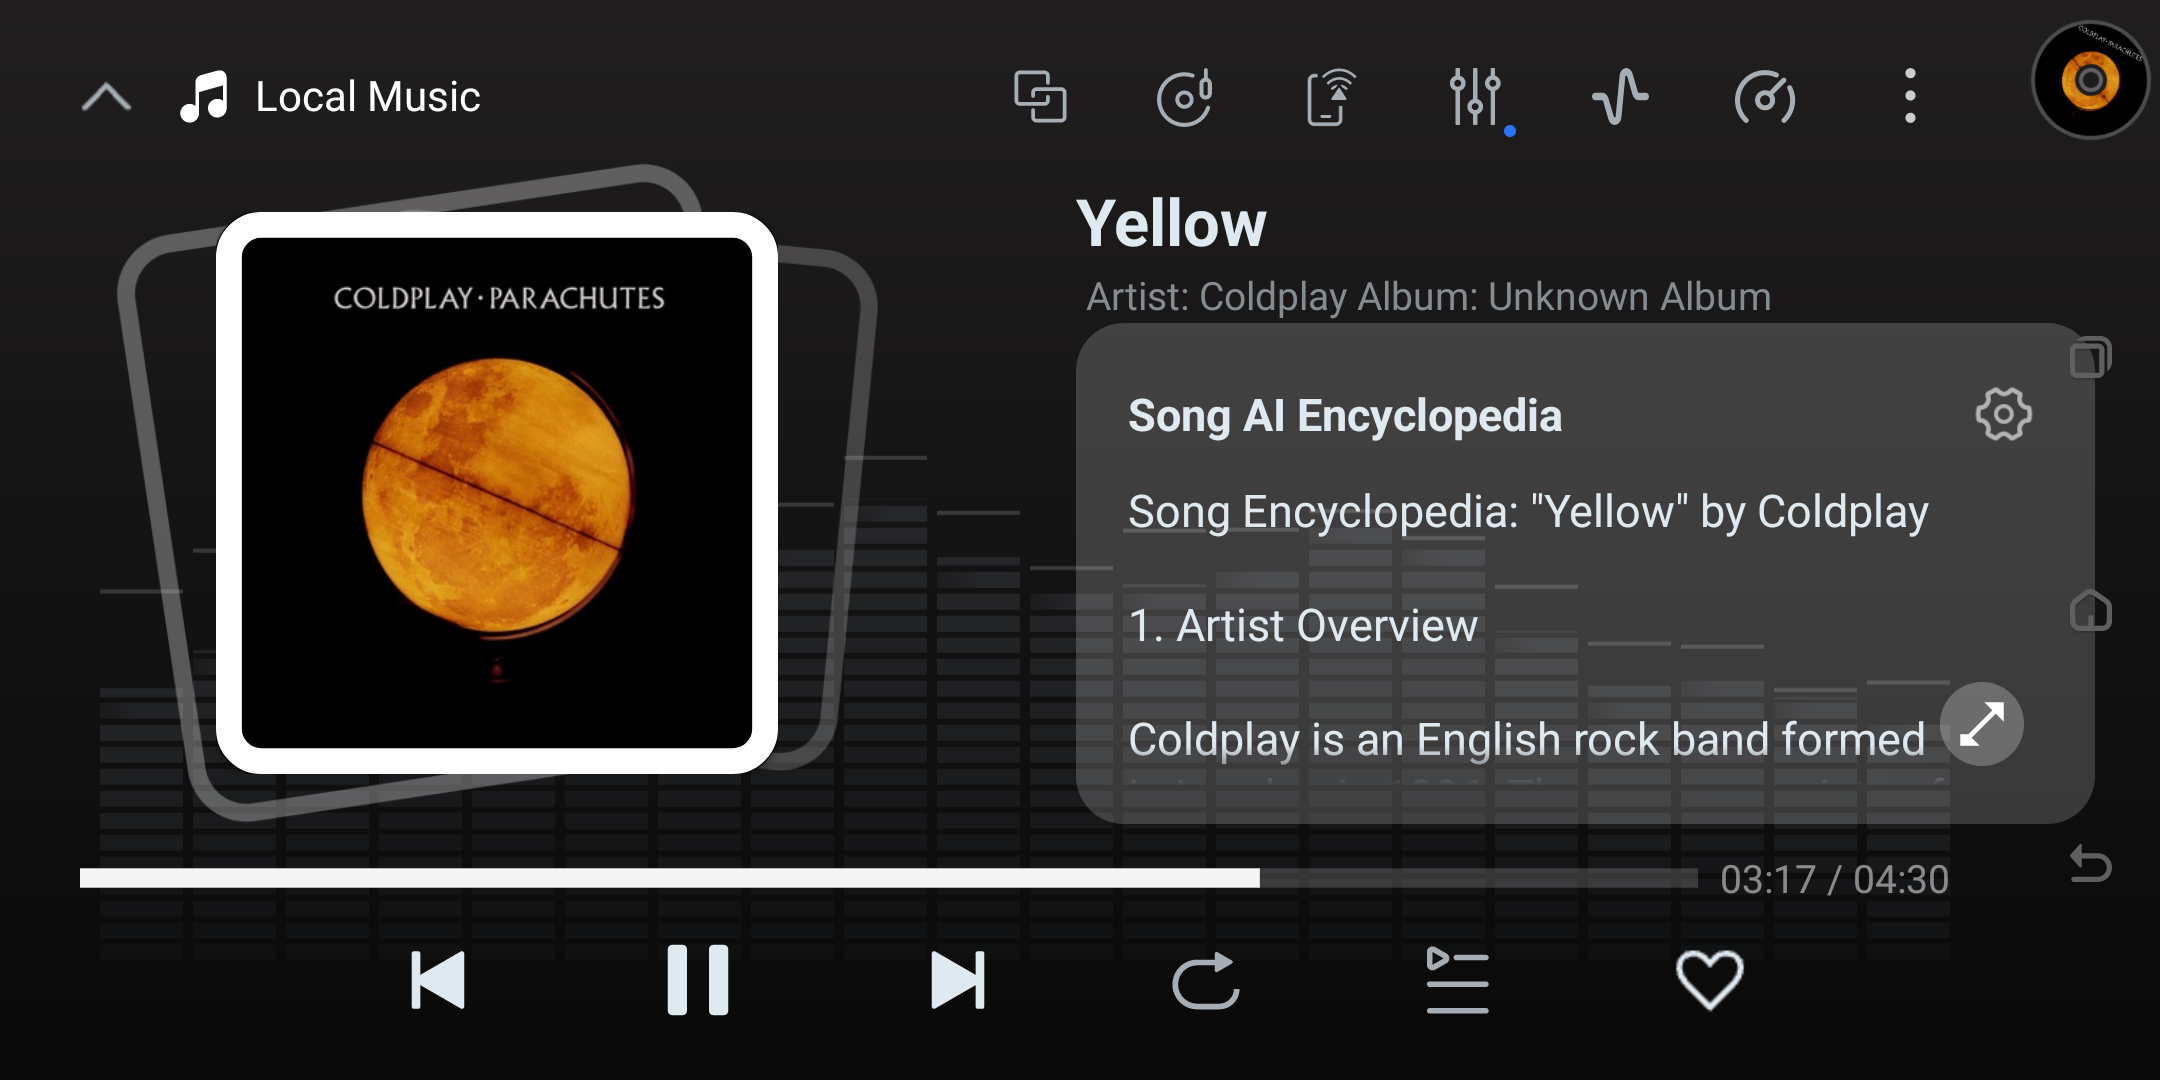
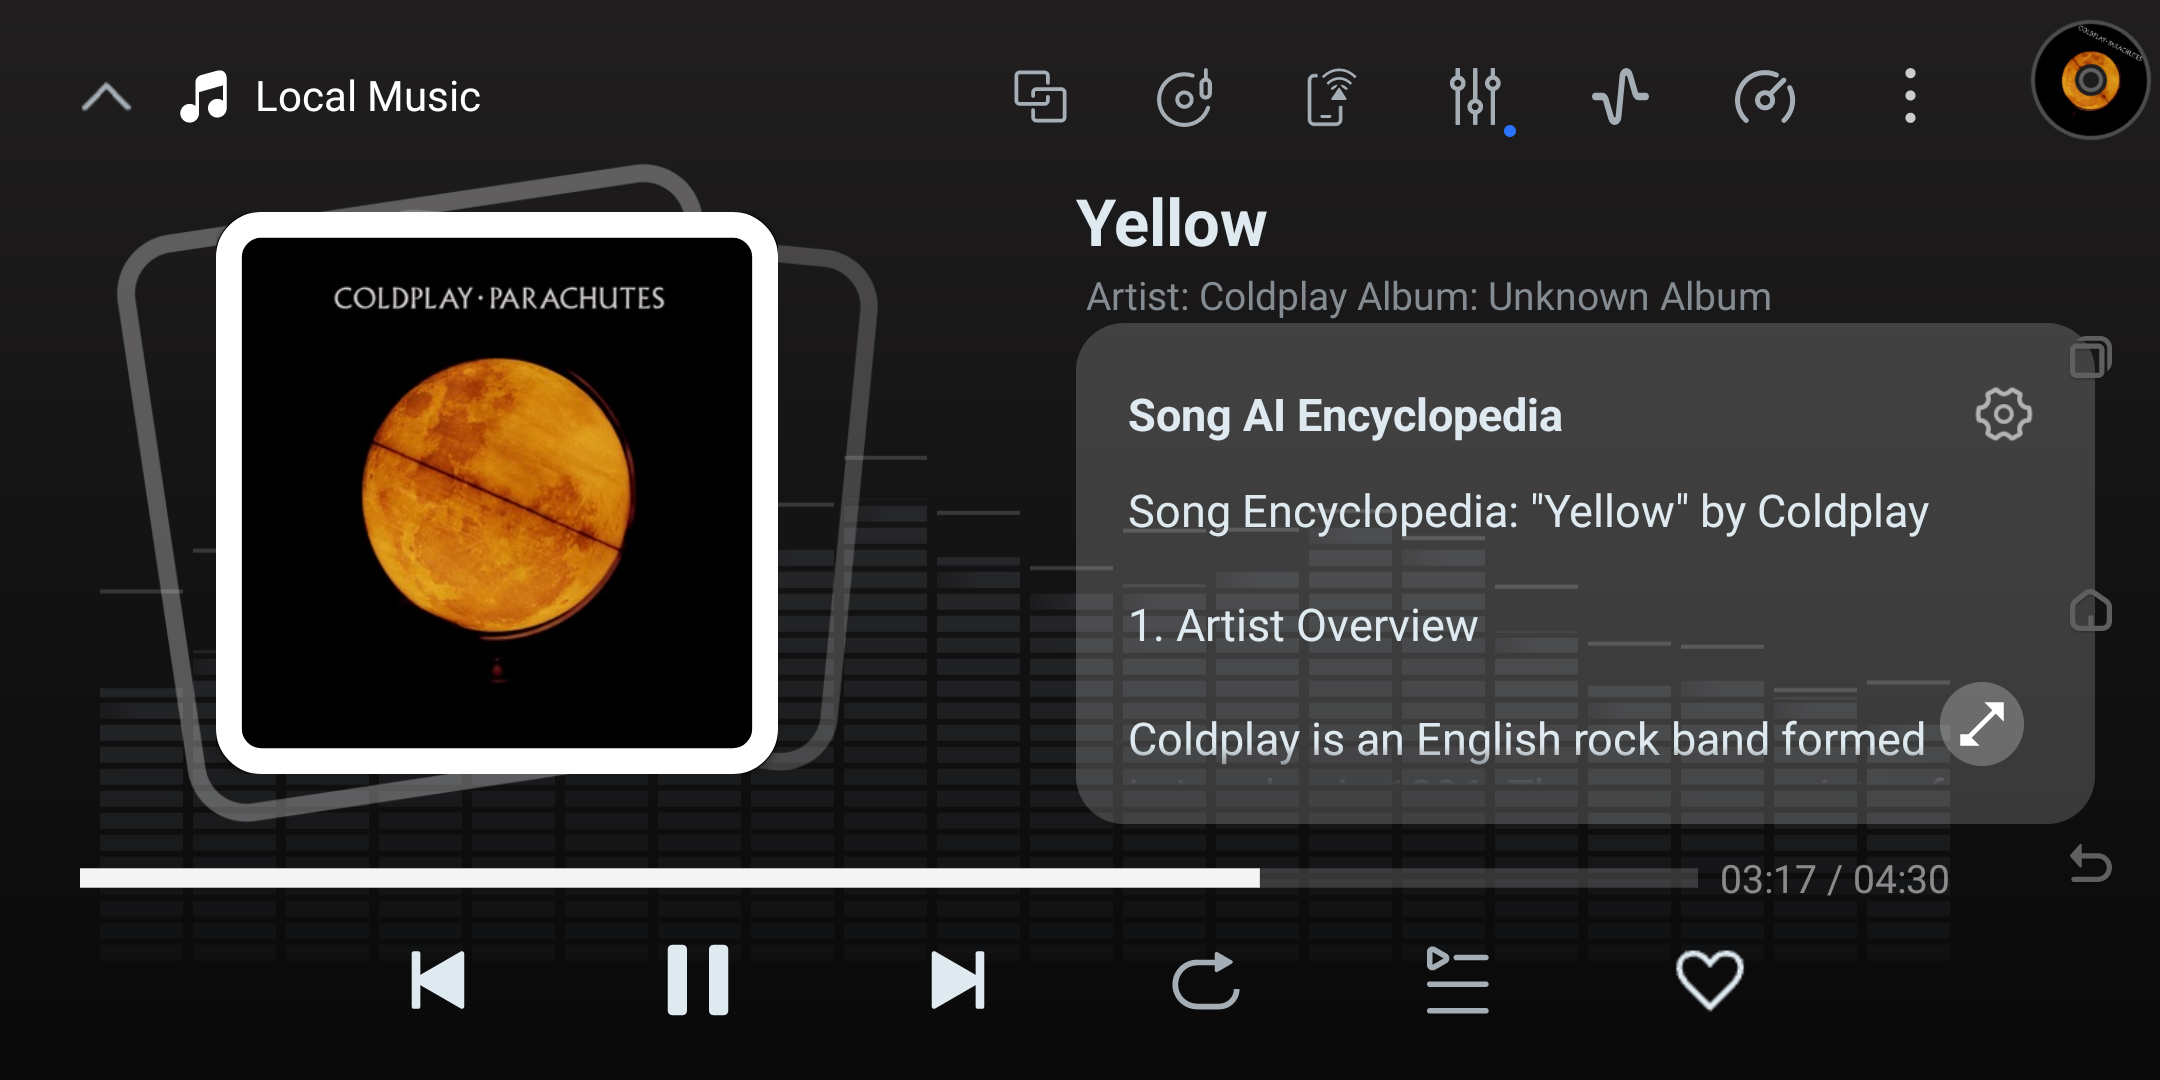
Button Functions
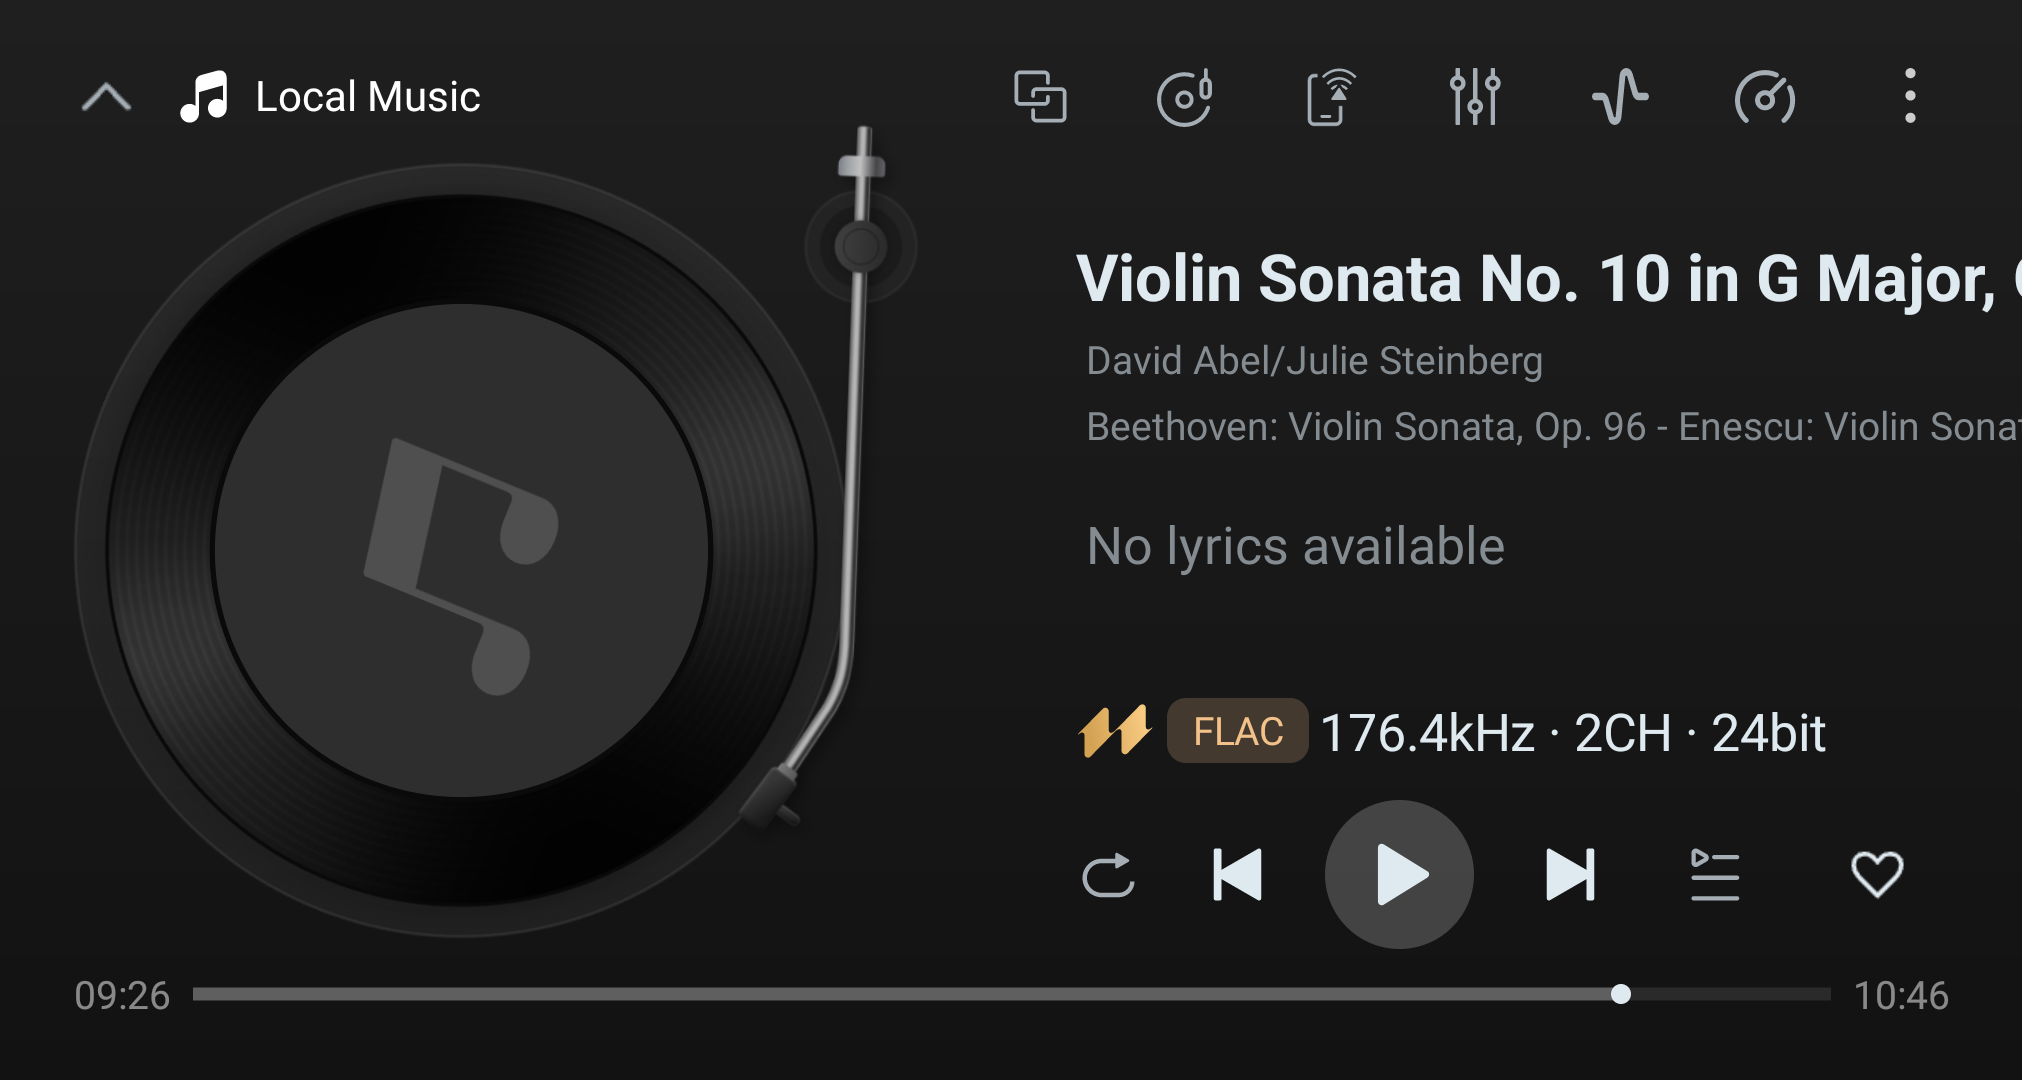
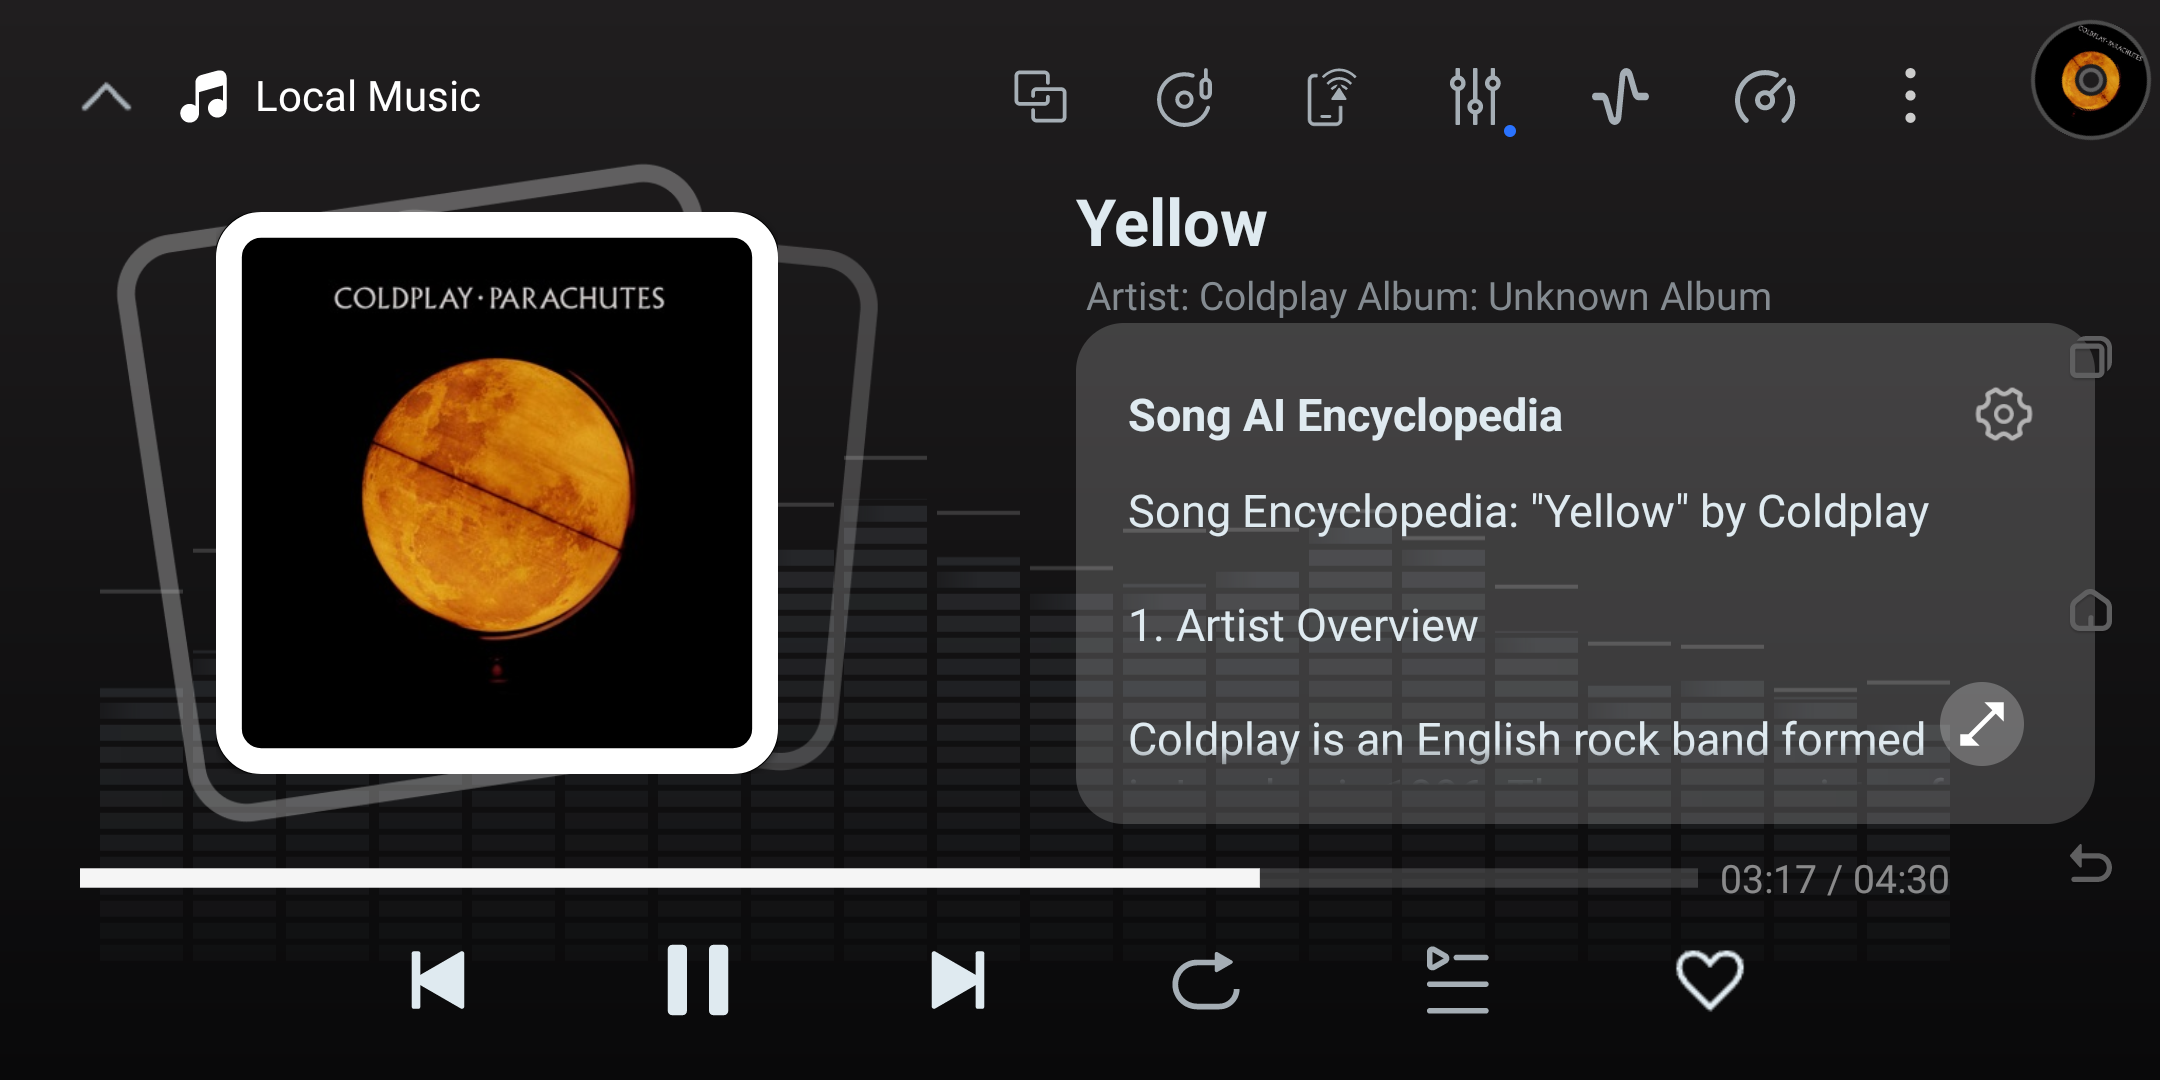
- Playback control: previous / next track, pause / play.
- Play queue: view the playback queue of all tracks in the current category (e.g., entering an artist shows that artist's track list; same applies to albums, favorites, playlists, etc.).
- Play mode switching: list loop, single loop, shuffle, sequential.
- Favorite: add the current song to "Favorites – Single".
- Music source: shows the current audio source in real time.
- MultiRoom link: tap to enter the MultiRoom linked-playback screen and select other rooms' devices to sync the current music.
- CD: when a CD disc is detected, tap to switch to the CD playback screen.
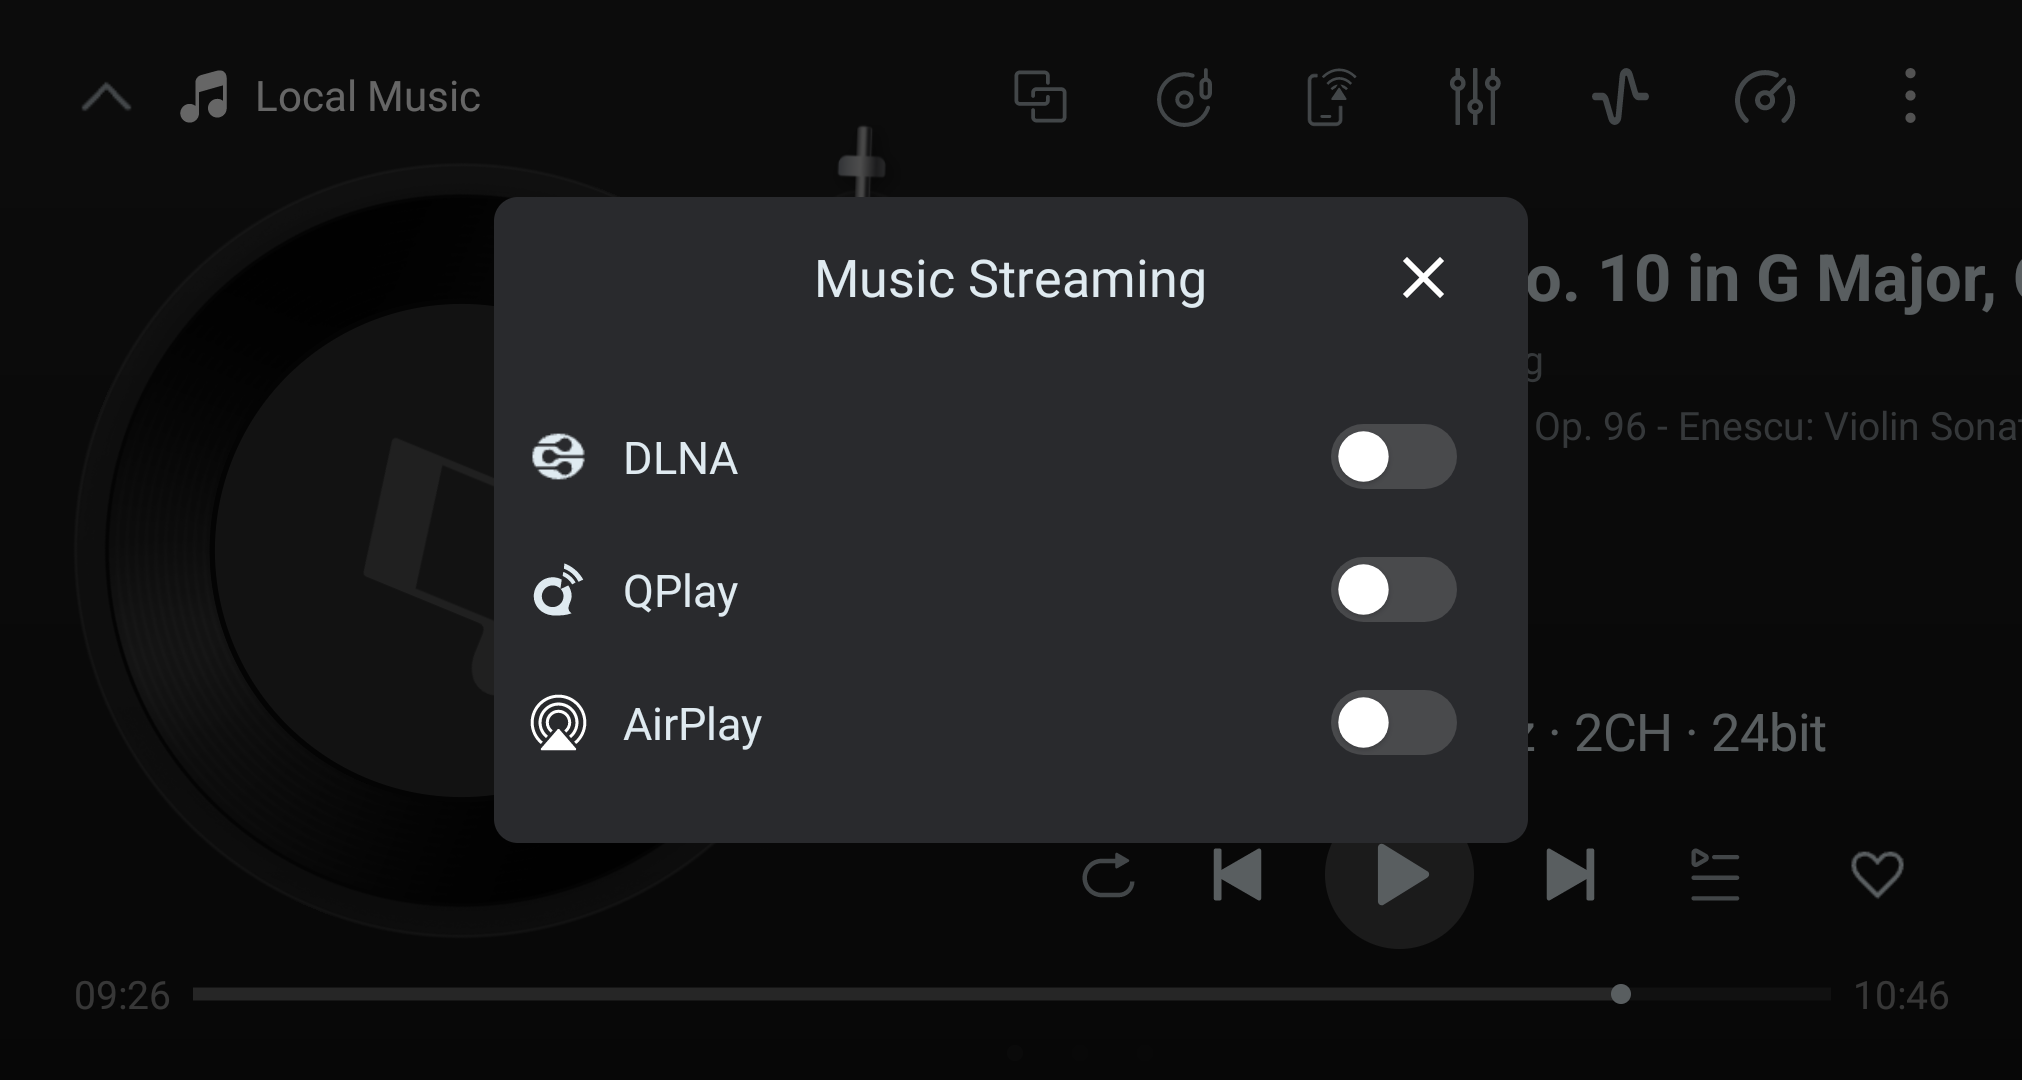
- Music service: toggle DLNA / AirPlay streaming on or off.
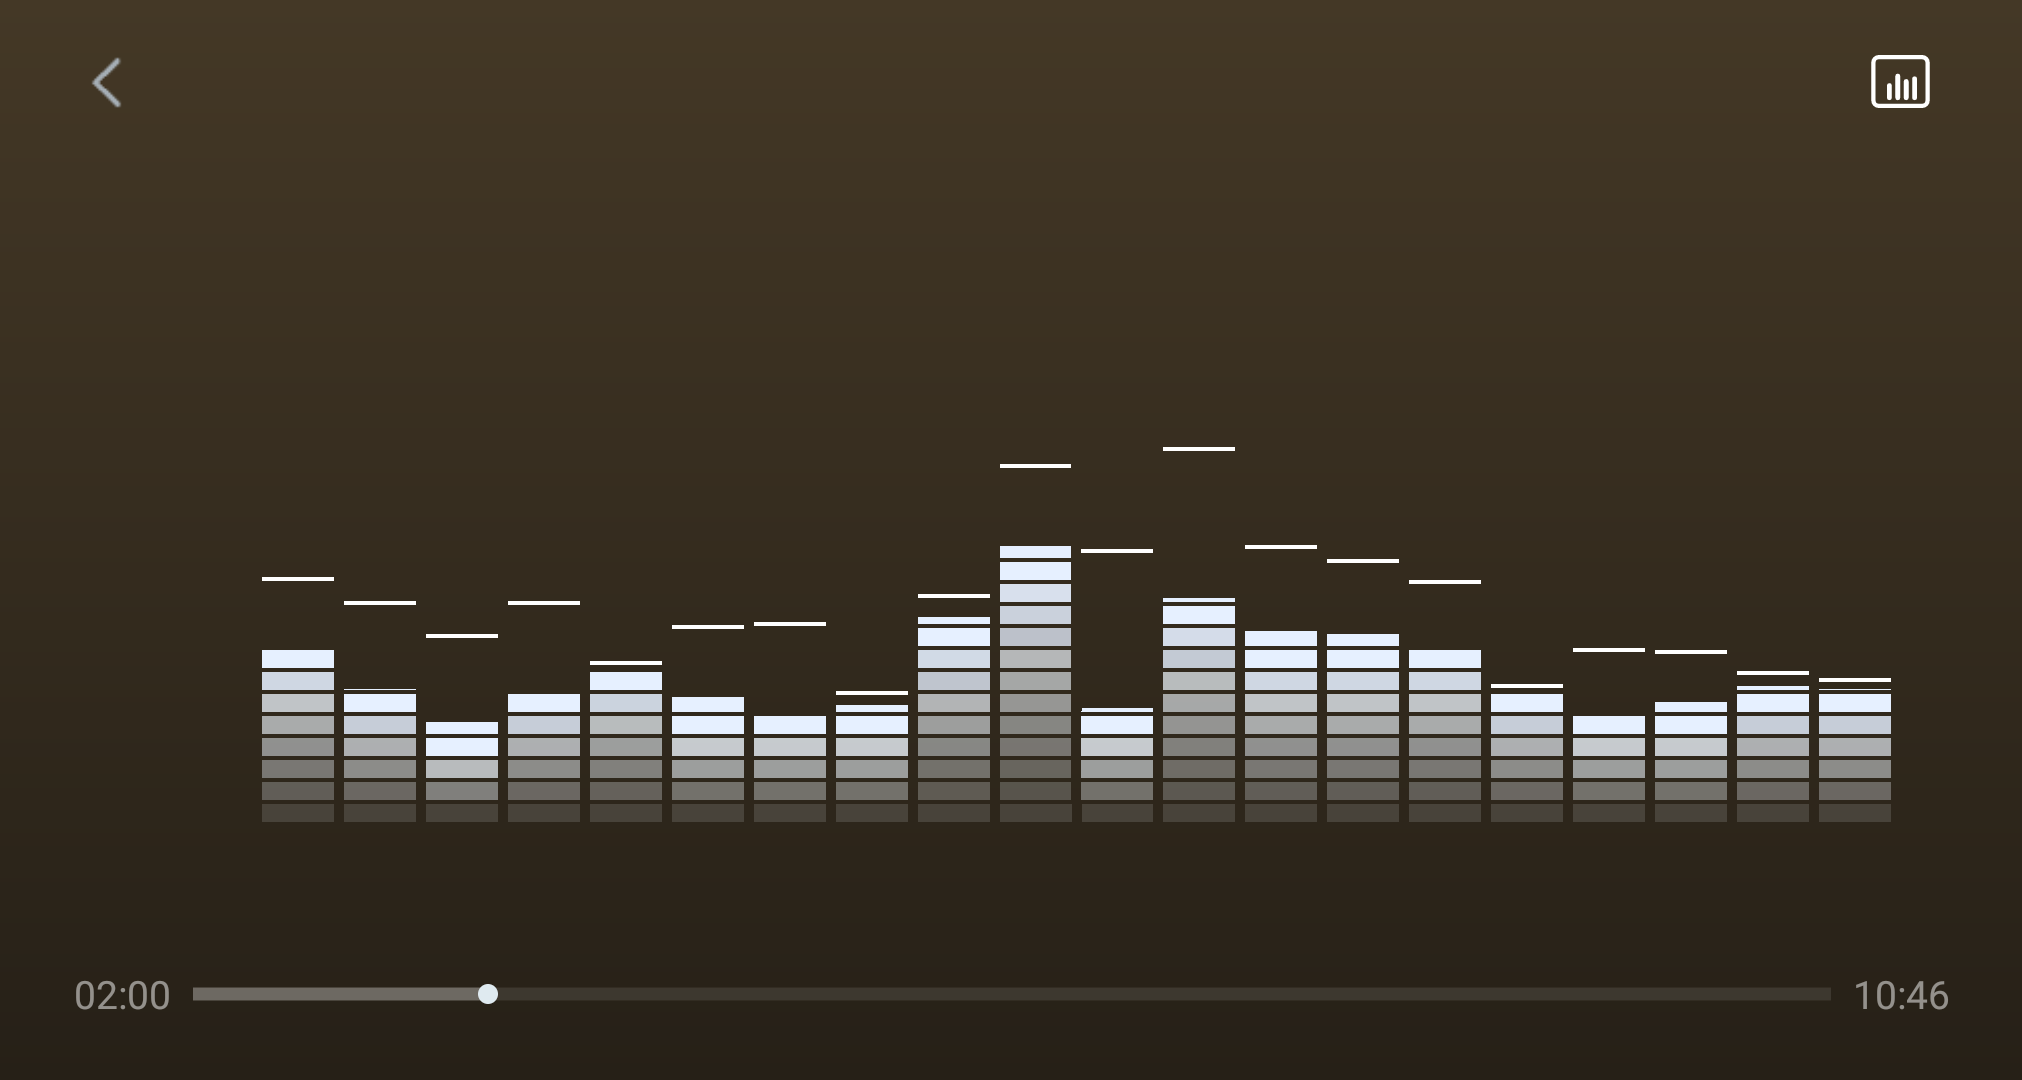
- Spectrum: switch to the full-screen spectrum view.
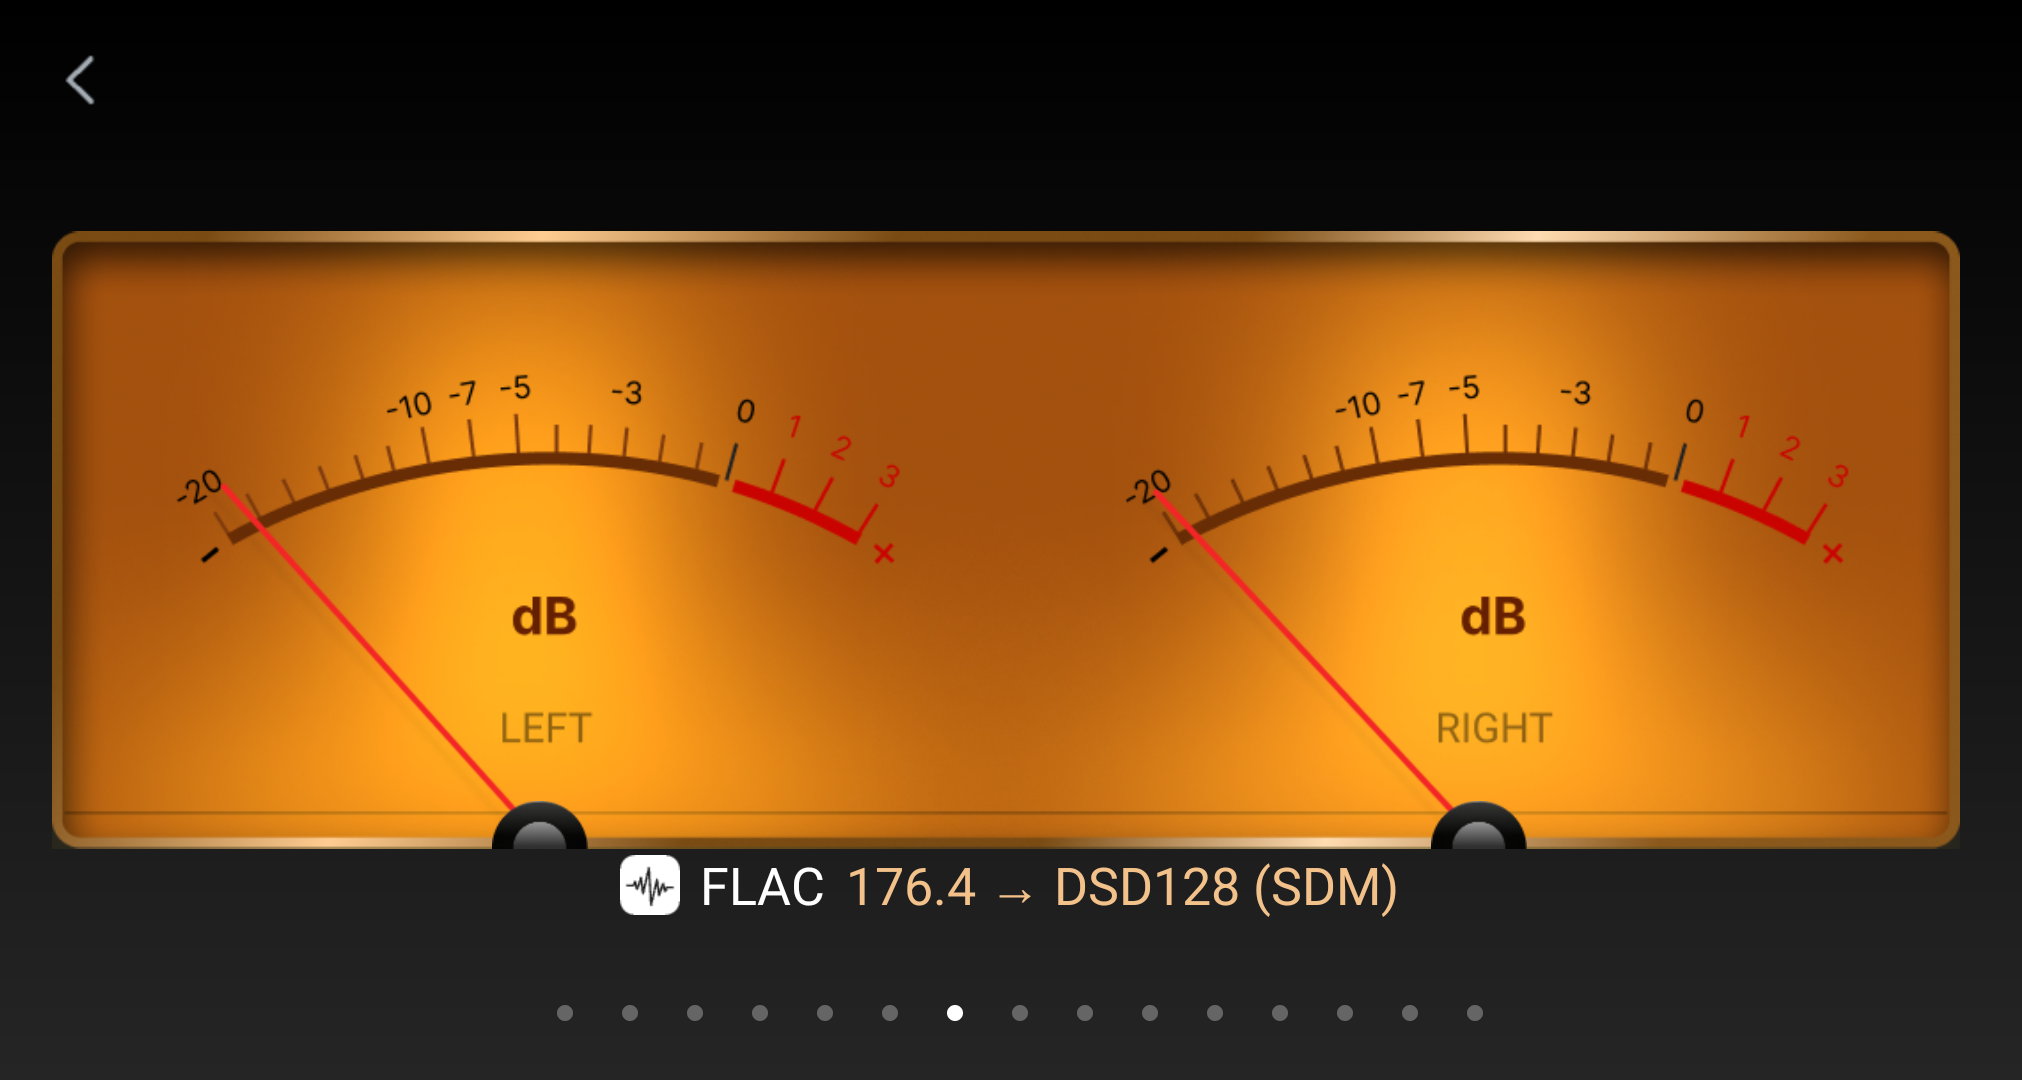
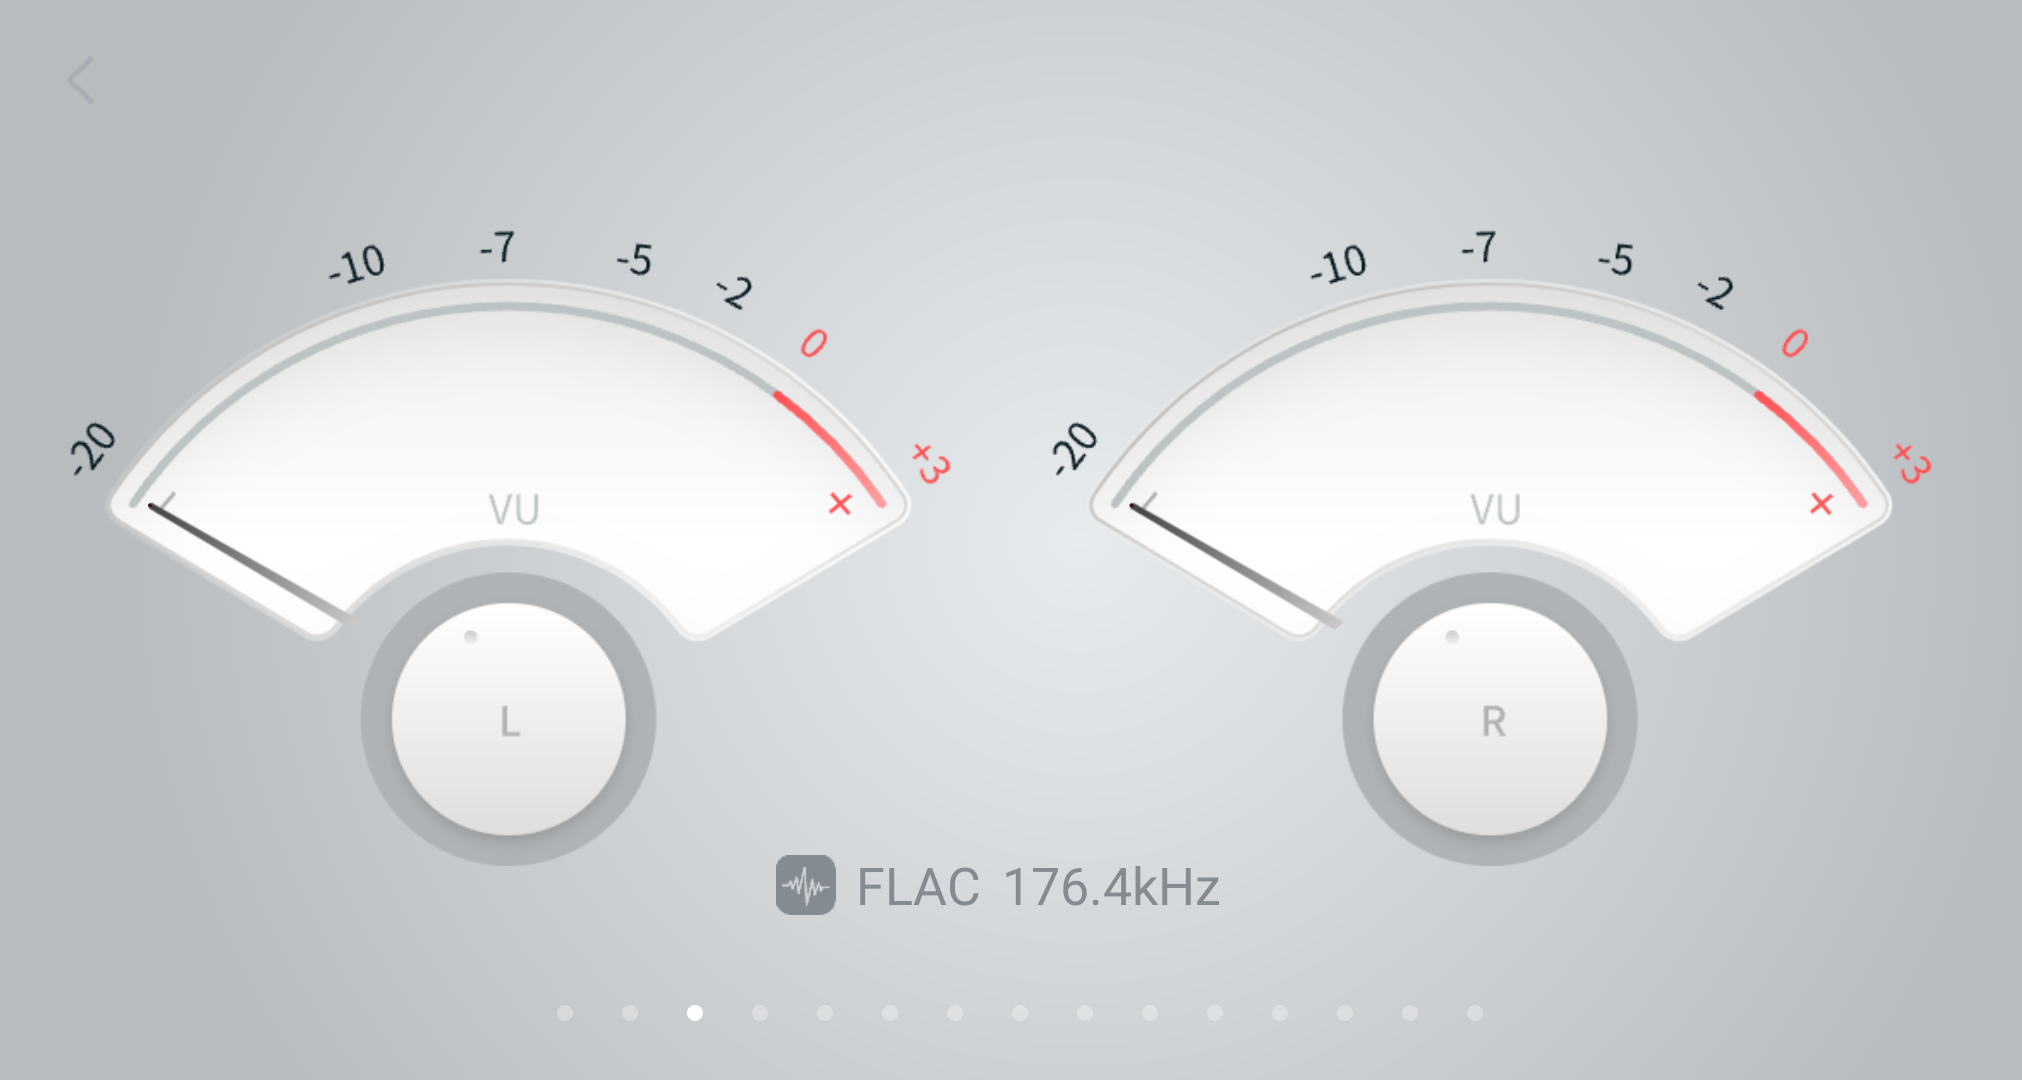
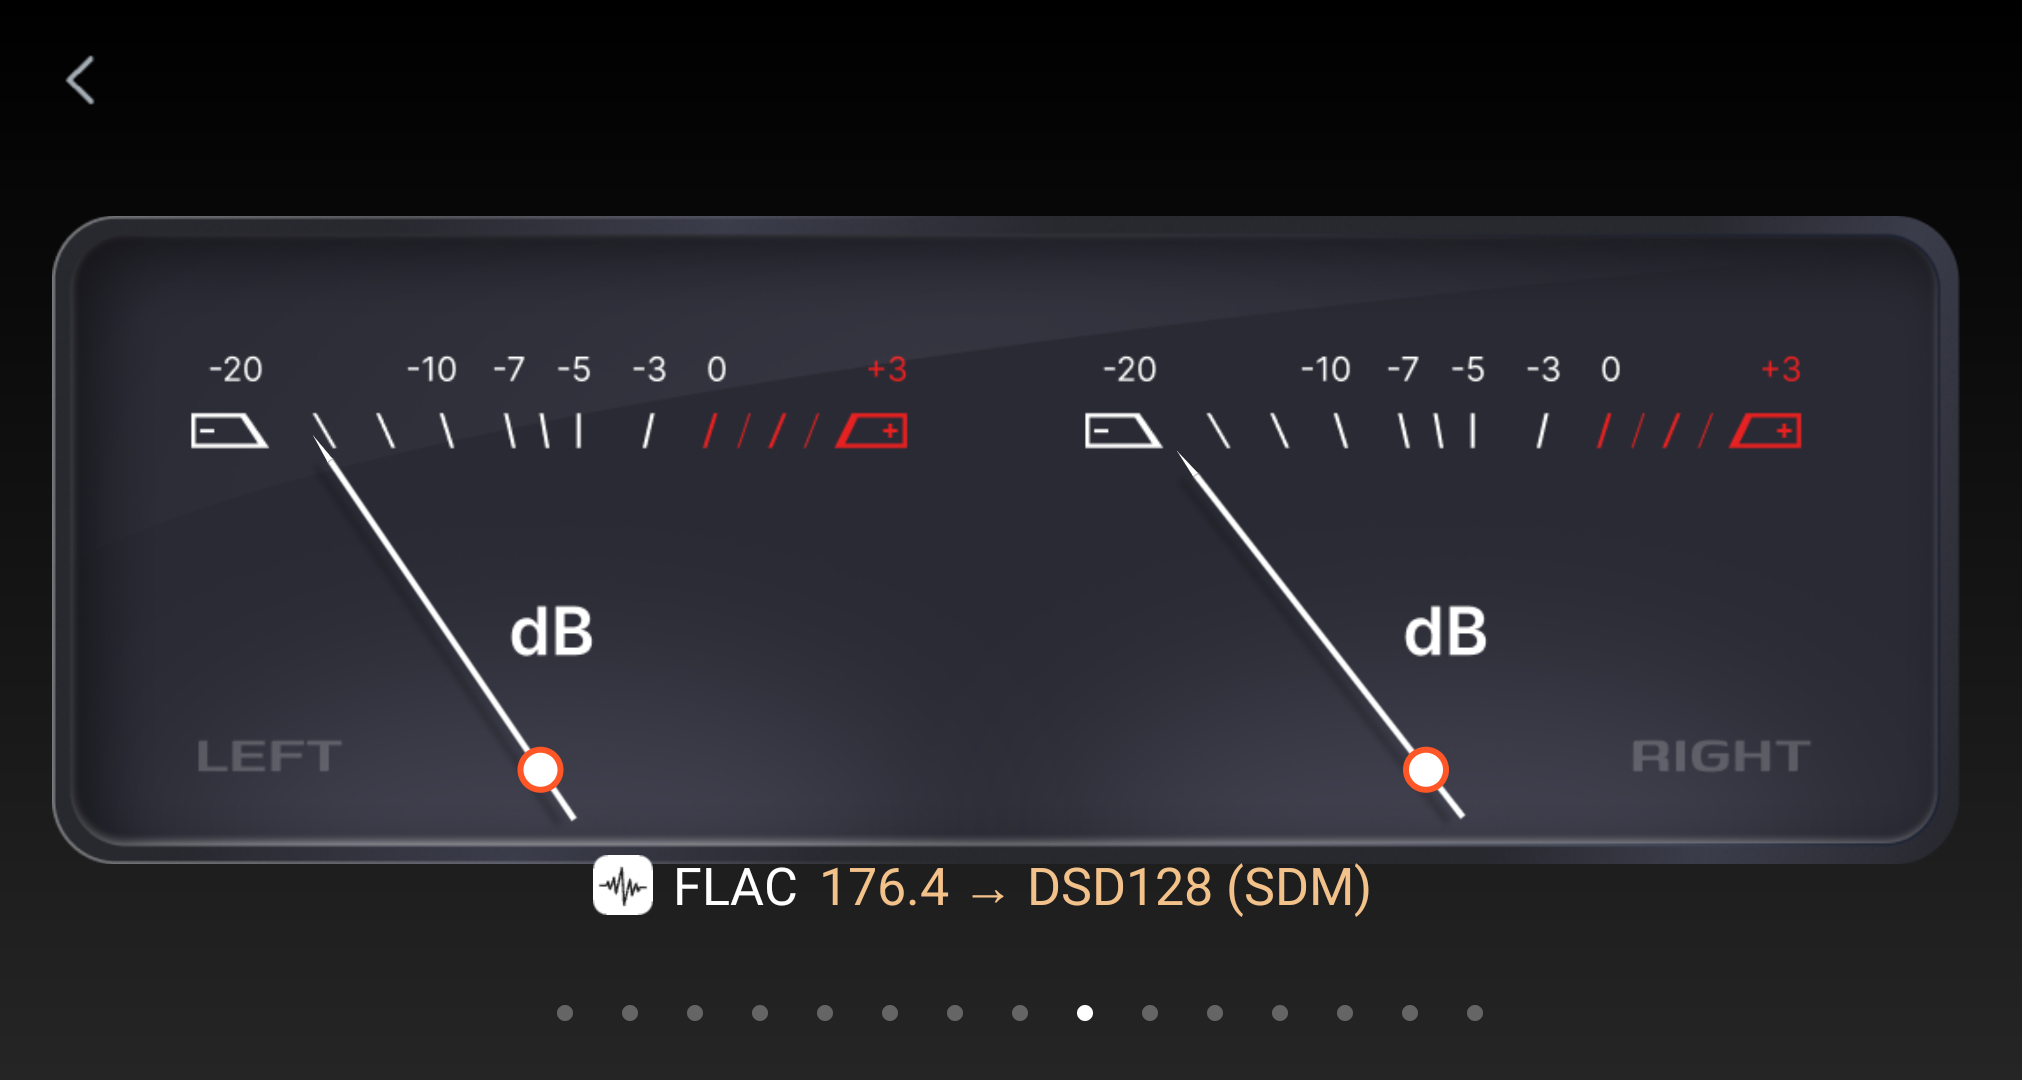
- VU: built-in variety of VU meters; swipe left/right to switch.
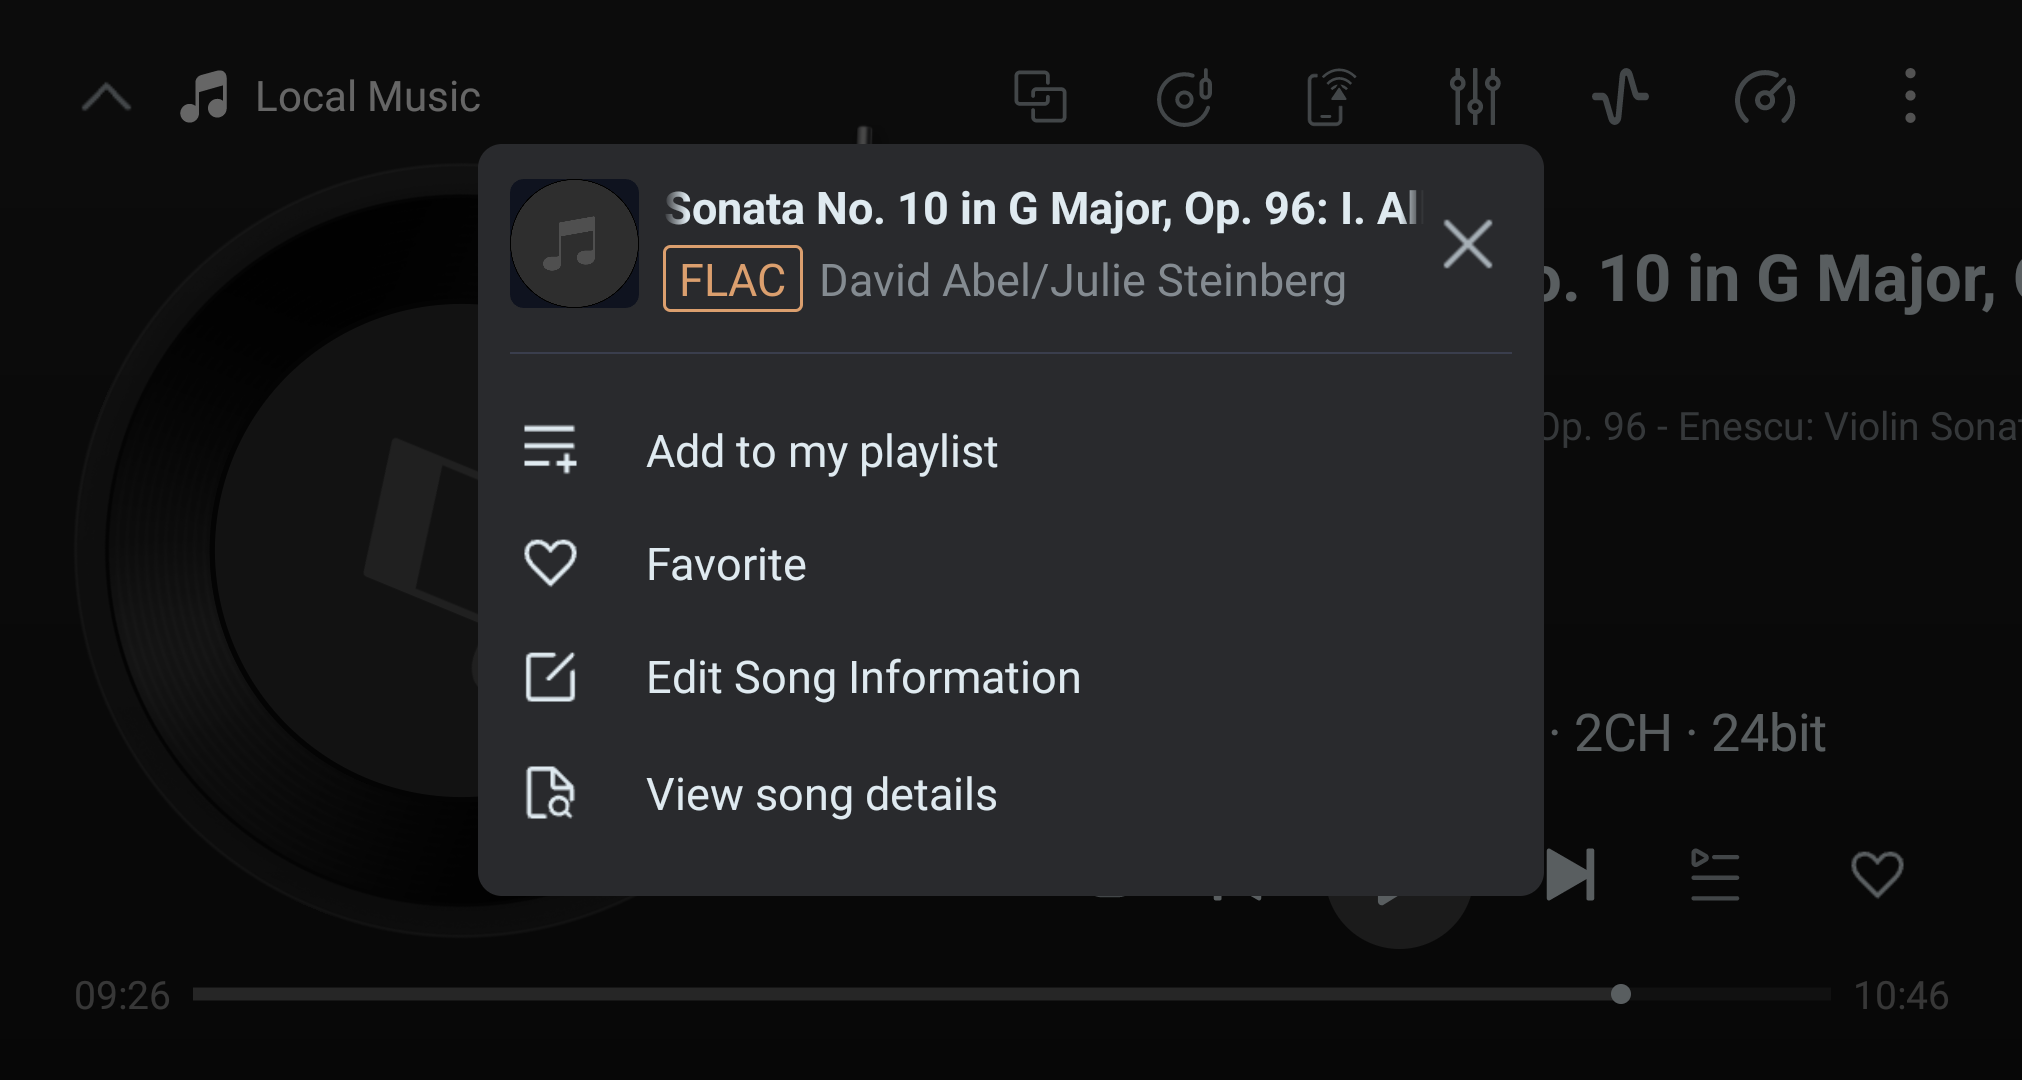
- Menu: add to custom playlist, view song details, etc.
Player Styles
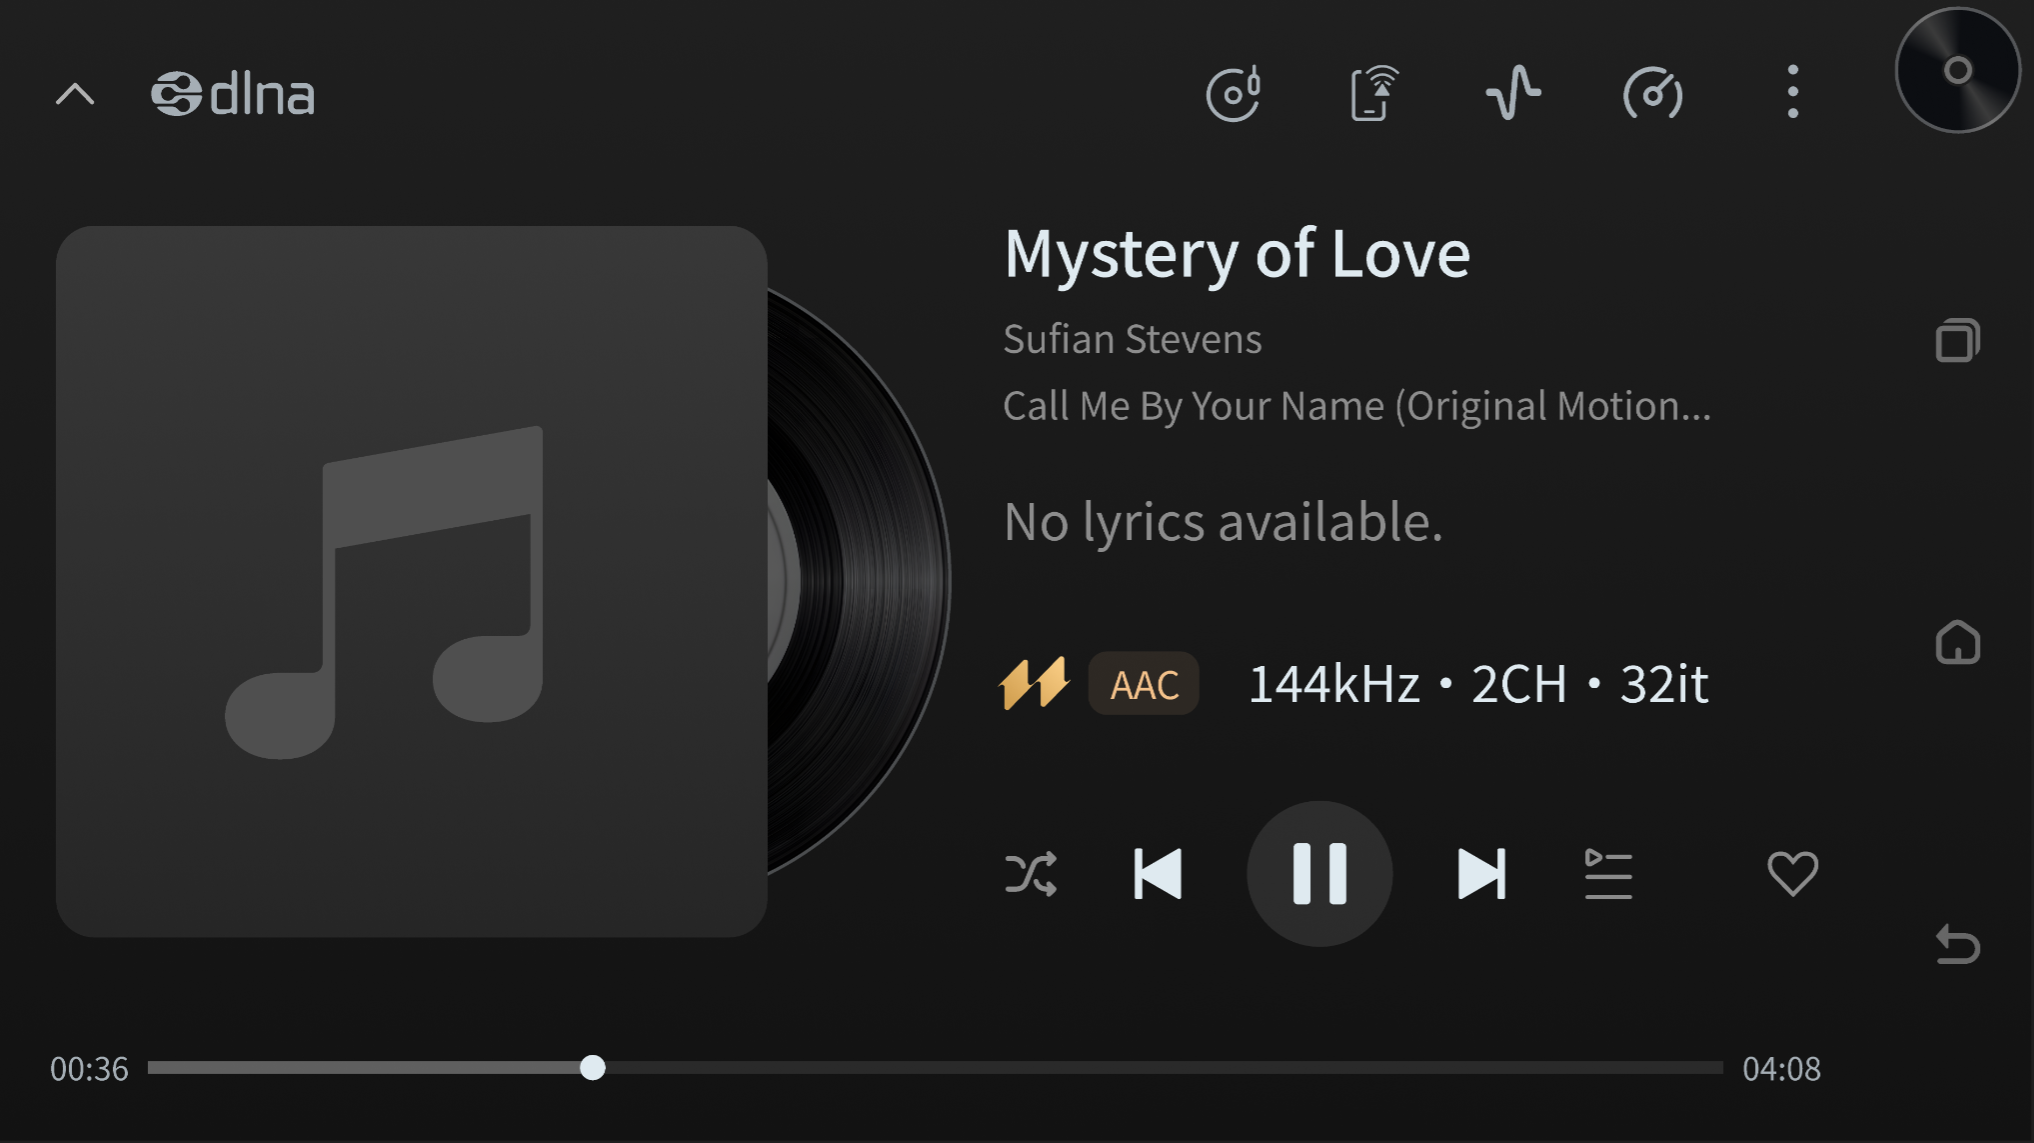
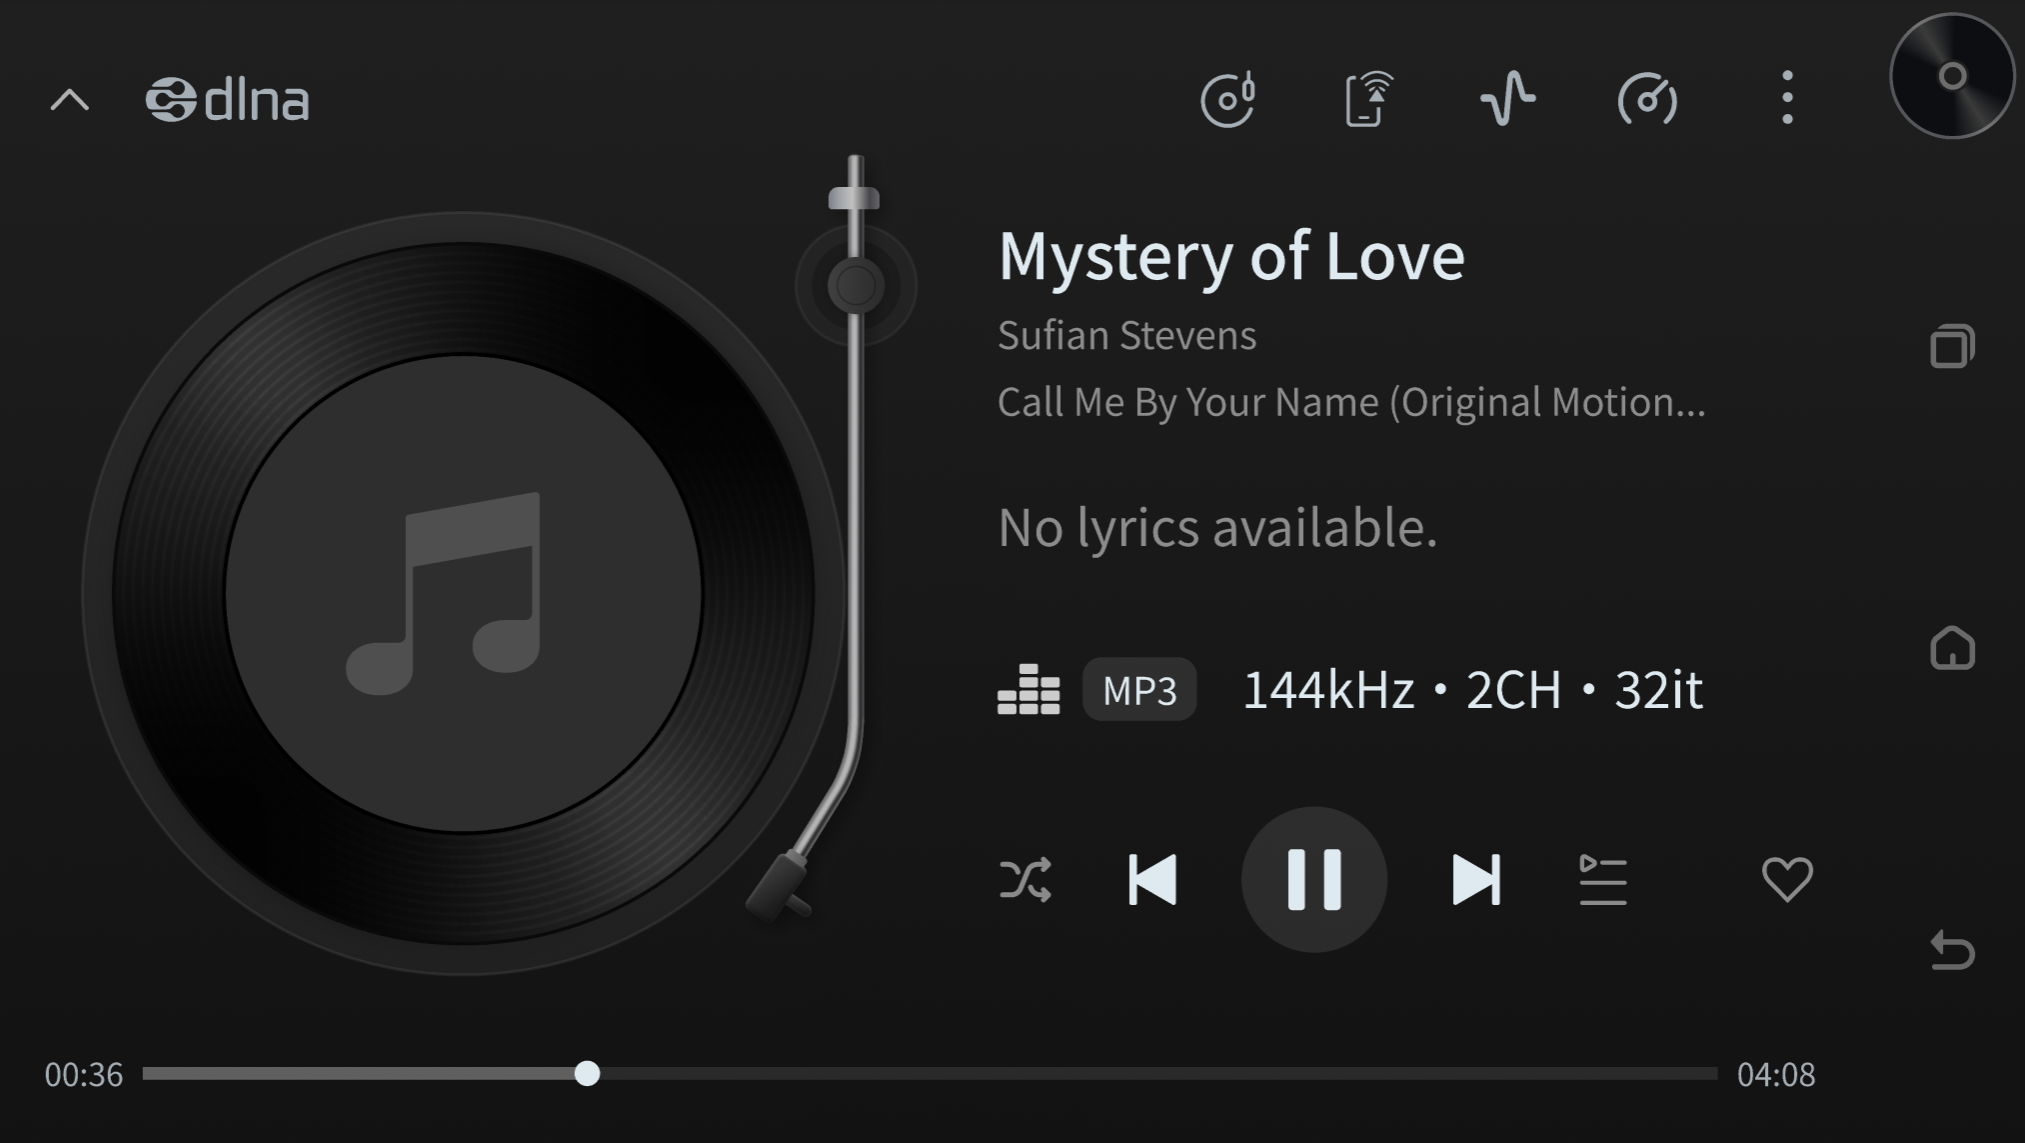
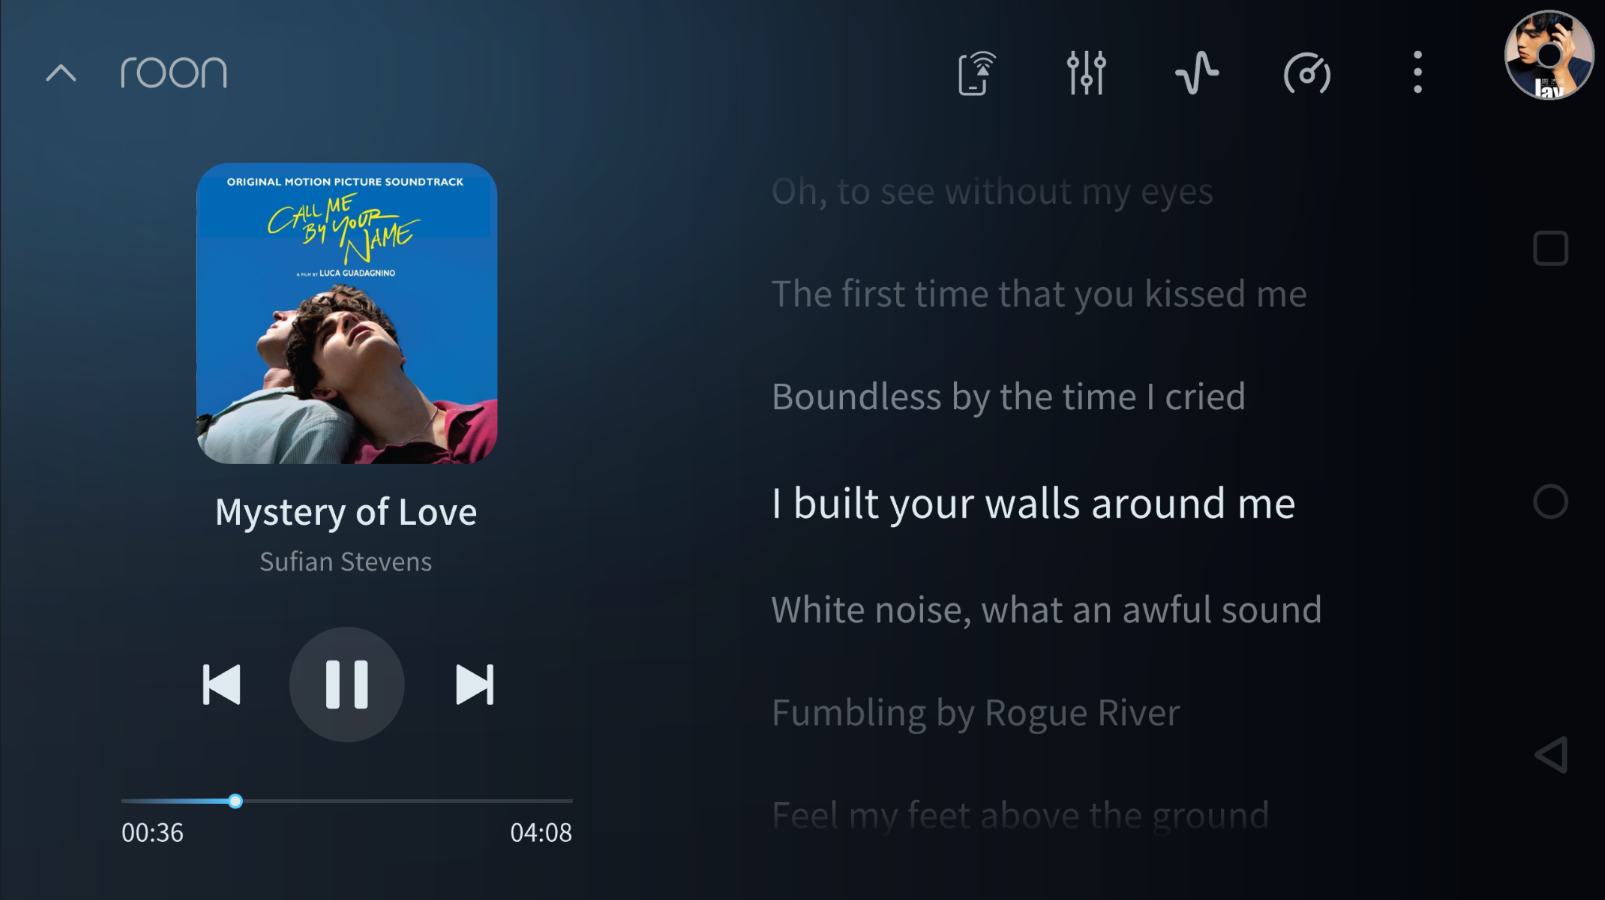
- Style switch: swipe left/right on the playback screen to browse the player styles available in the current version. Available styles may vary by device and software version.
- Gesture control: swipe up to exit the playback screen.
Player Operation Guide
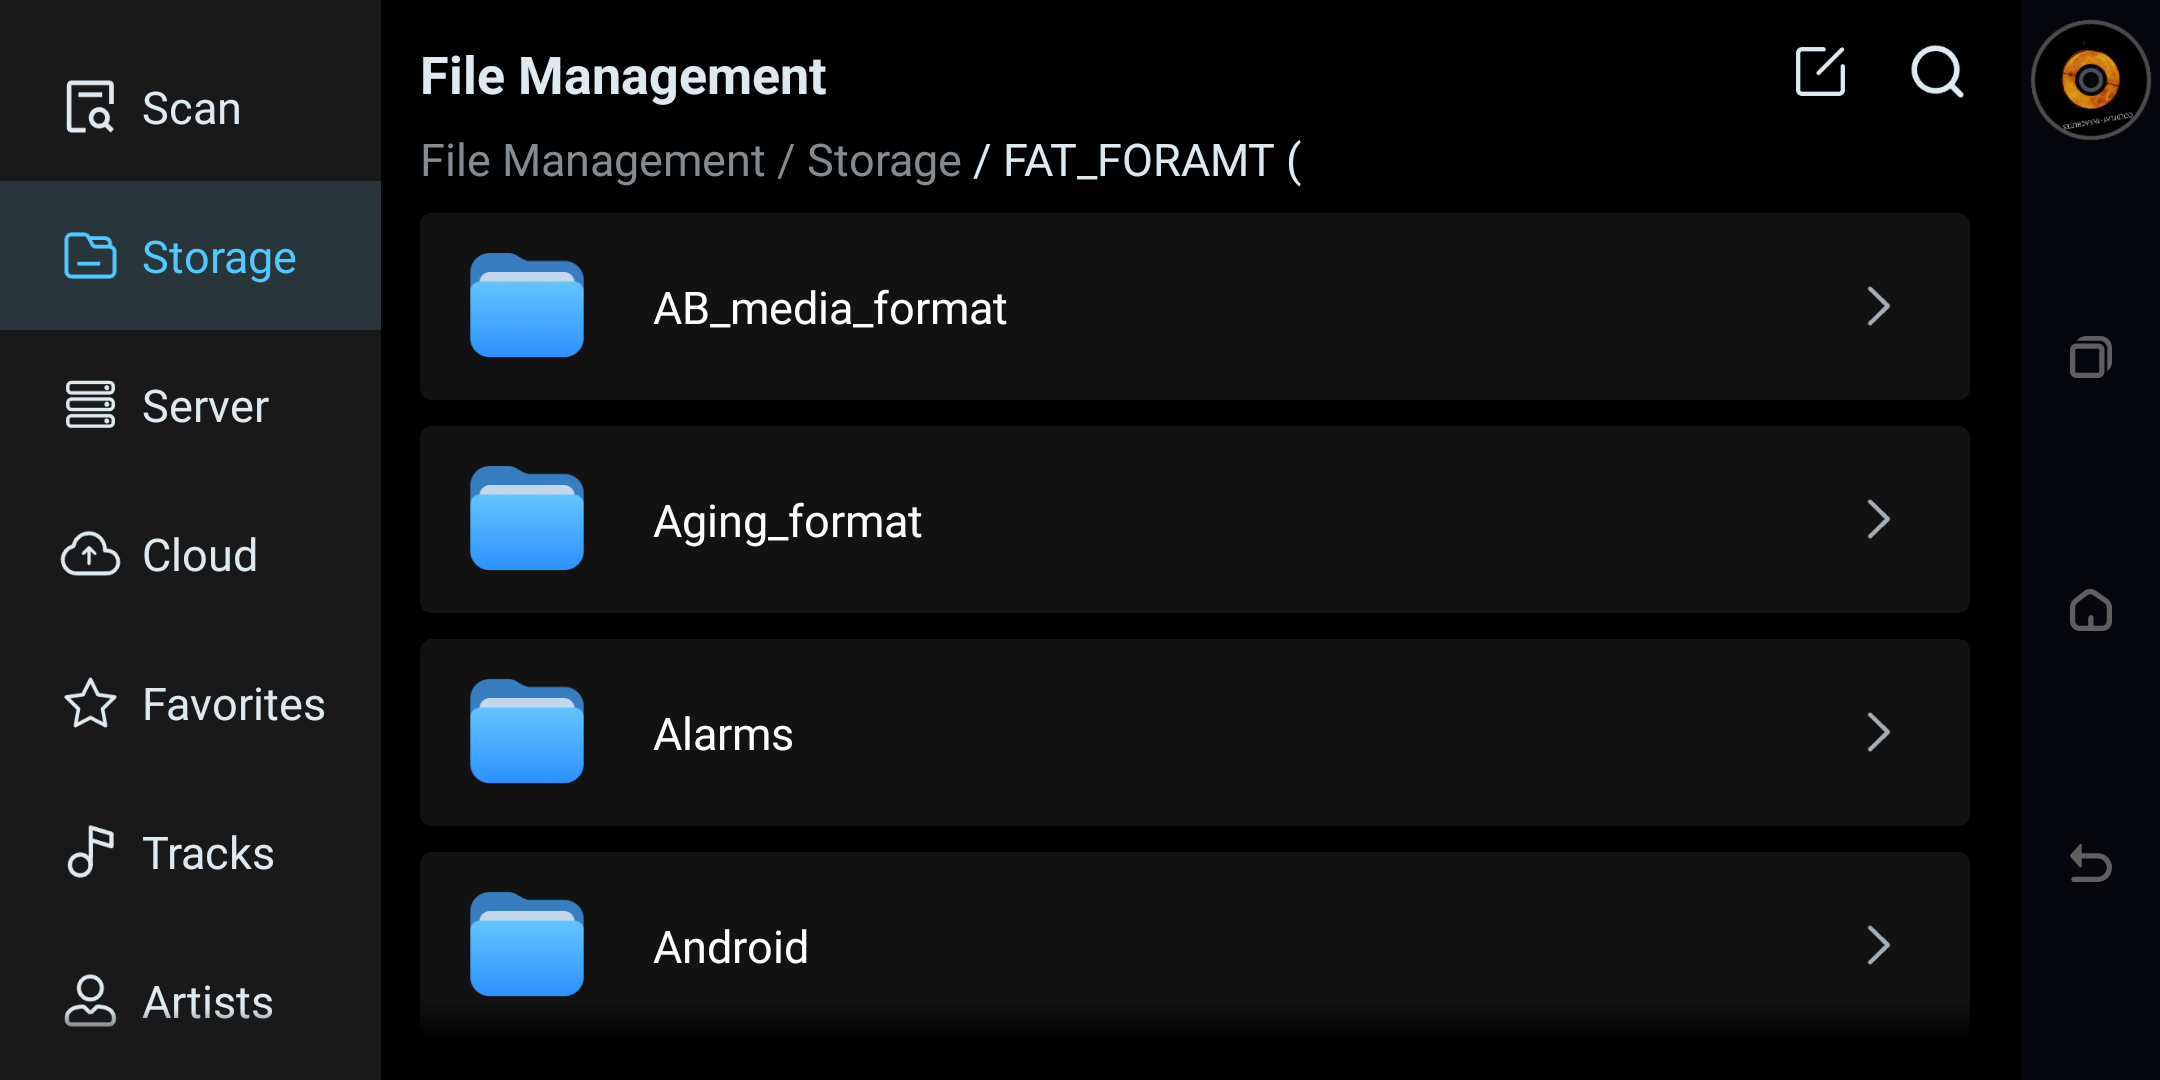
To play songs, open File Management and select a track in the desired folder. Playback opens in Music Player, and the folder contents are added to the play queue according to the current playback settings.
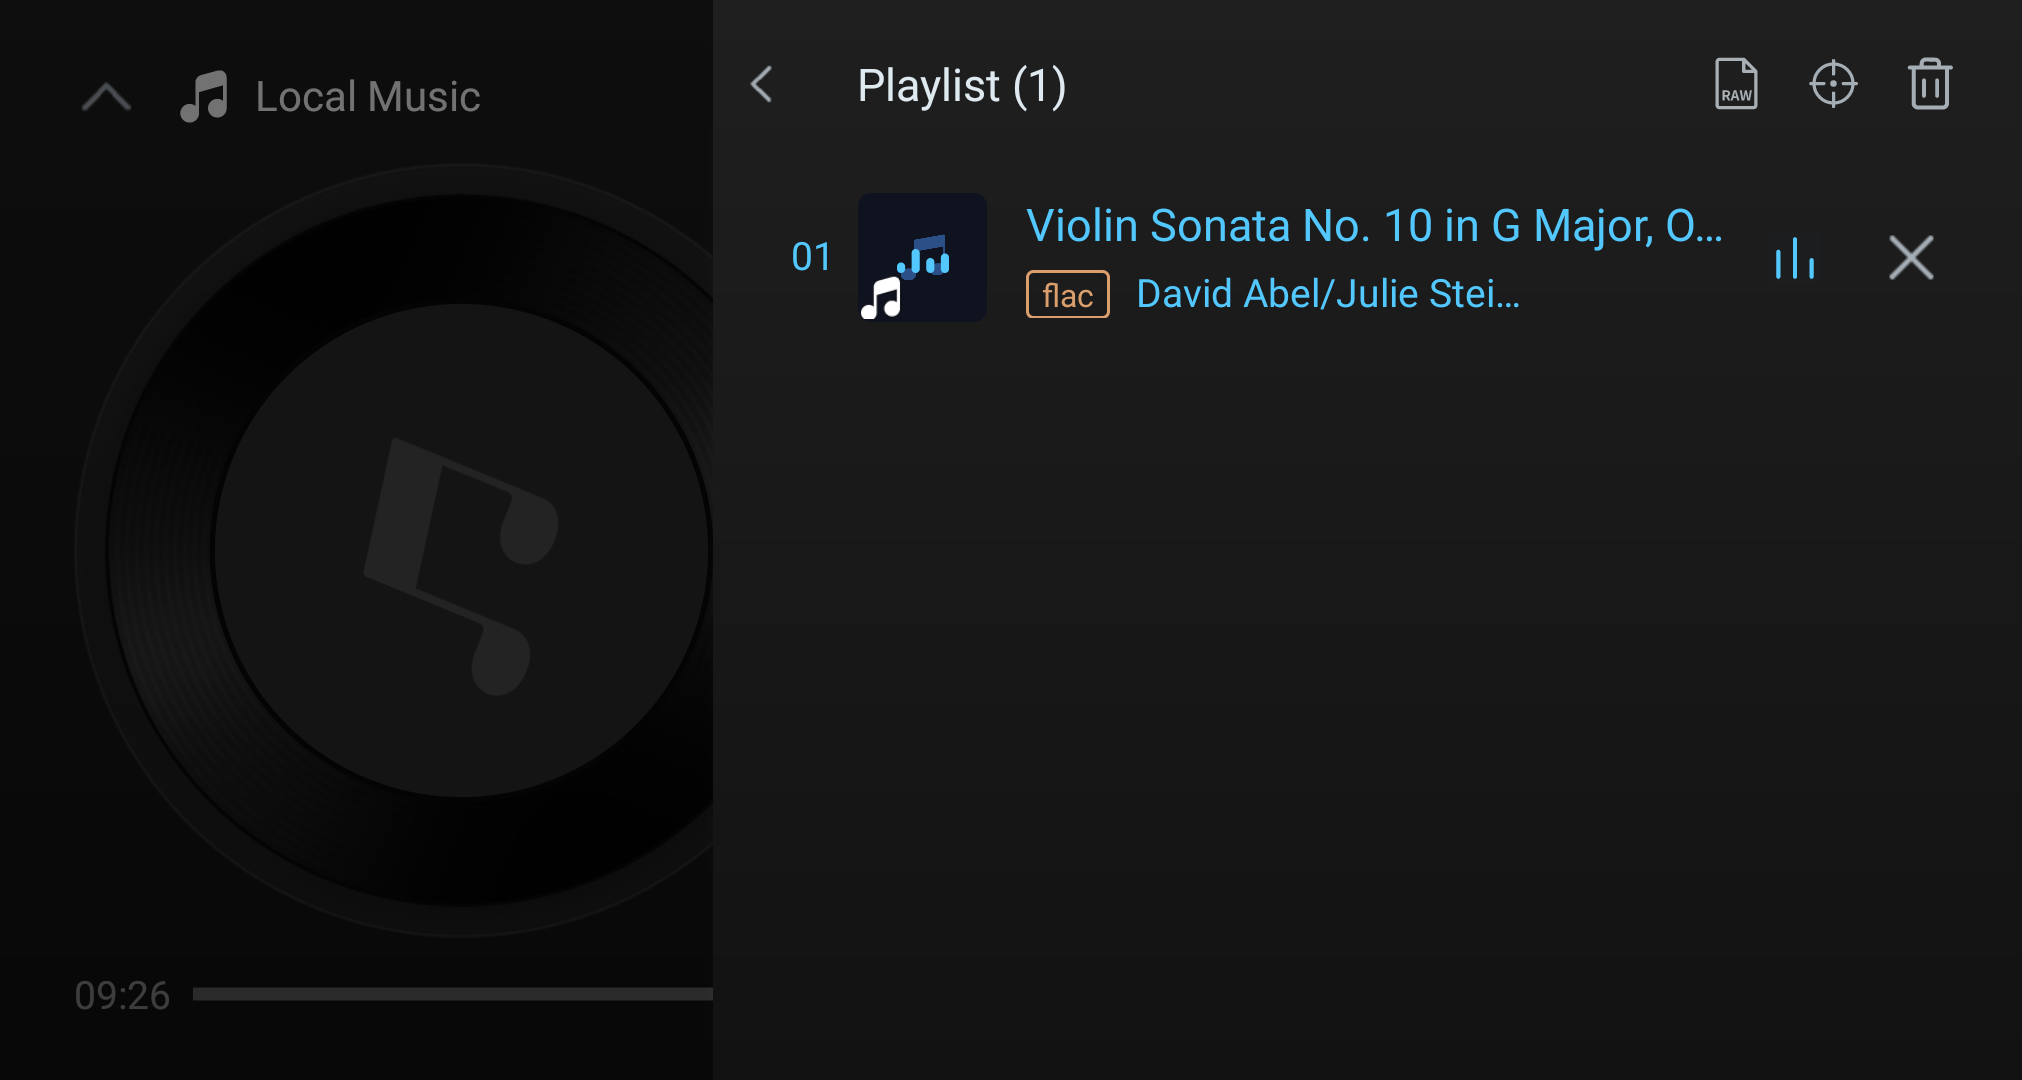
- Play queue operations: tap the play-queue icon (location shown in the button-function diagram) to show all added songs.
- Quick locate: tap a song at the top-right of the queue to jump to the currently playing song.
- Clear online queue: tap the clear-queue icon to clear the current song location and the queue.
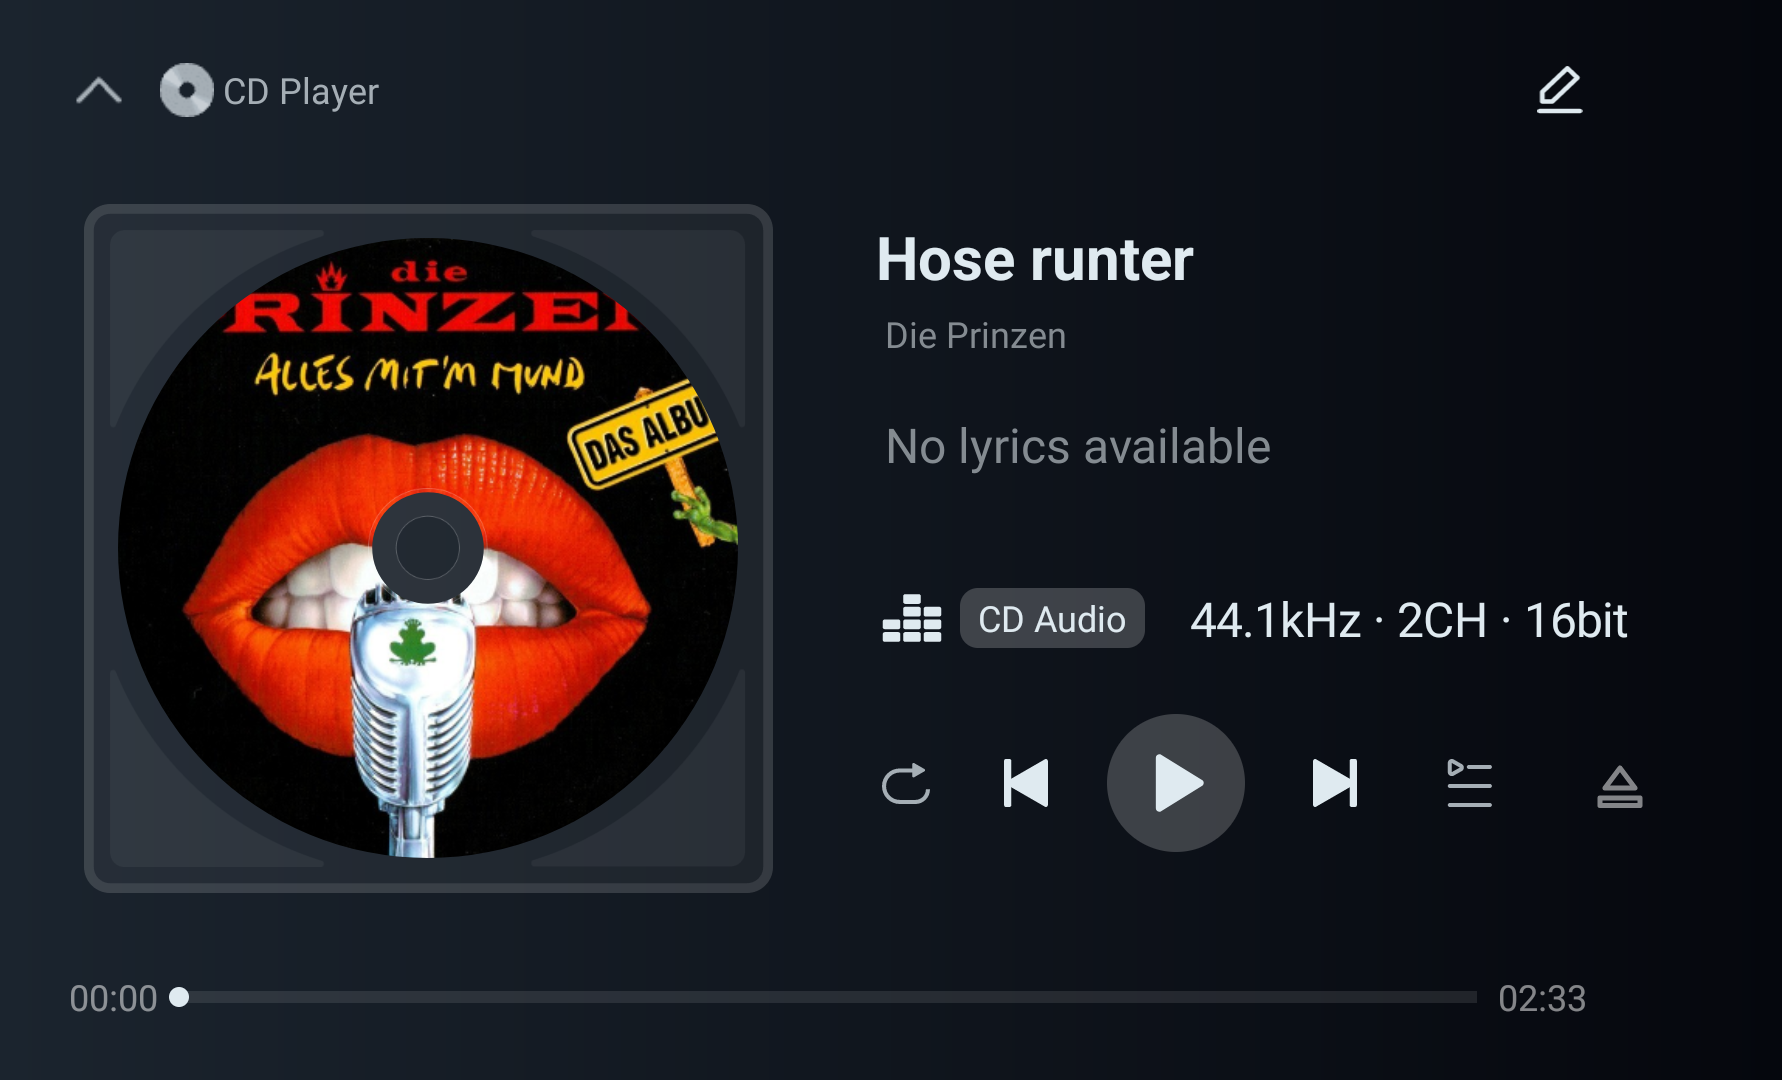
- CD playback: the top-right player controls include a CD disc icon beside the MultiRoom icon; tap the CD disc icon to enter CD playback.
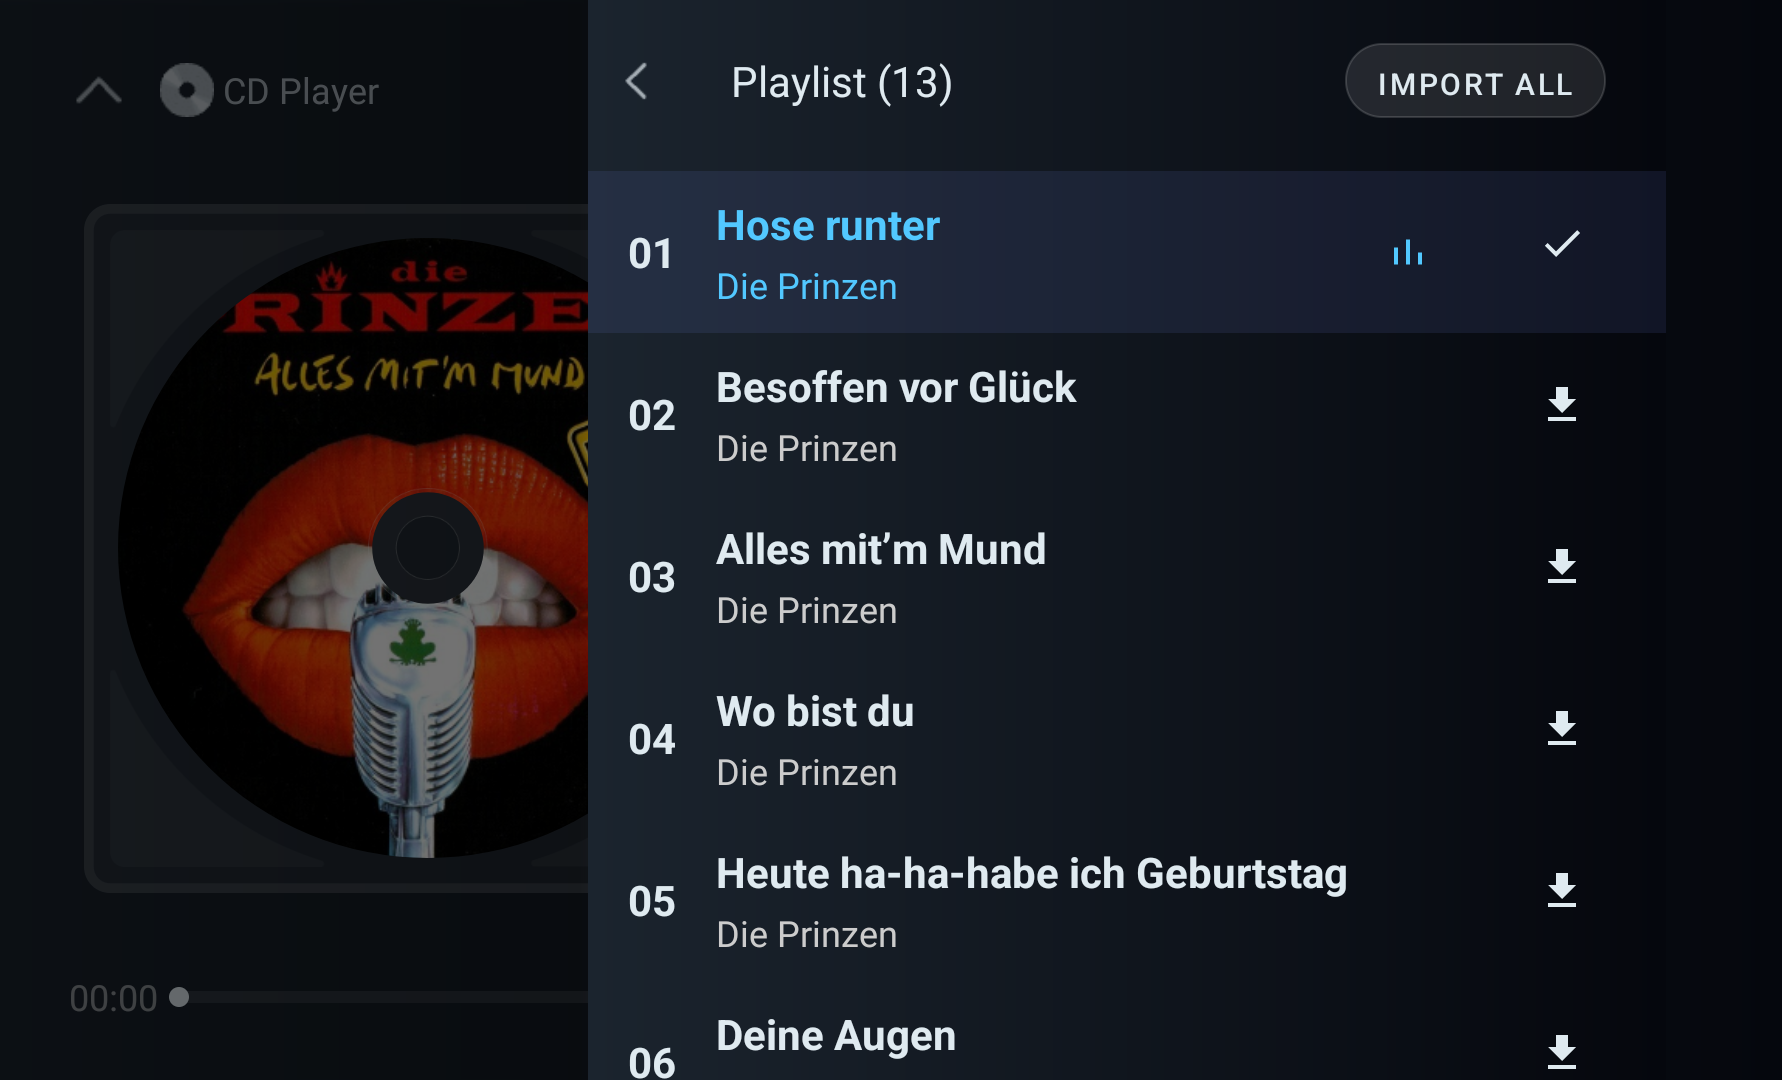
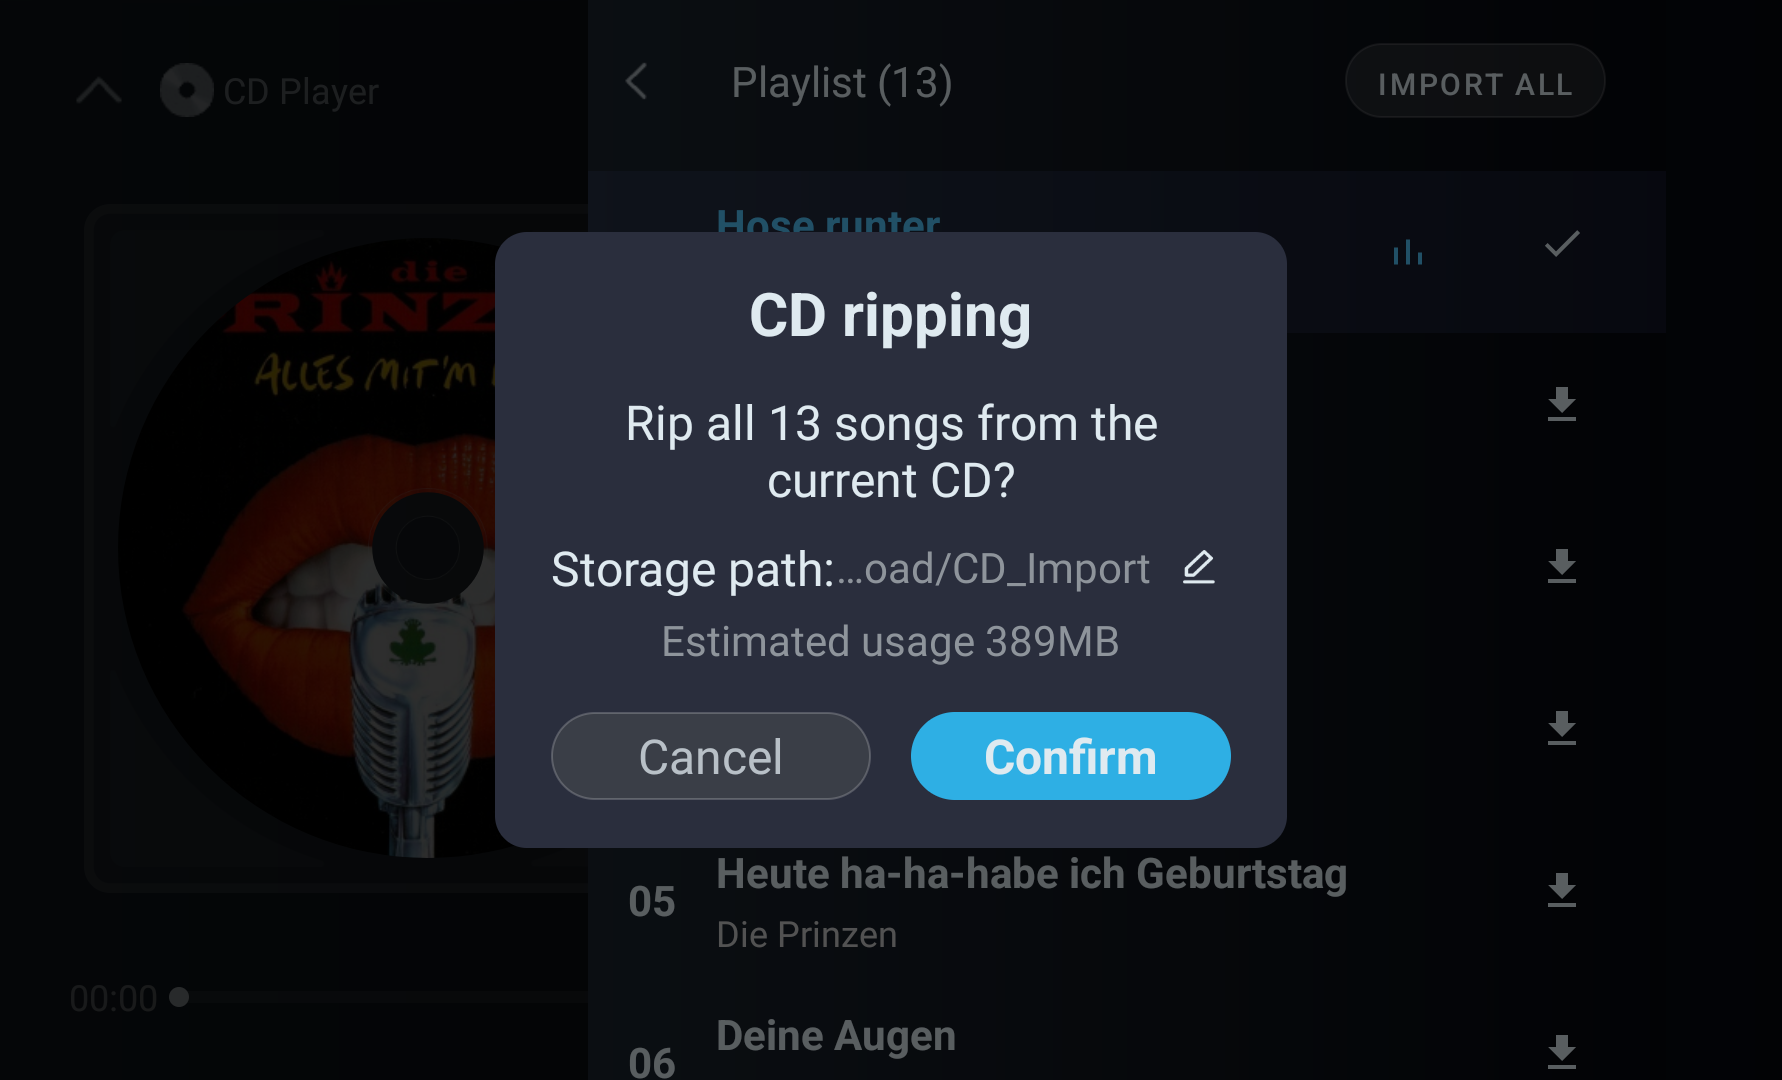
- CD ripping: in the queue screen under CD mode you can rip tracks — single-track ripping (tap the rip icon on the right of a song) or batch ripping (tap "Import all" at the top-right of the list). "Import all" lets you change the download path: tap the edit button to the right of the storage path, then tap the file download directory and navigate to the folder where you want to save.
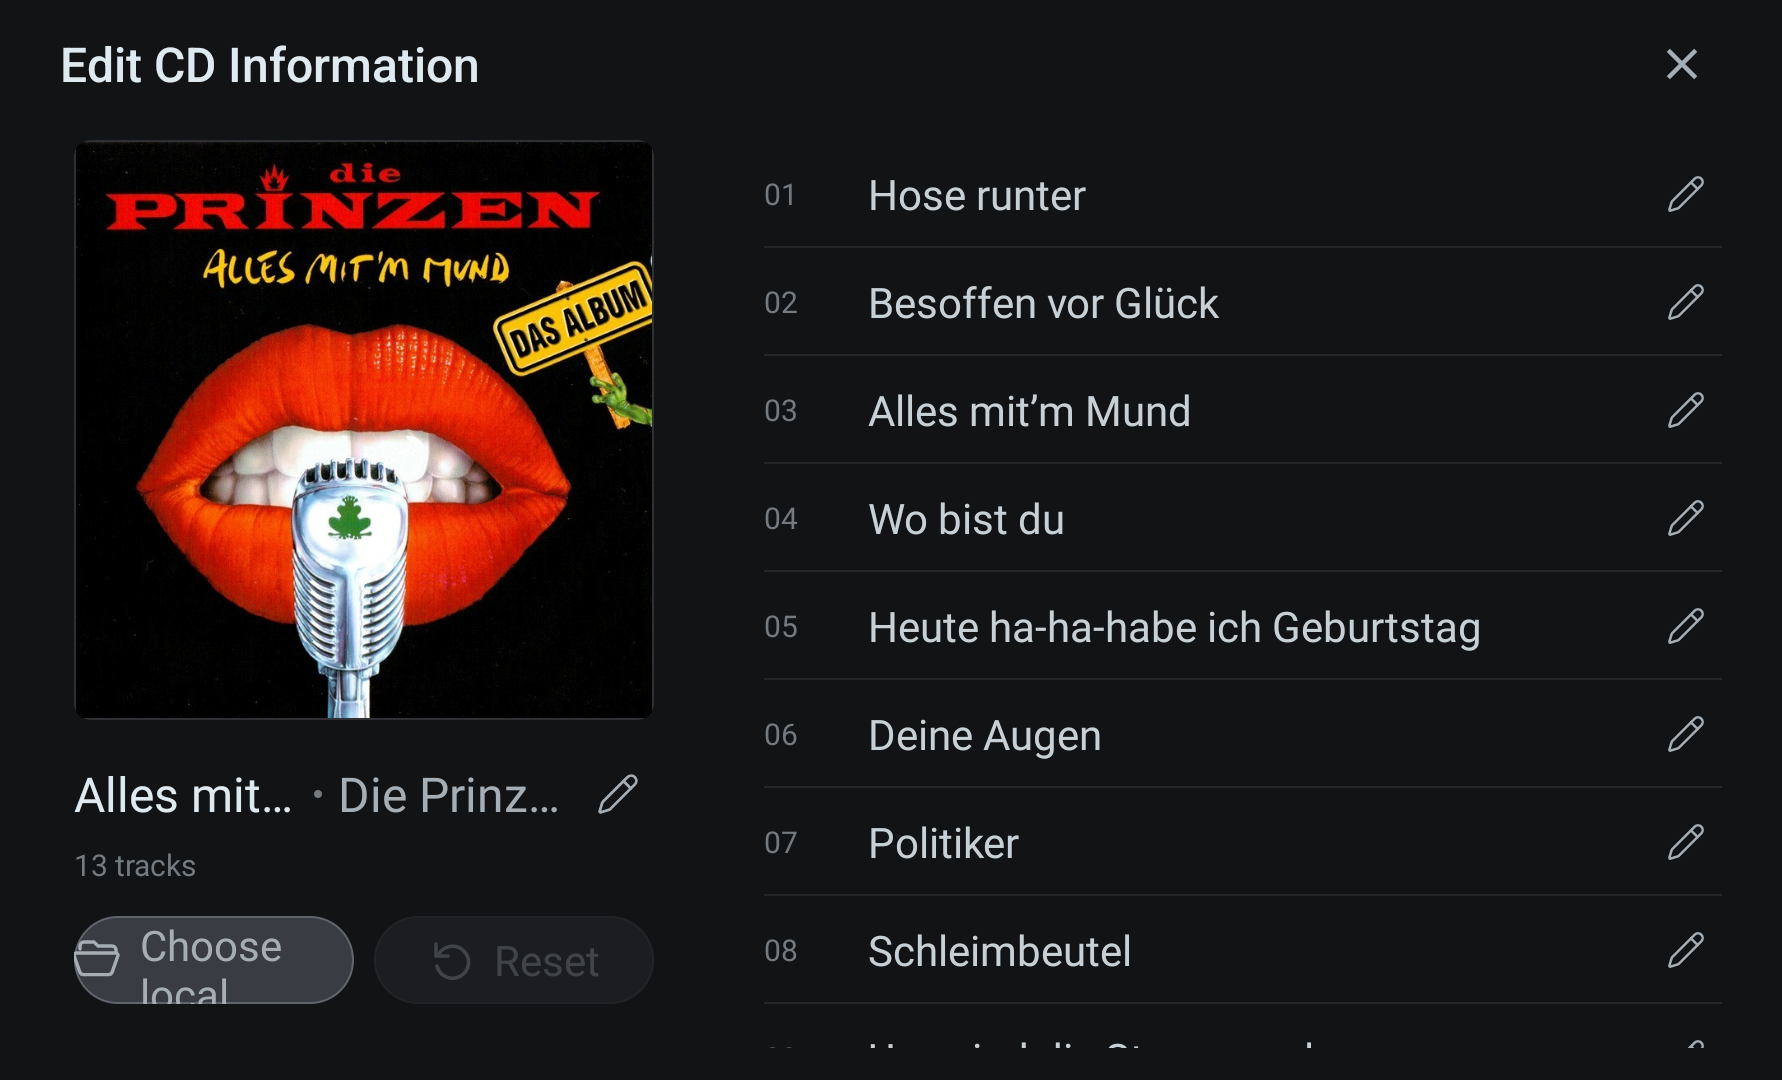
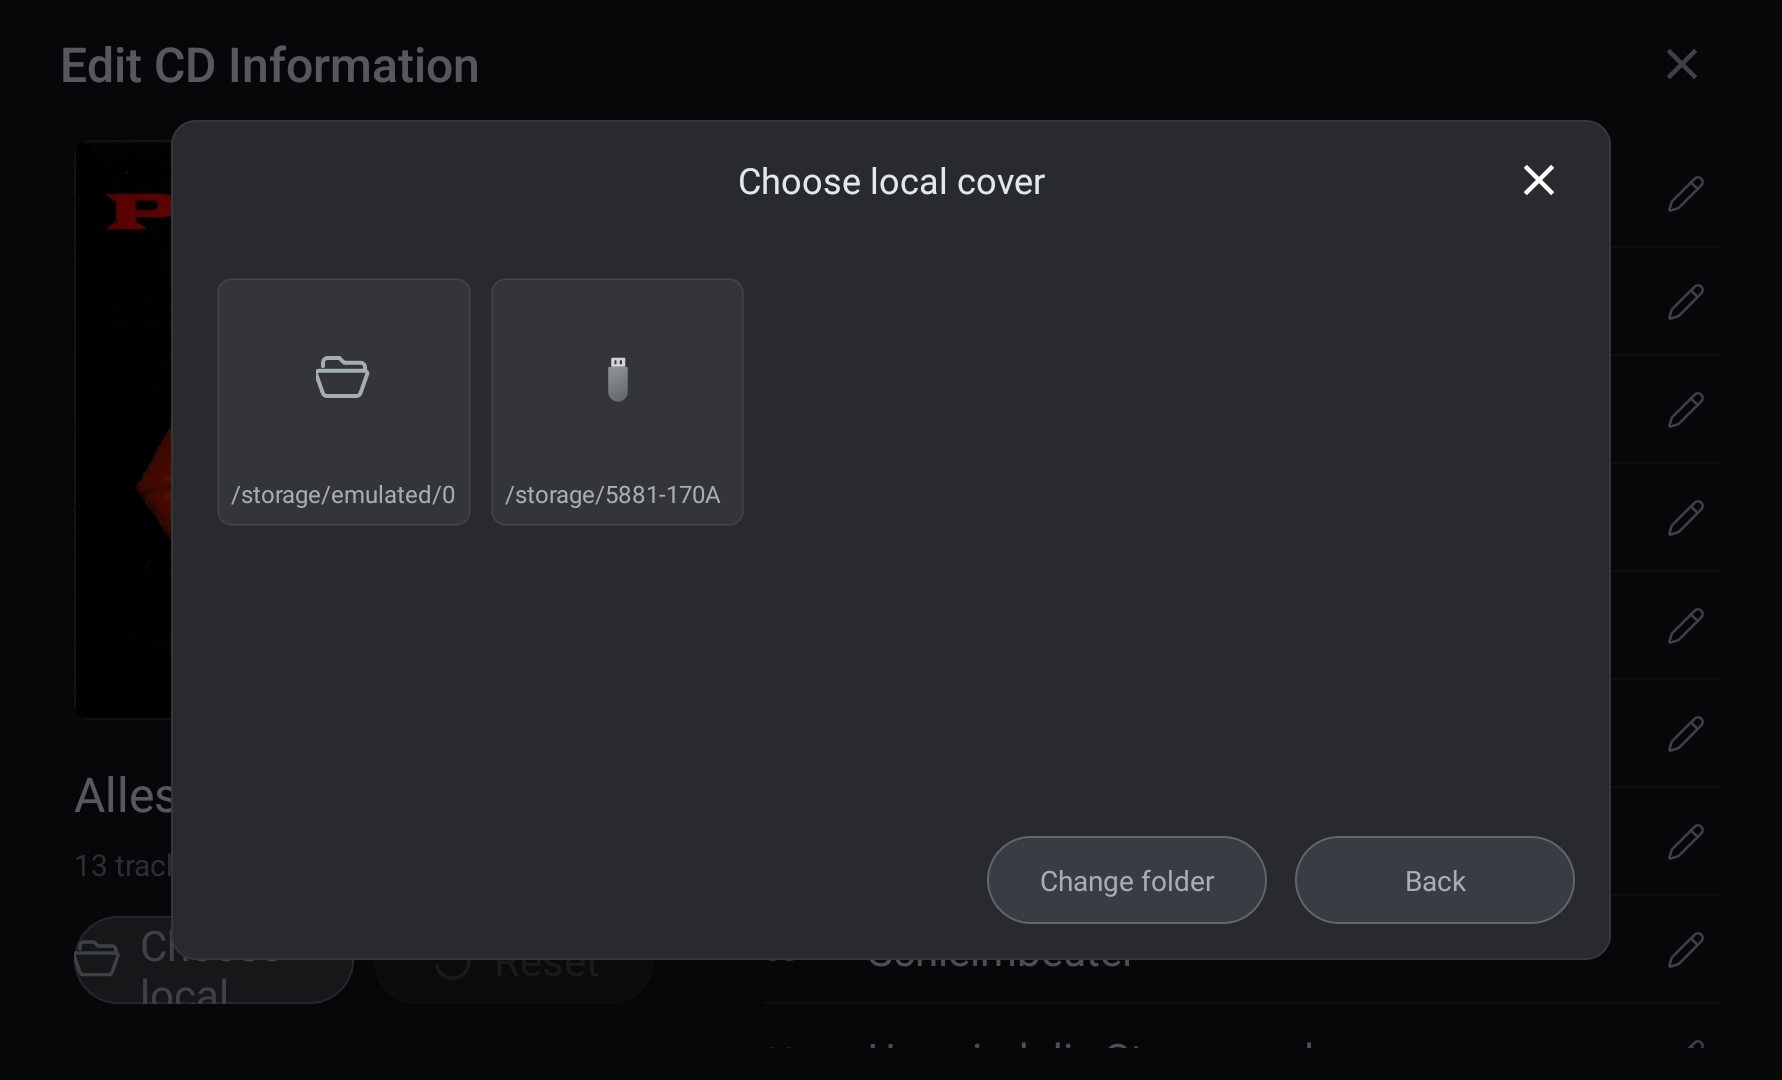
- CD info editing: you can now edit the track title and artist of songs on a CD; cover art can be imported locally.
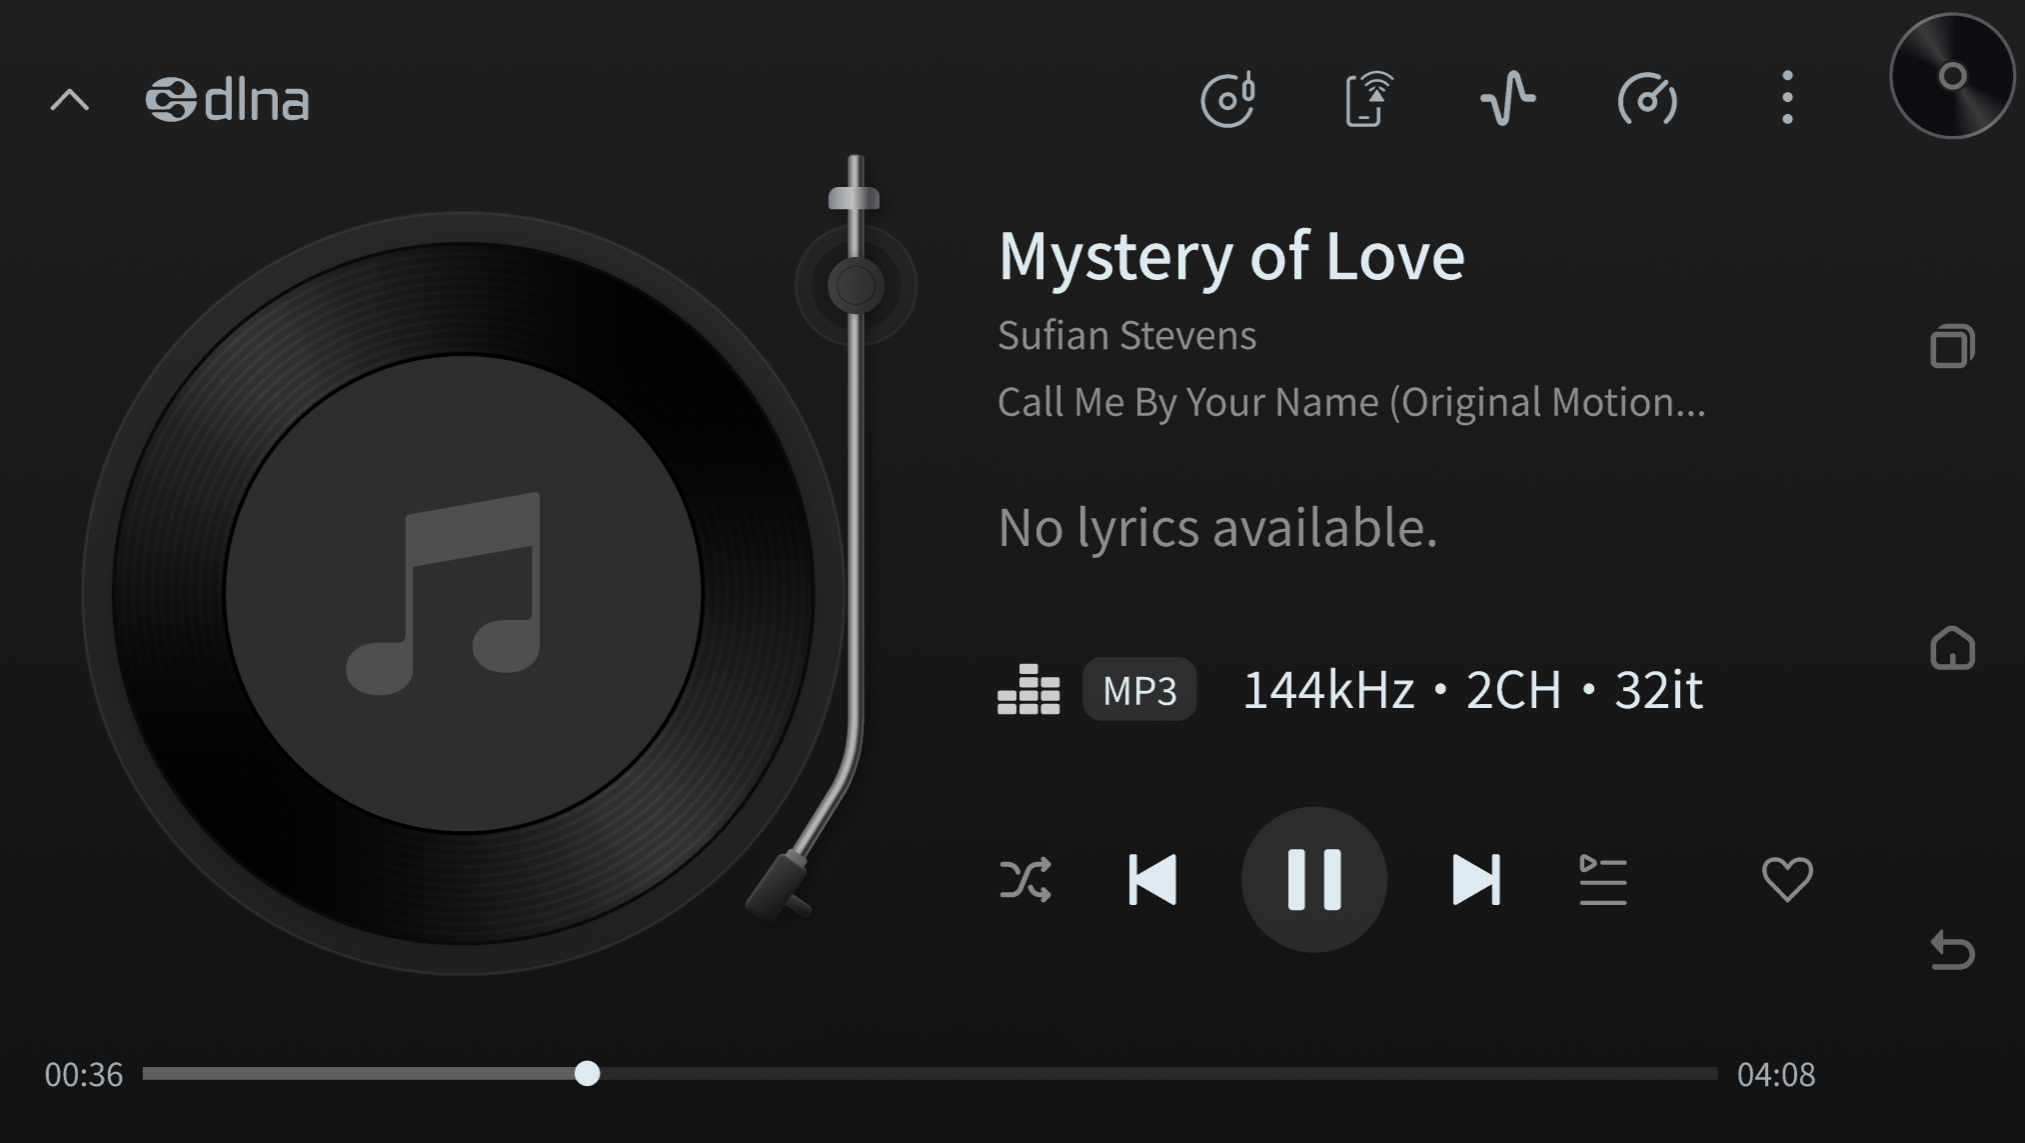
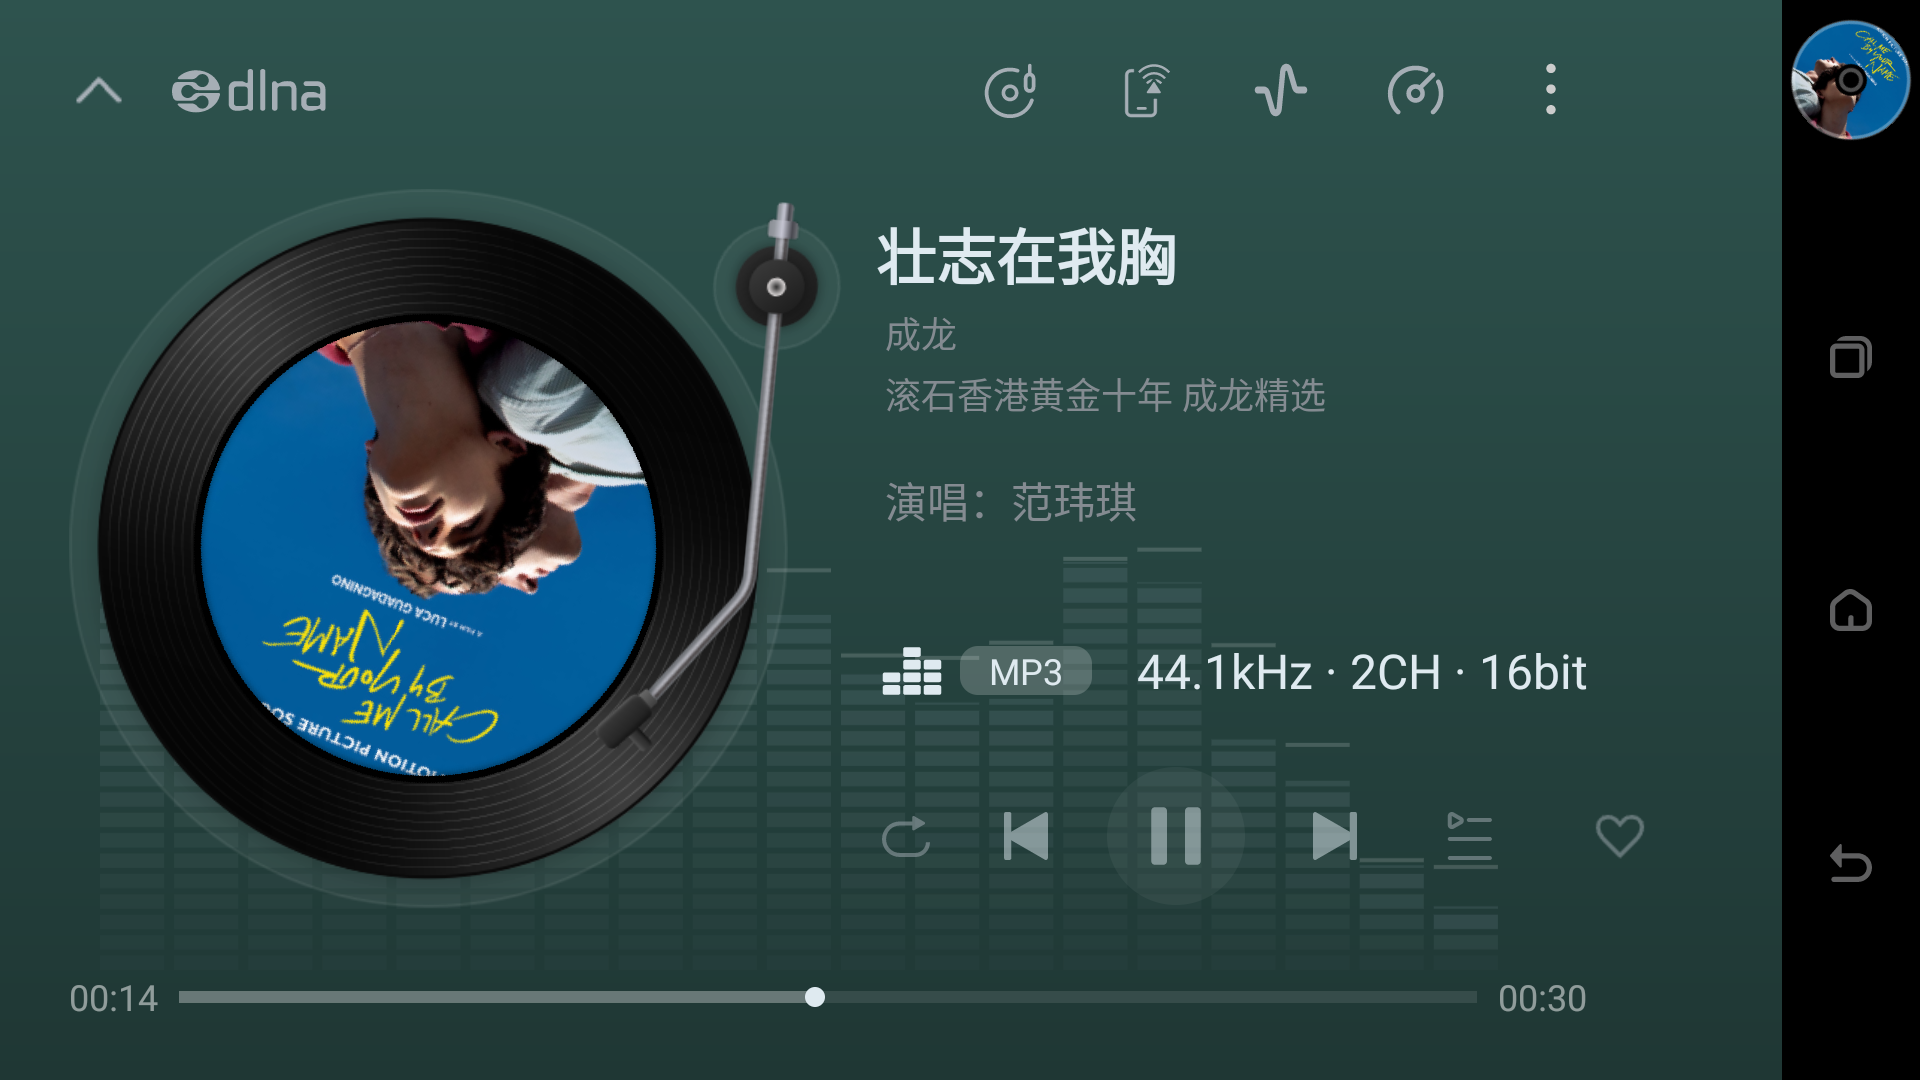
- DLNA and AirPlay playback: for DLNA or AirPlay playback, first make sure the device and phone are on the same network, then tap the streaming icon at the top-right of the playback screen (see button-function diagram) to enable the feature, after which you can push songs from your phone, as shown below:
- Spectrum and VU meter: tap the spectrum icon and the VU icon at the top-right of the playback screen (see button-function diagram) to show the respective views. The VU screen includes multiple VU styles; swipe left/right to switch.
Swiping on a VU meter and then exiting from that meter selects it, so the next time you enter you land on the selected meter. (If the screensaver style is VU, the selected meter is the one shown in the screensaver.)
- Menu: tap the menu icon at the top-right of the playback screen (see button-function diagram) to show the menu, with four functions: "Add to My Playlist", "Favorite", "Edit Song Info", "View Song Details", as shown below:
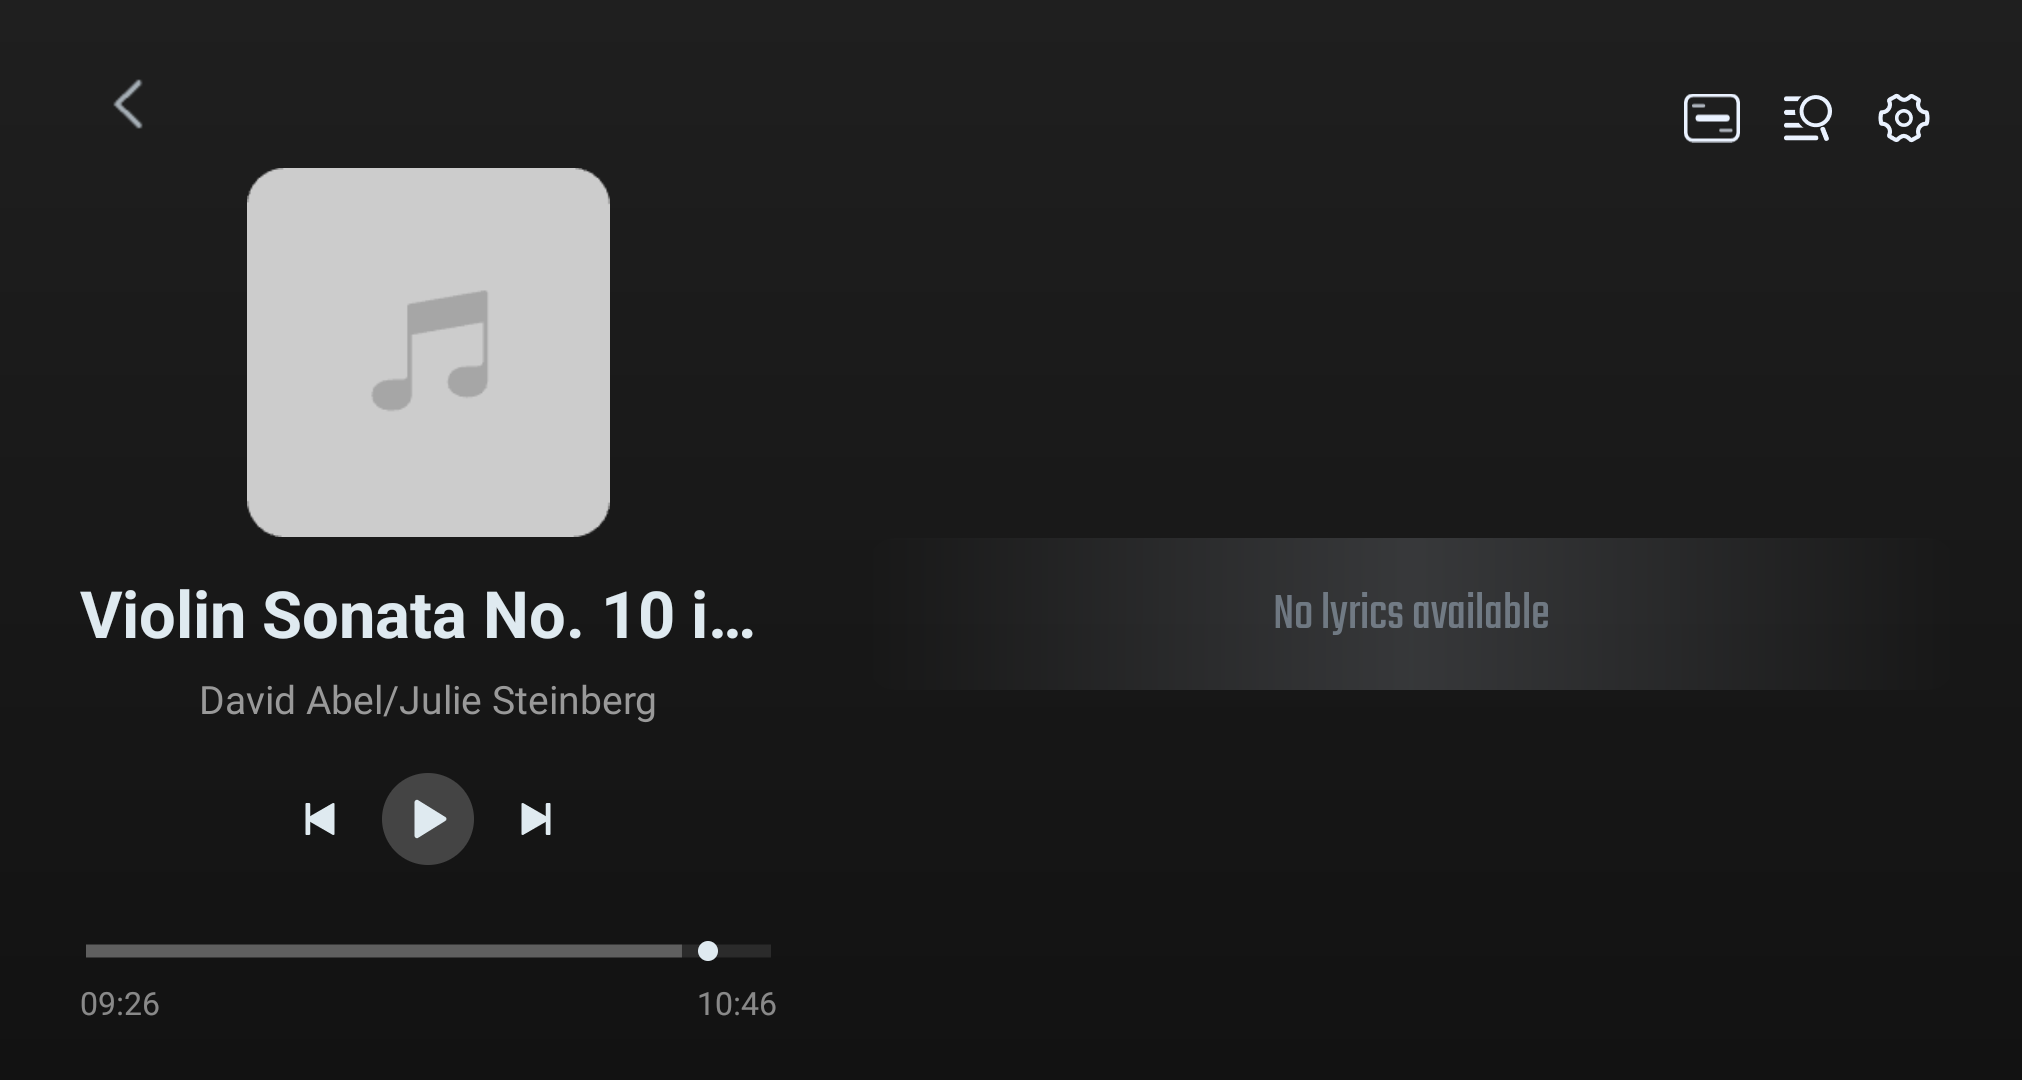
- Full lyrics screen: tap the lyrics area on the right side of the playback screen to show the full lyrics screen, as shown below:
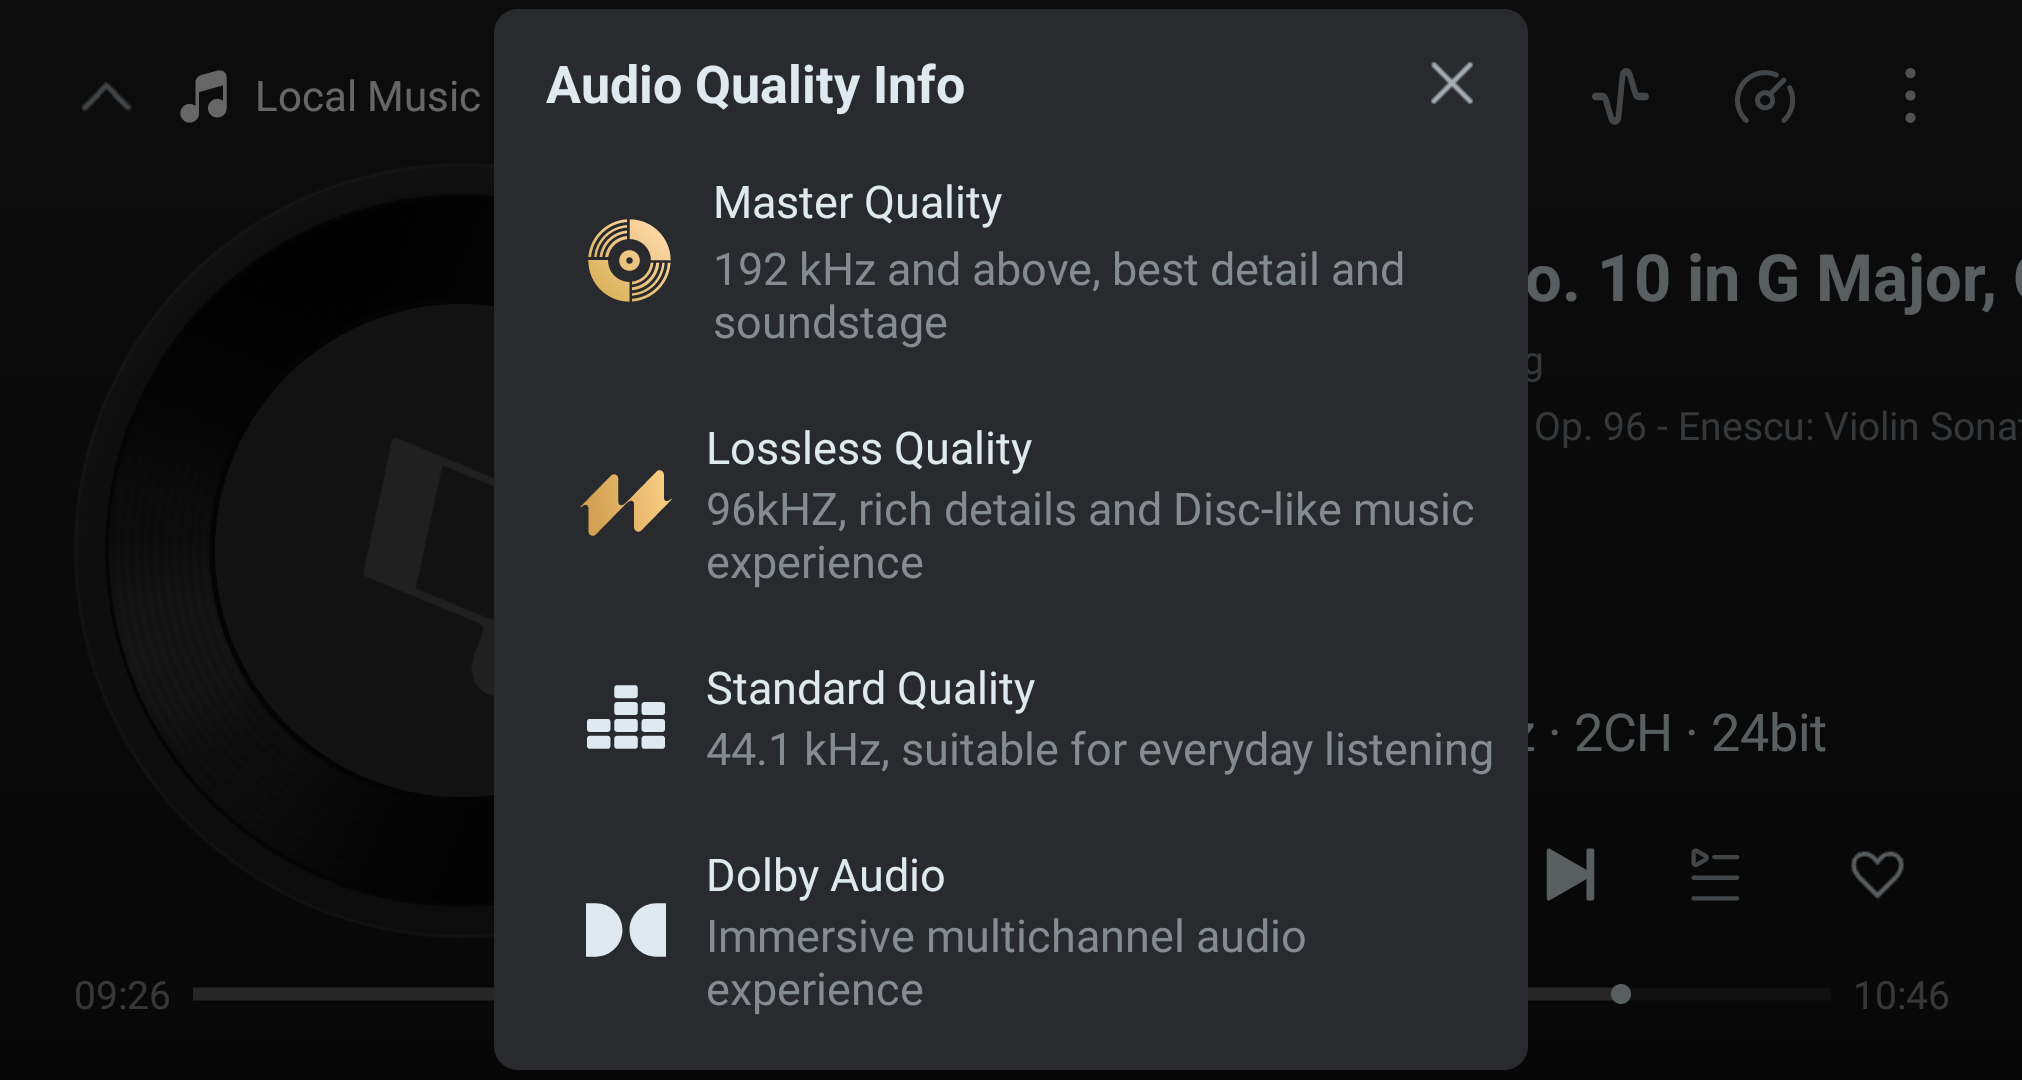
- Audio quality info: tap the audio-format icon on the right side of the playback screen to show the audio-quality info screen, as shown below:
Player AI Search
Overview
The app currently includes two types of AI features:
- Lyrics AI Search
- For "no lyrics / inaccurate lyrics" scenarios; supports manual correction of song title and artist before searching.
- Supports candidate-lyrics selection and AI fallback search.
- Song AI Encyclopedia
- Shows song encyclopedia content in the AI theme style.
- Supports an auto-parse toggle, manual "Explore now", a search loading animation, and character-by-character printing.
Lyrics AI Search
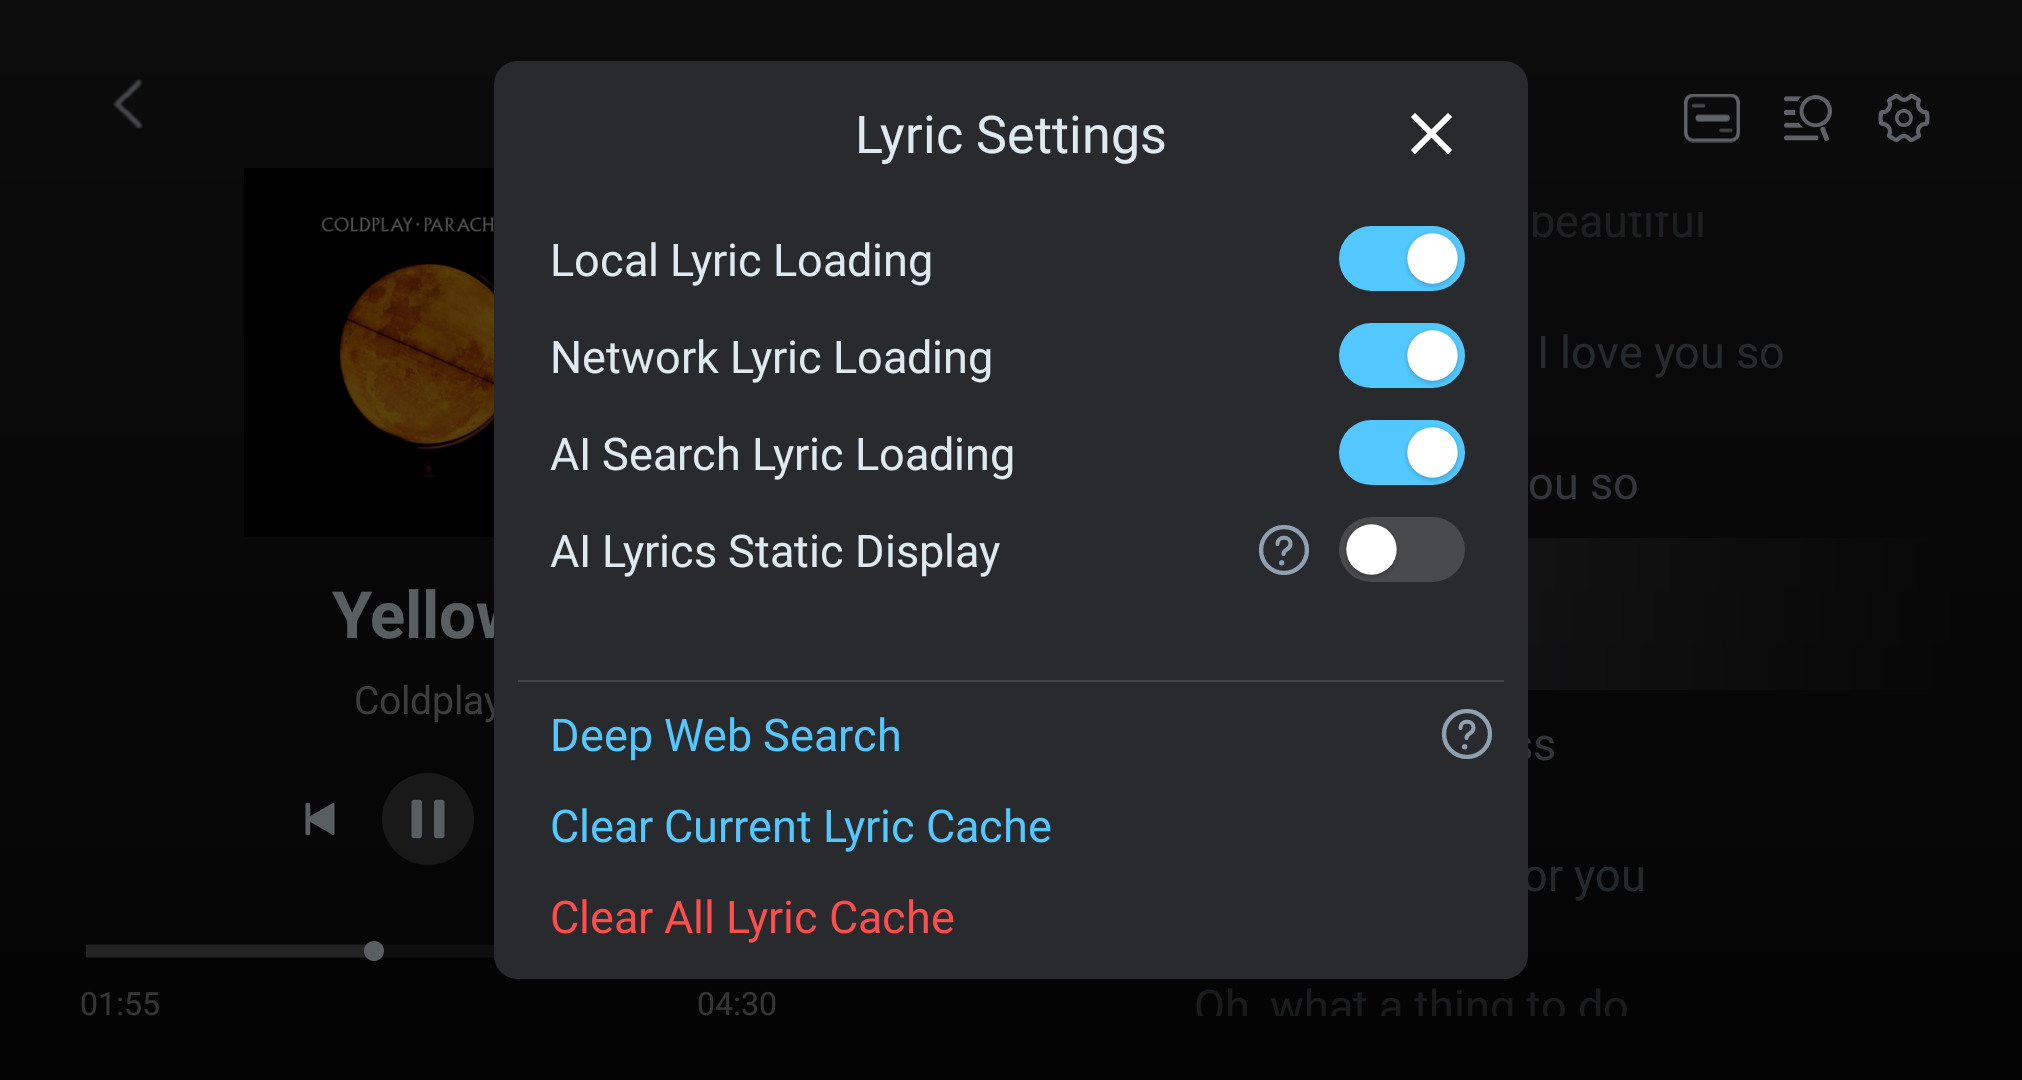
4.2.1 Entry and toggle
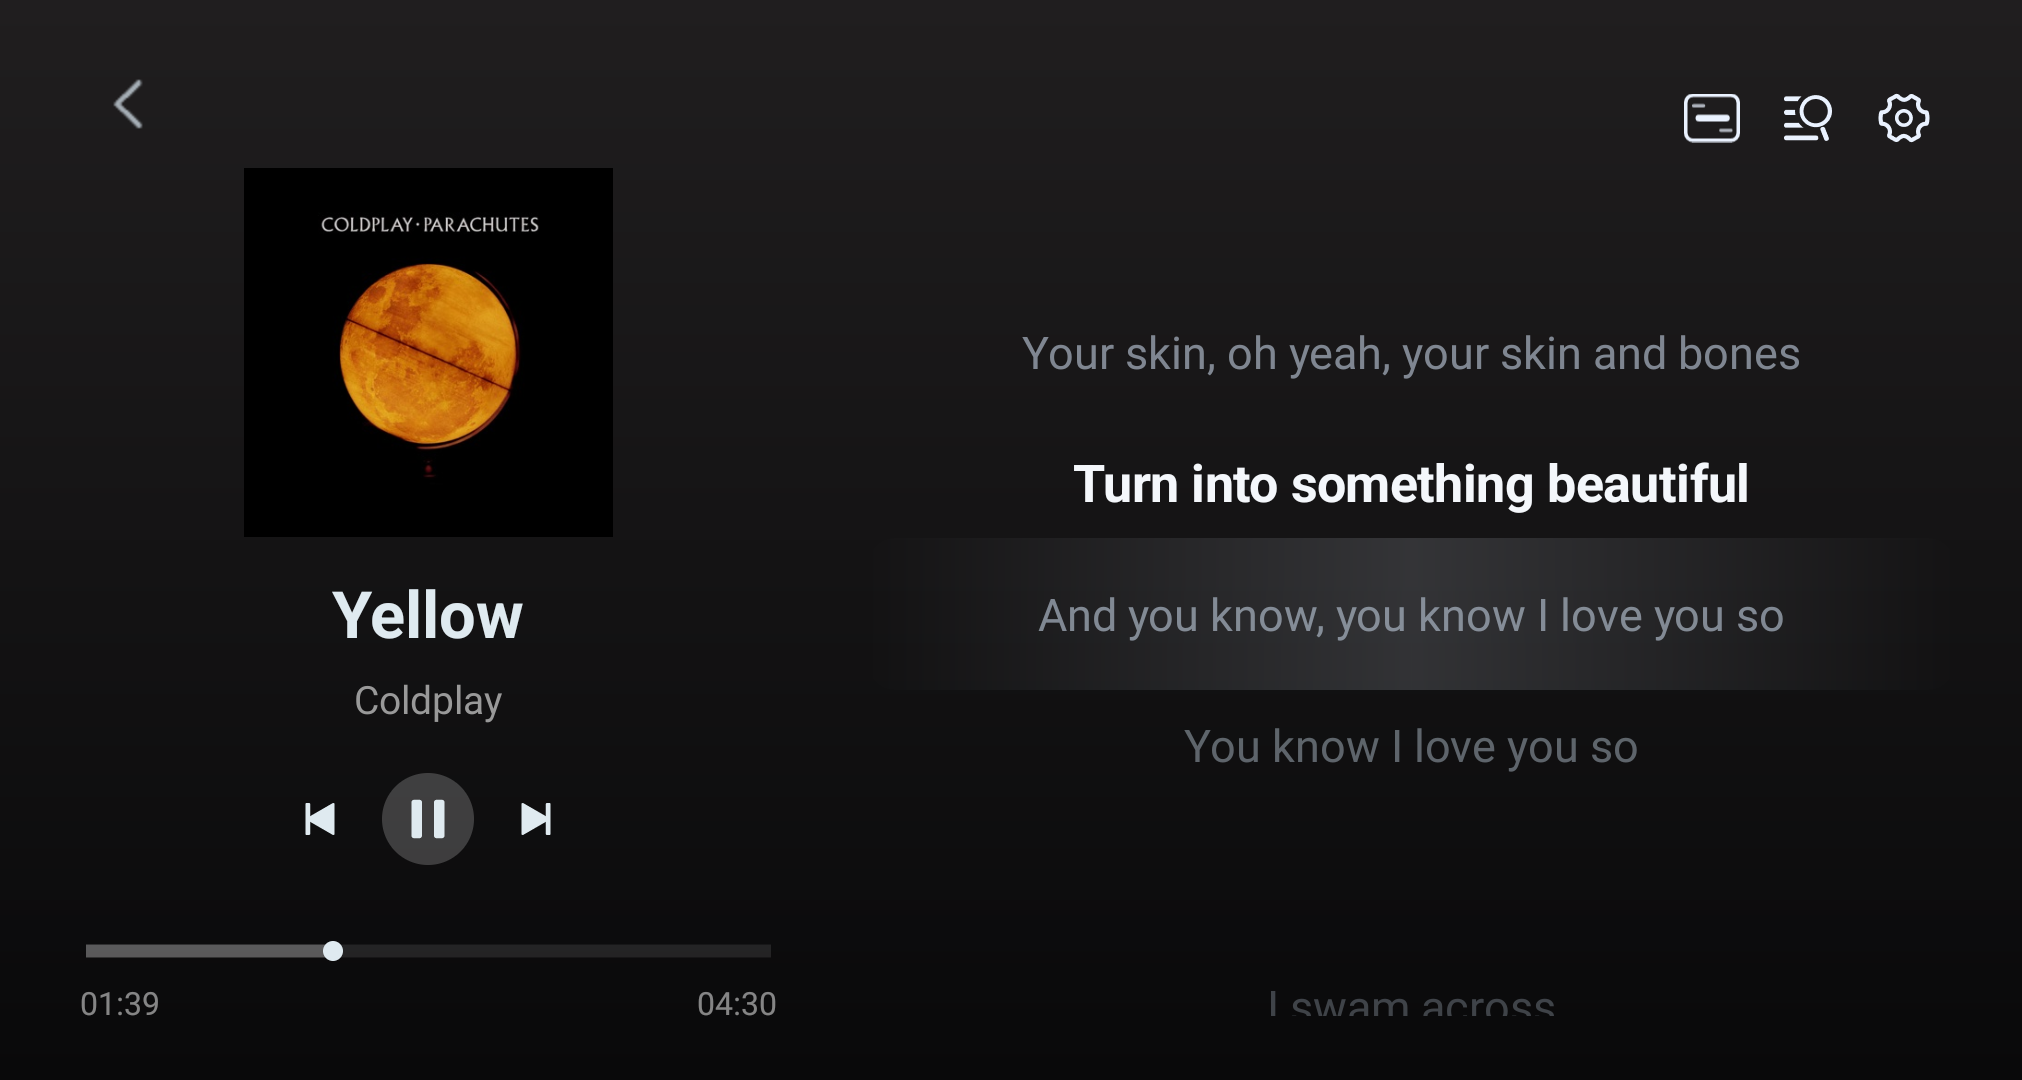
- Enter the lyrics page.
- Tap "Lyrics Settings" at the top-right.
- Recommended to enable:
- Local lyrics loading
- Network lyrics loading
- AI lyrics search loading
(Screenshot: Lyrics Settings screen)
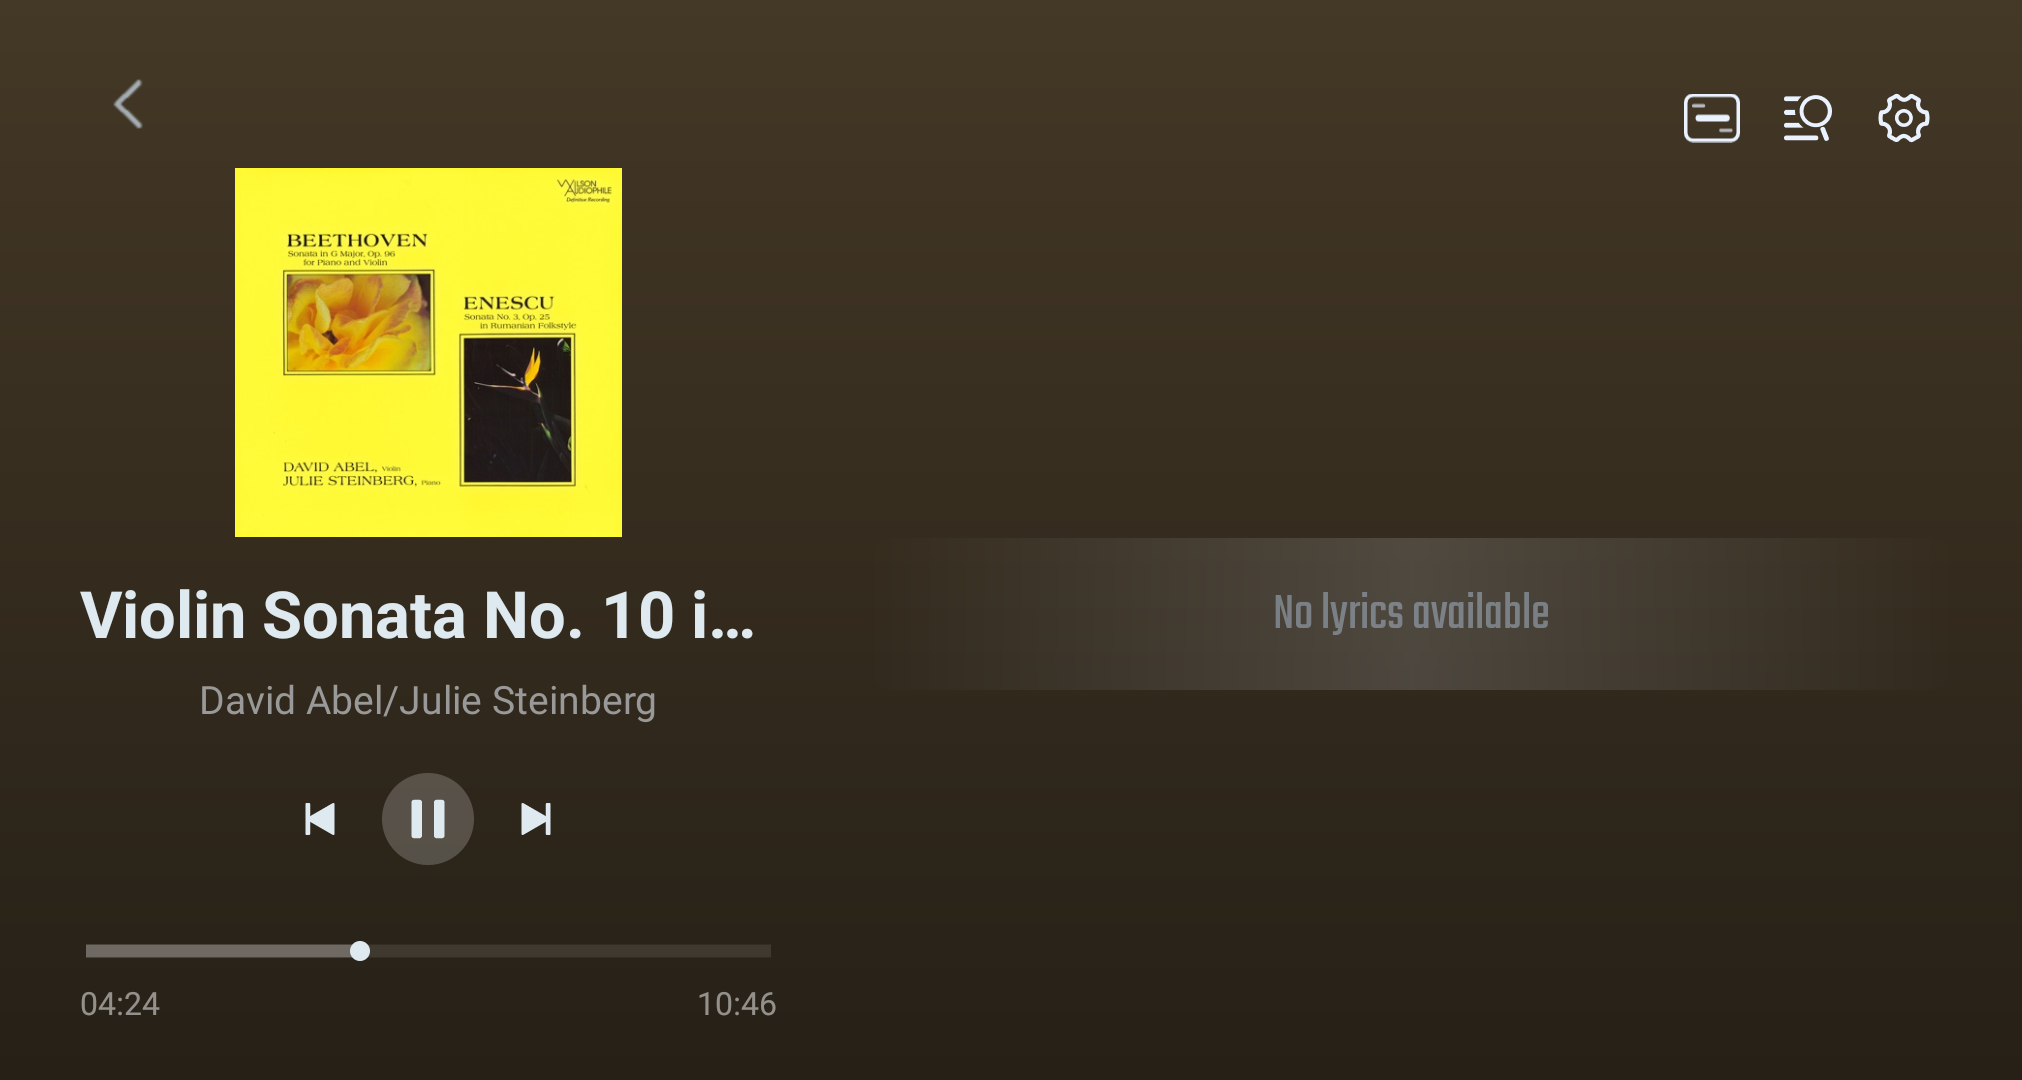
4.2.2 Flow when no lyrics
- Play a song with no lyrics.
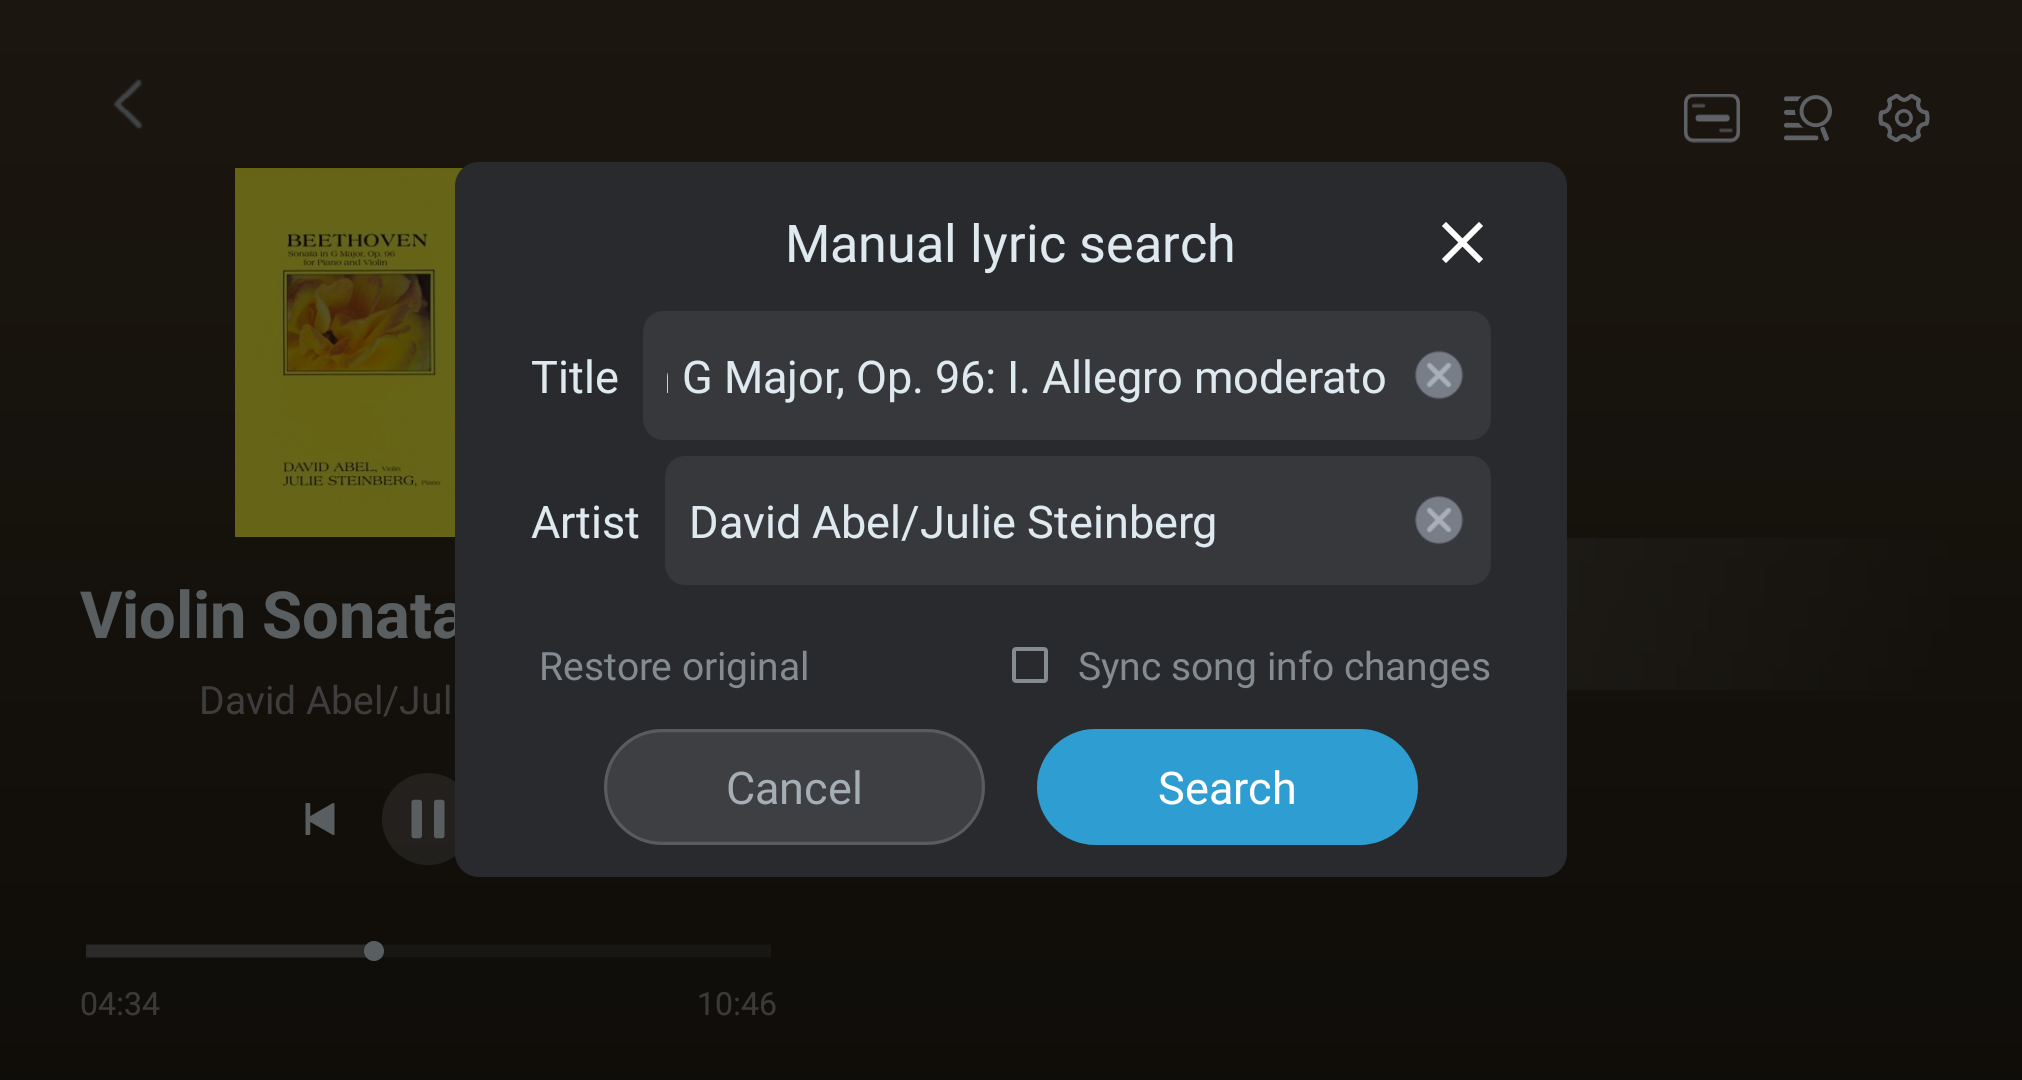
- Tap the "Manual lyrics search" entry.
- Edit "Song title / Artist" in the popup and tap "Search".
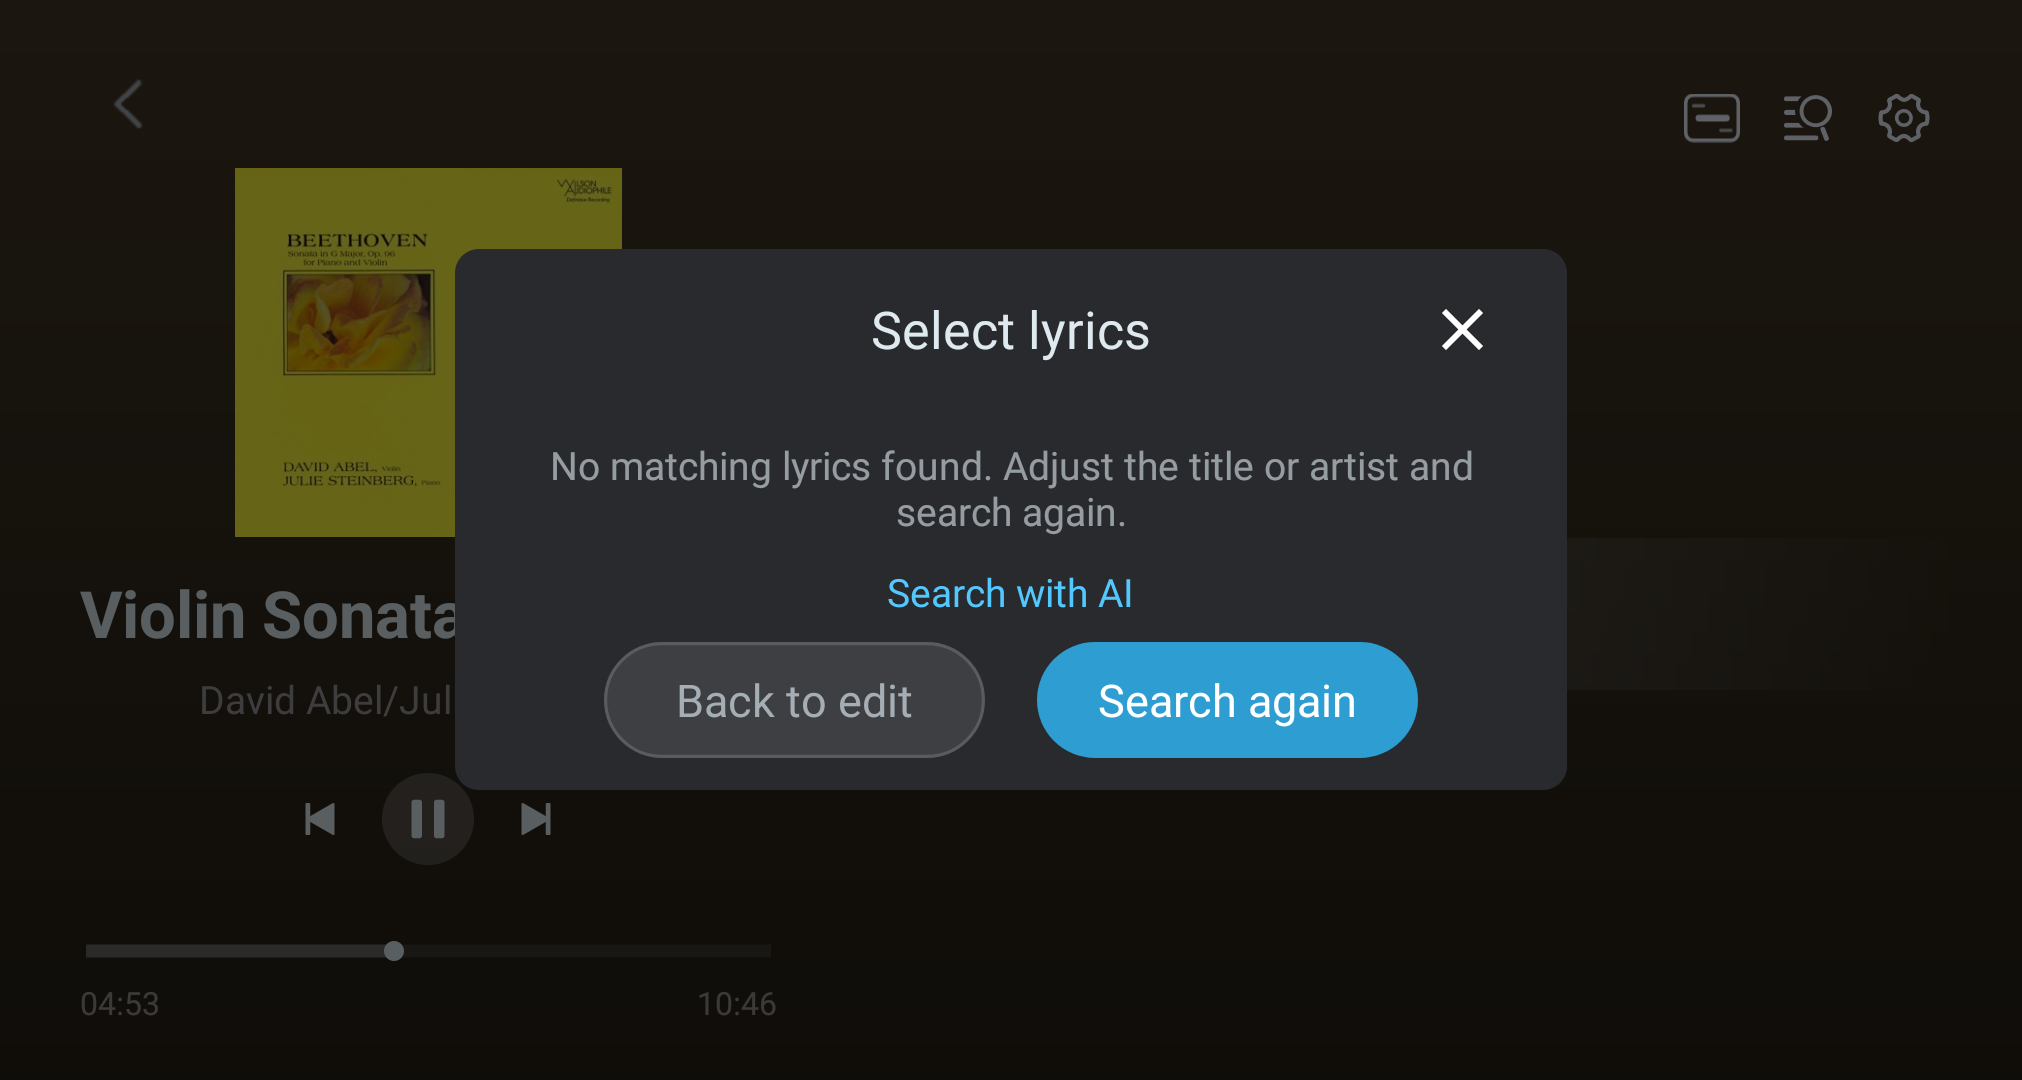
- After entering the candidate list, select the best-matching lyrics and apply.
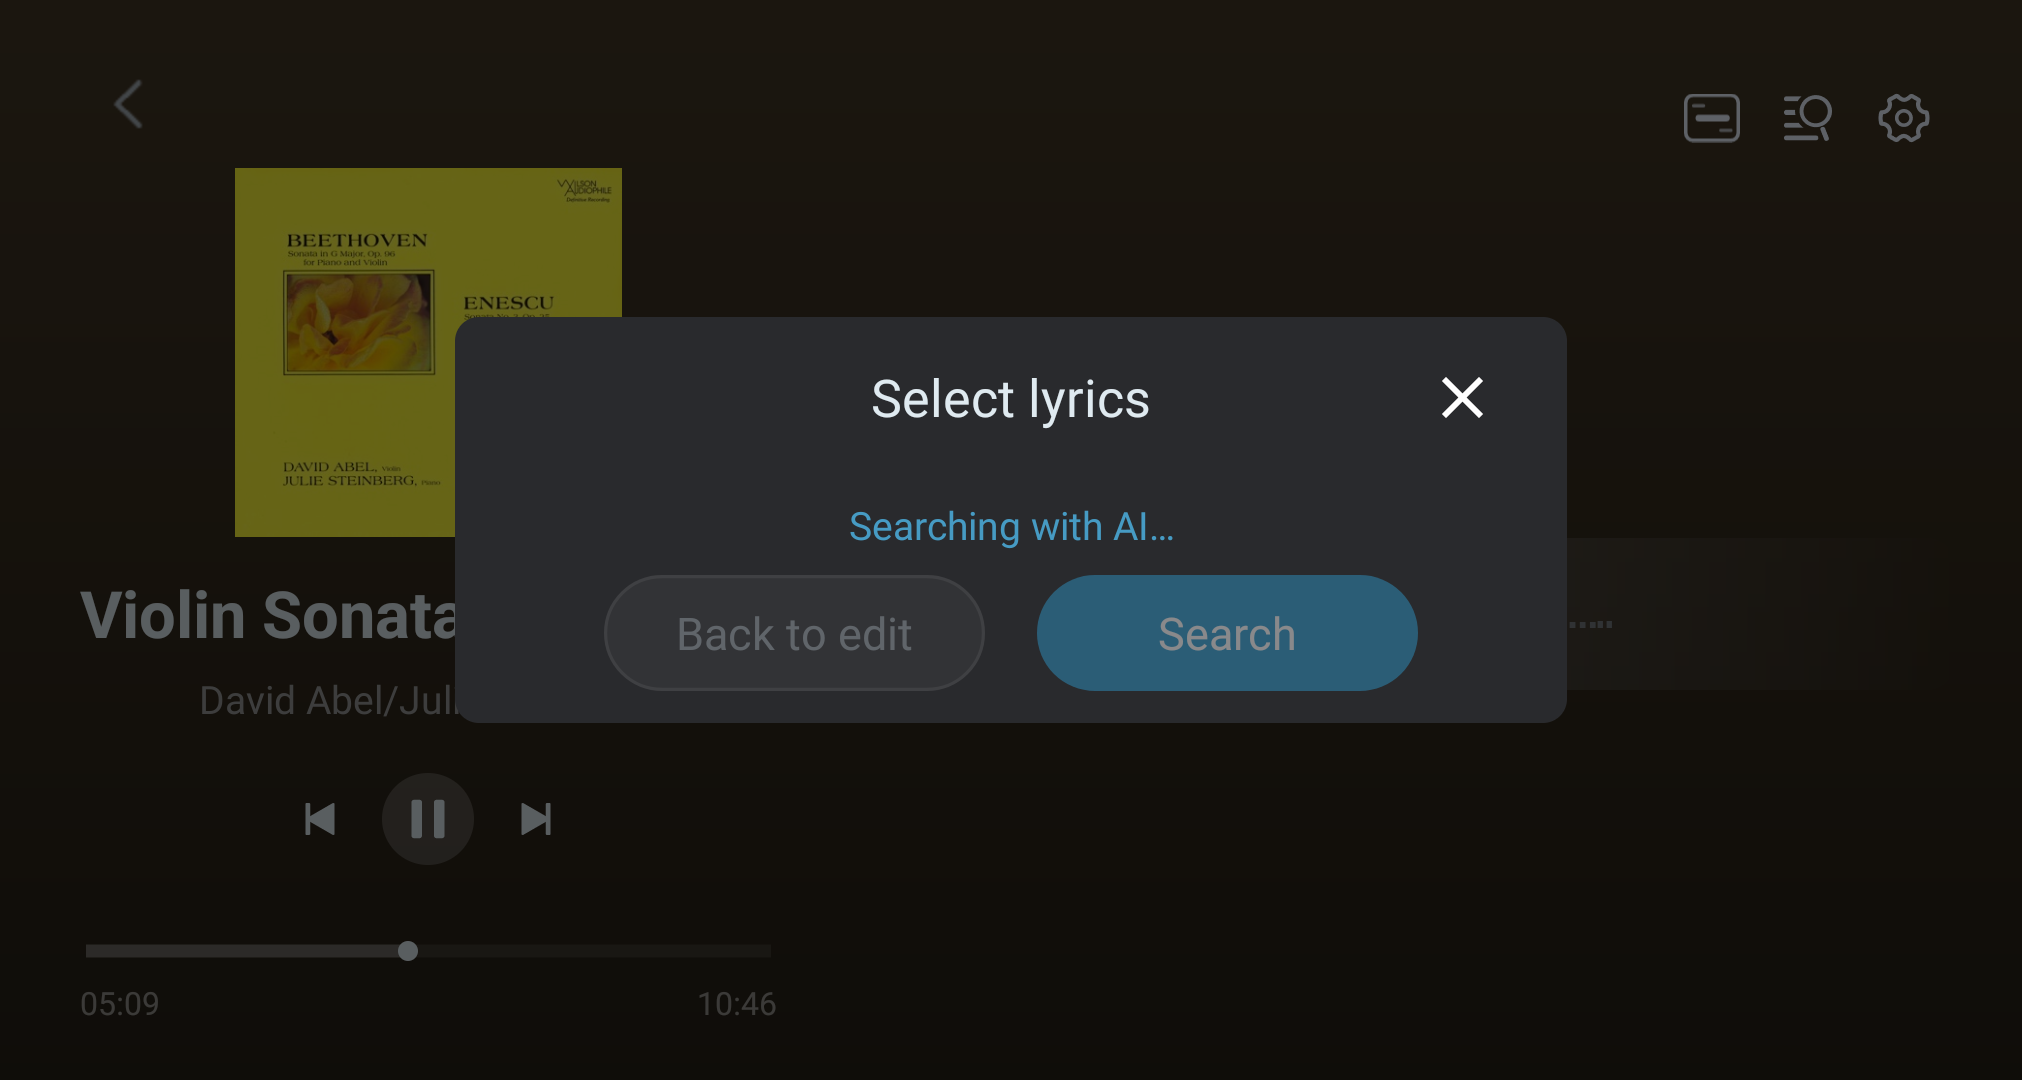
- If the network search returns no candidates, use AI search when it is available. It requires network connectivity and may be limited by the account, service, or software version. Check the displayed status and allowance before retrying.
(Screenshot: No-lyrics state)
(Screenshot: Manual search popup)
(Screenshot: Candidate lyrics list)
(Screenshot: AI search in progress)
(Screenshot: Search complete, lyrics shown)
4.2.3 Cache cleanup
In "Lyrics Settings" you can:
- Clear current lyrics cache
- Clear all lyrics cache (with confirmation prompt)
Song AI Encyclopedia (AI theme)
4.3.1 Display states
The AI encyclopedia area has three typical states:
- No content (no cache) — when auto-parse is off, shows an "Explore now" button.
- Searching — shows the AI search loading animation.
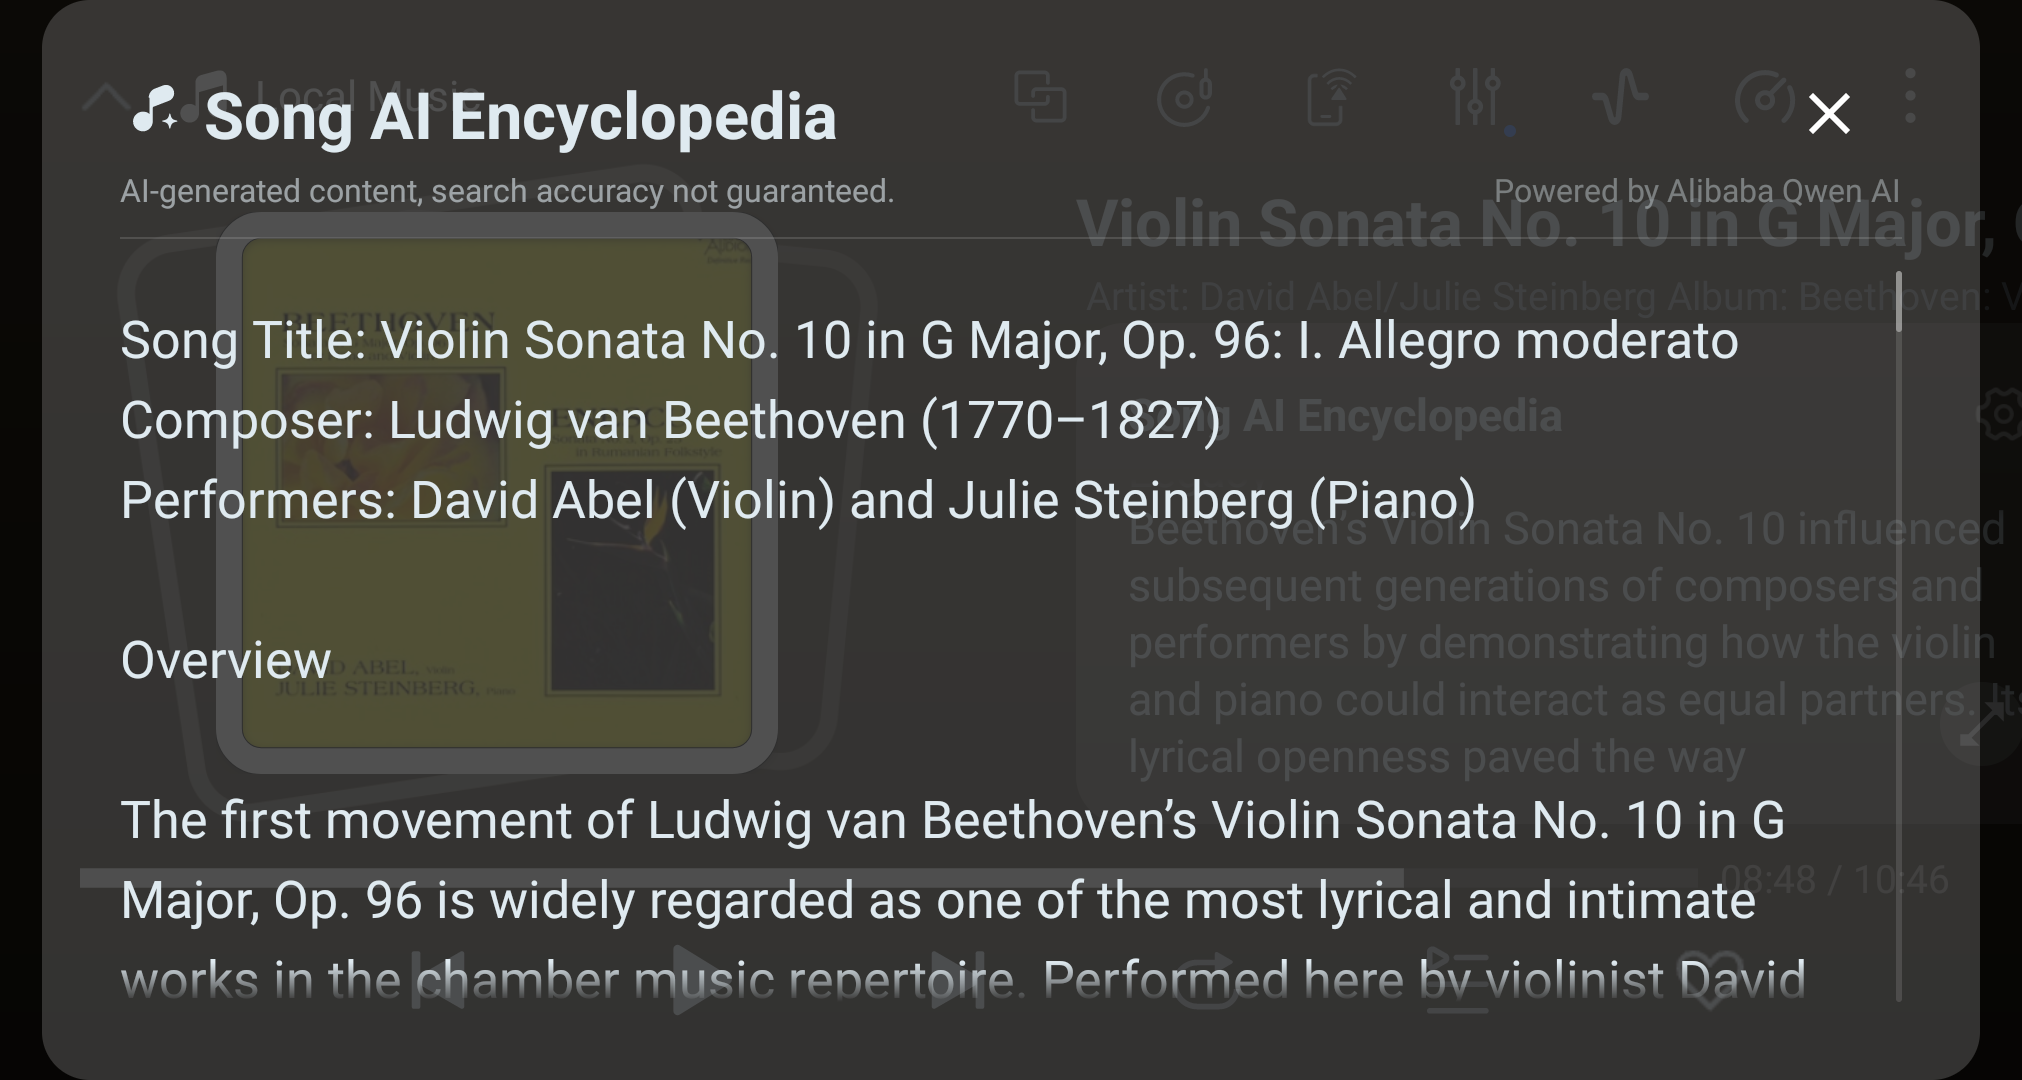
- Search complete — shows the encyclopedia body, streamed out character-by-character via the AI model in real time.
(Screenshot: Searching state)
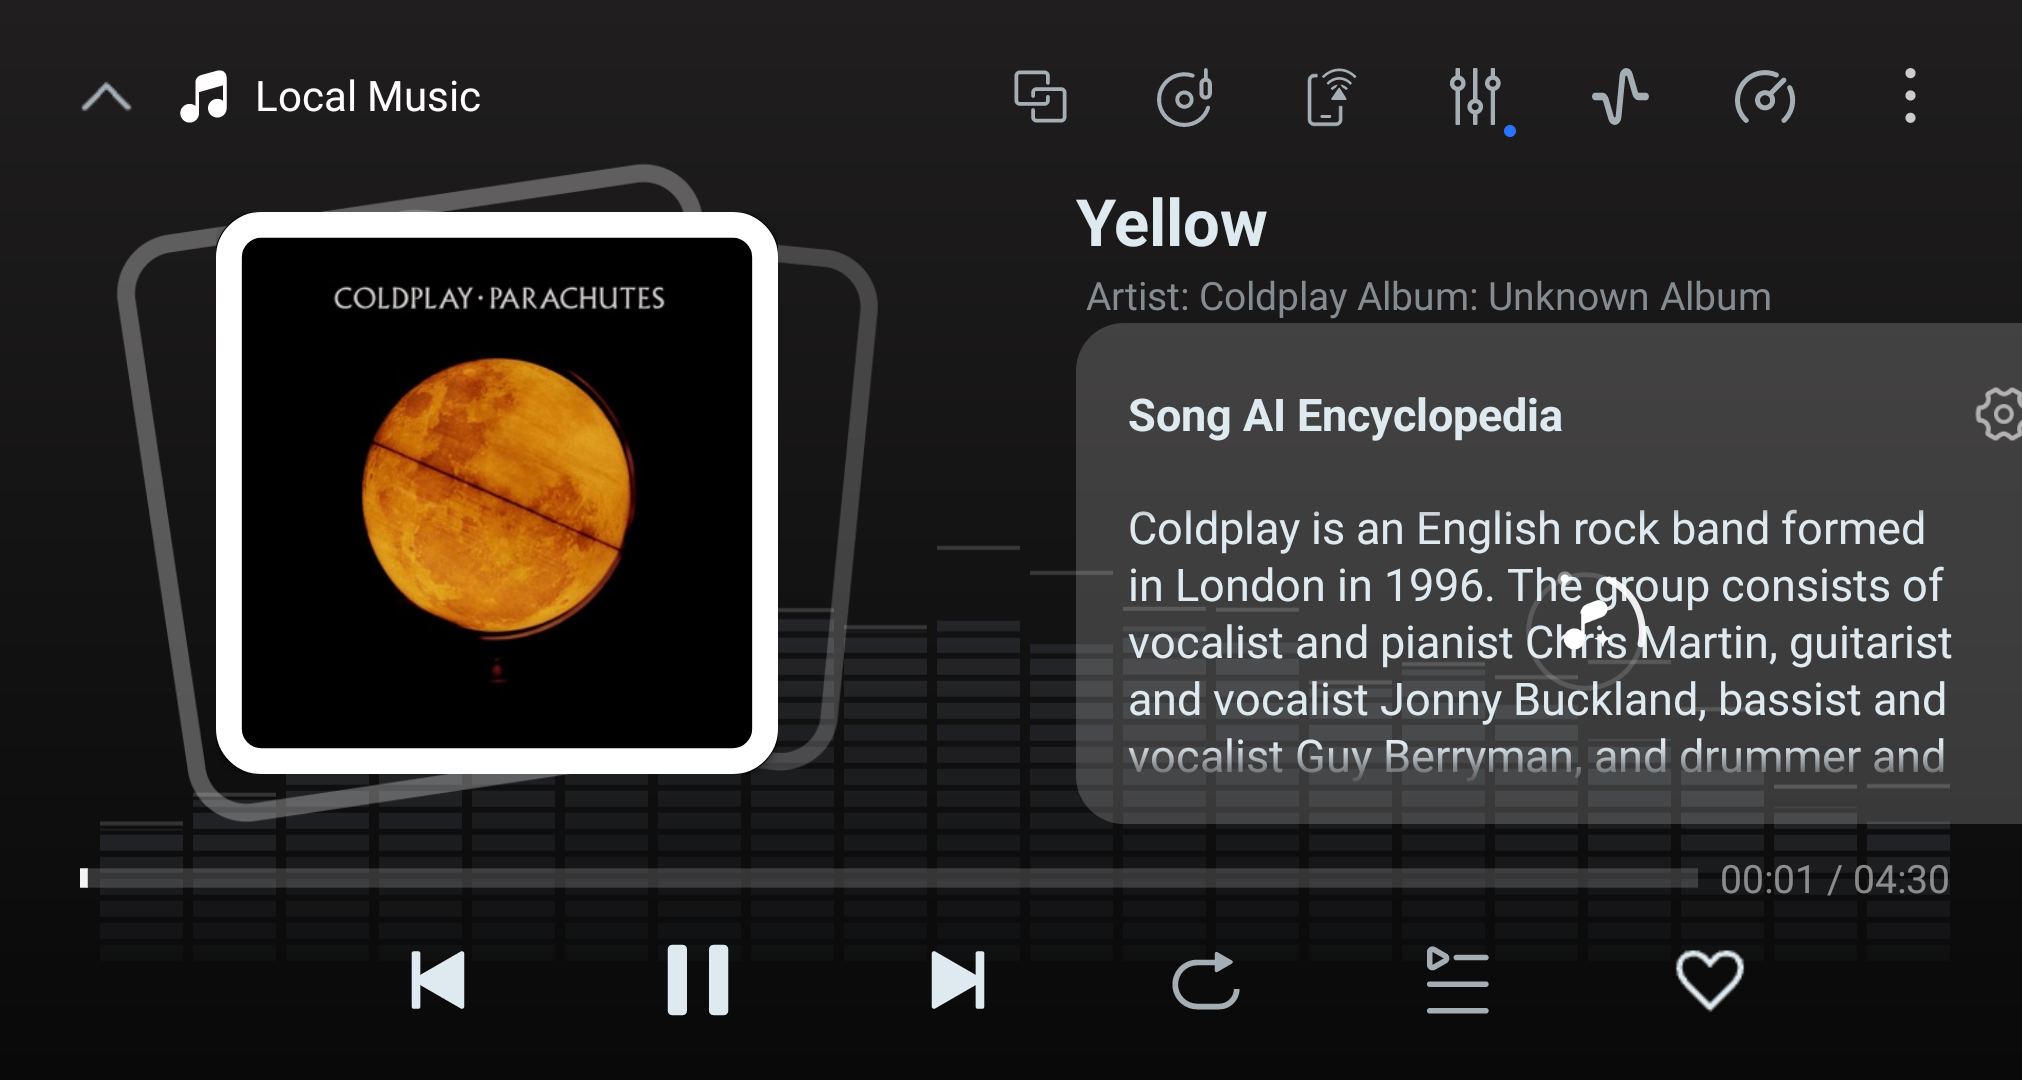
(Screenshot: Search-complete state)
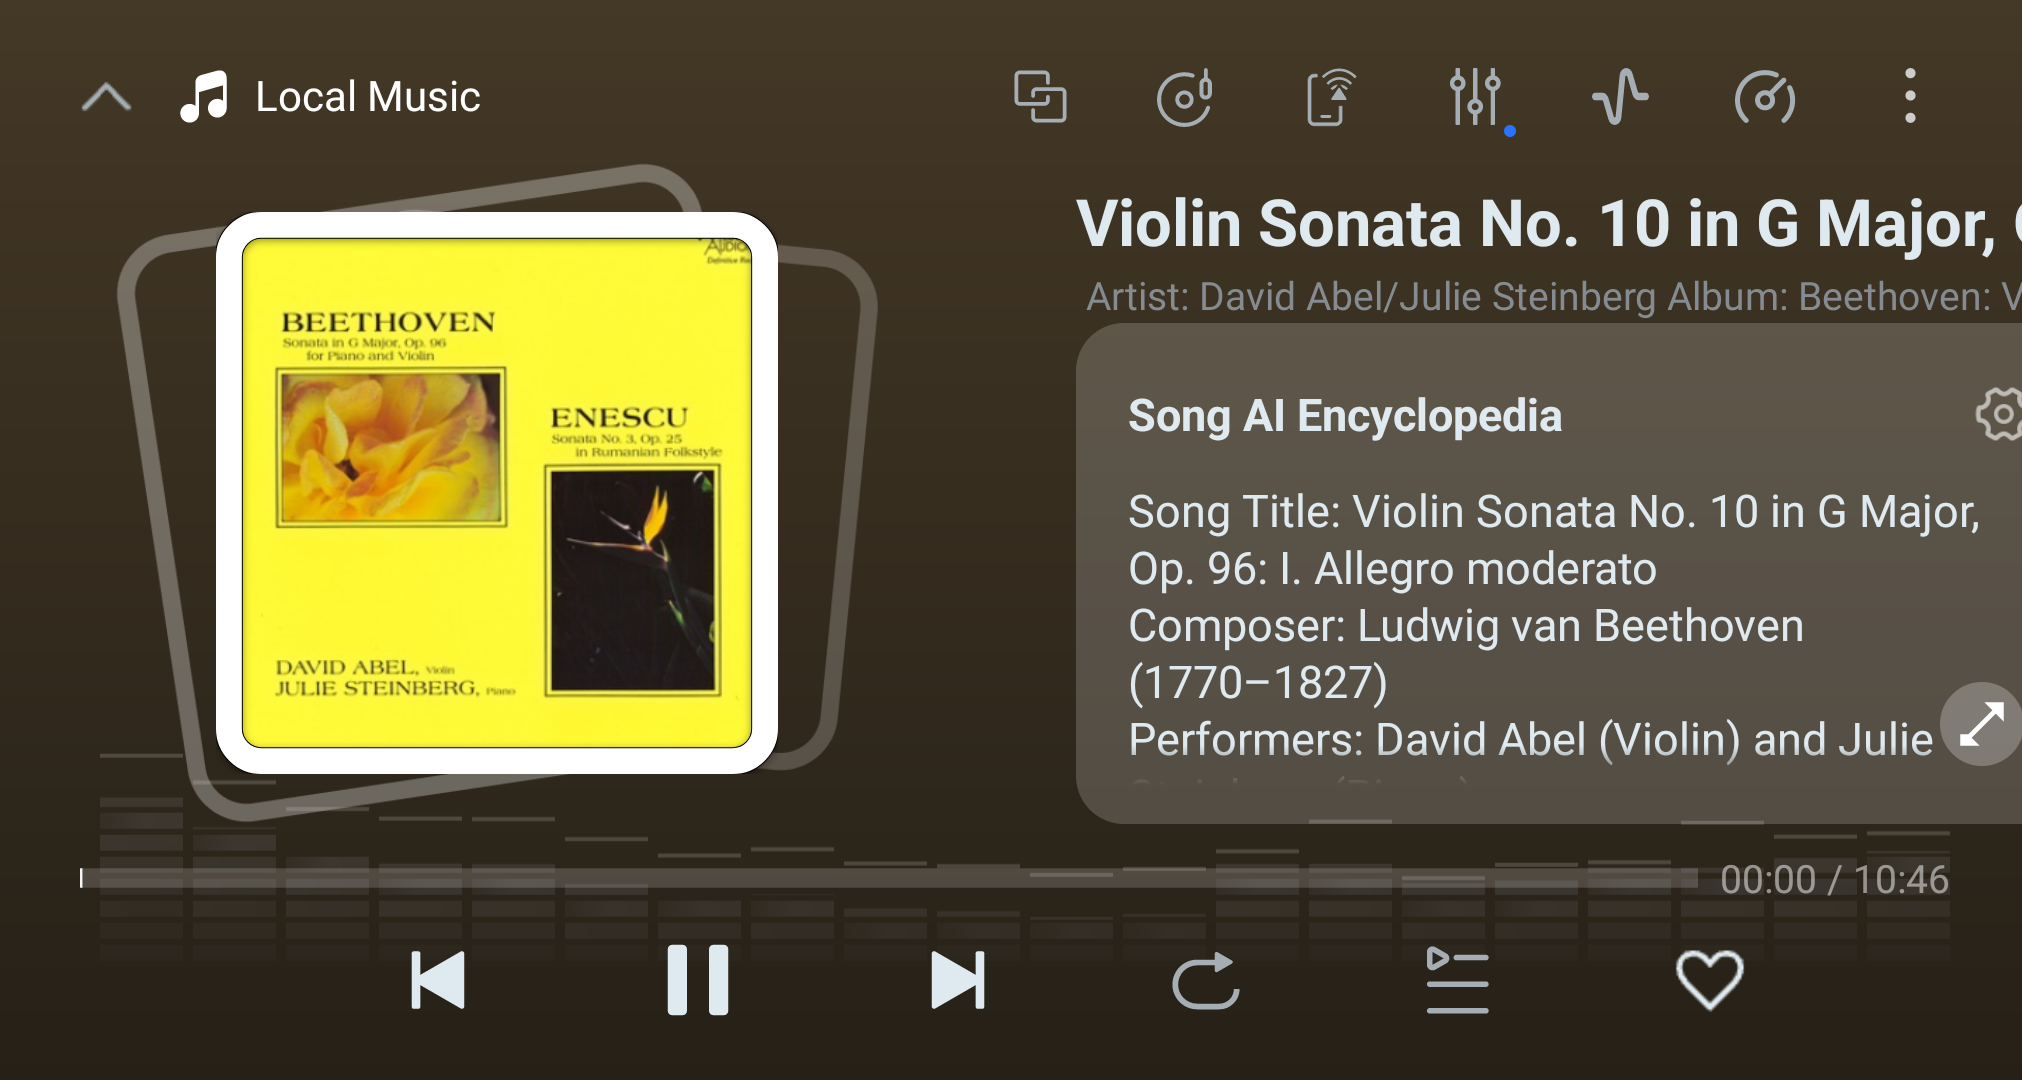
(Tap the expand button for the full-screen encyclopedia detail)
4.3.2 Auto-parse toggle
- Enable auto-parse: while playing, the encyclopedia can trigger an AI search automatically. Any displayed request allowance or service availability may vary by account, service, and software version.
- Disable auto-parse: the user must tap "Explore now" to trigger manually.
- Auto-search sends one request when it is triggered. Check the displayed allowance and service status before repeating a search.
EQ Function
Introduction:
EQ (Equalizer) lets you adjust gain across frequency bands to suit your listening preferences. Presets such as Pop, Rock, Classical, and Bass provide starting points, and custom bands can be adjusted as needed. Audible results depend on the recording, connected equipment, and playback chain; compare familiar tracks and reset a setting if the result is not preferred.
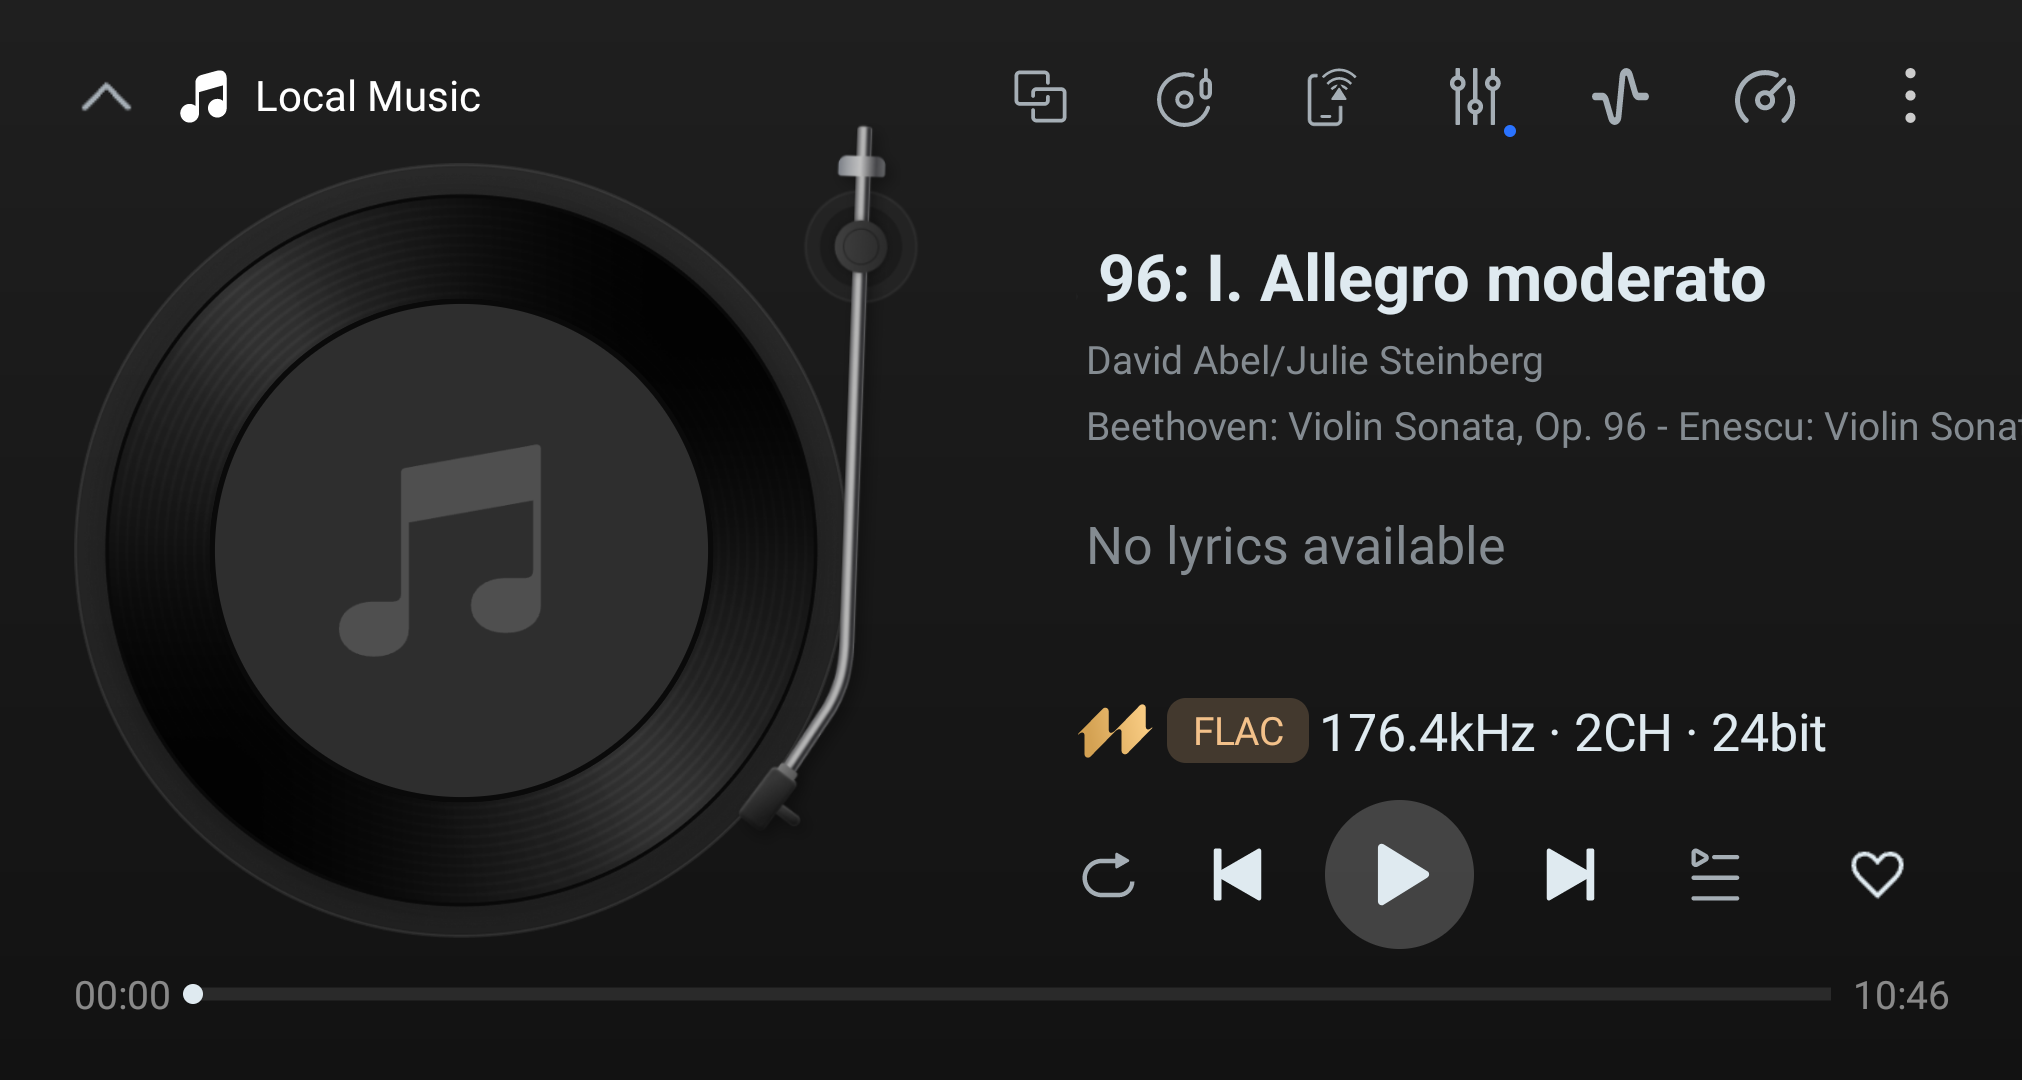
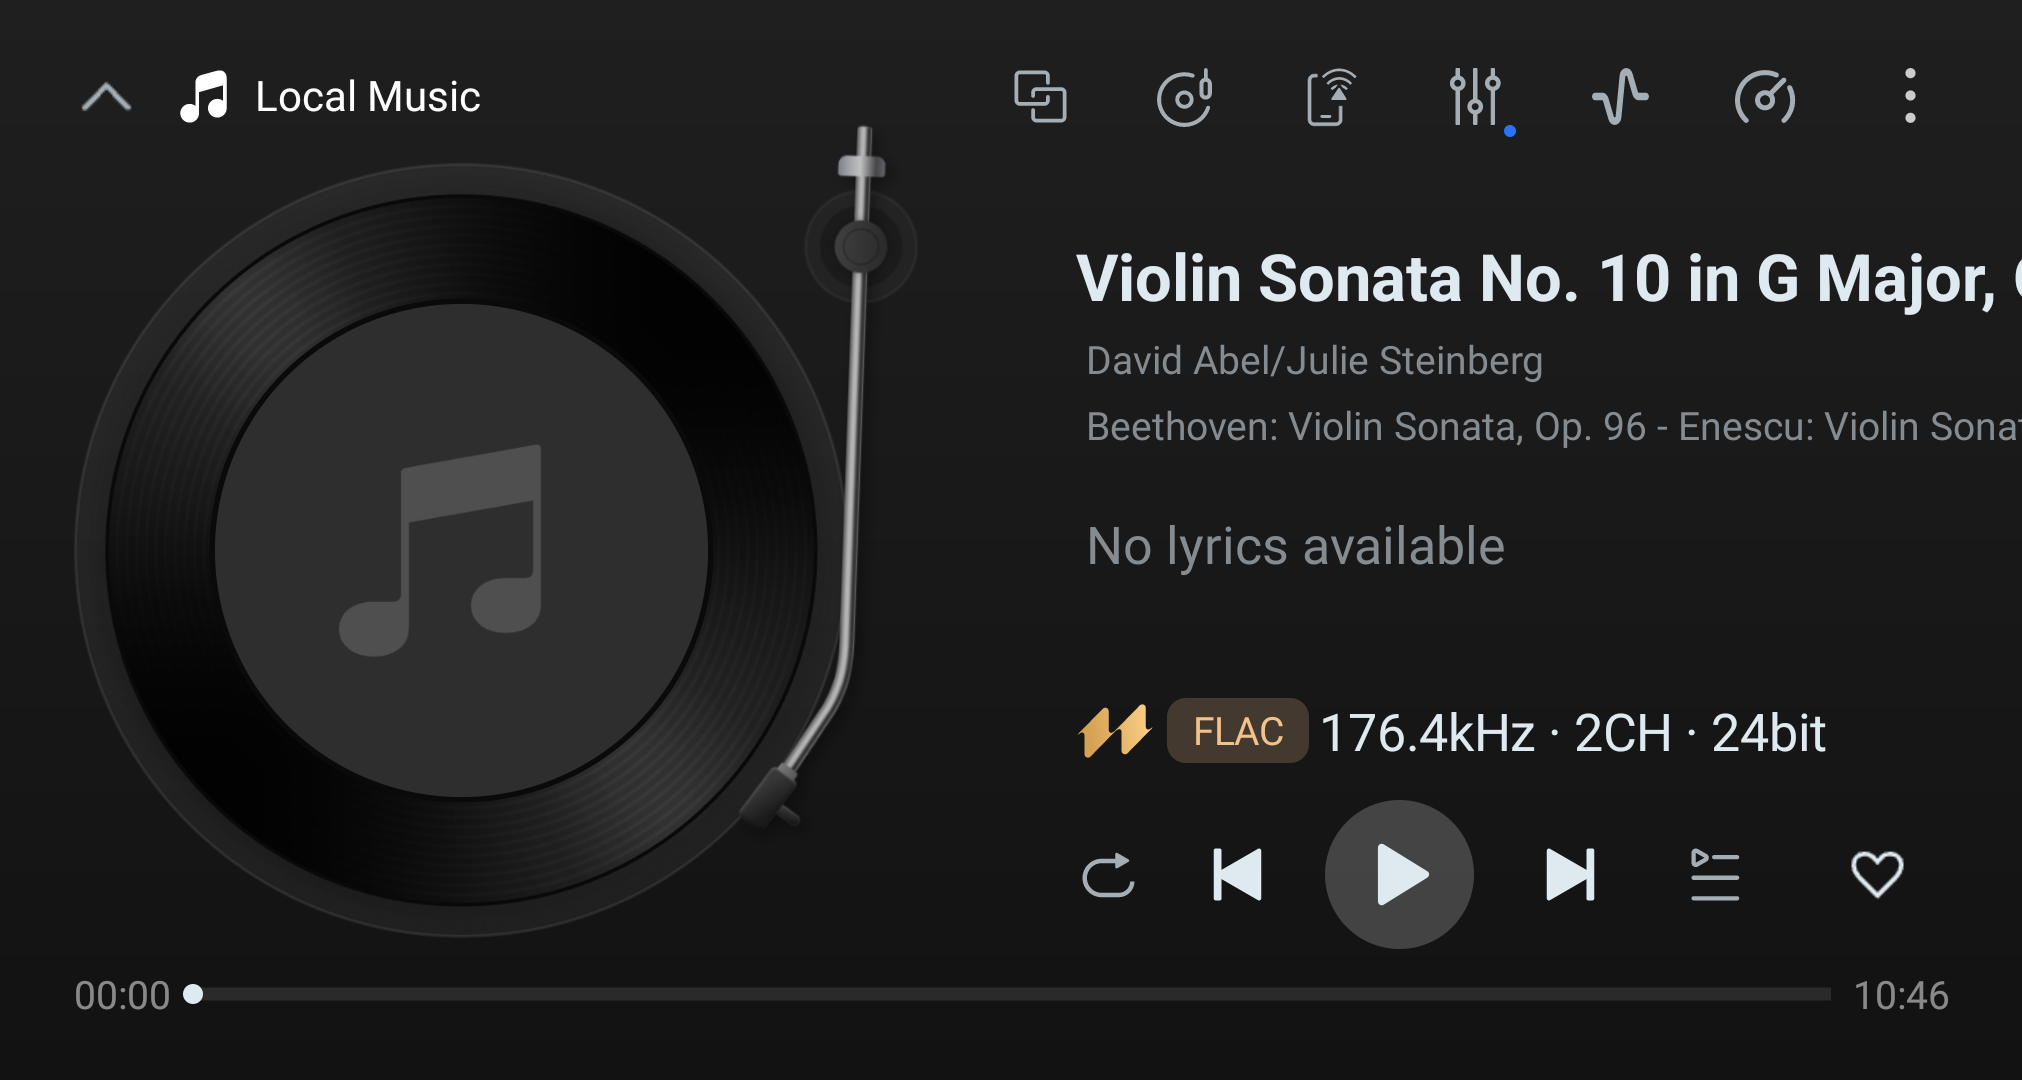
Tap the sliders (EQ) icon at the top-right of the player screen:
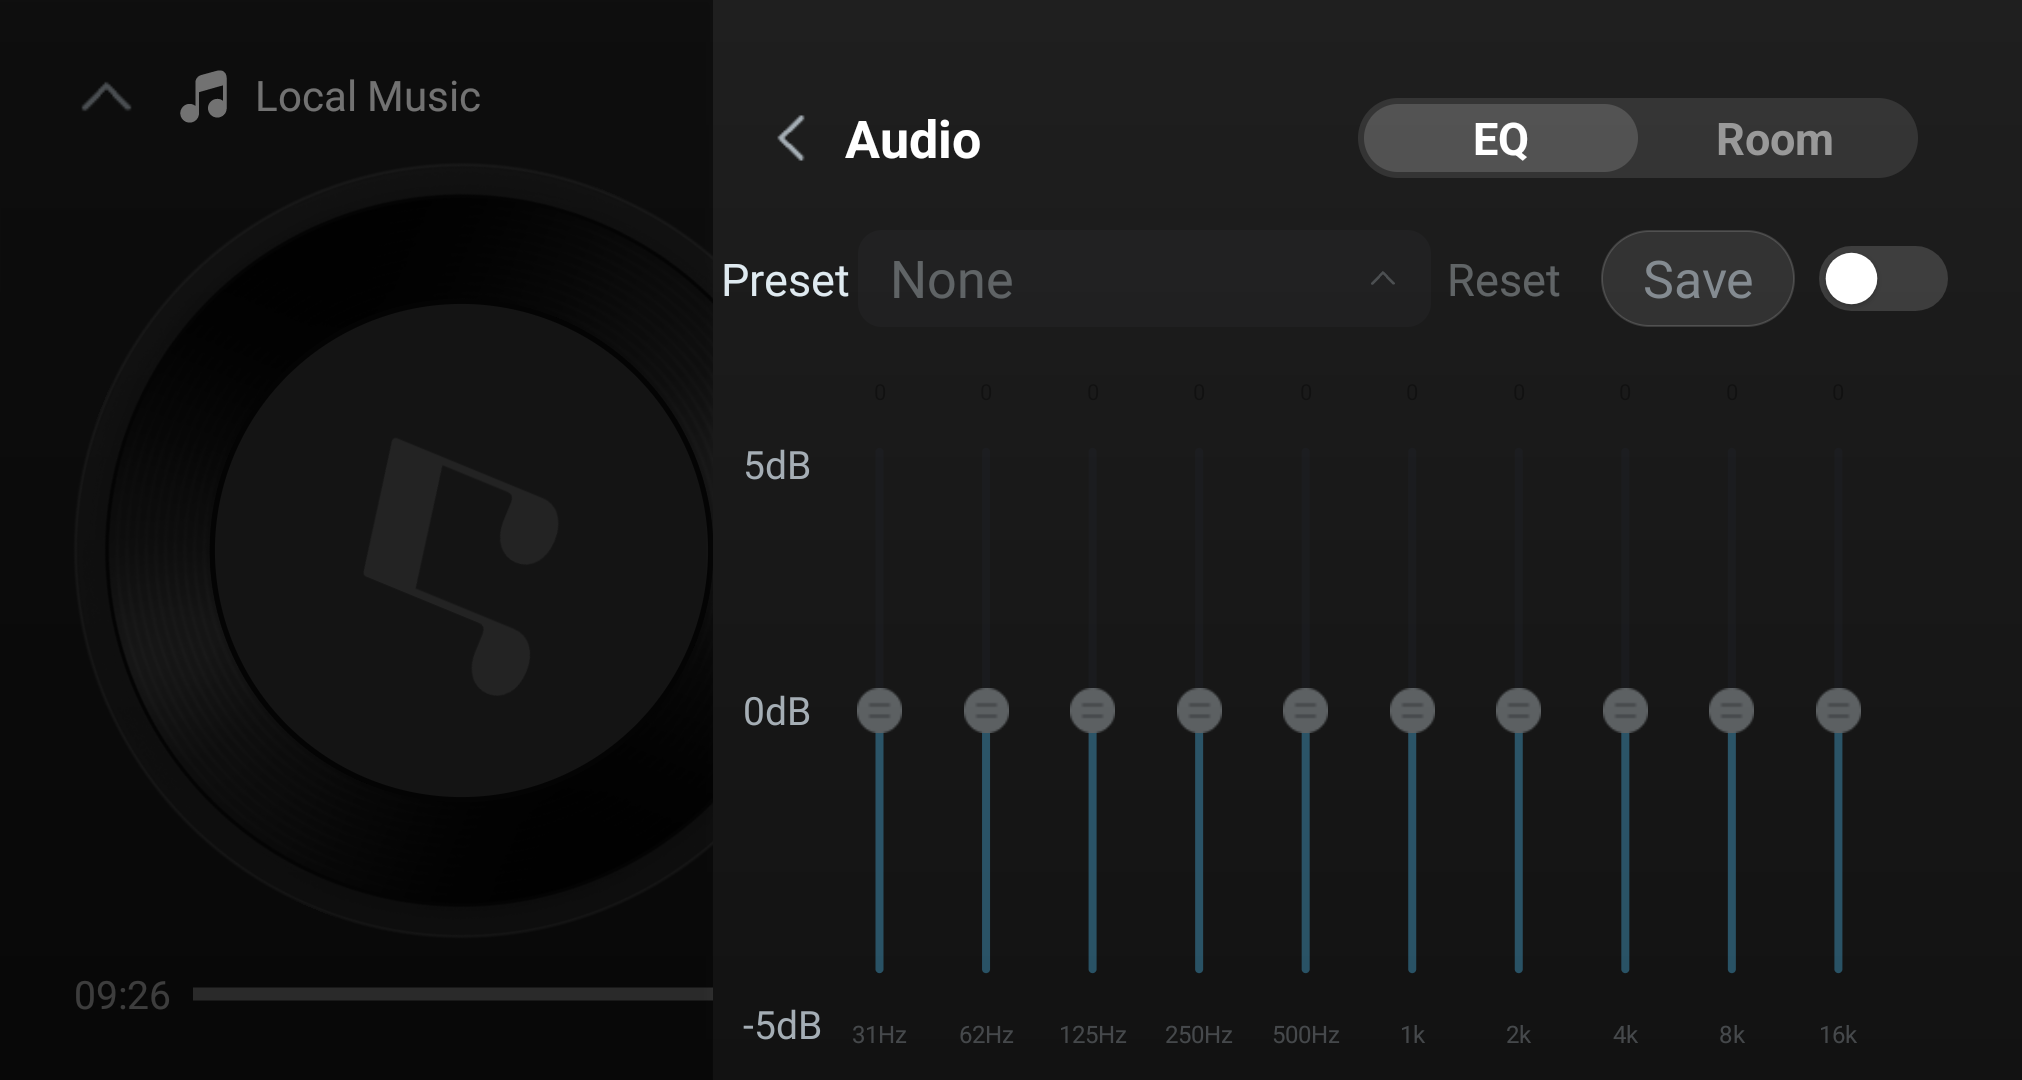
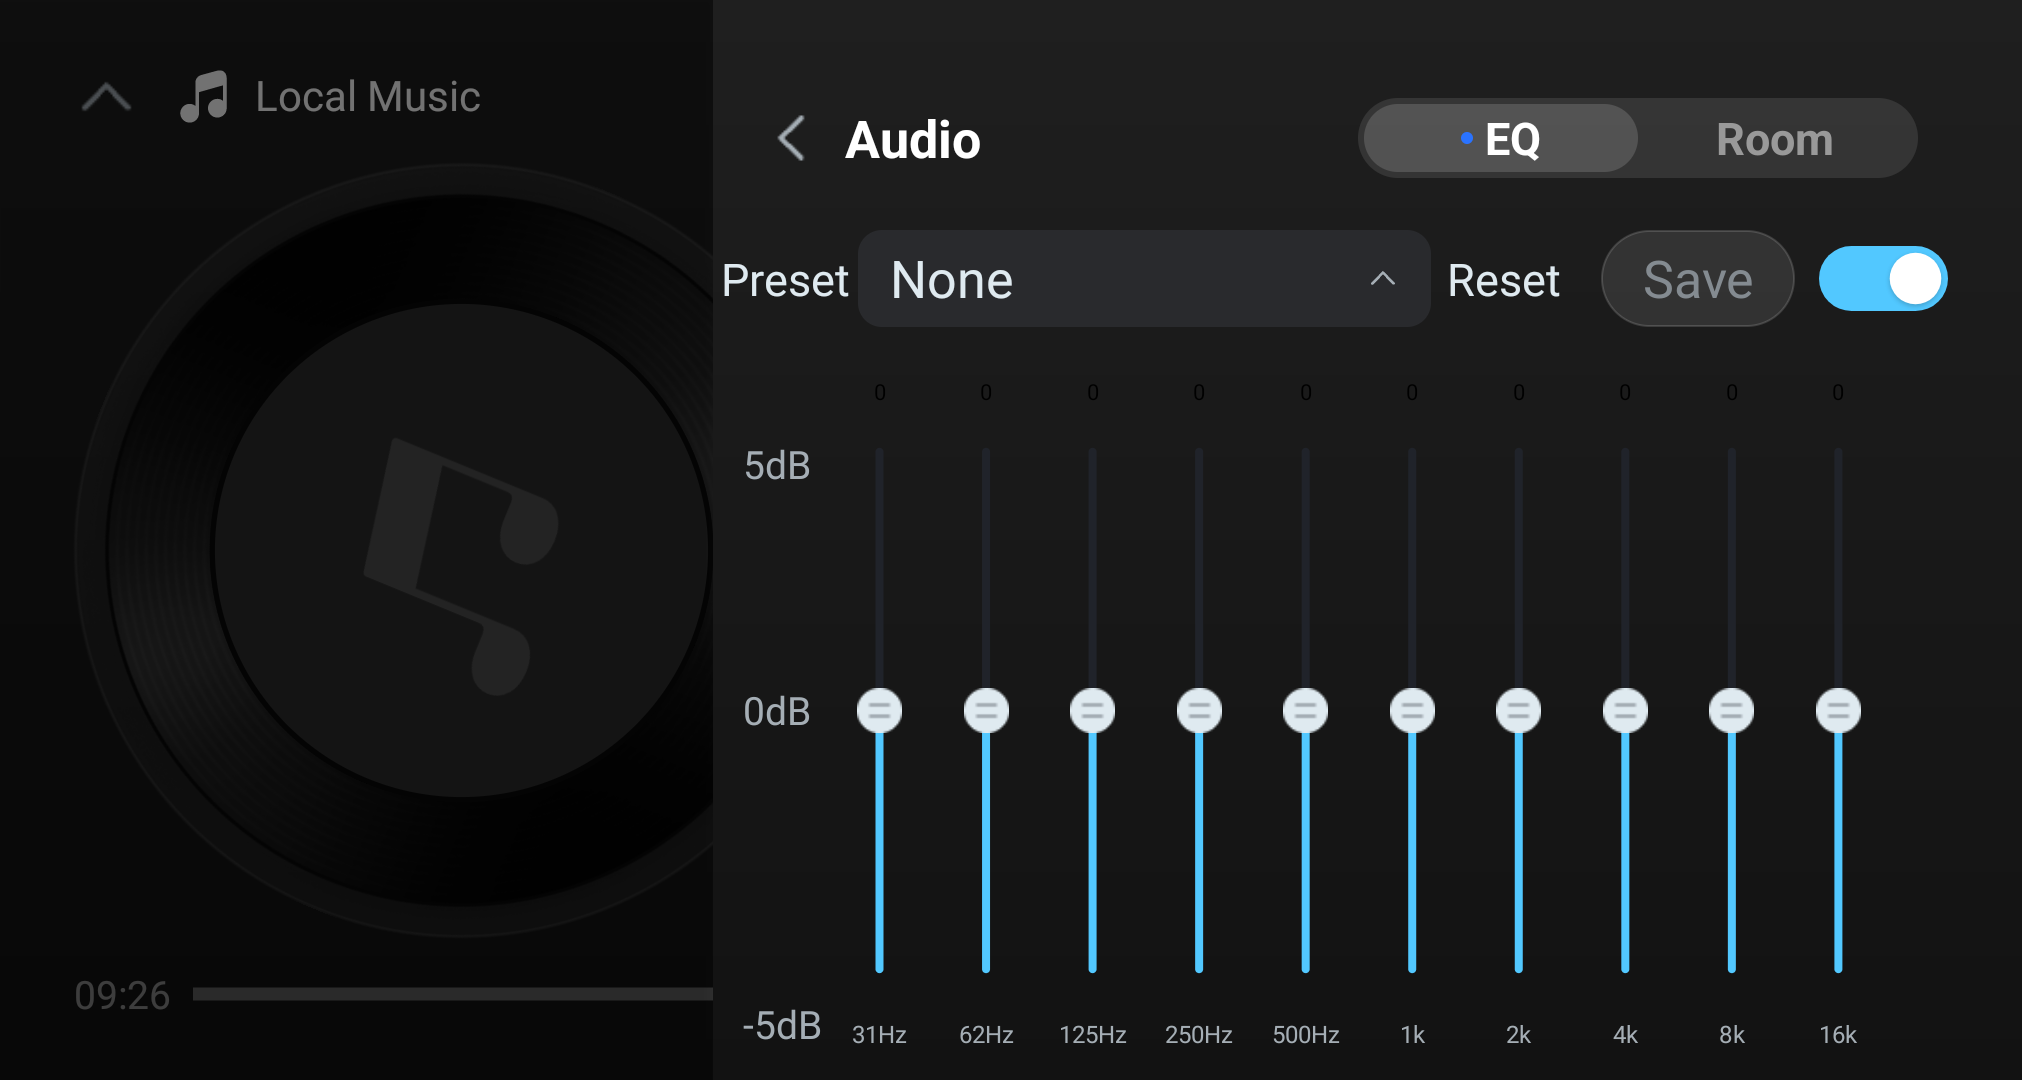
The EQ main screen after tapping, and the screen with EQ enabled:
Multiple presets are available:
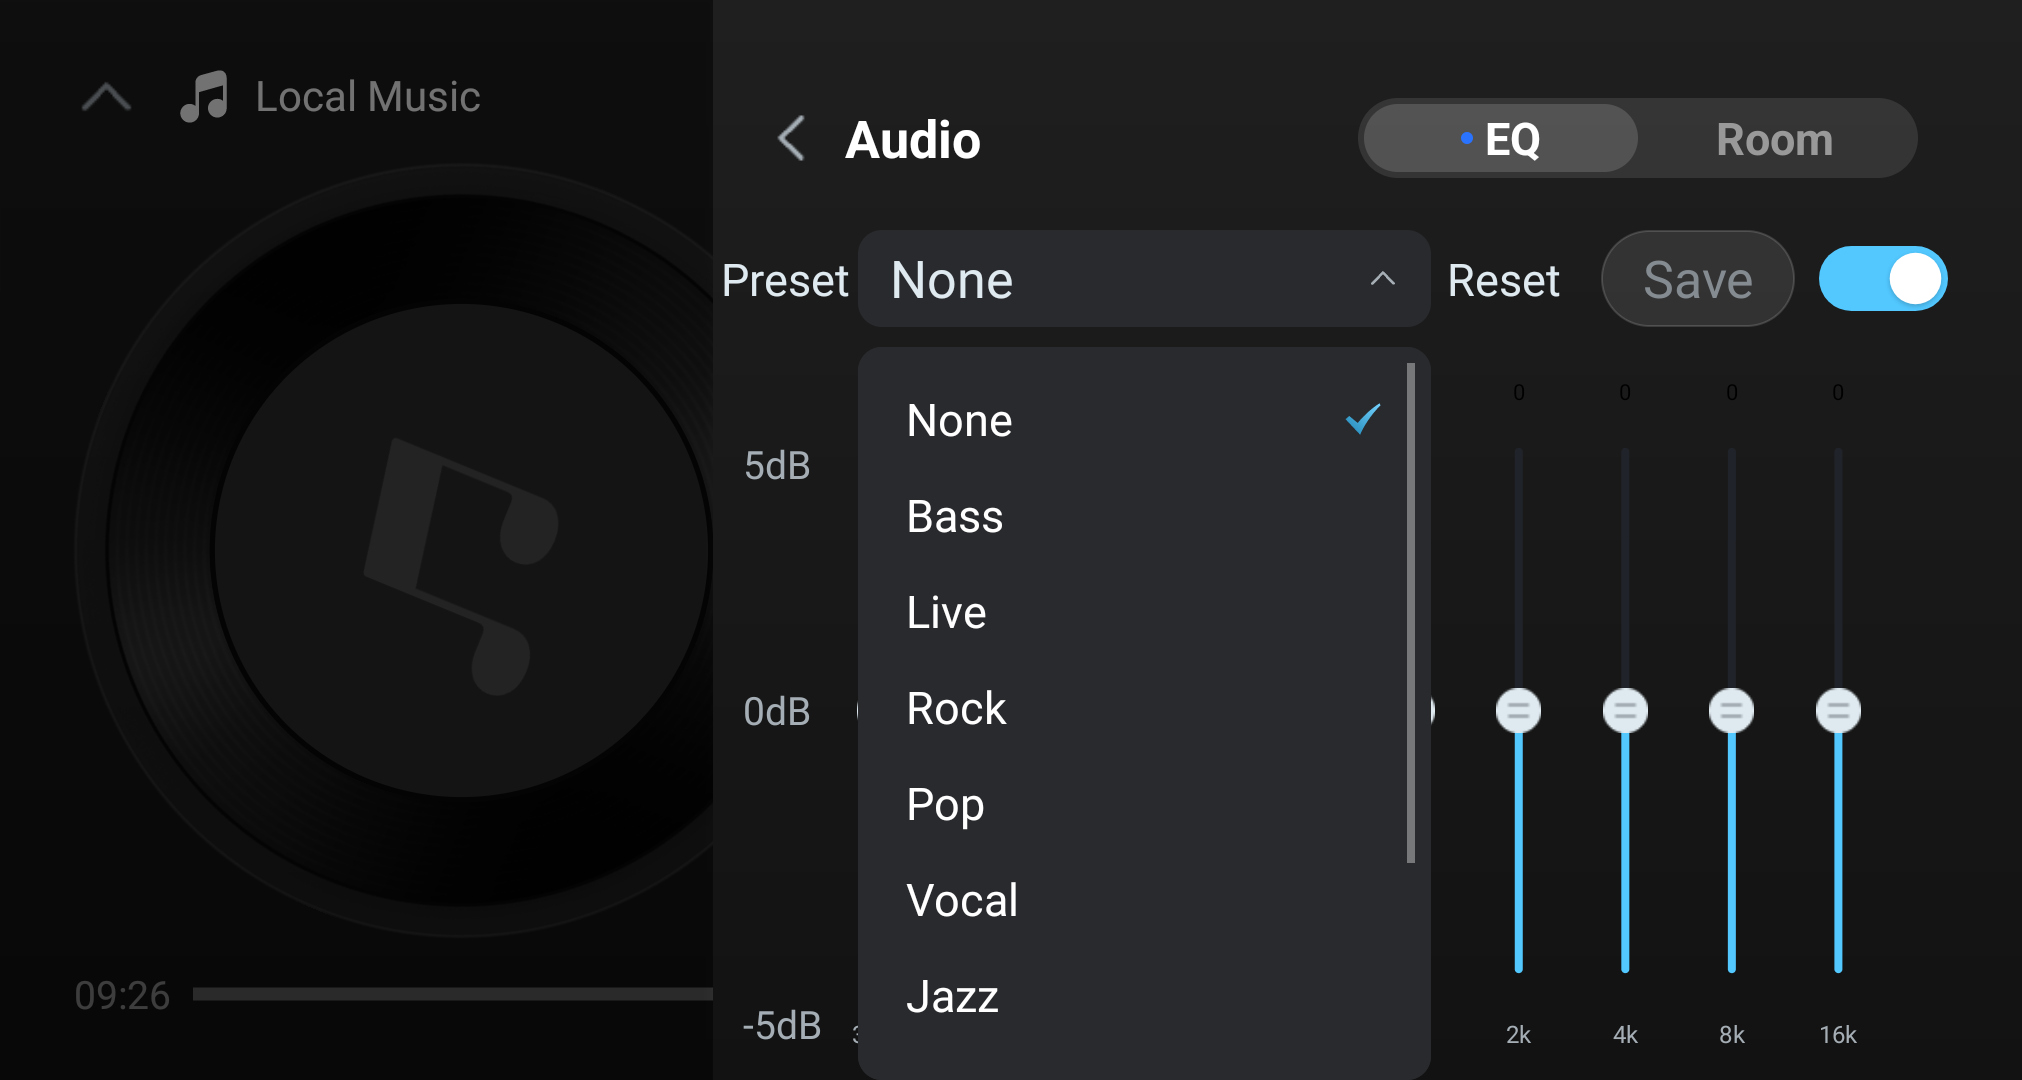
Preset descriptions:
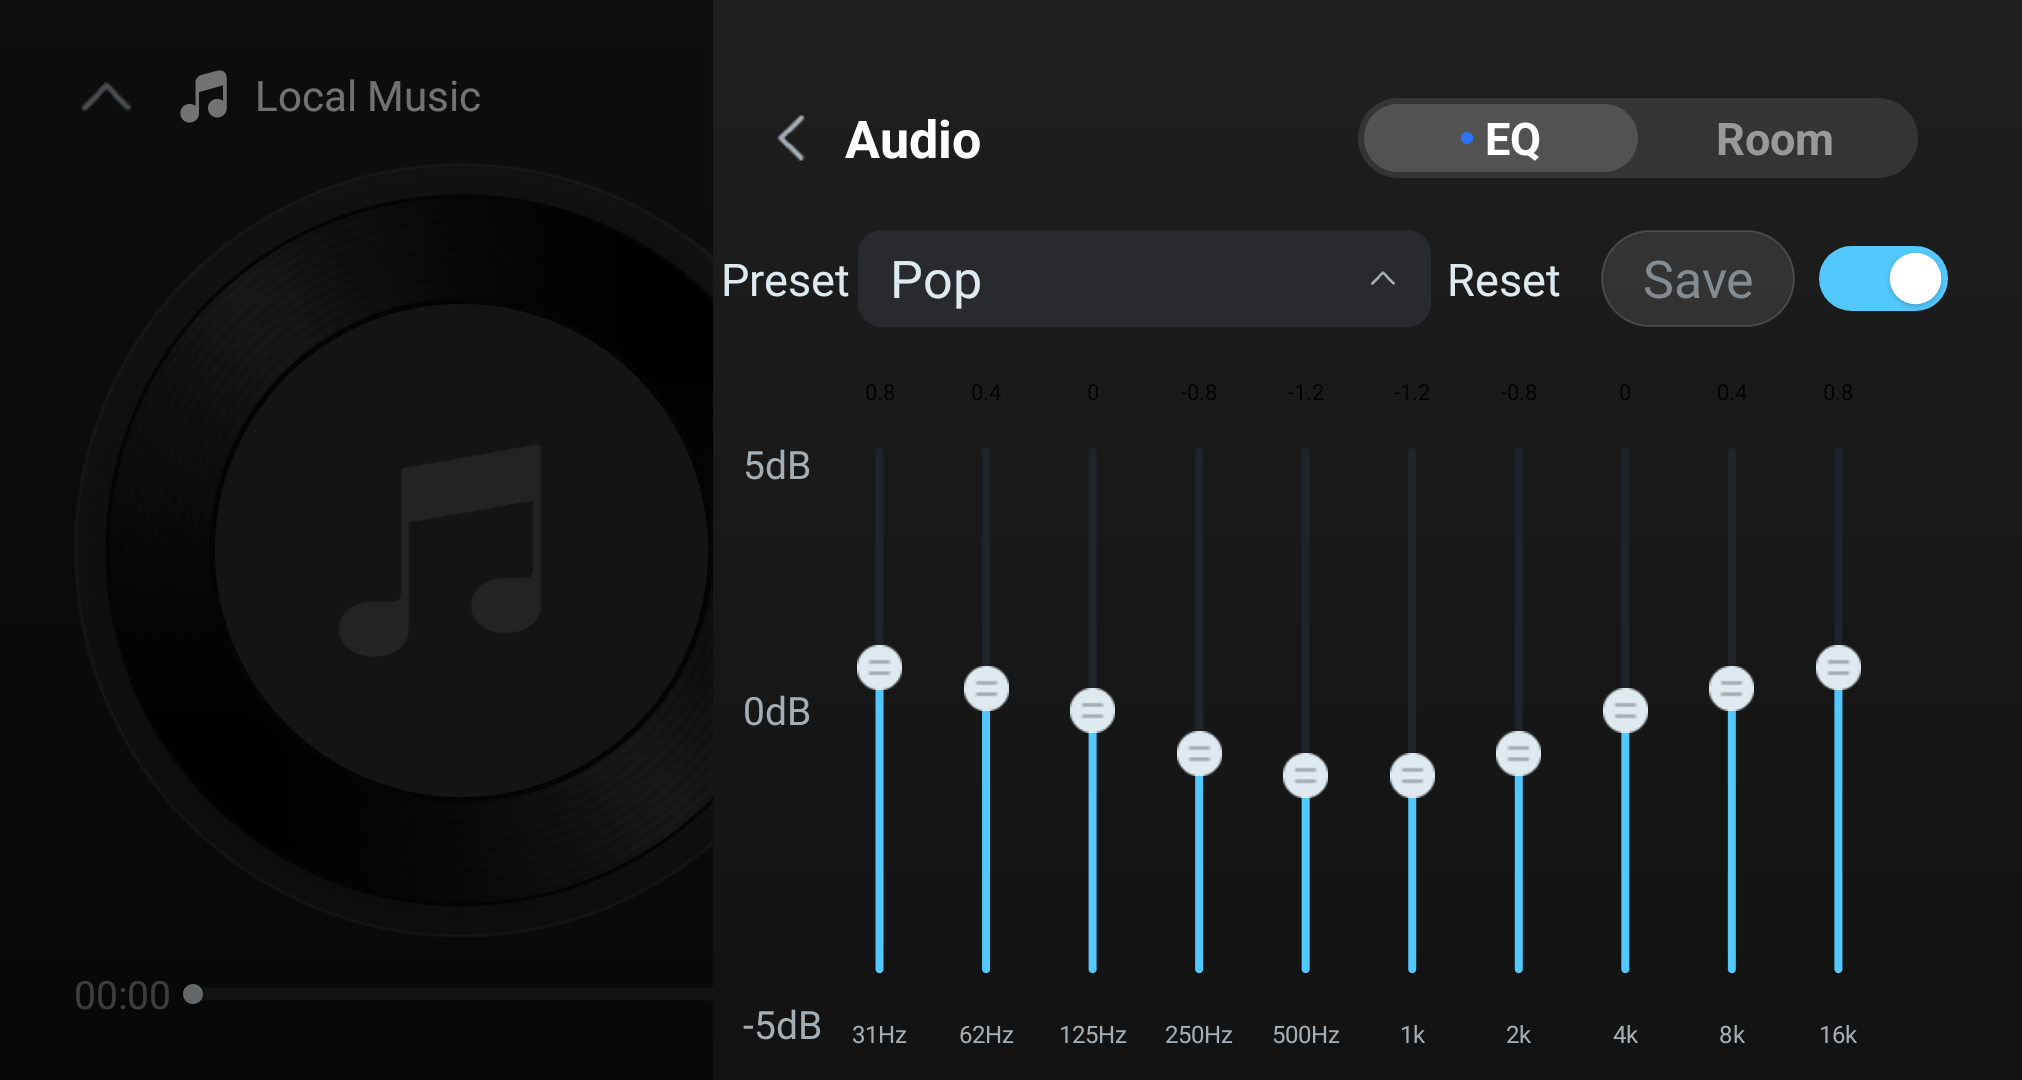
- Pop: slightly boost low frequencies for a soft groove, cut the muddy 250 Hz–2 kHz band to separate vocals from accompaniment, and mildly raise 8k/16k highs for clear, bright vocals — fits most pop tracks.
- Bass: strongly raise the entire 31 Hz–500 Hz low band for heavier bass and subwoofer impact, keep highs flat so they don't interfere with the bass mood — fits EDM, hip-hop, etc.
- Live: lift lows for a thick live kick, mildly cut mids to reduce vocal crowding, and slightly brighten low/high bands to simulate a concert-hall soundstage.
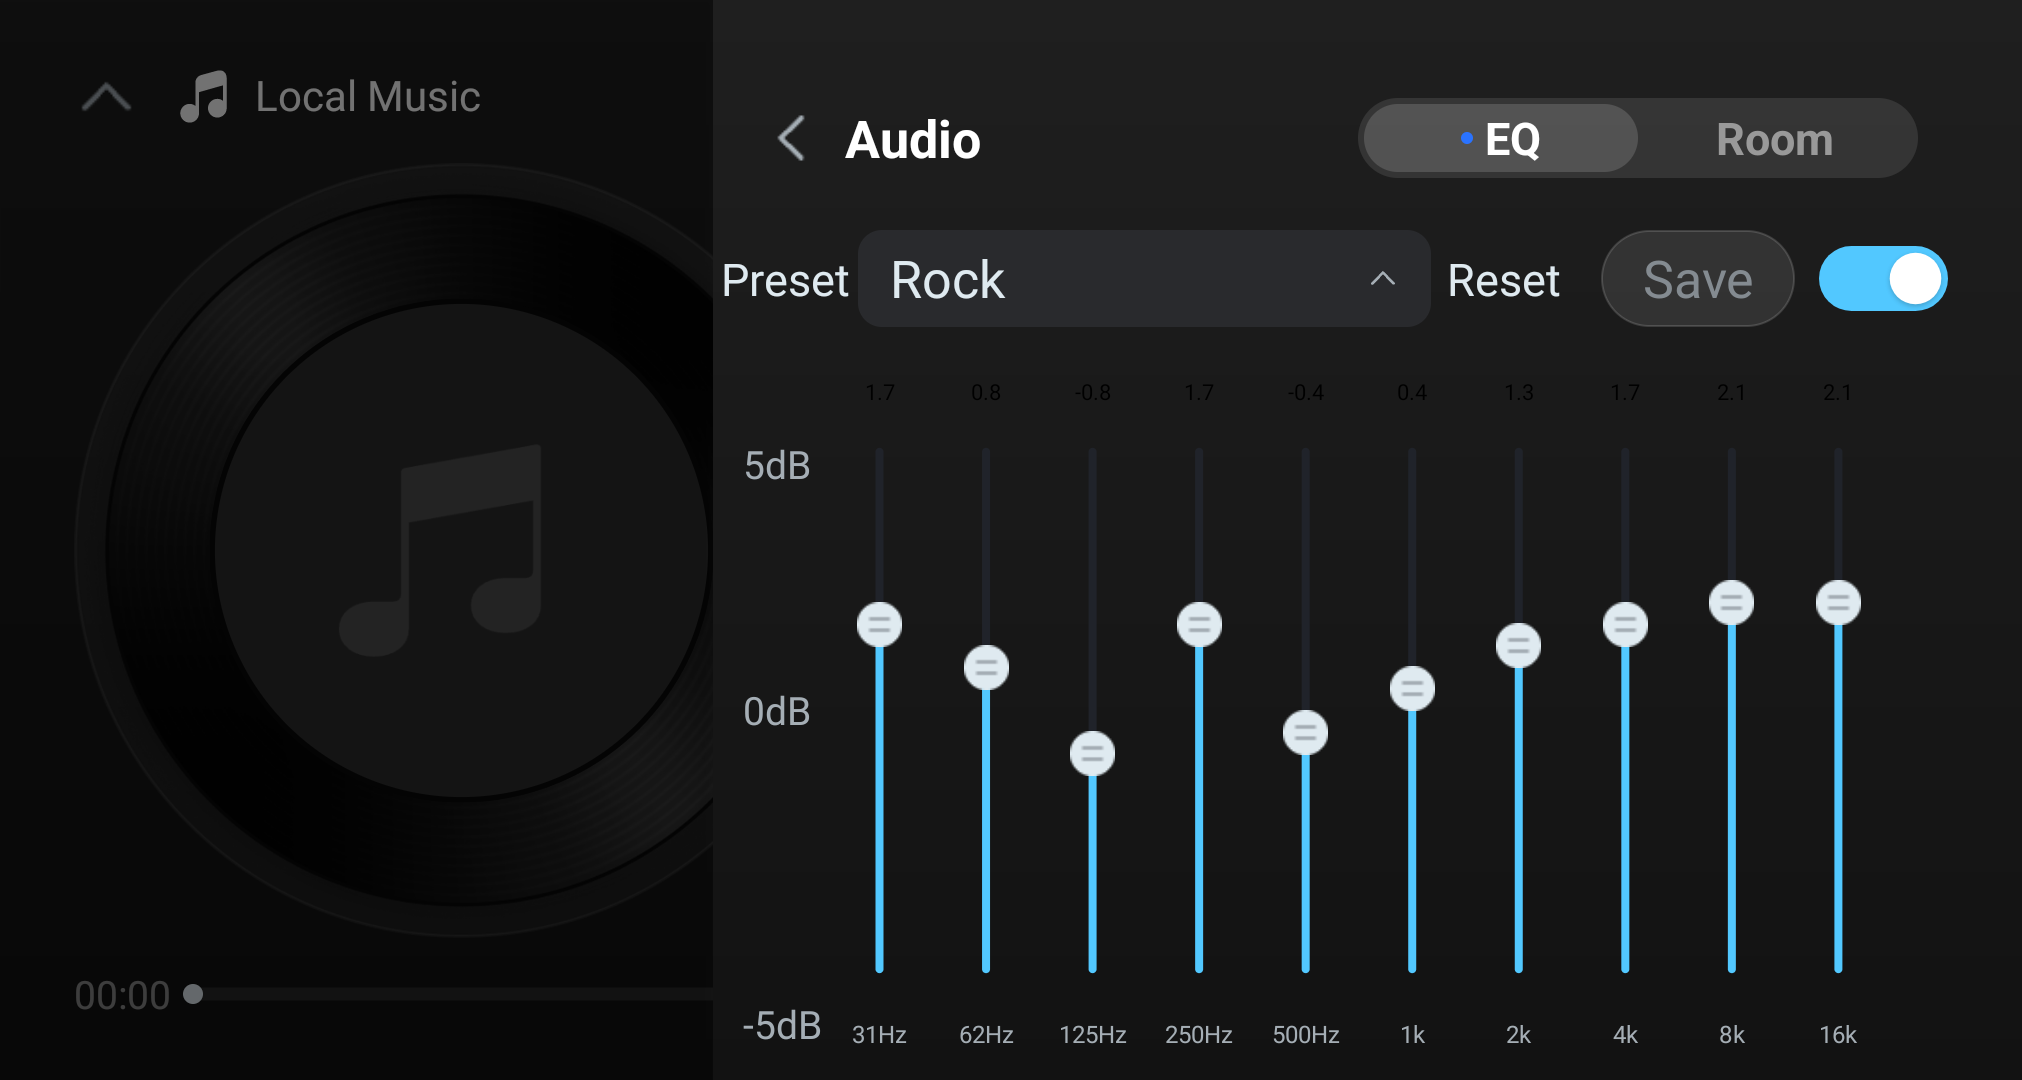
- Rock: lift lows for stronger drum impact, cut 125 Hz to avoid muddiness, and strongly raise 2k–16k highs to emphasize electric-guitar distortion and bright cymbals.
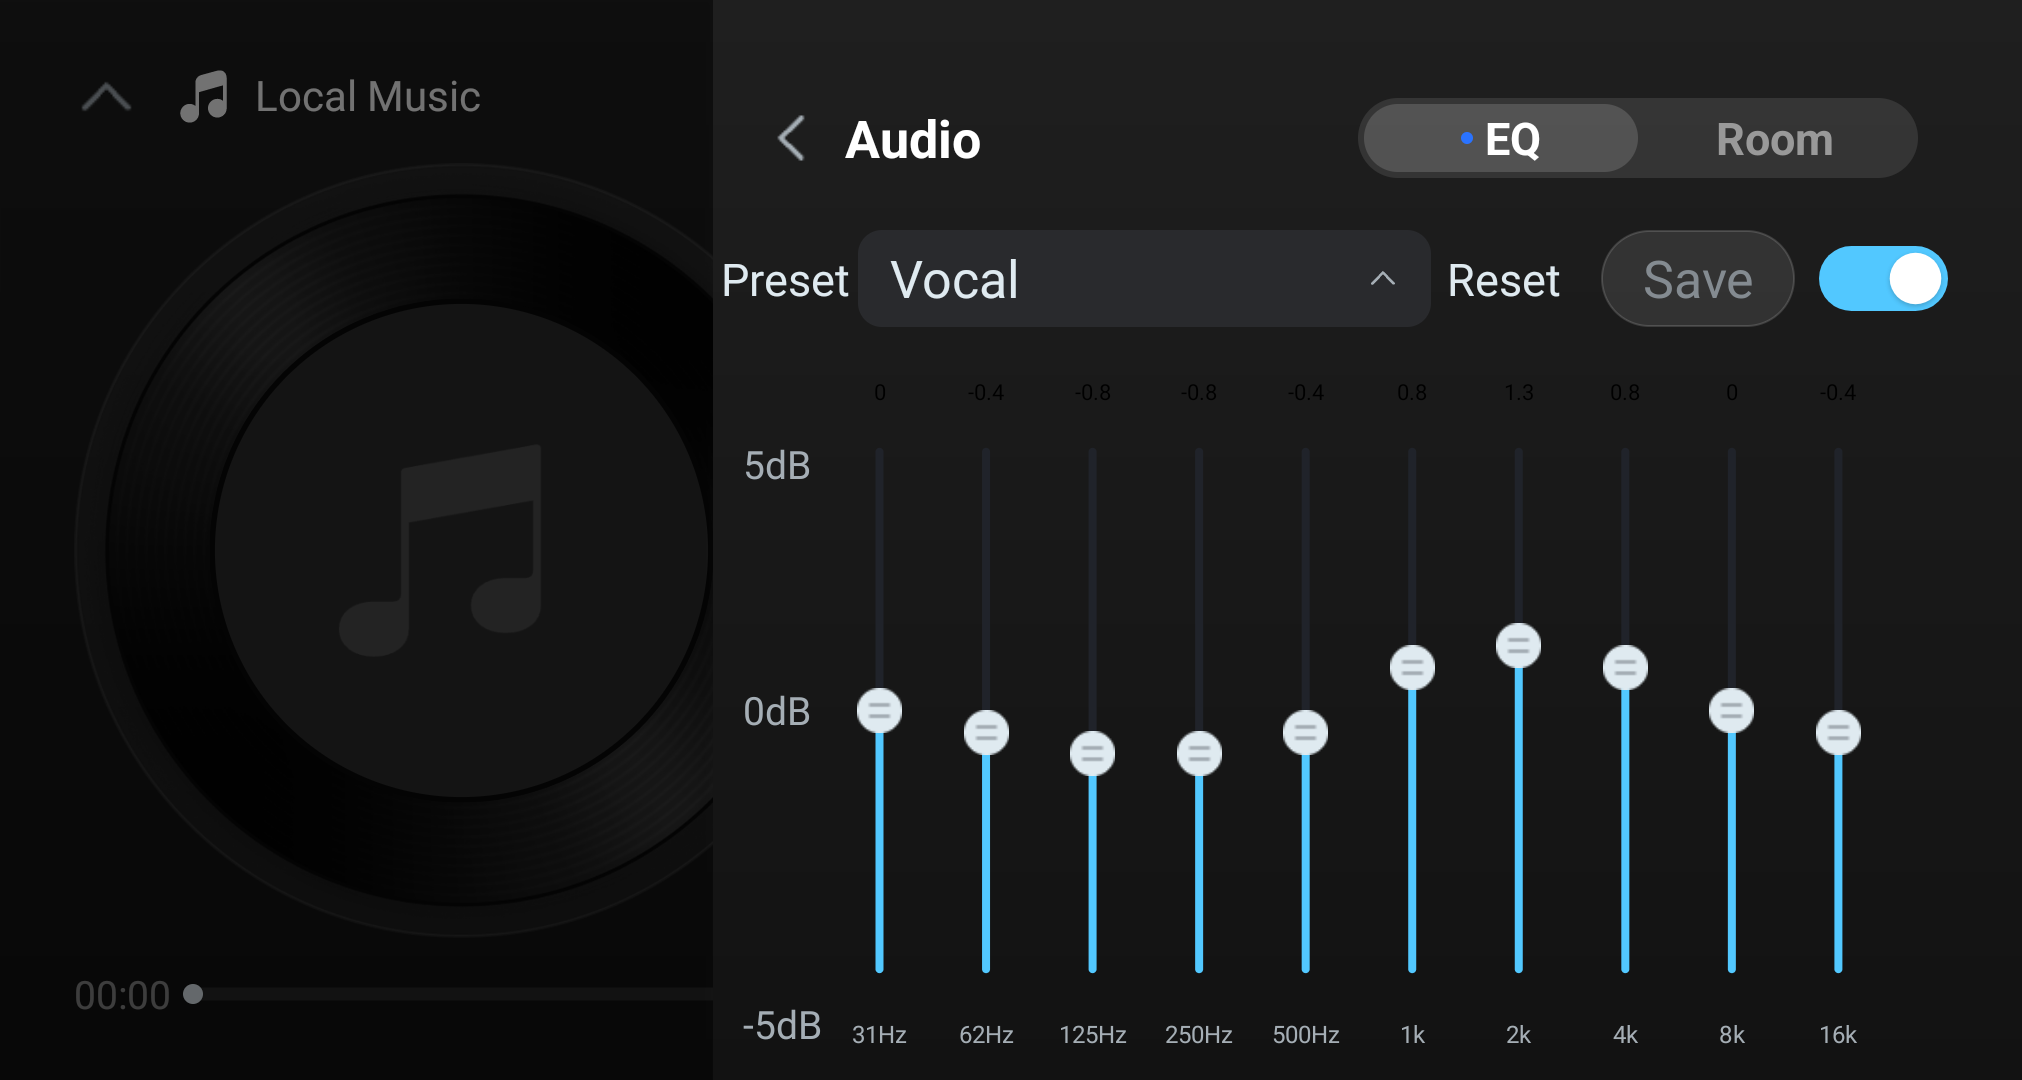
- Vocal: cut lows so accompaniment doesn't muddy vocals, and emphasize the 1k–4 kHz vocal band so vocals are clear and forward — fits ballads, rap, and vocal-centric songs.
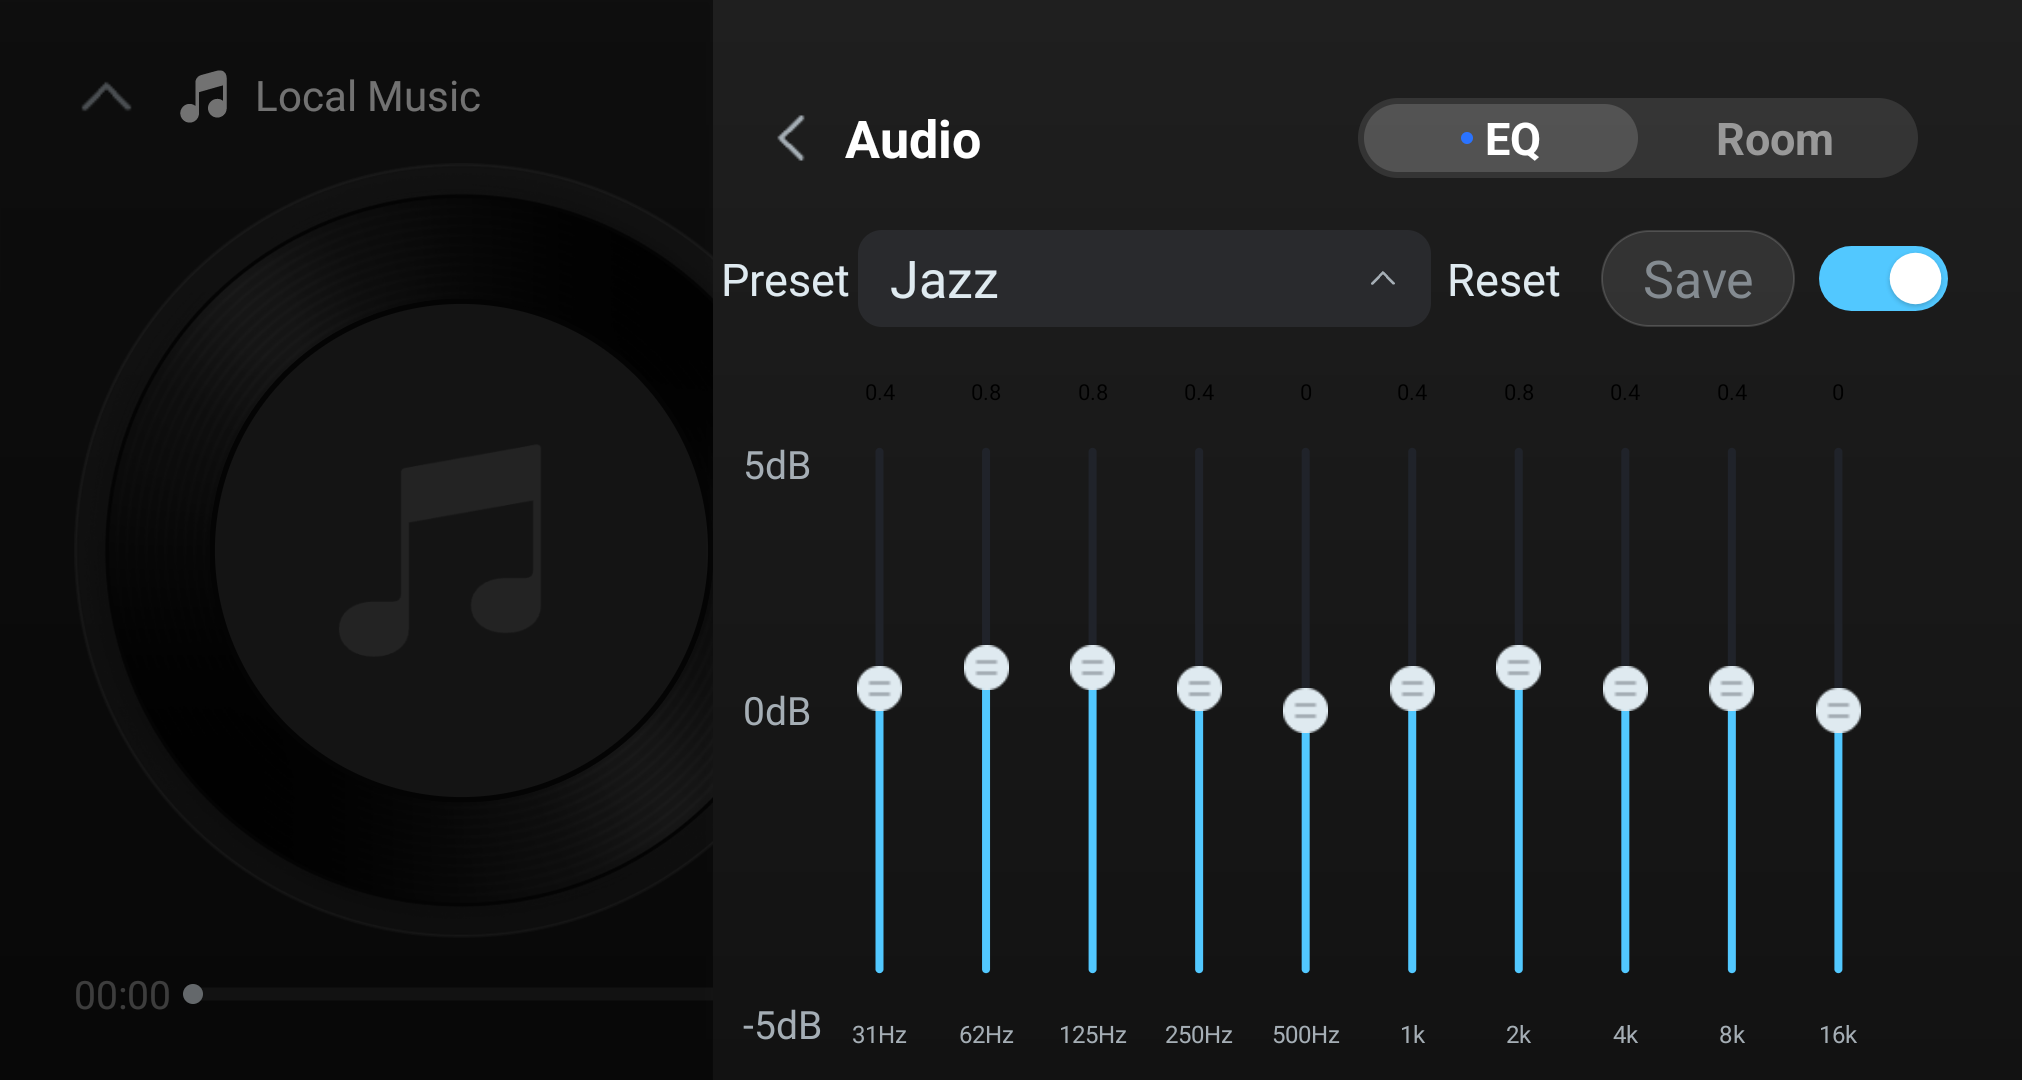
- Jazz: gently lift the whole low and mid-high bands for a warm, balanced timbre that restores the soft, delicate texture of bass and saxophone — fits jazz.
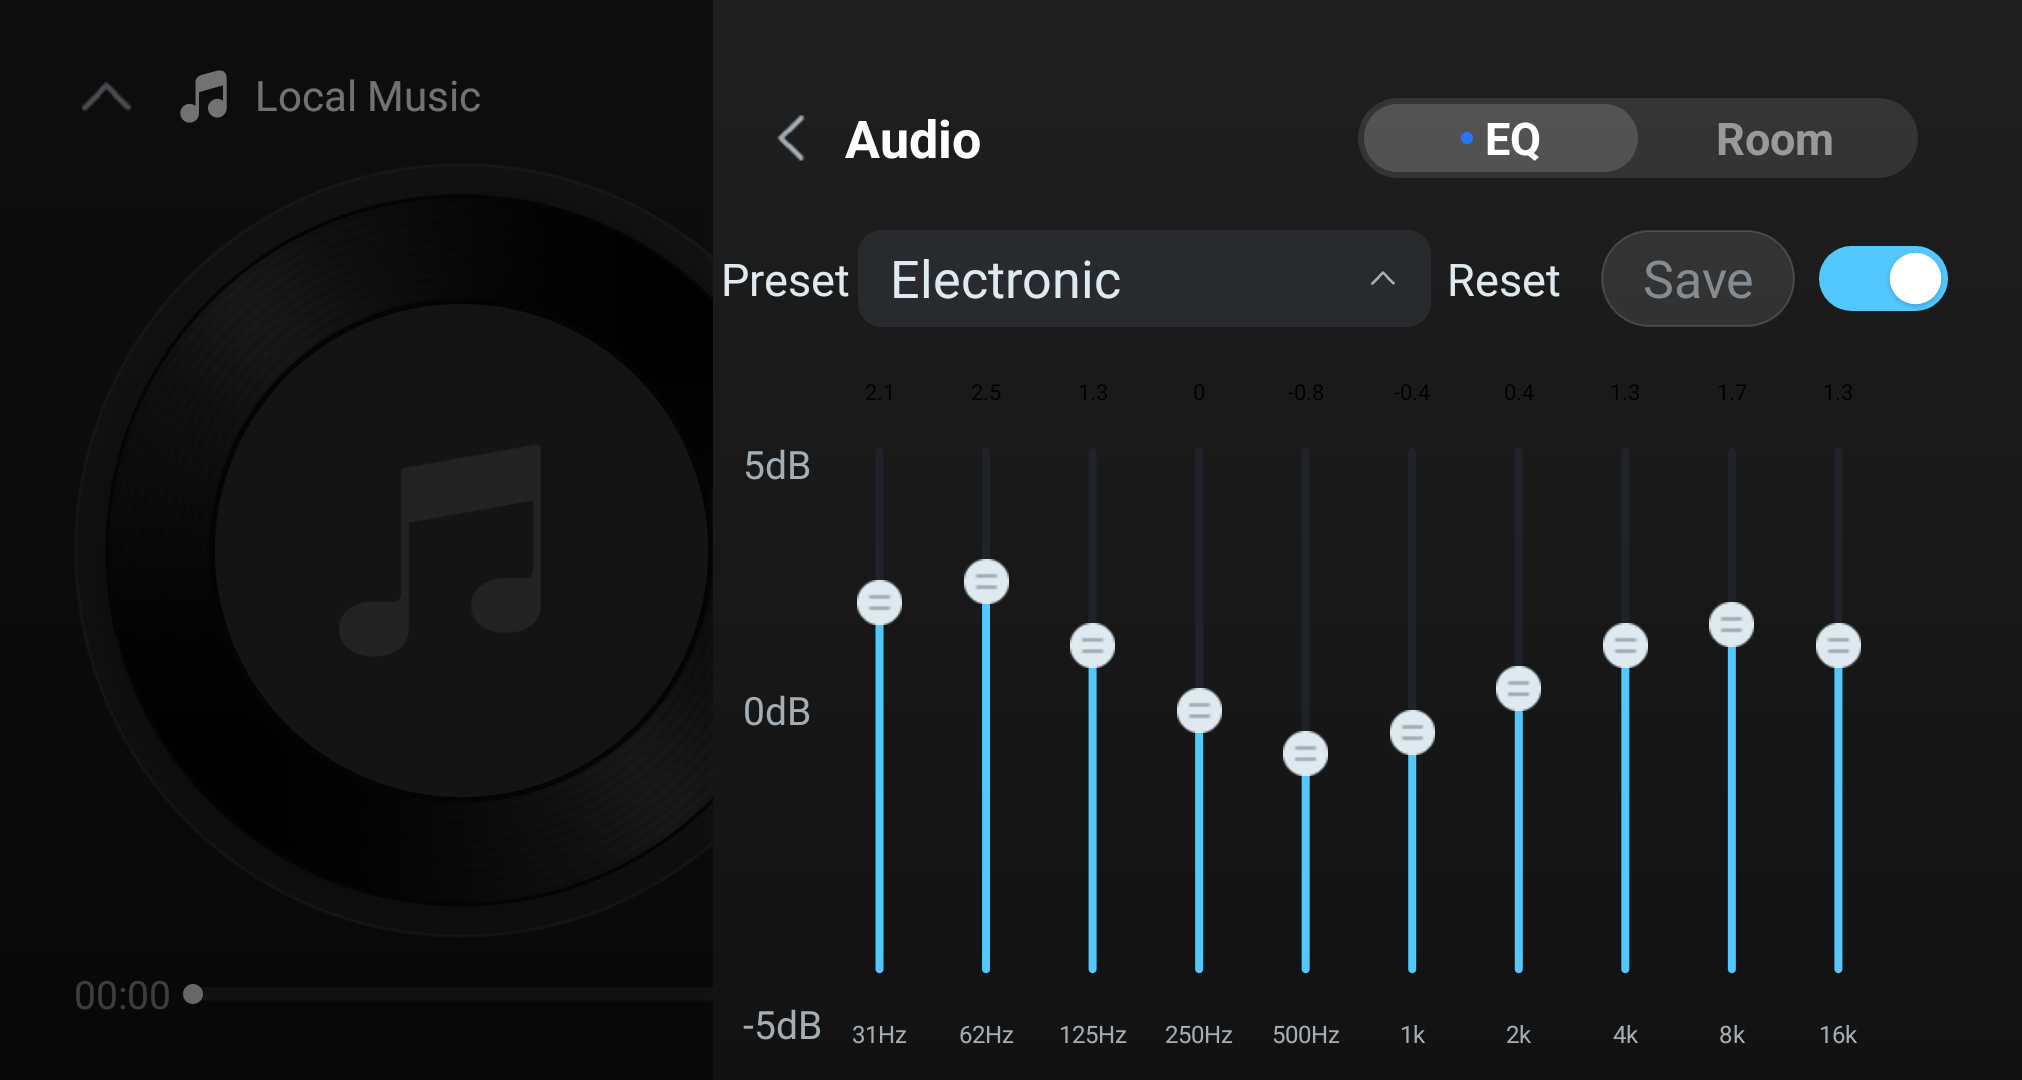
- Electronic: strongly lift ultra-low frequencies for powerful kicks, mildly lower low-mids to avoid muddiness, and raise 4k–16k highs to brighten synthesizers — fits EDM, dance.
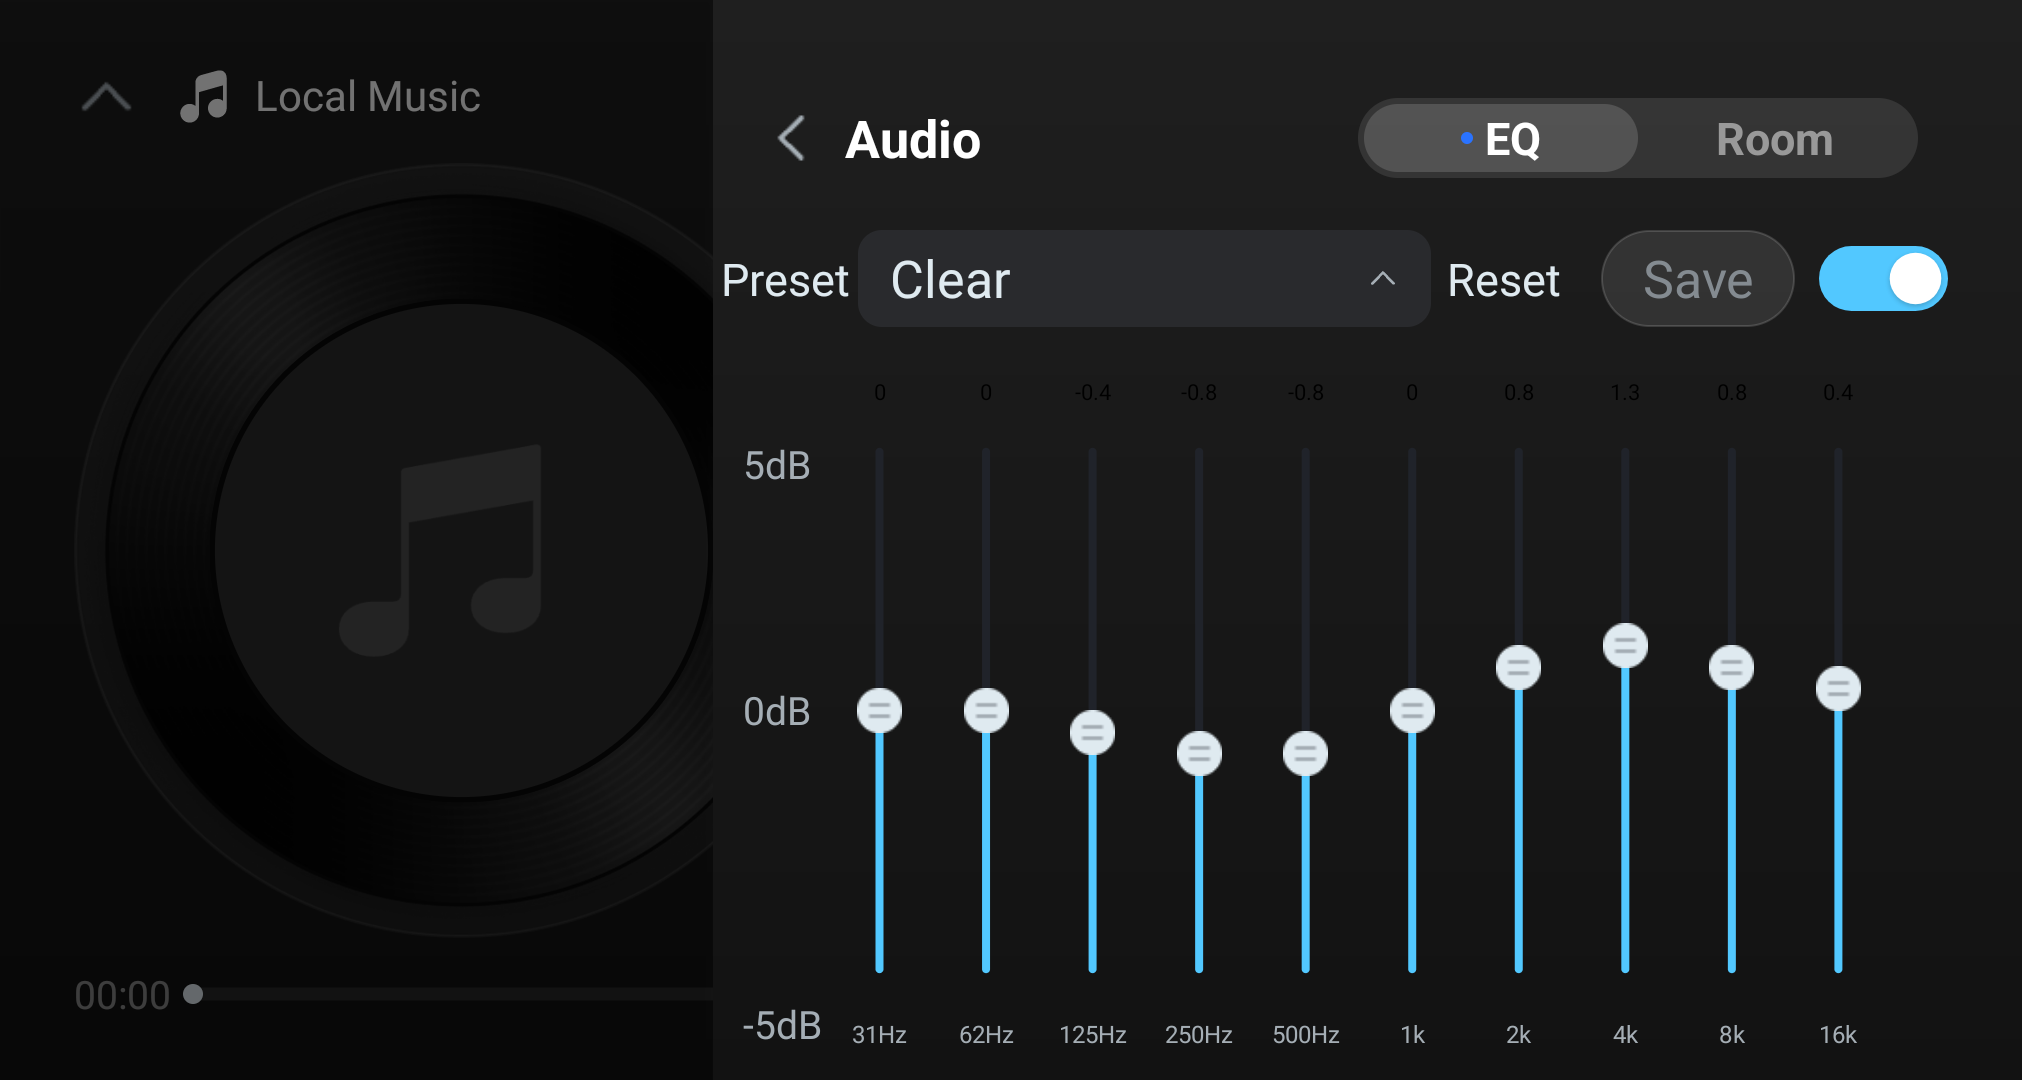
- Clear: mildly cut lows to remove muddiness and raise the whole 2k–16k high band for more detail and openness — fits headphones or sources that sound muffled.
- Classical: keep low/mid bands at the original balance, moderately cut 2k–16k highs to soften harsh string overtones, restoring the warm, soft concert-hall timbre of classical symphonies.
Note:
The equalizer only takes effect on audio at 192 kHz sample rate and below. When playing 352.8 kHz, 384 kHz, 768 kHz and other high-sample-rate audio, as well as DSD sources, the EQ function is automatically disabled and presets and custom bands cannot be used.
6. MultiRoom Linked Playback
MultiRoom Linked Playback introduction:
For setup, prerequisites, linking, and ending a group, see MultiRoom Linked Playback.
7. Room Acoustics
Function introduction: Room Acoustics can create and apply a saved acoustic profile using room and listening-position measurements. It may adjust aspects of playback response for the measured setup, but results depend on the room, microphone placement, connected equipment, and selected profile. It does not guarantee a particular sonic outcome.
- This feature works with the phone app. Perform acoustic detection on the phone first, then follow the on-screen prompts and the steps below.
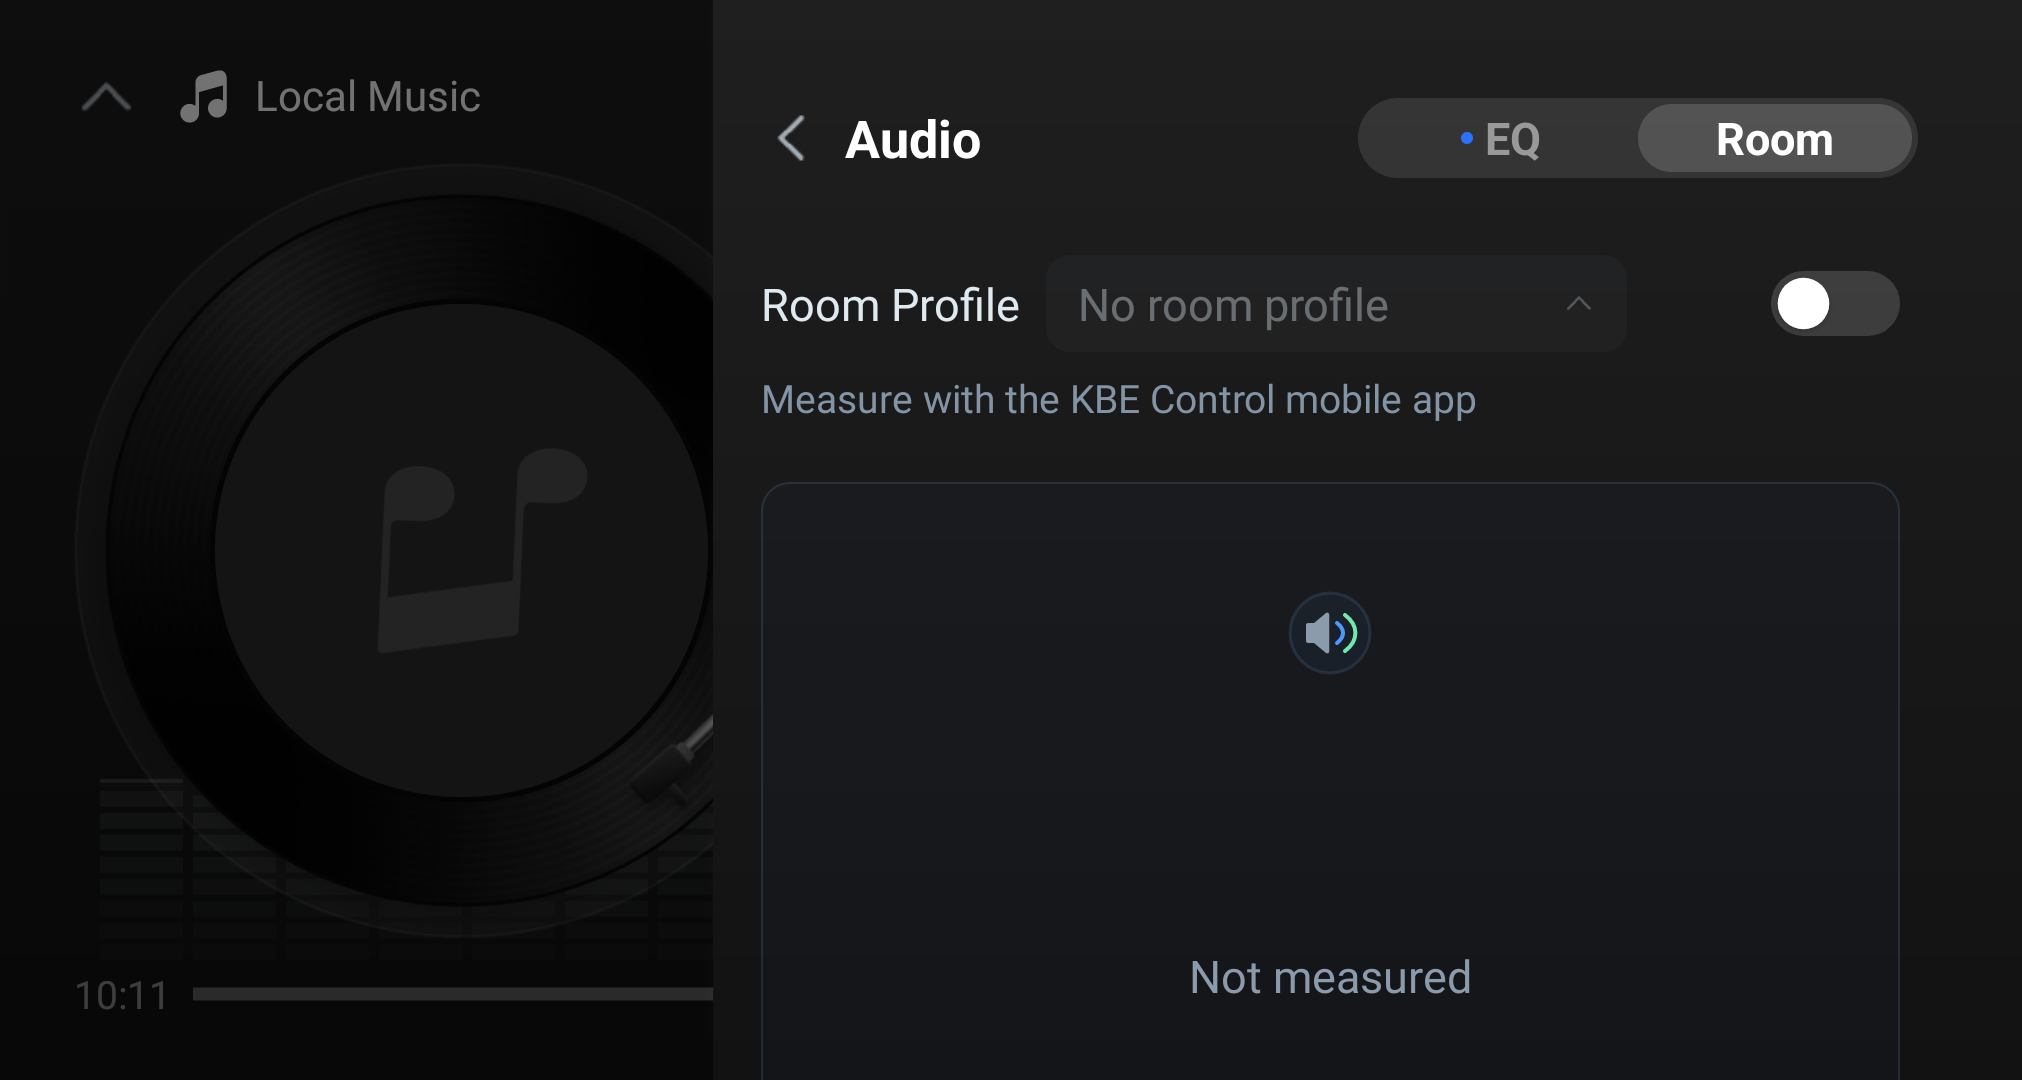
- Besides enabling/disabling Room Acoustics on the phone, open Audio from the player's top-right sliders icon, select the Room tab, then select a saved profile and turn Room Acoustics on or off.
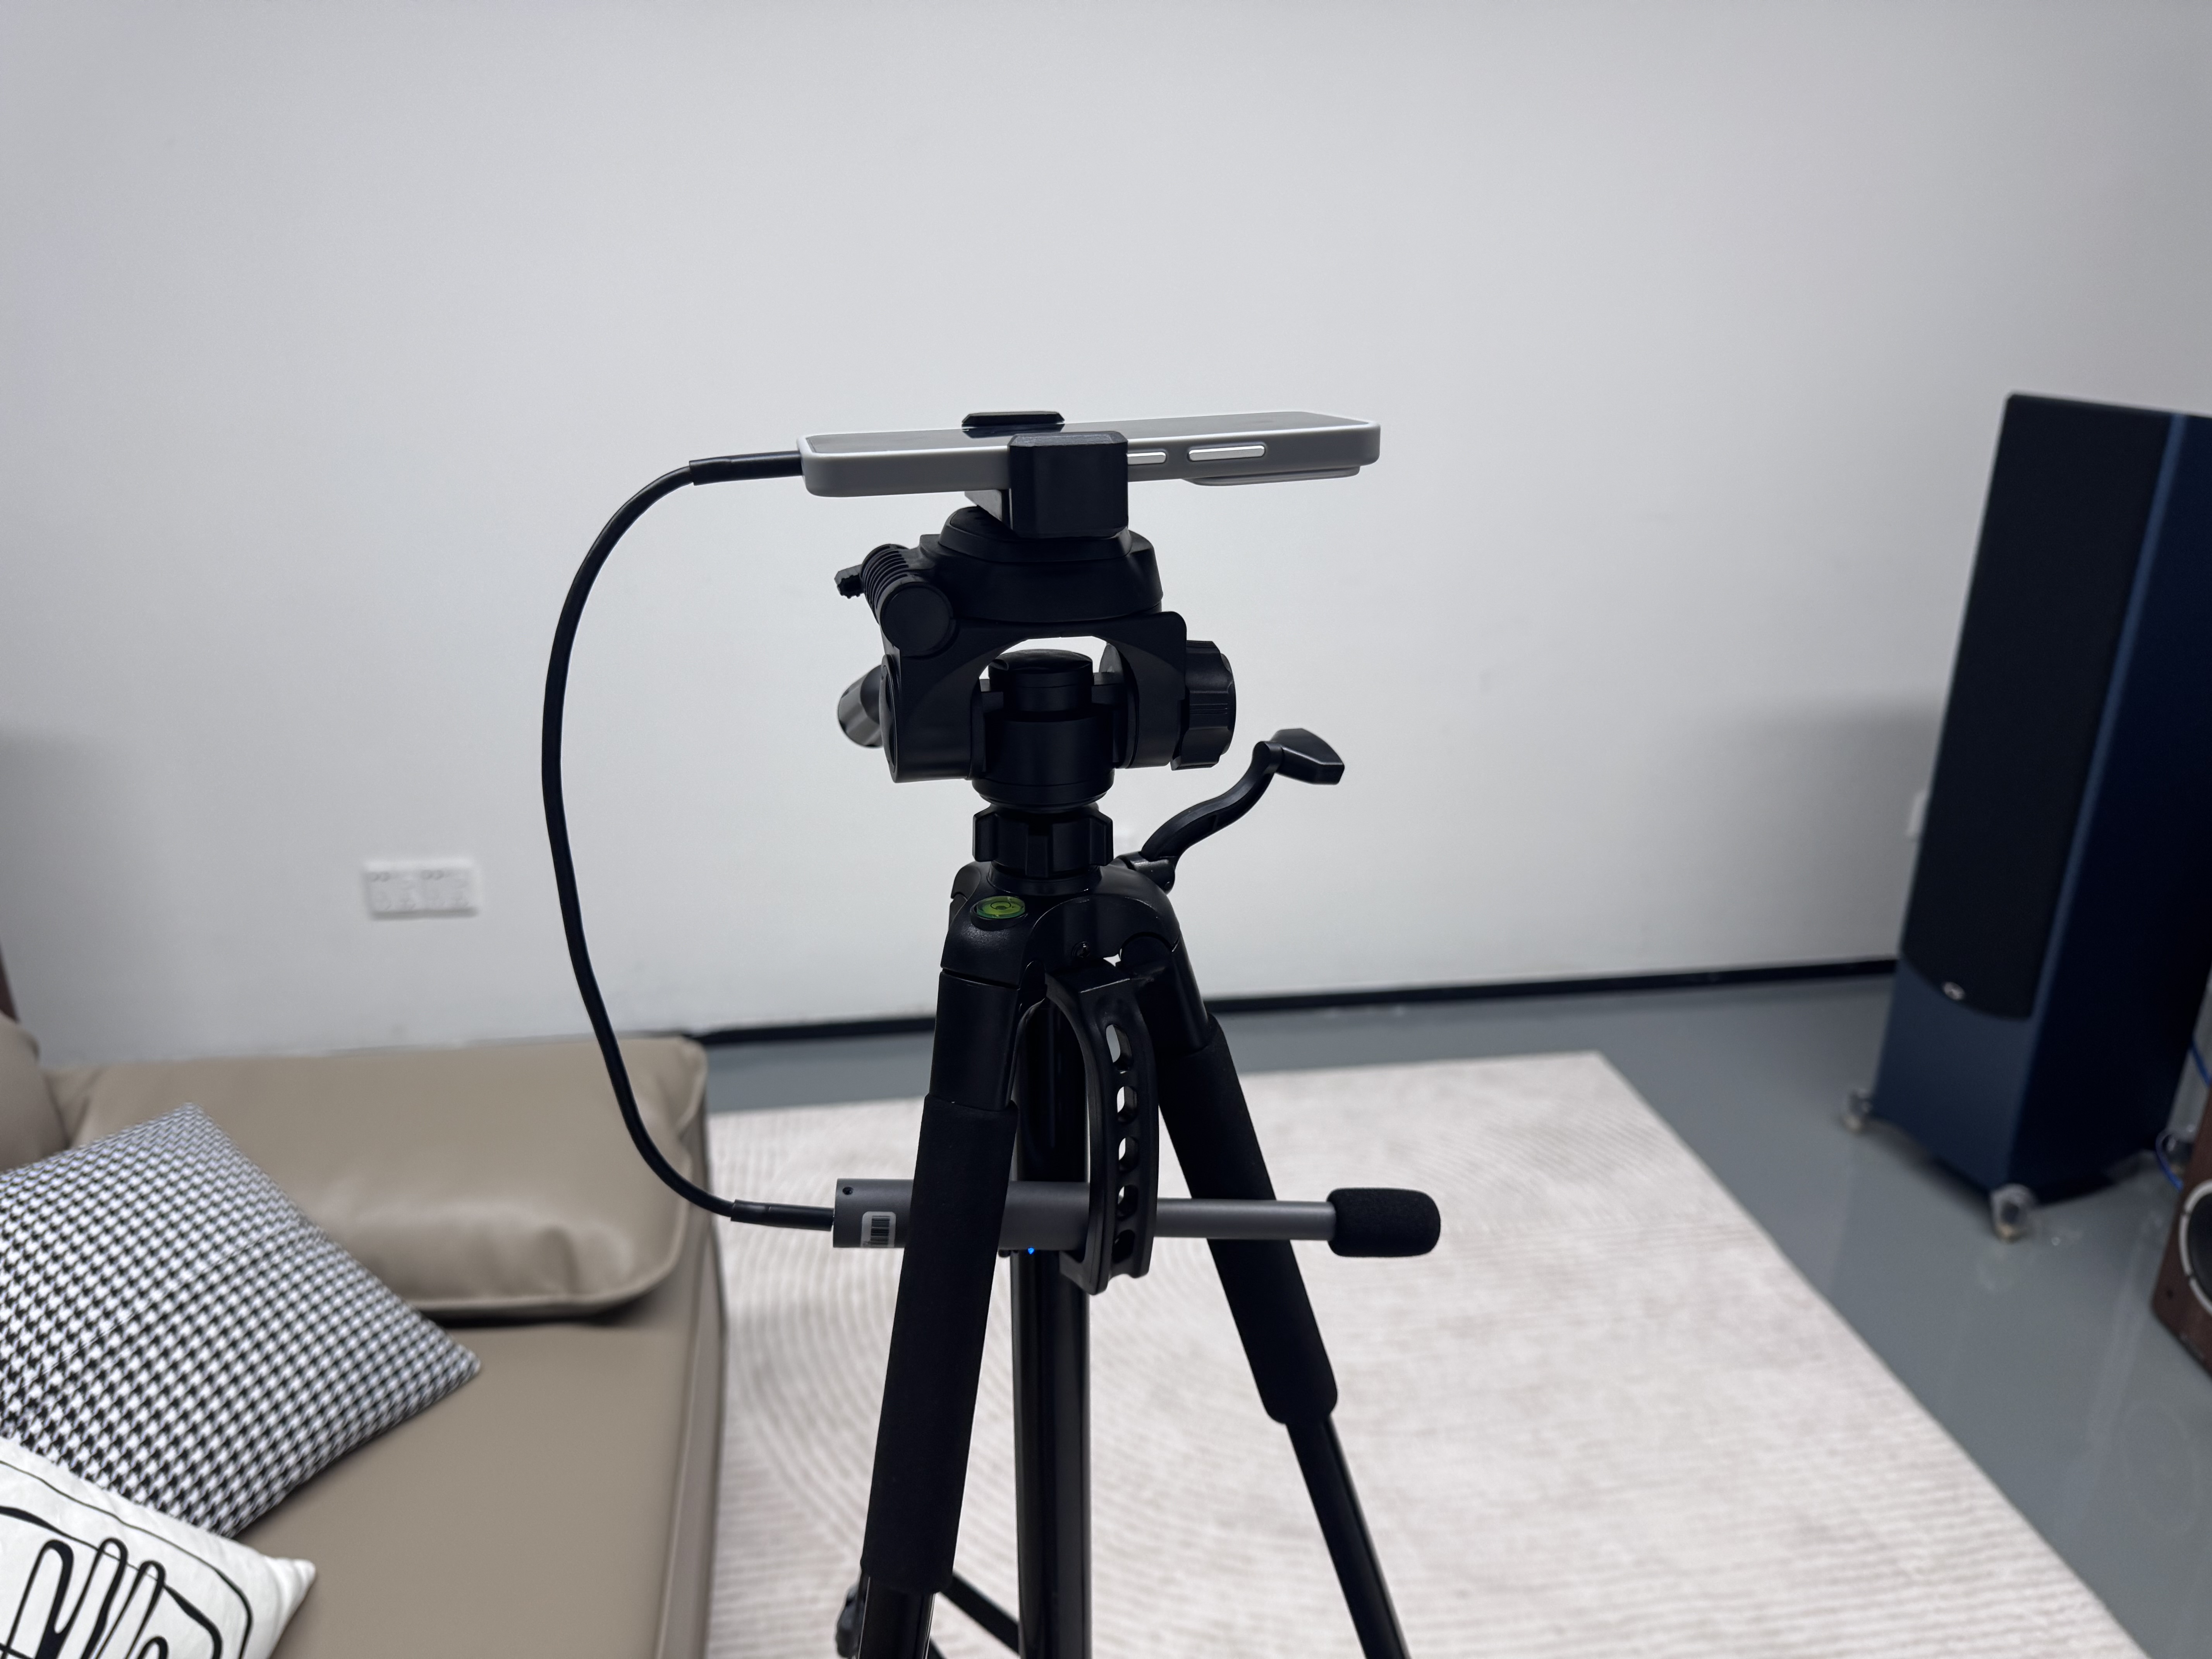
- For more accurate acoustic calibration, test in a quiet, enclosed room, fix the phone on a tripod, and use a professional acoustic measurement microphone. (Recommended placement shown.)